
Chocolate Guinness Cupcakes

Medically reviewed by Christiana George Updated Date: June 8, 2023
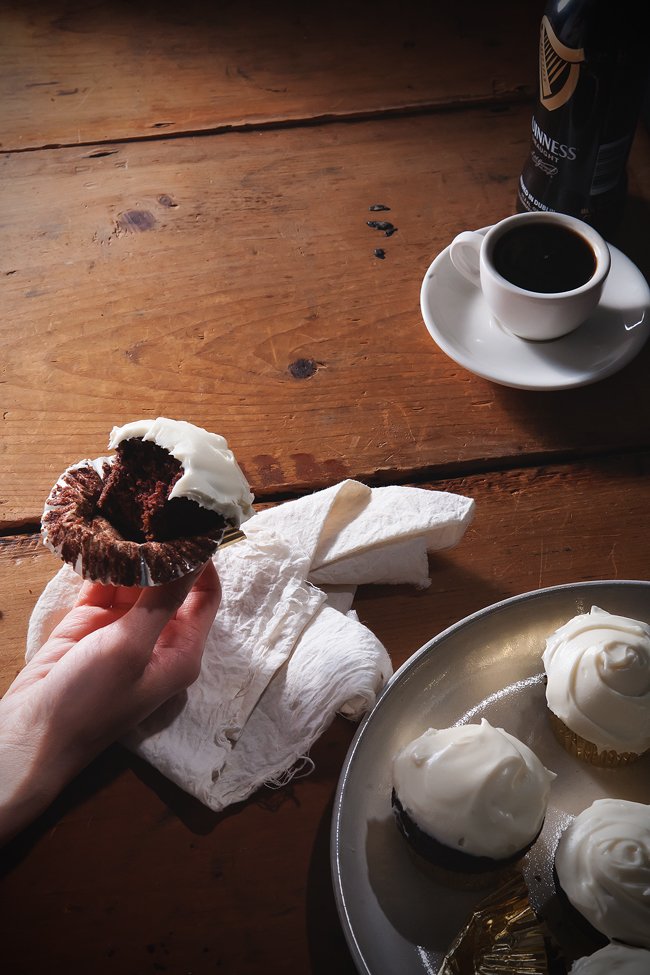
These cupcakes mark a very personal anniversary for me. It’s the sort of milestone that’s especially significant once you know the context. One year ago (tomorrow, to be exact), Chris and I moved to New York.
If you’ve ever spent a significant amount of time traveling, you know how exhausting a nomadic lifestyle can be. For seven months, Chris and I were without homes. We’d packed in our lives in San Francisco, quit our jobs, and begun what we later called a “sabbatical”—a high-falutin’ but handy term to explain to our family and friends why we were taking an extended time off. We wanted to travel, work on personal projects, and reconnect with ourselves.
For about four of those months, we played vagabonds in South America. It was enriching and extraordinary. I’m still reeling from some of the places we visited, sights we saw. It was also bewildering, dangerous at times, and grinding in a way that can only be explained by showing, not telling: many-hour-long bus rides (our longest was 35), trudging along roadsides with our enormous backpacks hoping to catch rides from strangers, never quite acclimating to the continent-wide practice of everything shutting down for afternoon siestas and Sundays, meeting new people everyday and explaining our life stories over and over and over. I ate more Oreos and french fries than at any other time in my life, slept in hostels where bunk beds would be stacked on top of each other four beds high, celebrated Thanksgiving with 33-cent street burgers and arroz con leche, and at one point ran from a pack of muggers in Buenos Aires (Chris ended up punching one in the face).
You see? In a sense, I was happy to settle down, throw down some roots and re-establish continuity. I think this blog was borne out of that desire, to be honest. And yet the last year has been anything but predictable. Some dreams were extinguished and hardships faced. I mean, we’re talking about New York City here, the land of big ambitions, lofty goals. But other opportunities came along, bringing with them new beginnings, new adventures, and new people. It’s been difficult and frustrating and strange, truly, but I’m grateful to have experienced it all.
I apologize if I’m sounding incredibly vague and boilerplate. I realize how often people come across passages like these and just want the facts! They’re really not that juicy, just the usual twentysomething pangs.
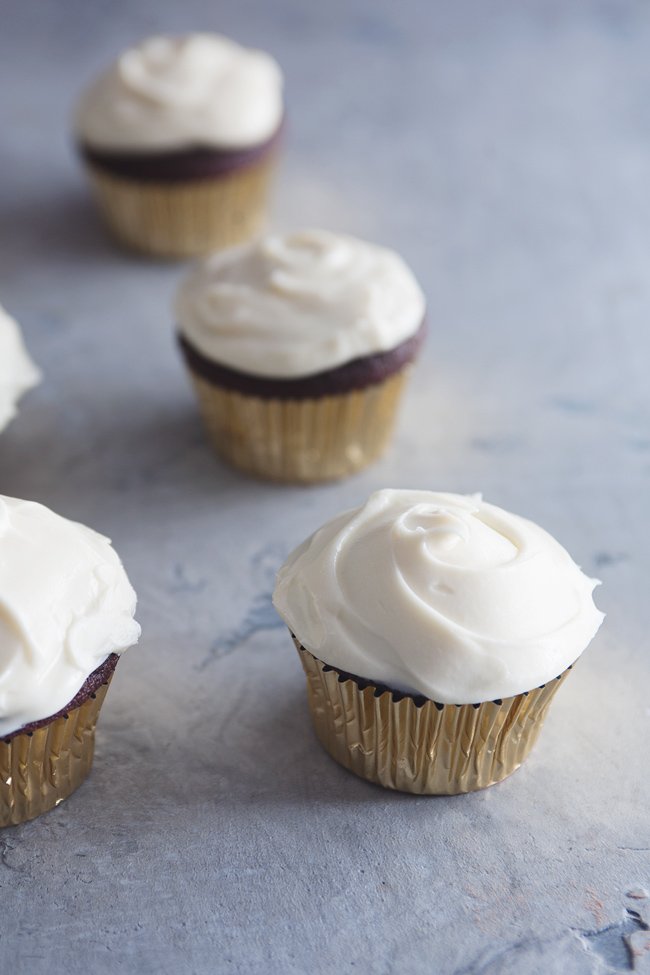
But hey, the mood’s celebratory, remember? I finally filed my taxes, spring is seeping into the city one flower-laden tree at a time, and this recipe—which I used to make a 4-layer cake for Chris’s birthday a few weeks ago—is TOPS.
It’s worth noting that as far as wedding cake flavors go, I think I can pretty much stop here. This recipe results in a sturdy cake, definitely able to carry some weight, but not dense at all. And it’s so chocolate-y—Chris’s plebeian taste buds loved it. ; )

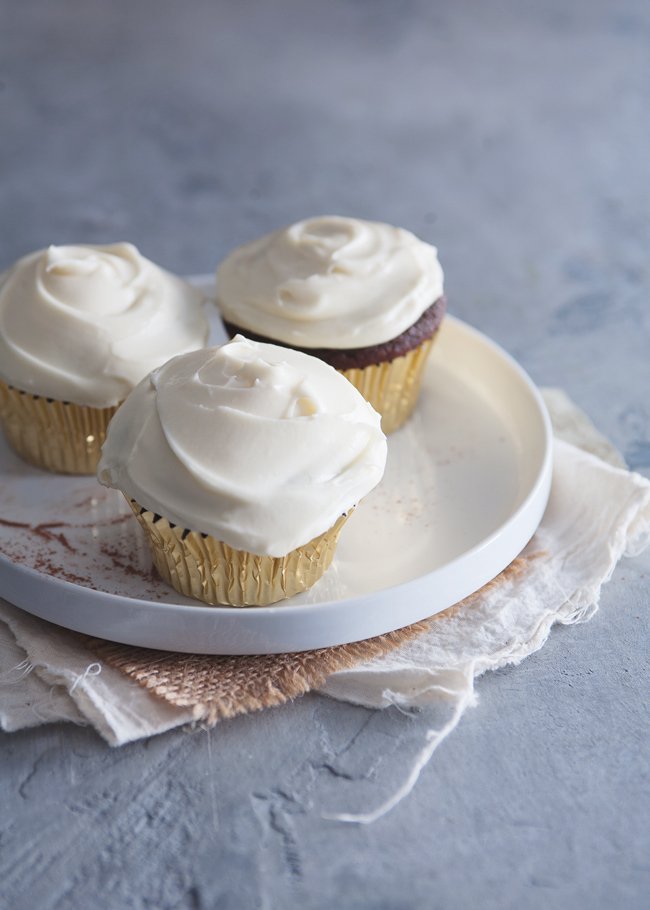
CHOCOLATE GUINNESS CUPCAKES
Adapted from Bon Appétit
Makes 18 cupcakes
Ingredients:
- 1 cup Guinness (or other stout)
- 1 cup (2 sticks) unsalted butter
- 3/4 cup unsweetened cocoa powder
- 2 cups all purpose flour
- 1-3/4 cups sugar
- 1/2 Tbsp baking soda
- 3/4 tsp salt
- 2 large eggs
- 2/3 cup sour cream
Directions:
Preheat oven to 350°F. Line cupcake pan with tins.
Bring the stout and butter to a simmer in a medium saucepan over medium heat. Add cocoa powder and whisk until mixture is smooth. Cool slightly.
Whisk together the flour, sugar, baking soda, and salt in a large bowl. Using an electric mixer, beat the eggs and sour cream in another large bowl to blend. Add the stout-chocolate mixture to egg mixture and beat just to combine. Add flour mixture and beat briefly on slow speed. Using rubber or wooden spatula, fold batter until completely combined. Fill each tin about 3/4 full. Bake until tester inserted into center of one of the cupcakes comes out clean, about 22 minutes. Turn out the cupcakes once the pan has cooled and let them cool completely before frosting, recipe below.
CREAM CHEESE FROSTING
Adapted from the Food Network
I think this ratio of ingredients is perfect, but it makes for a slightly runny frosting. Make sure to refrigerate it to firm it up before frosting your cupcakes. Also, I was able to frost all 18 cupcakes using this amount, but I tend to like less-frosted cupcakes. For those of you who like normal amounts of frosting, use 1.5 to 2x the amounts listed below.
Ingredients:
1/2 cup (1 stick) unsalted butter, softened
8 oz. cream cheese, softened
1-1/2 cups confectioner’s sugar
1 tsp vanilla extract
Directions:
In a mixer with the whisk attachment, combine the butter and cream cheese on medium speed until smooth. Slowly add the sugar, making sure it’s combined before adding more. Add the vanilla and whisk until smooth. If it’s too runny, refrigerate it for about an hour.
Related Posts


Subscribe for New Racipies
Get mental health tips, updates, and resources delivered to your inbox.
Yotam Ottolenghi’s Soba with Eggplant and Mango

On lazy evenings, when dinner is only an afterthought, my parents like to steam eggplant until it’s soft. Until it became a soggy pulp, it always seemed to me, whose eggplant taste had been diluted to the point of extinction. Needless to say, growing up, I dreaded the sight of the bamboo steamer. (Actually, that’s not true at all. I love the steamer. It’s my favorite kitchen “utensil” because it makes possible the steaming of pork buns and sticky rice and eggs. But the steamer figured largely in bland suppers, so I was ambivalent.)
Alternatively, my dad, who is very forthcoming with oil, took great joy in frying eggplant up in the wok “yu xiang” style. That roughly translates to “fish-flavored,” a name that always mystified me because there is nothing fishy about the flavor. He would pour a nice deep layer of oil in the wok, turn the heat up high, and, when the oil was bubbling and snapping, hungry-fish-like, toss all the ingredients in, quick, stirring vigorously and with enough fervor so that everything cooked perfectly. The eggplant blistered and melted into succulent bites, all made possible by the oil. “The only thing eggplant is good for is soaking up oil,” my mom would say in disgust. She refused to eat this dish.
Because it’s true—these strange cylindrical bulbs—which originated from India apparently—certainly do require a lot of oil to cook up nice and soft.
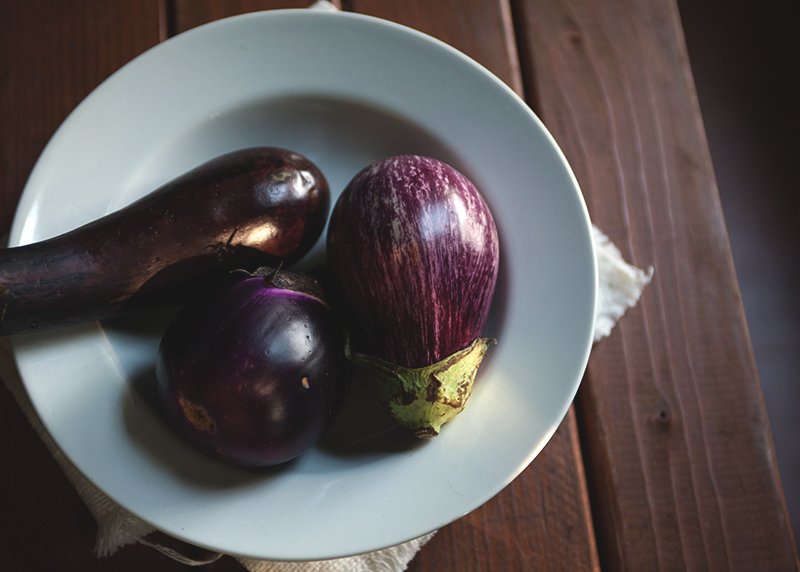
I haven’t really touched eggplant since I left home. And it isn’t because I don’t love the deeply satisfying “fish-flavored eggplant.” I do. My mom, however, has infected me with a fear of oil. Oh, I shouldn’t point my finger at my mom. It’s not as if society as a whole doesn’t possess a deep phobia of oils and fats. We do. I do. But for the sake of delicious food, I think I can set aside that fear for special cases. Like eggplants.

In this recipe, Yotam Ottolenghi has you fry eggplant in what I consider a huge amount of oil. But what it turns out is soft, silky, and almost meaty; it revived my love for eggplant. I guess oil just has a way with it, by buttering it, caress after caress, and drawing out its flavor. Soft succulent morsels emerge from the bath.
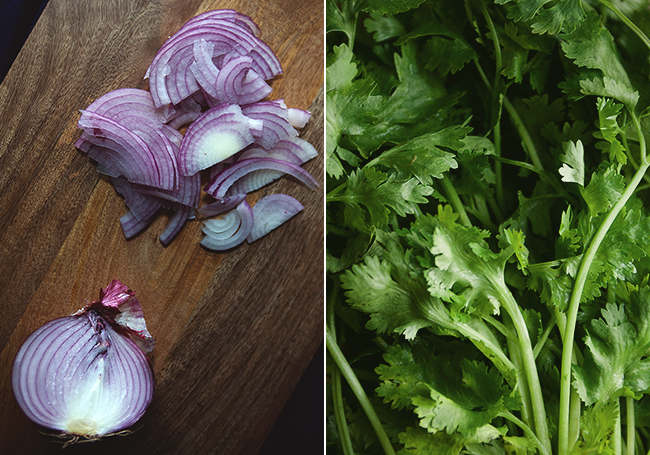
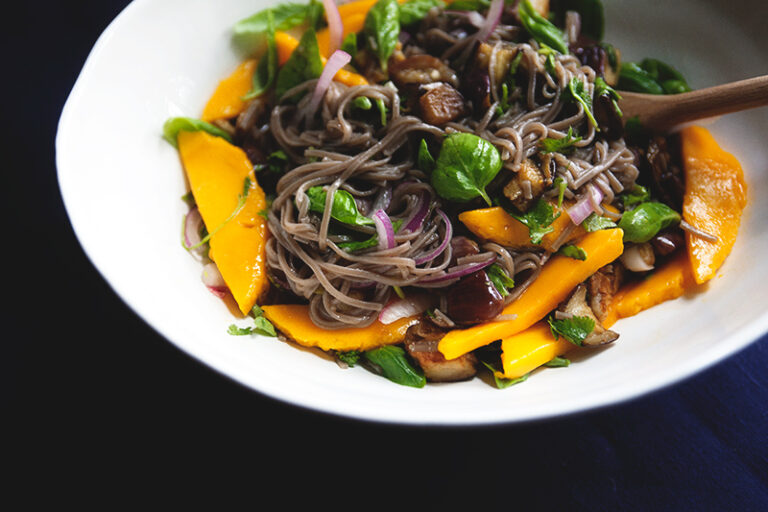
Of course, deep-fried eggplant on its own is only deep-fried eggplant. Though admittedly delicious, it needs a little dressing up, something to balance out its heavy, concentrated texture and taste. And so, in his measured way, Ottolenghi sets it against cool, nutty soba noodles, a spicy, tangy sauce, cilantro, basil, and ripe mango. Imagine that! A mango, soft and sweet. It was an unlikely match, one I doubted more than once while slicing my mango, its fragrant juices, redolent of the intoxicating and exotic, running down my hands. But the matchmaker ultimately proved his unfailing craft. And I found myself wanting more eggplant.

SOBA NOODLES WITH EGGPLANT AND MANGO
From Plenty, by Yotam Ottolenghi, via Serious Eats
Serves 6
Ingredients:
1/2 cup rice vinegar
3 tablespoons sugar
1/2 teaspoon salt
2 garlic cloves, crushed
1/2 fresh red chile, finely chopped
1 teaspoon toasted sesame oil
Grated zest and juice of 1 lime
1 cup sunflower oil
2 eggplants, cut into 3/4-inch dice
8 to 9 ounces soba noodles
1 large ripe mango, cut into 3/8-inch dice or into 1/4-inch-thick strips
1 2/3 cup basil leaves
2-1/2 cups cilantro leaves, chopped
1/2 red onion, very thinly sliced
Directions:
In a small saucepan gently warm the vinegar, sugar and salt for up to 1 minute, just until the sugar dissolves. Remove from the heat and add the garlic, chile, and sesame oil. Allow to cool, then add the lime zest and juice.
Heat up the oil in a large pan and shallow-fry the eggplant in three or four batches. Once golden brown remove to a colander, sprinkle liberally with salt and leave there to drain.
Cook the noodles in plenty of water, stirring occasionally. Drain and rinse well under running cold water. Shake off as much of the excess water as possible, then leave to dry on a dish towel.
In a mixing bowl toss the noodles with the dressing, mango, eggplant, half of the herbs and the onion. You can now leave this aside for 1 to 2 hours. When ready to serve add the rest of the herbs and mix well, then pile on a plate or in a bowl.
Related Posts

Subscribe for New Racipies
Get mental health tips, updates, and resources delivered to your inbox.