
Butternut Squash Banana Muffins

Medically reviewed by Christiana George Updated Date: December 18, 2022
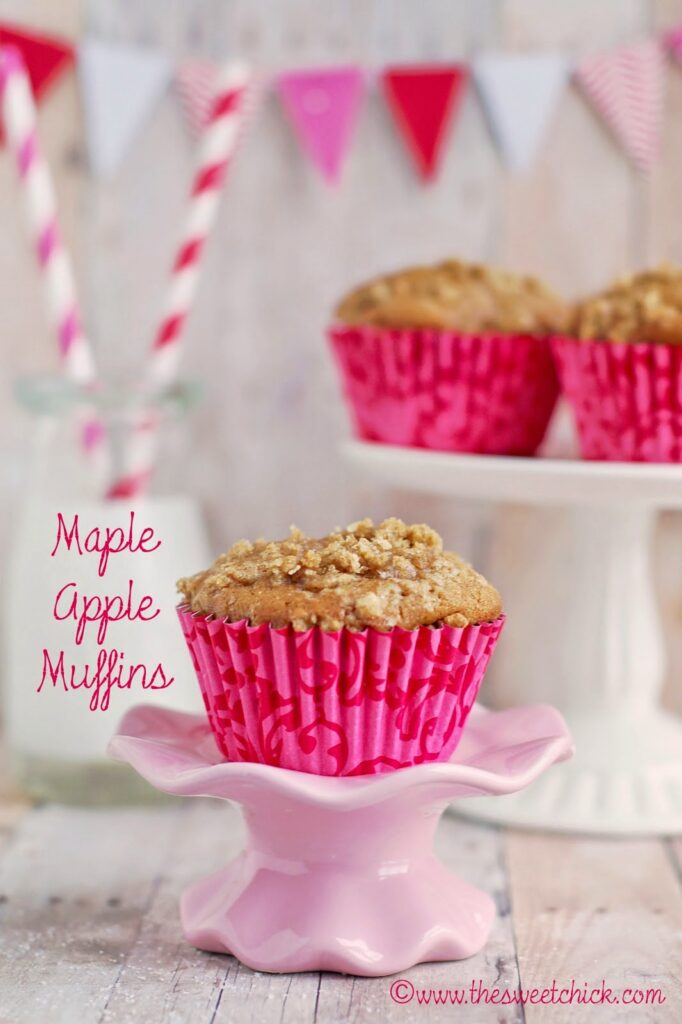

I hope everyone had a delightful New Year. Mine was pretty adventurous. My husband, our two kids, and I drove up 14.5 hours to Connecticut to visit our families, then I took the kids on another 6.5 hour ride to Canada to see my grandma, aunts, uncles, and cousins. Thankfully the kids were terrific on both trips and they loved seeing everyone. The weather, on the other hand, was not so terrific. I had forgotten how cold it gets up there. But now I am back home, keeping warm with a cup of coffee and these Butternut Squash Banana Muffins.
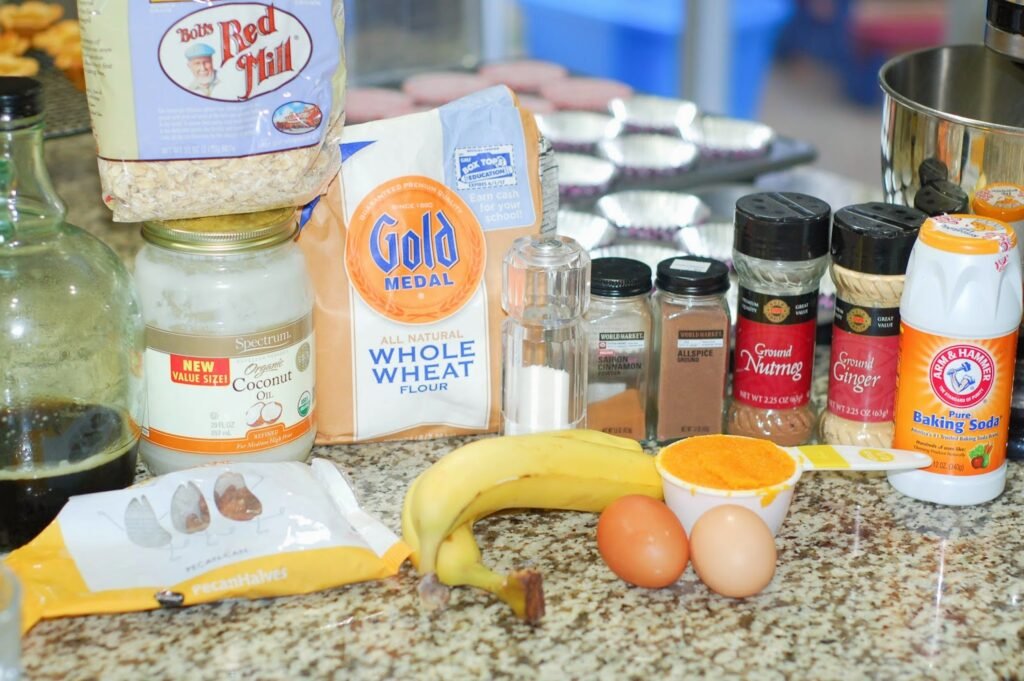
I like to have muffins on hand at all times. They make a great snack or quick breakfast on the run. And these have so many healthy ingredients like bananas, butternut squash, coconut oil, and rolled oats. They can also be easily frozen and defrosted, without losing any flavor. If you need help making butternut squash puree, just click here or here.

These Butternut Squash Banana Muffins came out quite fluffy and with lots of flavor. Another favorite to add to my list of muffins.

For more great muffin flavors, just check out the links below.
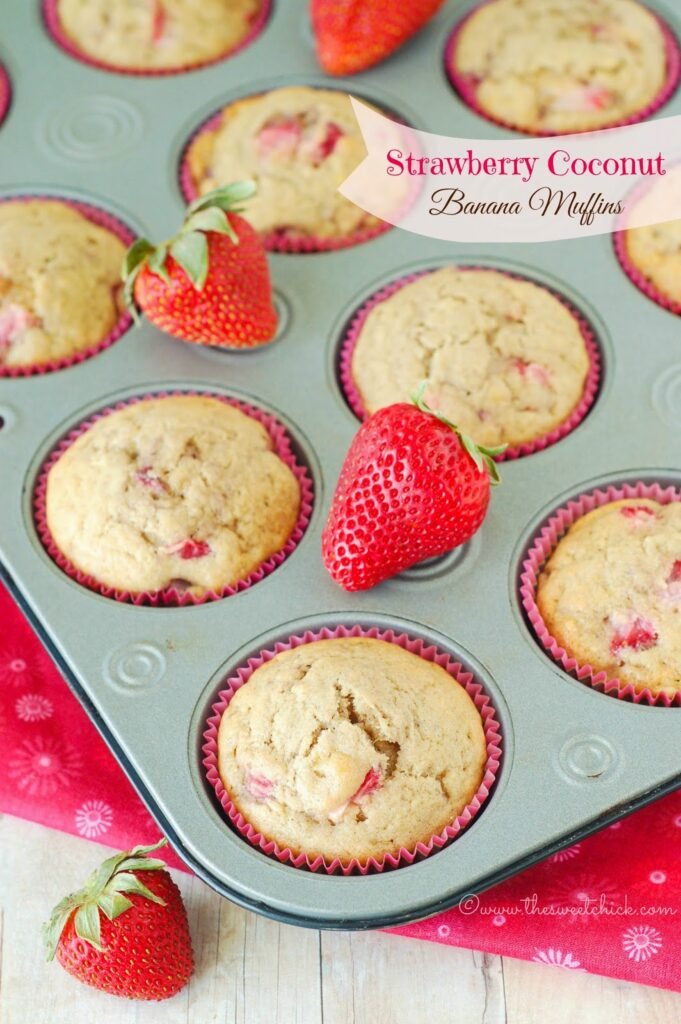
Strawberry Coconut Banana Muffins


Maple Strawberry Banana Muffins

Butternut Squash Banana Muffins
by The Sweet Chick
Prep Time: 15 minutes
Cook Time: 15- 18 minutes
Keywords: bake bread breakfast dessert snack healthy butternut squash banana maple syrup coconut oil bread muffins American fall winter
Ingredients (20 muffins)
- 1/2 cup pure maple syrup
- 1/2 cup coconut oil
- 2 eggs, room temperature
- 1/2 cup butternut squash puree
- 2 medium bananas, mashed
- 1 cup whole wheat flour
- 2/3 cup all purpose flour
- 1/2 teaspoon ground cinnamon
- 1/4 teaspoon ground ginger
- 1/8 teaspoon ground nutmeg
- 1/8 teaspoon all spice
- 1 teaspoon baking soda
- 1/2 teaspoon salt
- 3/4 cup rolled oats
- 1/2 cup chopped pecans
Instructions
Preheat oven to 375ºF.
Place solid coconut oil in a microwave safe bowl and microwave for about 20 seconds until melted.
In a stand mixer bowl add maple syrup, oil, eggs, mashed bananas, and squash puree. Mix on low speed until well blended and smooth.
Then add the flours, spices, baking soda, and salt. Mix on low until completely incorporated.
Next, add the rolled oats and pecans, mixing until they are evenly distributed.
Spoon batter into greased/lined muffin tins until about 3/4 full.
Bake at 375ºF for 15-18 minutes or until toothpick inserted in center comes out clean.
Remove from oven and enjoy warm with a dollop of butter or place on cooling rack and eat later.
Notes
You can replace spiced with 1 teaspoon pumpkin pie spice.
If you want to make them look prettier, you can sprinkle the tops of the batter with a bit of rolled oats before baking.
These muffins are freezer friendly. I just defrost them at room temperature and keep them in an airtight container.
Related Posts






Subscribe for New Racipies
Get mental health tips, updates, and resources delivered to your inbox.
Pumpkin Pops

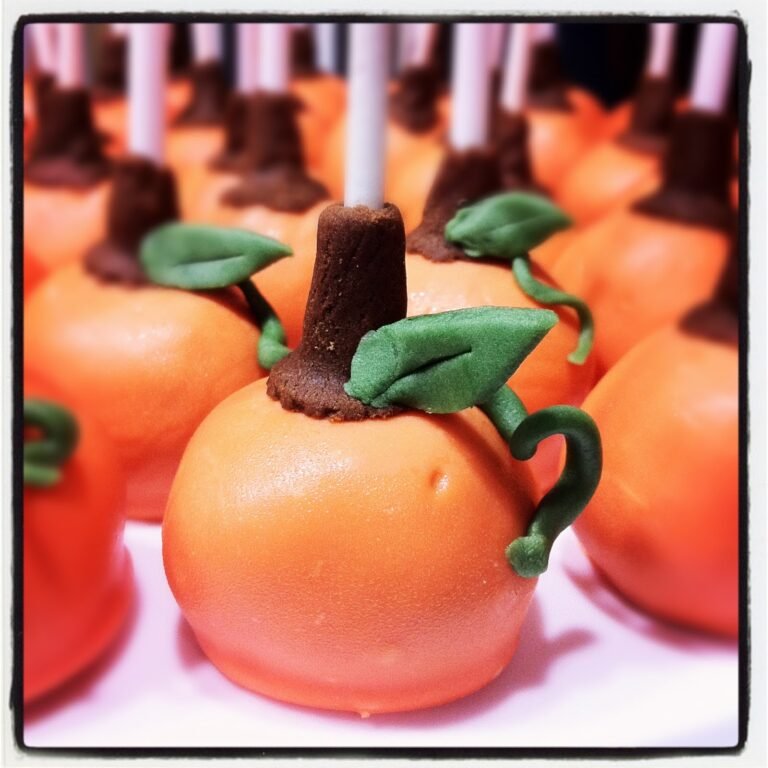

My daughter needed to do a project about pumpkins for school, so I decided to do a remake of pumpkin pops I made a while back. Instead of making cake balls, I used the Oreo and cream cheese recipe from the Cupcake Pops I previously made.
Pumpkin Pops
adapted from My Little Cupcake and Bakerella
Supplies:
1 pkg. Oreo cookies
1 – 8 oz. pkg. cream cheese
Orange candy melt
Lollipop sticks
Brown fondant
Green fondant
Directions:
Grind Oreo cookies in a food processor and hand mix or use stand mixer to combine with cream cheese until it becomes a dough like consistency. Roll Oreo mixture into quarter size balls and place in airtight container lined with wax paper. Places the container in the refrigerator overnight to set.
After the balls are set, melt candy in the microwave as per directions on package. (30 second intervals , stirring in between)
Remove Oreo balls from the refrigerator and insert lollipop sticks into each ball. Dip the Oreo balls into candy coating until all covered. Once covered, remove and softly tap and rotate until excess candy melt falls off. Don’t tap too hard or the Oreo ball will fall off , too. Then place pops on wax paper, stick facing upwards.
Once candy melt has hardened, it is time to decorate. Use brown fondant to create a stem for the pumpkin. Shape by hand. Cut green fondant into leaves and strips that can be rolled into vines. Carefully attach leaves and vines to the stems.
Makes about 24 pops. Pumpkin Pops can be made ahead of time and refrigerated for 3-4 days.
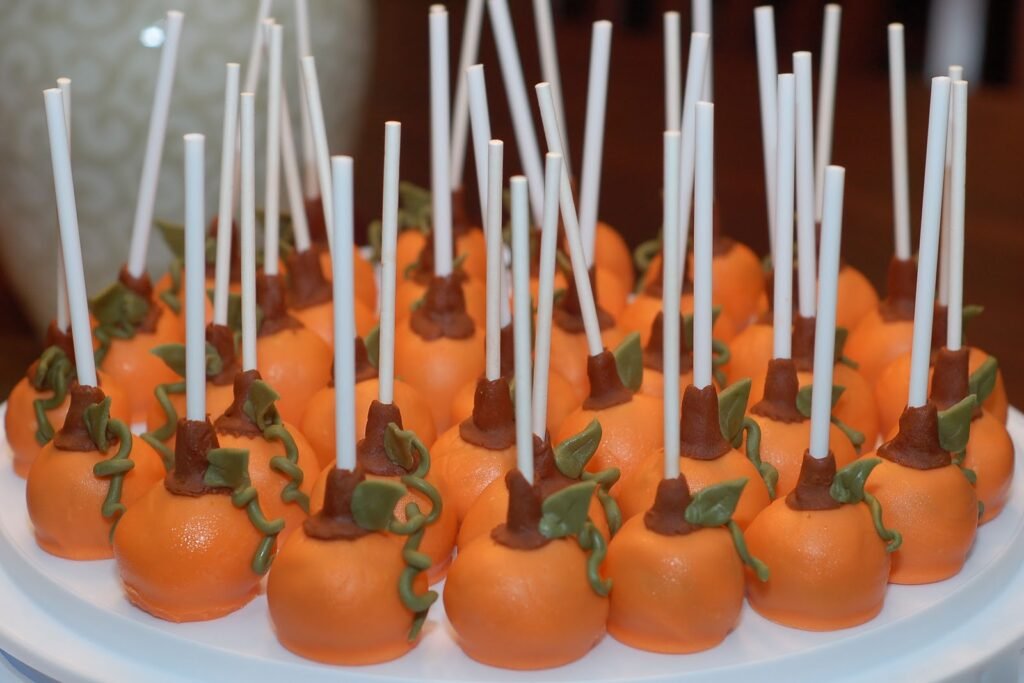
They taste delicious and all the kids in my daughter’s class loved them. I think I like them better with Oreos and cream cheese.
Related Posts
Subscribe for New Racipies
Get mental health tips, updates, and resources delivered to your inbox.