
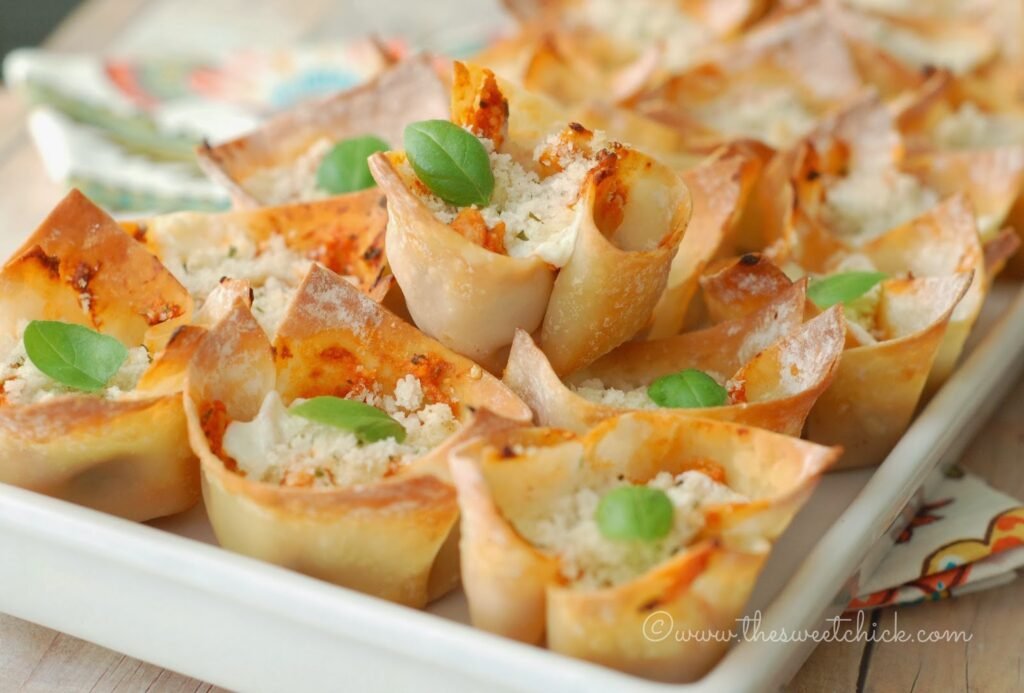
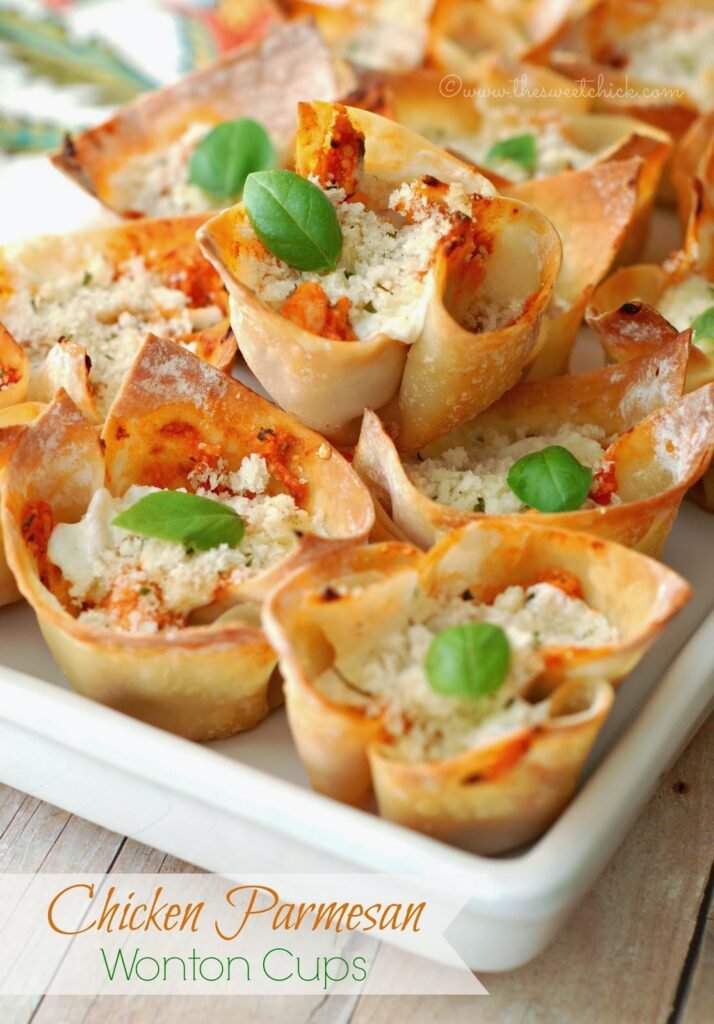
Chicken Parmesan Wonton Cups

Medically reviewed by Christiana George Updated Date: December 18, 2022
Winter Storm Leon passed by us last night. It left behind 2-3 inches of snow. I still can’t believe it snowed in South Carolina. On one hand, it feels like back home. On the other hand it feels like I have been duped into moving to a state with warmer weather when in fact this is the coldest winter for the state in a long time. I don’t regret moving, but I sure do wish it warms up fast. My daughter was super excited to see snow when she woke up this morning. It’s one of the things she misses from living in Connecticut. I took both her and her brother out to play and enjoy it while it lasted. I feel bad that I didn’t have a sled. We left that behind because we didn’t think we would need it down here. Now I have to remember to bring it back next time we visit my parents. If it snowed once, it could happen again. Crazy weather!
I spotted some wonton wrappers the other day at the grocery store and on impulse bought them. I have never used them before, but I keep seeing all these cute recipes on Pinterest that use them and I wanted to give them a try.
I was in the mood for some chicken parmesan. It seemed like a good idea in little cups. I did bake my cups before filling them up. I didn’t want to be all soggy.
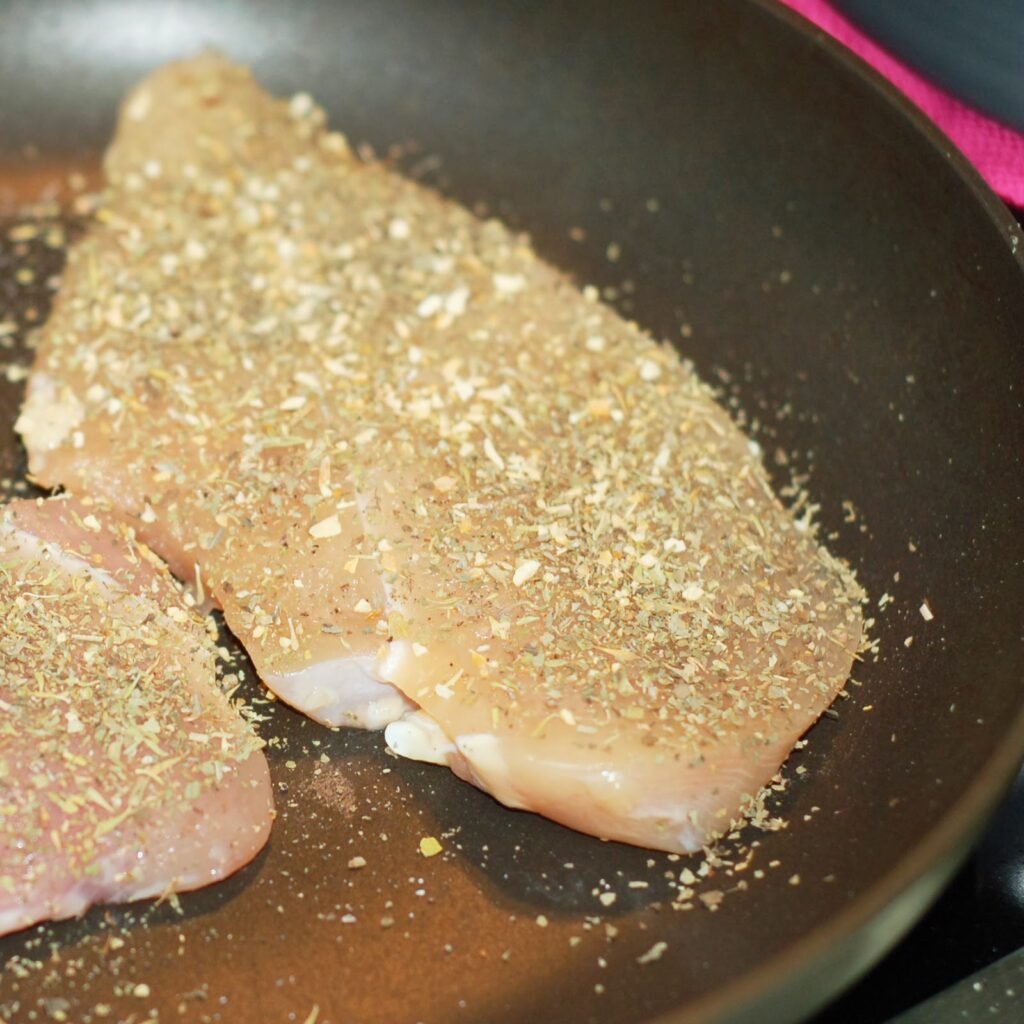
I bought chicken cutlets and they cooked up pretty fast in a skillet, so the prep work is not that bad.
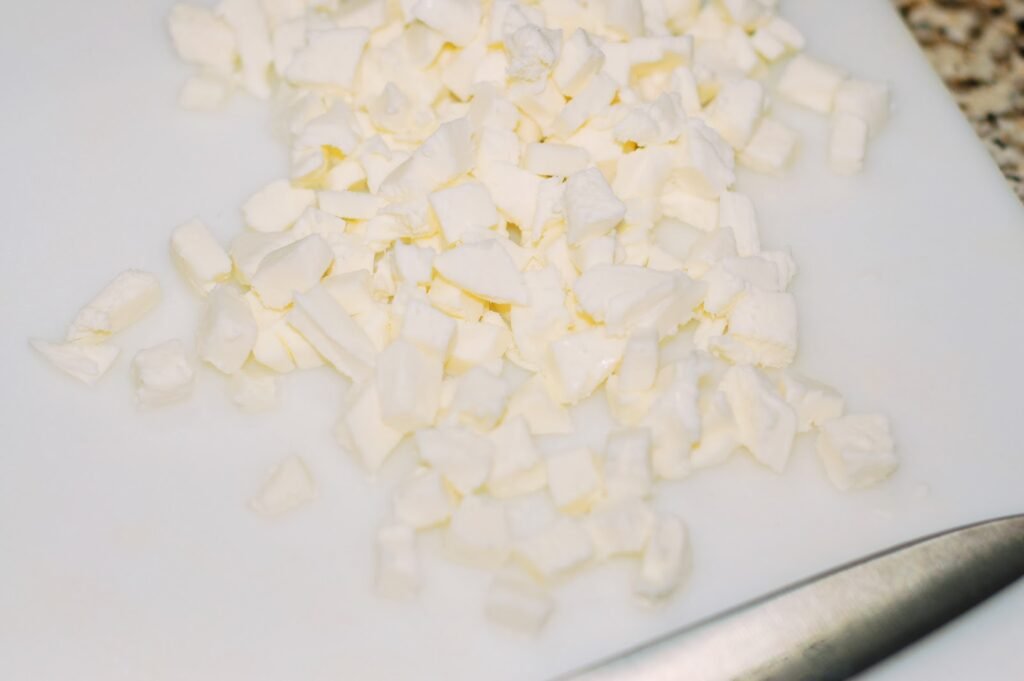
I had a ton of fresh mozarella in the fridge that I needed to use. It taste so much better than the shredded one in the bag. We use it to make pizza all the time. Freshly grated parmesan would have be great too, but I didn’t have any on hand.
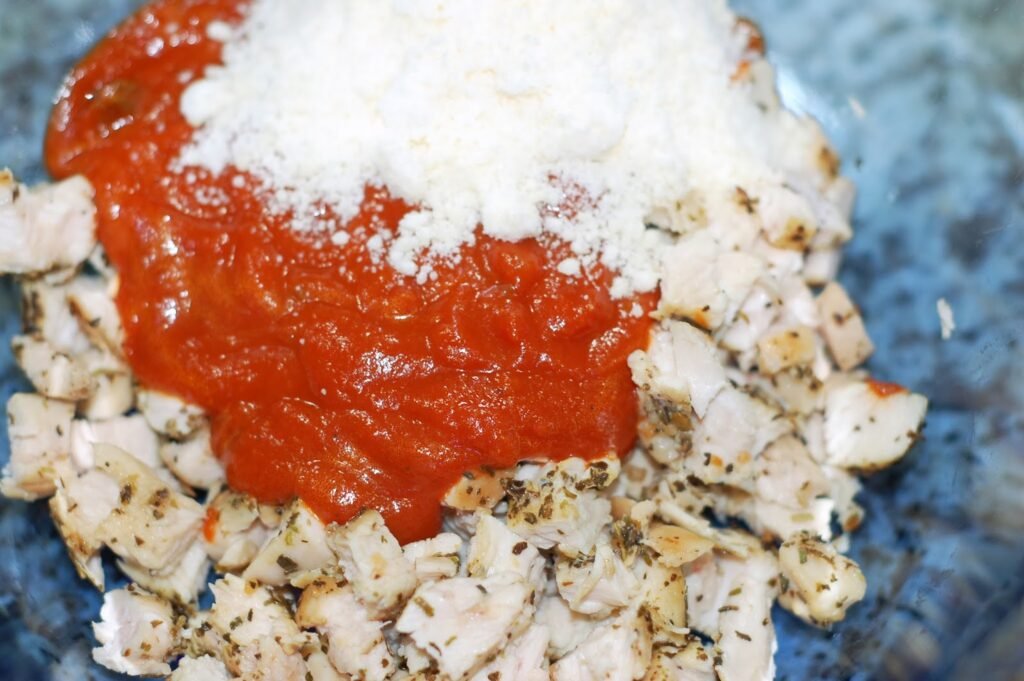
I have not started to make my own pasta sauce yet, so this one is from a jar. Making my own fresh pasta sauce is on my bucket list, though.
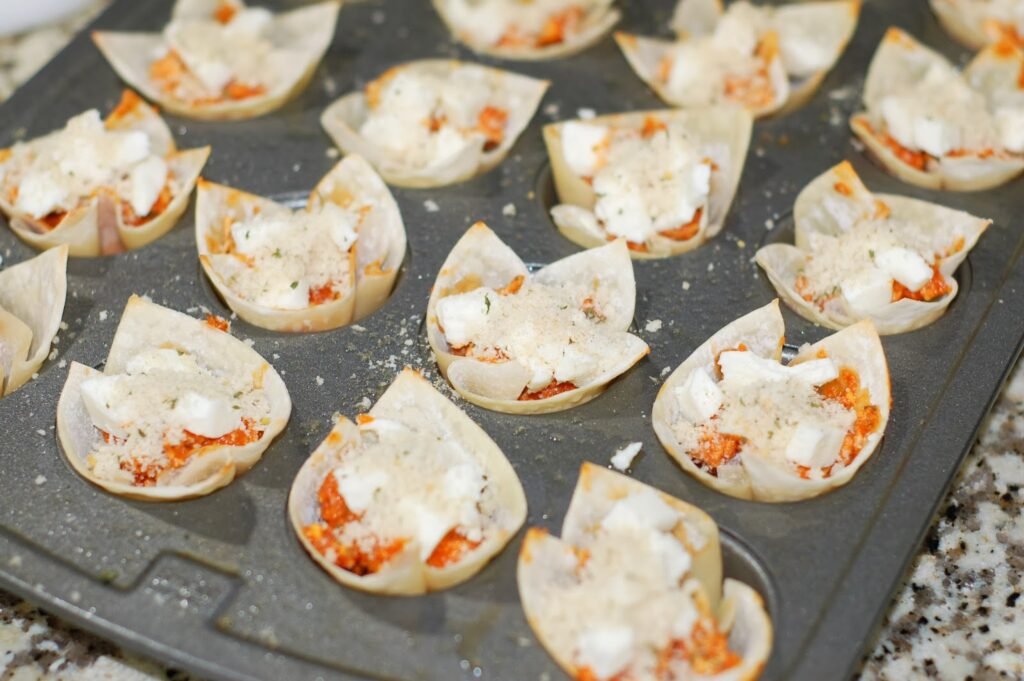
Once it’s time to put the cups together, it goes pretty quickly. Just fill and bake again for a few minutes. I topped off the Chicken Parmesan Wonton Cups with a little seasoned Panko. This gave it a breaded taste, but the Panko bread crumbs don’t come out dry like regular bread crumbs.
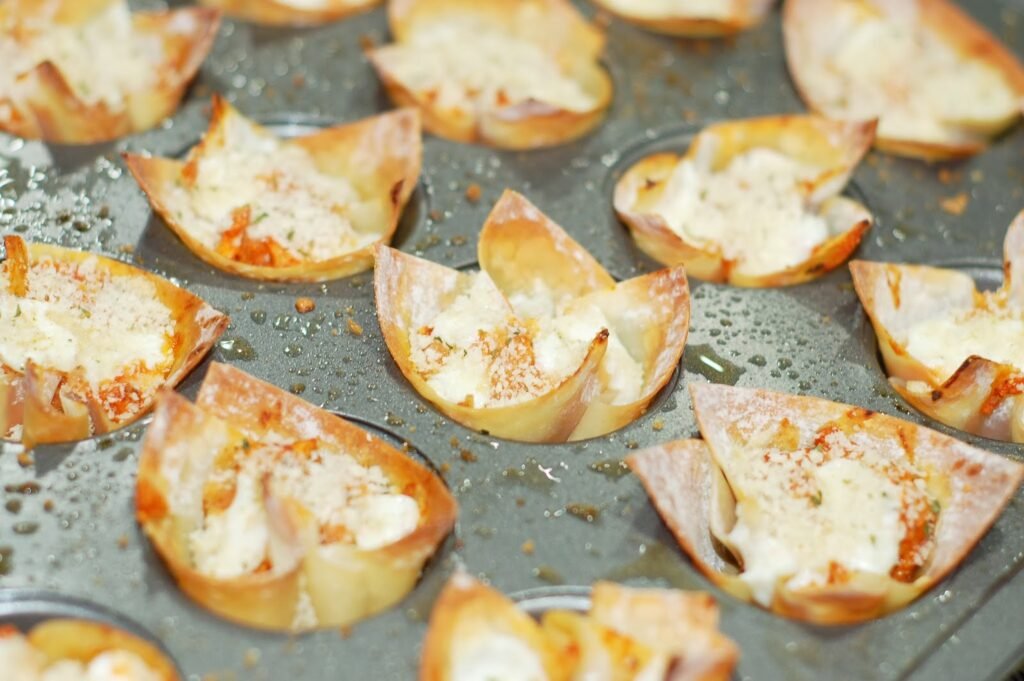
You can top them with a little fresh basil before serving them. We ate some for dinner to try them out. My husband and daughter really liked them. The flavors of chicken parmesan are all there, the breading, the sauce, the cheese, and the chicken. The seasonings are just right and the crunchiness of the baked wonton cups just makes it seem like you are eating bread sticks with your meal. This recipe is a keeper. Perfect for Super Bowl game day or any party.
Chicken Parmesan Wonton Cups
by The Sweet Chick
Prep Time: 30 minutes
Cook Time: 23-25 minutes
Keywords: bake appetizer snack chicken mozarella cheese parmesan cheese wonton wraps Super Bowl American
Ingredients (48 servings)
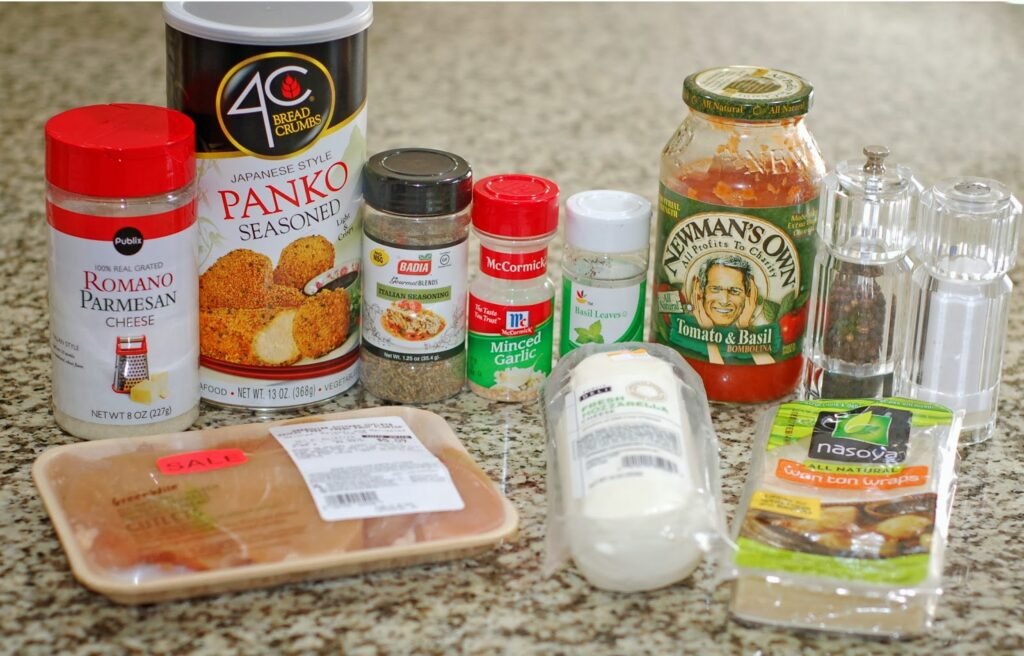
- 1 package (12 oz.) wonton wraps
- 2-3 teaspoons vegetable oil
- 1 package (1 lb) chicken
- 1-2 pinches of salt and pepper to taste
- 1 teaspoon dried Italian Seasonings
- 1 teaspoon dried basil
- 1/2 teaspoon dried minced garlic
- 1 cup pasta sauce (marinara or tomato/basil flavor)
- 6 oz. fresh mozzarella
- 1/2 cup grated Parmesan cheese
- 1/2 cup seasoned Panko bread crumbs
Instructions
Preheat oven to 350°F.
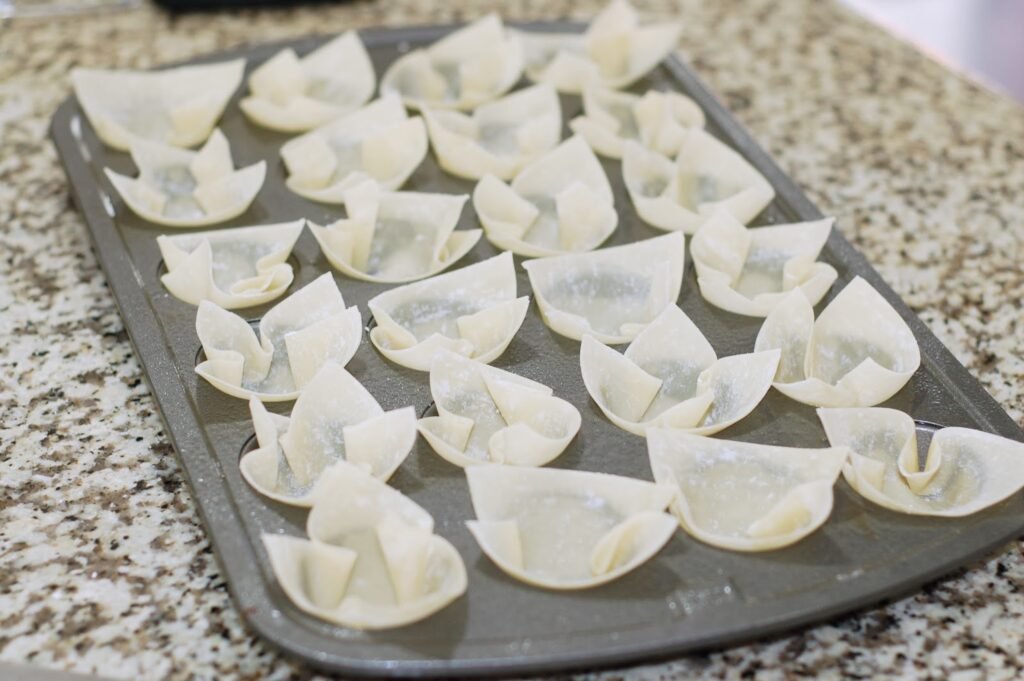
Line two (24 cavity) greased mini muffin tin with the wonton wraps, pressing down gently to mold the shape.
Place wraps in the oven and bake for 7 minutes, then remove and set aside.
In a medium skillet over medium heat, place oil and let warm up for 1-2 minutes.
Season chicken on both side with salt, pepper, Italian seasonings, basil and garlic. Add chicken to the pan and cook thoroughly. Approximately 5-6 minutes per side.
Remove from pan and set aside to cool slightly.
Chop fresh mozzarella into very small cubes. Then chop chicken up into small cubes also.
In a medium bowl mix together the chicken, pasta sauce, and Parmesan cheese until thoroughly combined.
With a spoon, evenly distribute the chicken mixture and the cubes of mozzarella into each wonton cup.
Sprinkle Panko bread crumbs over the chicken and cheese evenly distributing over each wonton cup.
Place the wonton cups in the oven and bake at 350°F for 10 minutes or until cheese melts.
Remove from oven and allow to cool slightly before carefully removing from muffin tin.
Top with fresh basil if you like. Serve warm.
This recipe may be shared at these fabulous parties.
Related Posts






Subscribe for New Racipies
Get mental health tips, updates, and resources delivered to your inbox.
Brioche Hamburger Buns, Or Let’s Get That Grill Fired Up


I don’t know about you, but I’ve always viewed hamburger buns as purely functional things. They’re receptacles, carb-wrappers, so you don’t get your hands dirty while eating the truly desirable bits within. Cheese, for instance, and grilled onions, and sauteed mushrooms. Oh right, and the patty too.
Buns are integral to the entire structure of the burger, yet they’ve done little to niggle my desire, warrant my enthusiasm, or raise lustful thoughts (and shouldn’t they? Given their namesake and all). Until now, that is.
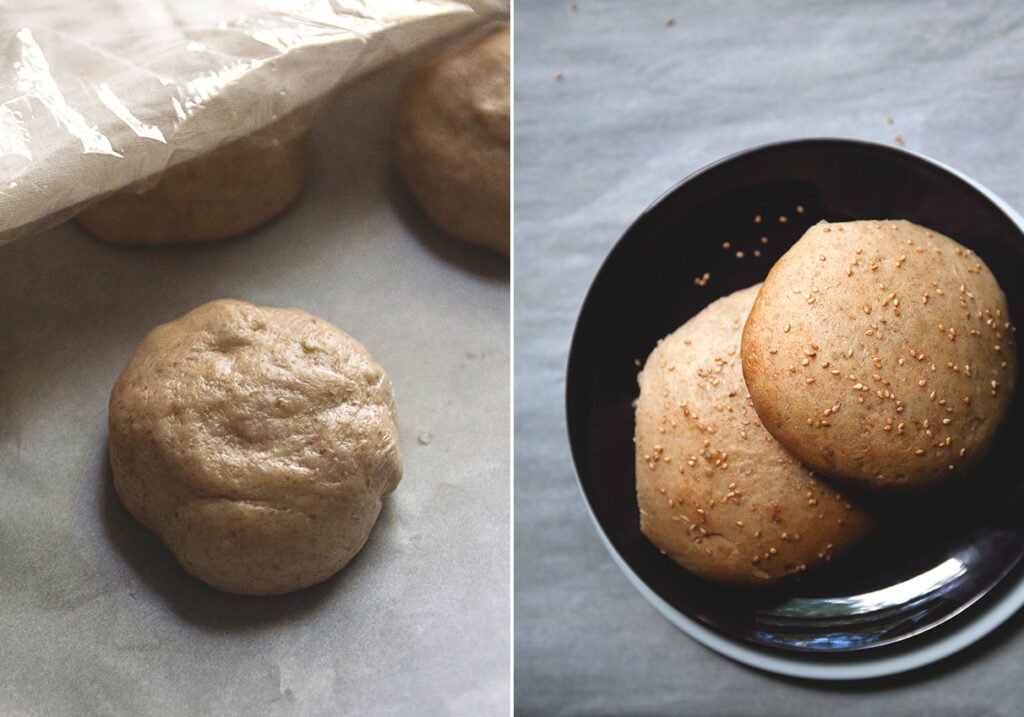
These buns—blogged about by Deb and later Sara—are dreamy: as in, they bake like a dream, come together in a cinch, and their ingredients can be found in most anyone’s pantry. They’re also versatile: I chose all-purpose, whole wheat, and rye flour to go in mine, and they came out hearty but light, soft but complex. But most importantly, they raise the hamburger bun to a higher echelon, one that will no longer be left until the end as an afterthought. And is there anything worse than forcing yourself to eat afterthoughts?
You’ll be ready to fire up your grill after making these.
BRIOCHE HAMBURGER BUNS
Adapted from Smitten Kitchen and Sprouted Kitchen
Makes 8 regular-sized buns
Ingredients:
3 Tbsp warm milk
2 tsp active dry yeast
2-1/2 Tbsp sugar
2 large eggs
1/2 cup whole wheat flour
1/2 cup rye flour
2-1/3 cups all-purpose flour
1-1/2 tsp salt
2-1/2 Tbsp unsalted butter, softened
sesame seeds (if desired)
Directions:
In a glass measuring cup, combine one cup warm water, milk, yeast and sugar. Let stand until foamy, about five minutes. Meanwhile, beat one egg.
In a large bowl, whisk the flours with the salt. Add the butter by rubbing it into the flour between your fingers, making crumbs. Stir in the yeast mixture and beaten egg until a dough forms. Scrape onto a clean, well-floured counter and knead (by scooping it, slapping it onto the counter, and turning) until smooth and elastic (8 to 10 minutes). It should be sticky, so try not to knead in too much flour.
Shape the dough into a ball and return it to the bowl. Cover it with plastic wrap and let it rise until doubled (1 to 2 hours).
Line a baking sheet with parchment paper. Divide the dough into 8 equal balls. Gently roll each ball and arrange them 2 to 3 inches apart. Cover the baking sheet loosely and let the dough rise until doubled (1 to 2 hours).
Set a shallow pan with water in it on your oven floor or lower rack. Preheat the oven to 400 degrees Fahrenheit. Beat the other egg with 1 Tbsp of water and brush the egg wash onto the buns. Sprinkle sesame seeds on top, if using. Put the baking sheet in the oven and bake for about 15 minutes (turning halfway through), until the buns are golden-brown. Transfer to a rack and cool.
Note: I kept them in the fridge for about a week after I baked them and they still tasted good. Just heat them up on the grill or toast them right before eating.
Related Posts
Subscribe for New Racipies
Get mental health tips, updates, and resources delivered to your inbox.