
Spicy Steamed Mussels

Medically reviewed by Christiana George Updated Date: June 8, 2023
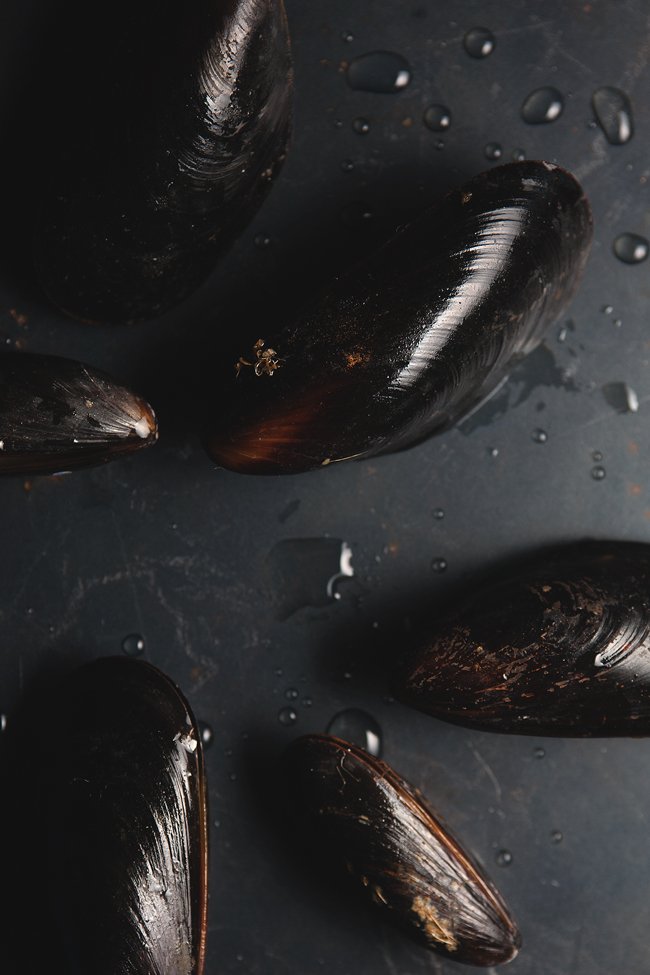
Handling mussels, like handling all seafood, is kind of freaky. You wonder what they’re thinking the entire time you’re walking home from the fishmonger. Shell-shocked? Absolutely panic-stricken? After all, the last week or so had to have been the most harried of their lives—being forcibly removed from their homes, plunked onto a bed of ice, removed from the bed of ice, and tossed carelessly into a plastic bag.
I guess I have the tendency to personify bivalves, crustaceans, and all gill-bearing creatures. In one instance, they’re the weird creepy-crawly organisms you study in biology class, living in their watery ecosystems like citizens of another planet. In another, they’re dinner. On your plate, deveined, cracked, peeled, sometimes deep-fried (if you’re lucky!), and dispersed among plates. And somewhere along the way, you’re responsible for this transformation.
Can you tell I’m not used to handling seafood?
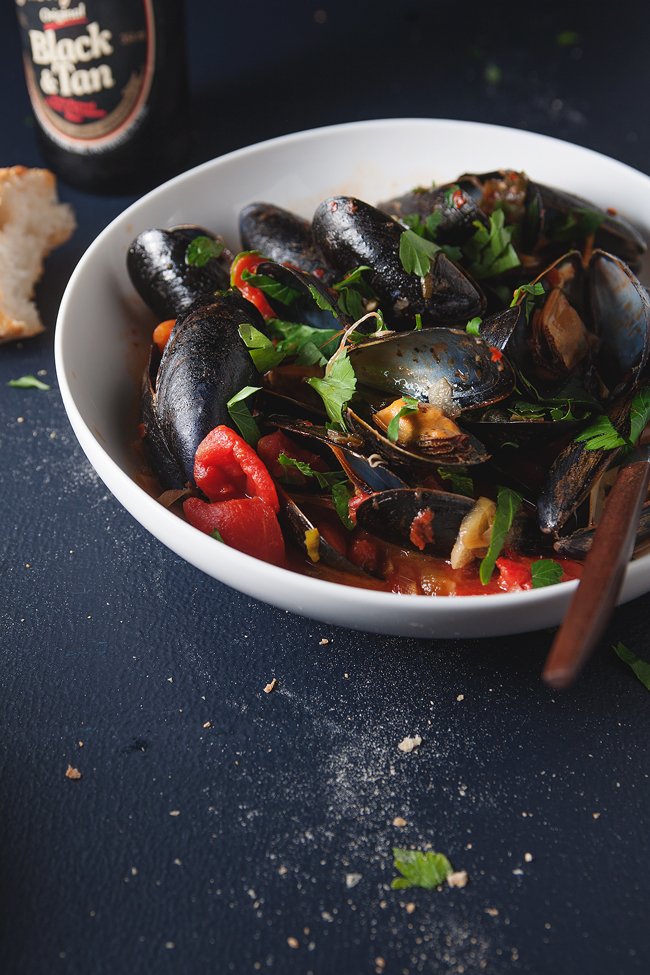
I feel like I should apologize. I’m the worst marketing writer ever. Because how am I supposed to convince you to make this recipe when you’ve now got the image of death-by-steaming on your mind?
Because seafood is delectable, that’s why. And I was quickly able to overcome lay aside my misgivings once the sauce was heartily boiling away, and again later upon uncovering the pot and being smacked in the face by the briny, wine-y aroma of fresh-steamed mussels.

So here’s what, people: steaming your own mussels is not only incredibly easy, but also wonderful in the way only home-cooked meals can be.
For our last lunch in Montauk, we decided to order a heaping plate of steamed mussels served in an uber-creamy, uber-buttery sauce that was so delicious, we ate way more bread than we intended and ended up spoiling our appetites for dinner. With that meal in mind, I decided to try reproducing its decadence a few days later. I steamed three pounds of mussels in a creamy white wine sauce that was simultaneously soul-satisfying but also heavy beyond belief. So, because I wanted more mussels but less cream, I decided to veer in a lighter direction, and go with a spicy tomato-based sauce full of flavor but not fat.
I hate to make it sound like diet food. It’s not. Because you have to serve the mussels with lots of crusty bread to sop up the sauce. Or you could serve it atop pasta and feel a very balanced meal taking shape.
First, though, overcome your mussel-handling fears. At least it’s not a lobster.
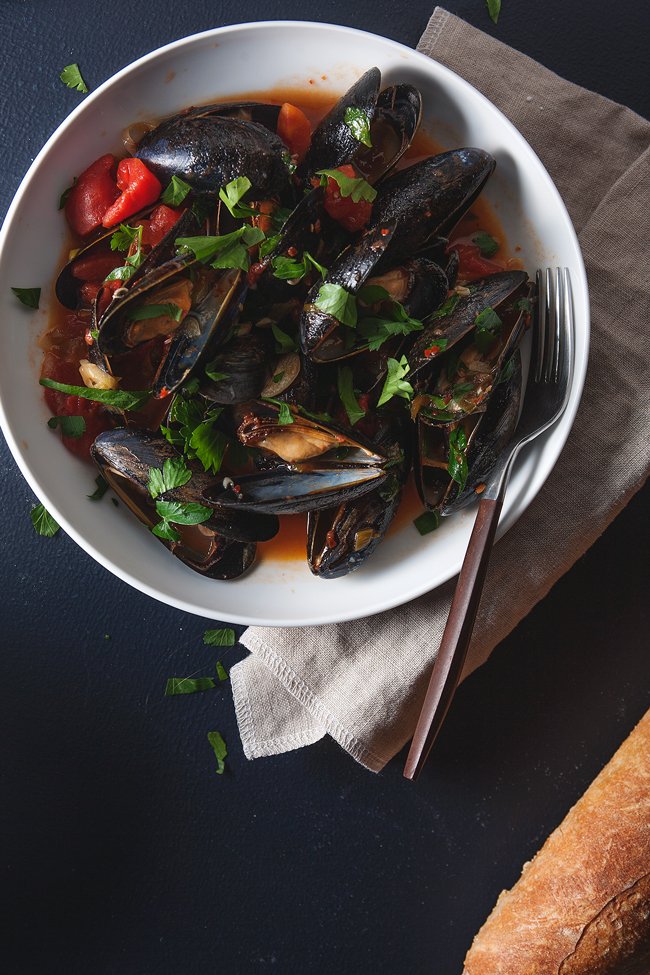

SPICY STEAMED MUSSELS IN TOMATO SAUCE
Adapted from SELF
Serves 2 to 3
Ingredients:
2 Tbsp EVOO
15 cloves garlic, thinly sliced
4 scallions, thinly sliced on a diagonal
2 teaspoons salt
2 pounds mussels
2-1/2 cups canned diced tomatoes
1 cup dry white wine
2 tsp red pepper flakes
1 handful fresh flat-leaf parsley
Directions:
Clean mussels thoroughly and remove beards (but only right before cooking). Discard any mussels with broken shells or ones that won’t close if you push the shell down for a few seconds.
Heat the oil in a large skillet over medium-high heat. Cook sliced garlic, scallions and salt, stirring occasionally, until scallions and garlic color slightly, about 5 minutes. Add tomatoes and pepper flakes, and use your spatula to break up the tomatoes a little. Add the wine and mussels. Bring to a boil. Reduce heat to medium, cover and cook until mussels open, 2 to 3 minutes. Discard any mussels that don’t open. Uncover pan and add parsley; toss to combine. Divide mussels evenly among 4 bowls and spoon broth over them. Serve with bread.
Related Posts




Subscribe for New Racipies
Get mental health tips, updates, and resources delivered to your inbox.
Is Tapioca Pudding Acidic? A Gentle Dessert or a Trigger?

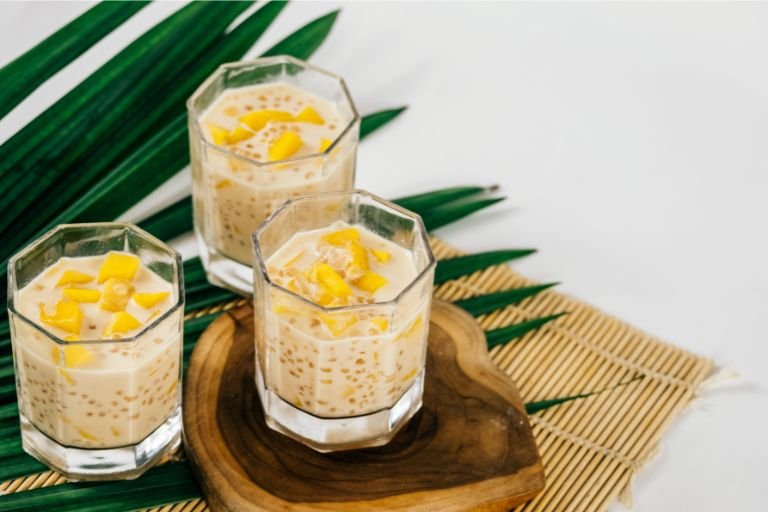
Tapioca pudding is a creamy and comforting dessert made from tapioca pearls, milk, sugar, and vanilla. It’s loved for its smooth texture and mild flavor, making it a favorite treat for people of all ages. However, if you suffer from acid reflux or GERD (gastroesophageal reflux disease), you might wonder: Is tapioca pudding acidic, and can it trigger reflux symptoms?
In this article, we’ll delve into the acidity of tapioca pudding, whether it’s safe for acid reflux sufferers, and how to make it a reflux-friendly dessert. Additionally, we’ll discuss its nutritional benefits, provide tips for enjoying it without discomfort, and answer common questions about tapioca pudding and acid reflux.
Is Tapioca Pudding Acidic or Alkaline?
1. The Acidity of Tapioca
According to the Journal of Halal Science and Research Tapioca is derived from the cassava root, which has a neutral pH of 6.5 to 7.5. This makes tapioca itself non-acidic and gentle on the digestive system.
2. The Impact of Ingredients on Acidity
While tapioca is neutral, the other ingredients in tapioca pudding—such as milk and sugar—can influence its overall acidity. Milk, for example, has a slightly acidic pH, but its alkaline-forming properties during digestion make it generally reflux-friendly.
3. Tapioca Pudding’s Overall Acidity
Tapioca pudding, as a dish, is mildly acidic but usually gentle enough for most acid reflux sufferers when prepared with reflux-friendly ingredients.
Author Tip: Is Tapioca Acidic?
Can Tapioca Pudding Trigger Acid Reflux?
Tapioca pudding is not a common trigger for acid reflux, but some factors could cause symptoms in certain individuals:
1. High-Fat Dairy
If whole milk or heavy cream is used in the recipe, the high fat content may relax the lower esophageal sphincter (LES), leading to reflux symptoms.
2. Added Sugars
Excessive sugar can increase stomach acidity, potentially causing discomfort for those with sensitive stomachs.
3. Portion Size
Eating large portions of tapioca pudding can put pressure on the stomach, increasing the likelihood of reflux.
4. Individual Sensitivities
Everyone’s body reacts differently to certain foods. While tapioca pudding is typically mild, some individuals may still experience symptoms based on their personal tolerance.
Why Tapioca Pudding May Be Suitable for Acid Reflux?
Tapioca pudding, when prepared thoughtfully, offers several benefits that make it a good choice for people with acid reflux:
1. Neutral pH of Tapioca
Tapioca is naturally non-acidic, making it a gentle ingredient that is unlikely to irritate the digestive system.
2. Digestive-Friendly Texture
The smooth, creamy texture of tapioca pudding is easy to digest and can help soothe an irritated esophagus.
3. Alkaline Properties of Milk
Milk used in tapioca pudding can help neutralize stomach acid, providing relief from heartburn in some cases. Opt for low-fat or plant-based milk to maximize reflux-friendliness.
4. Customizable Recipe
Tapioca pudding can be easily adapted to suit dietary restrictions and reflux needs by swapping out ingredients like sugar and whole milk.
Tips for Making Reflux-Friendly Tapioca Pudding
Follow these tips to ensure your tapioca pudding is gentle on the stomach and safe for acid reflux sufferers:
1. Use Low-Fat or Plant-Based Milk
Replace whole milk or cream with low-fat milk, almond milk, or oat milk to reduce fat content and minimize the risk of reflux.
2. Limit Added Sugar
Sweeten your tapioca pudding with natural sweeteners like honey or maple syrup instead of refined sugar. Use these in moderation.
3. Avoid Heavy Toppings
Skip high-fat or acidic toppings like whipped cream, chocolate syrup, or citrus fruits. Instead, opt for reflux-friendly options like sliced bananas or blueberries.
4. Eat in Moderation
Stick to a small portion size to avoid overeating, which can put pressure on the stomach and lead to reflux symptoms.
Author Tip: 7-Day Meal Plan For Gastritis
Reflux-Friendly Tapioca Pudding Recipe
Here’s a simple and acid reflux-friendly tapioca pudding recipe:
Ingredients
- 1/3 cup small tapioca pearls
- 2 cups low-fat milk (or almond milk for a plant-based option)
- 2 tablespoons honey or maple syrup
- 1 teaspoon vanilla extract
Instructions
- Soak the tapioca pearls in water for 30 minutes, then drain.
- In a saucepan, combine the soaked tapioca pearls and milk. Cook over medium heat, stirring frequently, until the mixture thickens (about 10–15 minutes).
- Add honey or maple syrup and vanilla extract, then stir until well combined.
- Remove from heat and let cool slightly before serving.
- Top with reflux-friendly options like sliced bananas or a sprinkle of cinnamon if desired.
This recipe makes 2–3 servings of creamy, satisfying tapioca pudding that’s gentle on the stomach.
Nutritional Benefits of Tapioca Pudding
Tapioca pudding is not just a tasty treat—it offers several nutritional benefits:
1. Gluten-Free
Tapioca is naturally gluten-free, making it a great dessert option for those with gluten sensitivities or celiac disease.
2. Energy Boost
Tapioca is rich in carbohydrates, providing a quick source of energy.
3. Low in Fat
When made with low-fat milk, tapioca pudding is a low-fat dessert that’s gentle on the stomach.
4. Supports Digestive Health
The easy-to-digest nature of tapioca pudding makes it a suitable option for individuals with sensitive stomachs or digestive issues.
FAQs About Tapioca Pudding and Acid Reflux
1. Is tapioca pudding acidic?
Tapioca pudding is mildly acidic due to the milk and sweeteners used, but tapioca itself is neutral. It’s typically well-tolerated by individuals with acid reflux.
2. Can tapioca pudding cause acid reflux?
Tapioca pudding is unlikely to cause reflux if prepared with reflux-friendly ingredients and consumed in moderation. High-fat dairy or excessive sugar may trigger symptoms in some individuals.
3. What are reflux-friendly toppings for tapioca pudding?
Non-acidic toppings like bananas, blueberries, or a sprinkle of cinnamon are great choices. Avoid chocolate, citrus fruits, or heavy creams.
4. Is store-bought tapioca pudding safe for acid reflux?
Store-bought tapioca pudding may contain added sugars, preservatives, or high-fat dairy, which can trigger reflux. Homemade tapioca pudding allows for better control over ingredients.
5. Can I eat tapioca pudding every day?
Tapioca pudding can be enjoyed occasionally as part of a balanced diet. Eating it every day may not be ideal due to its sugar content.
Conclusion
Tapioca pudding is a mild, creamy dessert that’s generally safe for individuals with acid reflux when prepared with the right ingredients. Its neutral pH, gentle texture, and versatility make it a great choice for those looking to enjoy a sweet treat without triggering reflux symptoms.
By using low-fat or plant-based milk, limiting sugar, and avoiding acidic toppings, you can create a reflux-friendly version of tapioca pudding that’s both delicious and satisfying. Enjoy it as an occasional dessert or snack, and savor the comforting flavors without worry.
If you’re looking for more reflux-friendly recipes and tips, explore our other articles for expert insights and practical advice!
Related Posts



Subscribe for New Racipies
Get mental health tips, updates, and resources delivered to your inbox.