
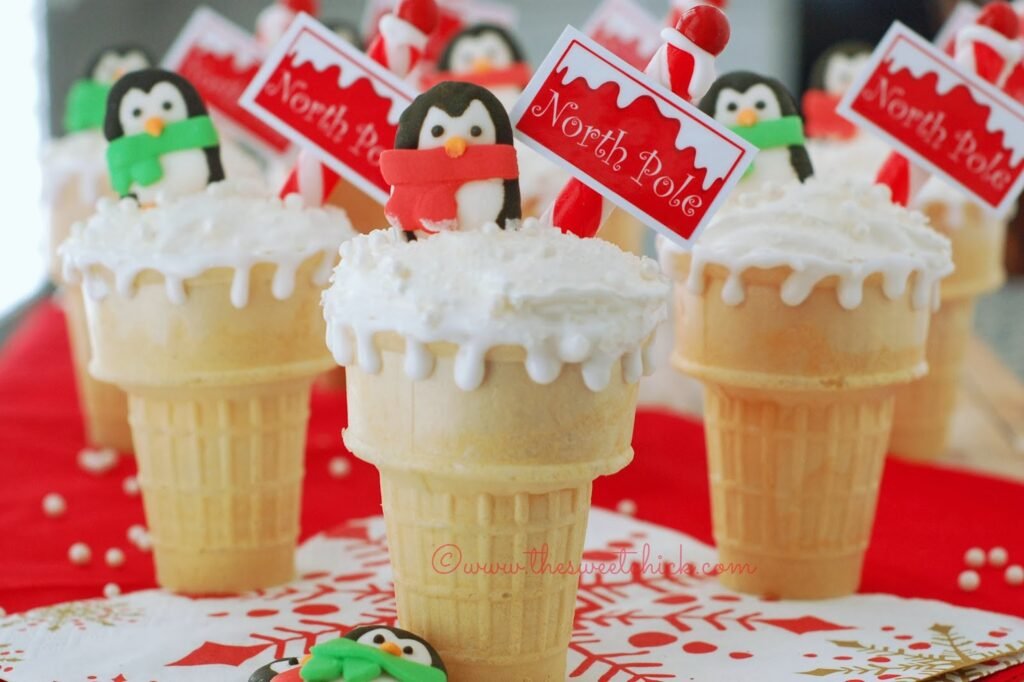
North Pole Dirt Cake Cones

Medically reviewed by Christiana George Updated Date: June 8, 2023
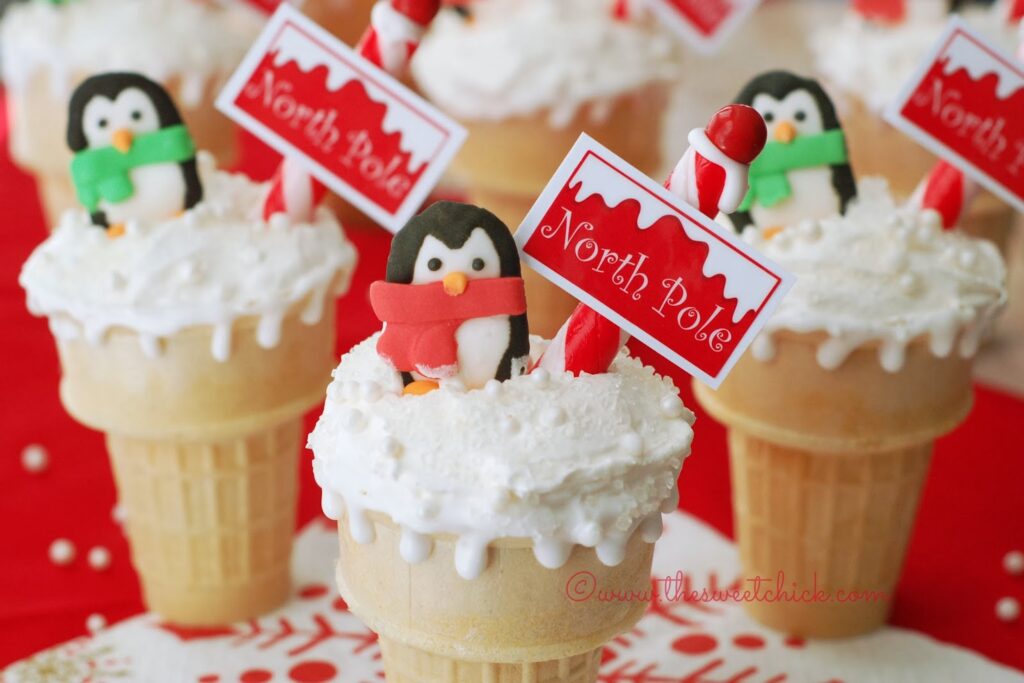
Are you looking for something different to do with your kids for Christmas or even during school break? Well, how about these treats. There is no baking involved and they are easy to assemble. Everything is edible except the sign.
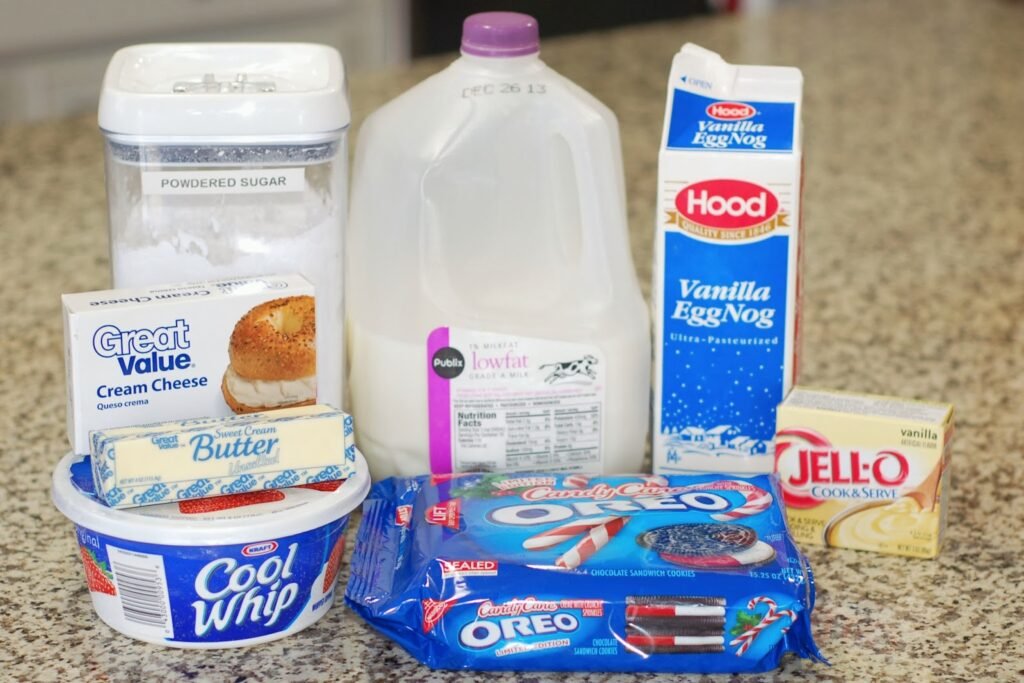
I have always loved dirt cake. In this one I got to use my Candy Cane Oreos. I don’t remember if I bought them at Walmart or Target, but they sure taste good. Don’t worry, you’ll have a few left over so you can taste them too.

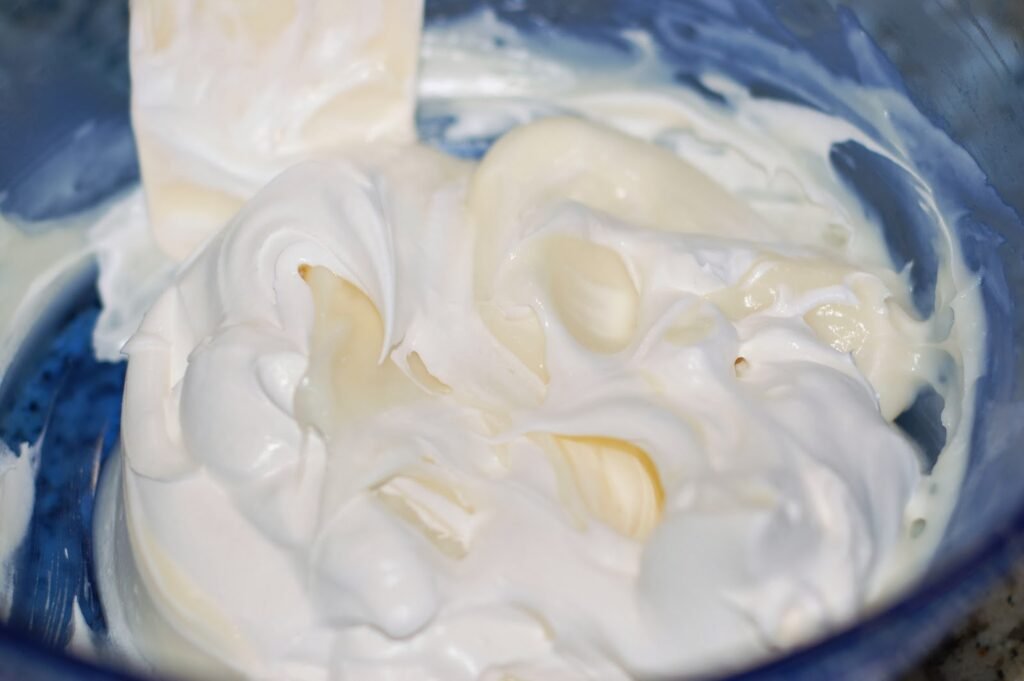
I chop mine up in a food processor, but you can place them in a large Ziplock bag and have the kids crush them with a rolling pin. The filling is just a lot of mixing, which can all be done by hand so the kids can help. Have them whisk the pudding mix and milk instead of using a hand mixer. It will help tire them out.
Normally I mix 2 cups of milk to make the pudding, but I wanted to add some eggnog. First I tried making the pudding with eggnog, but it didn’t take. So on my second try I made the pudding with 1 1/2 cups milk and let it set in the fridge. Once it was set, I added the 1/2 cup eggnog and it came out fine.

I think I am single-handedly keeping Wilton in business this holiday season. I can’t stop buying their stuff. Tell me these penguins are not adorable. And the North Pole Decorating Kit has everything I need included, the candy cane pole, the sign, and the snow glitter. I found these at Walmart by the way.
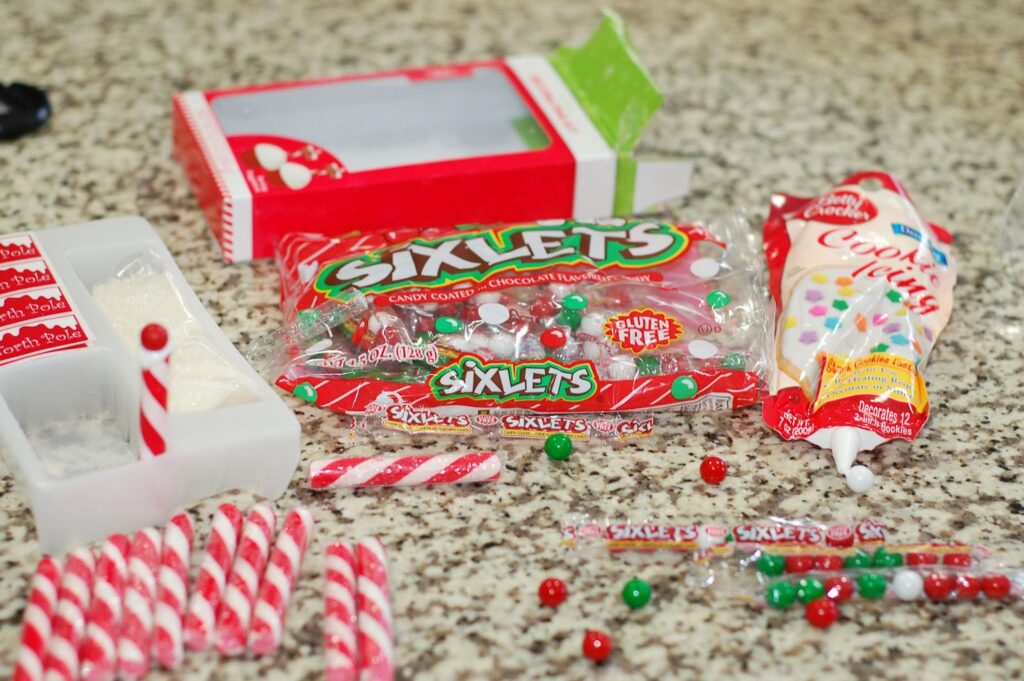
Before assembling my cones, I just wanted to add one more thing to the poles. I found these holiday Sixlets at the Dollar Tree, they were perfect for the top of the pole. I just glued them on with cookie icing. You can also use red M&Ms if you like. The north pole signs that come with the kit are stickers. I wanted to make them more sturdy, so I stuck them on some white card stock and cut around it to give it a white edge. I glued those on with cookie icing also.


If you don’t want to buy the kit, you can make your own signs with a paper straw, some white and red card stock and a red glitter pen. You can still glue the Sixlet on top with cookie icing.
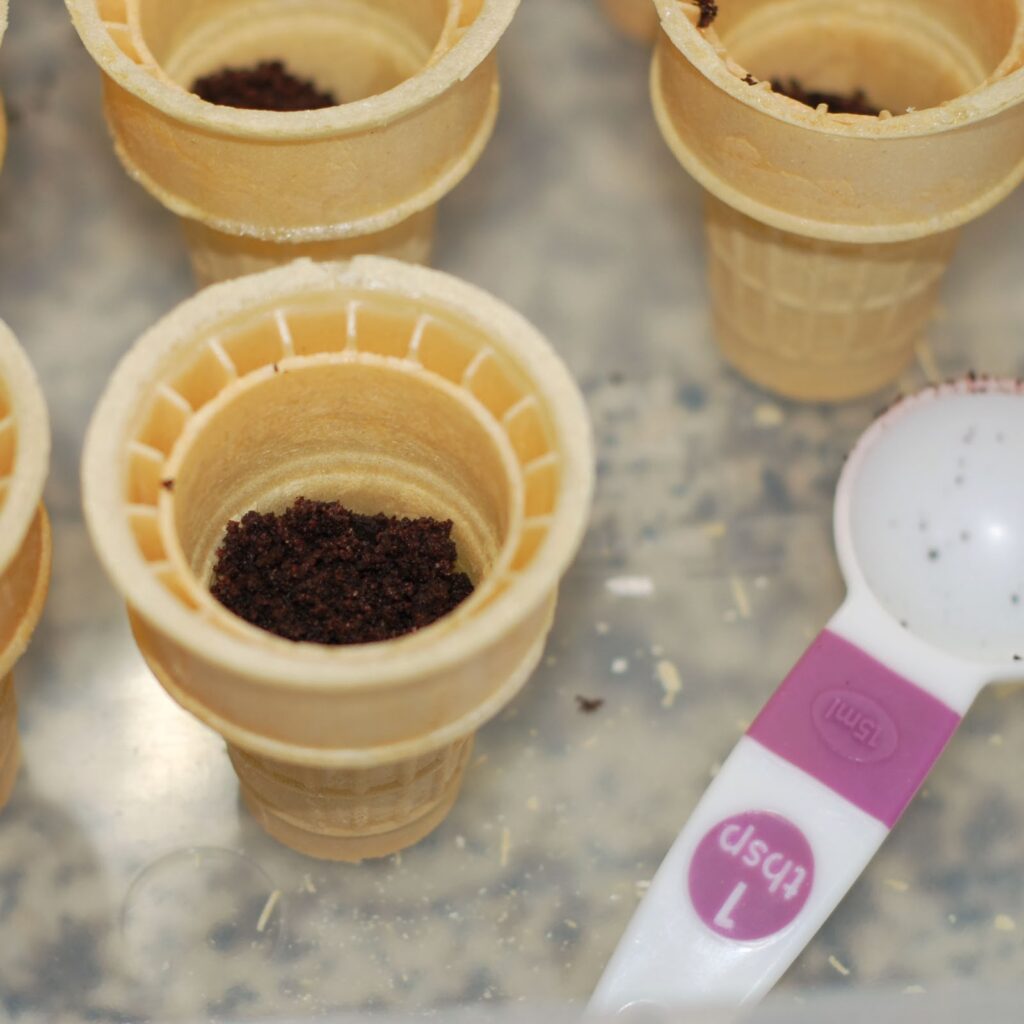

To fill the cones, I started with the crushed Oreos at the bottom, about a tablespoons worth. Then I topped it with a tablespoon of cream filling. Then another layer of Oreos and a final layer of cream filling.
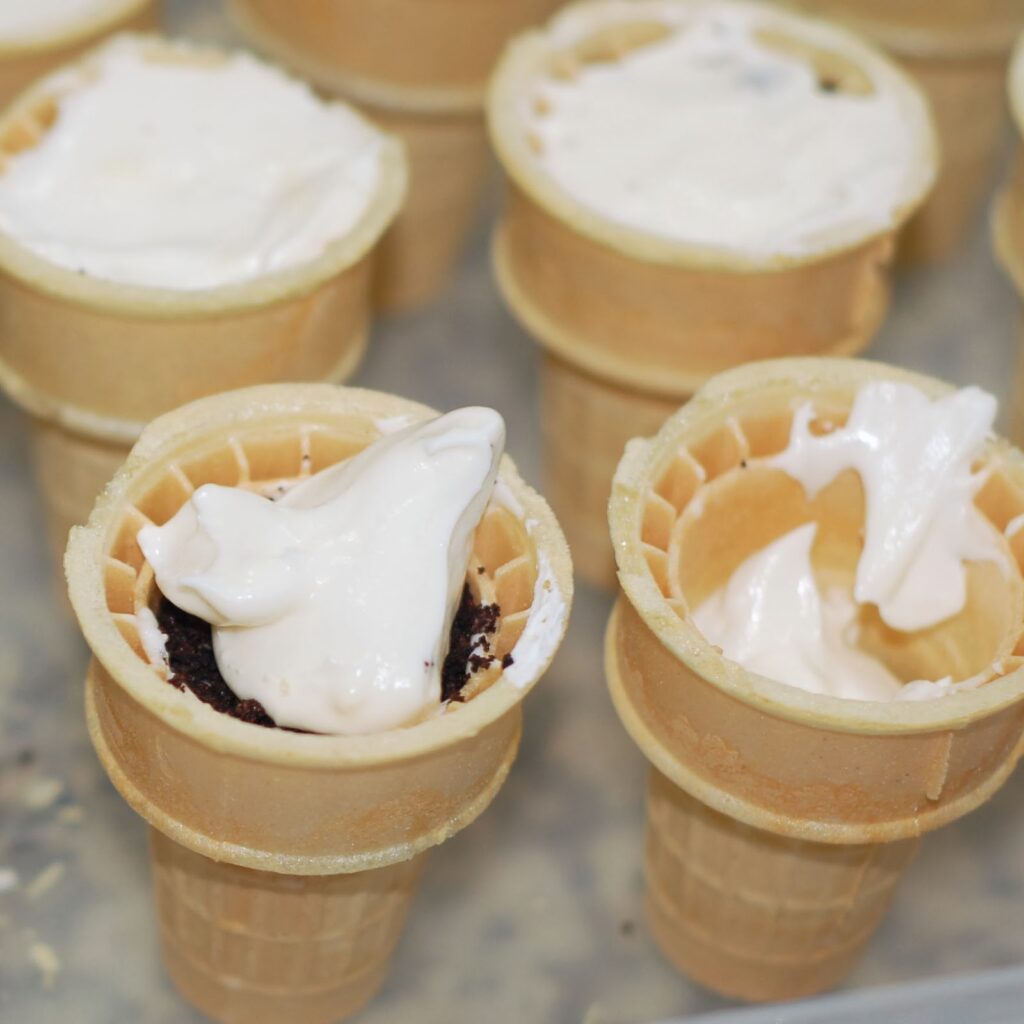

I smooth out the top, then it was time for the frosting. For a little extra detail you can use some cookie icing around the rim of the cone to make some icicles before you add the frosting.
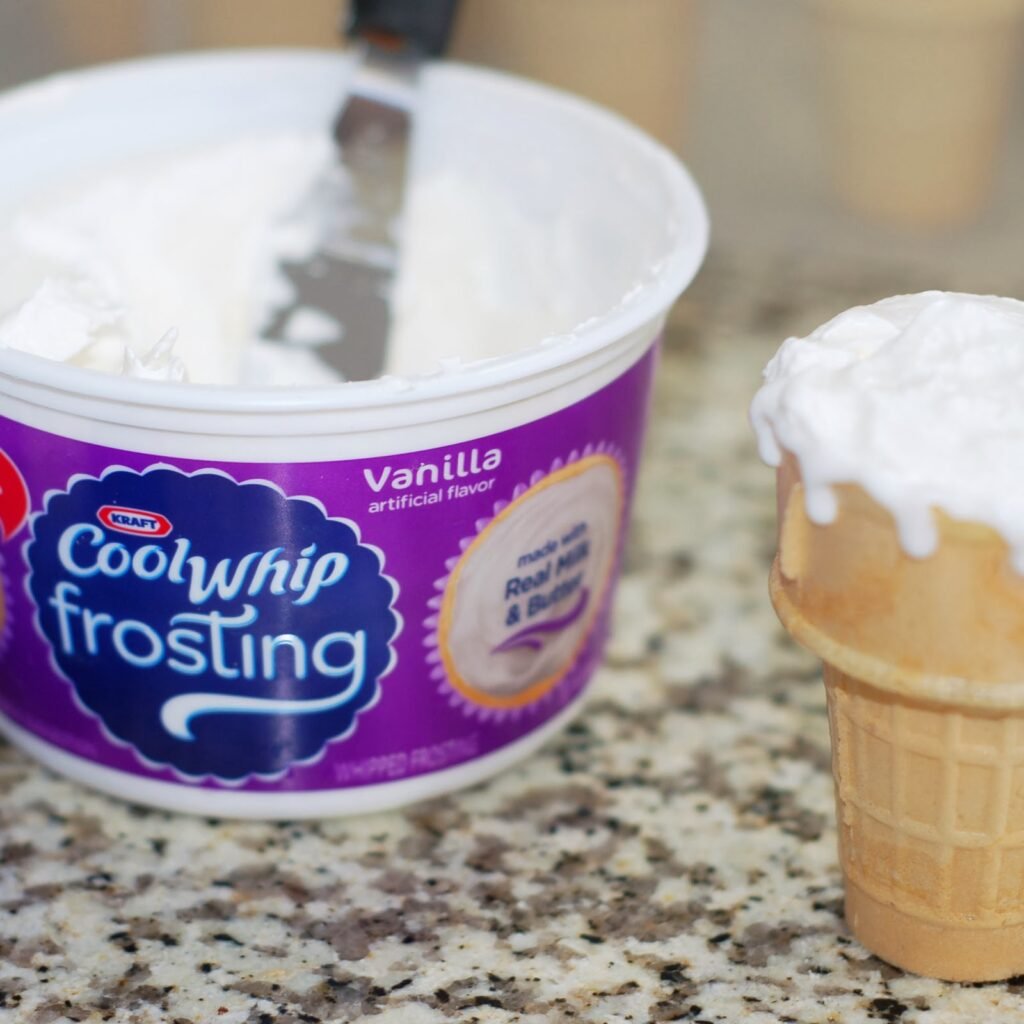
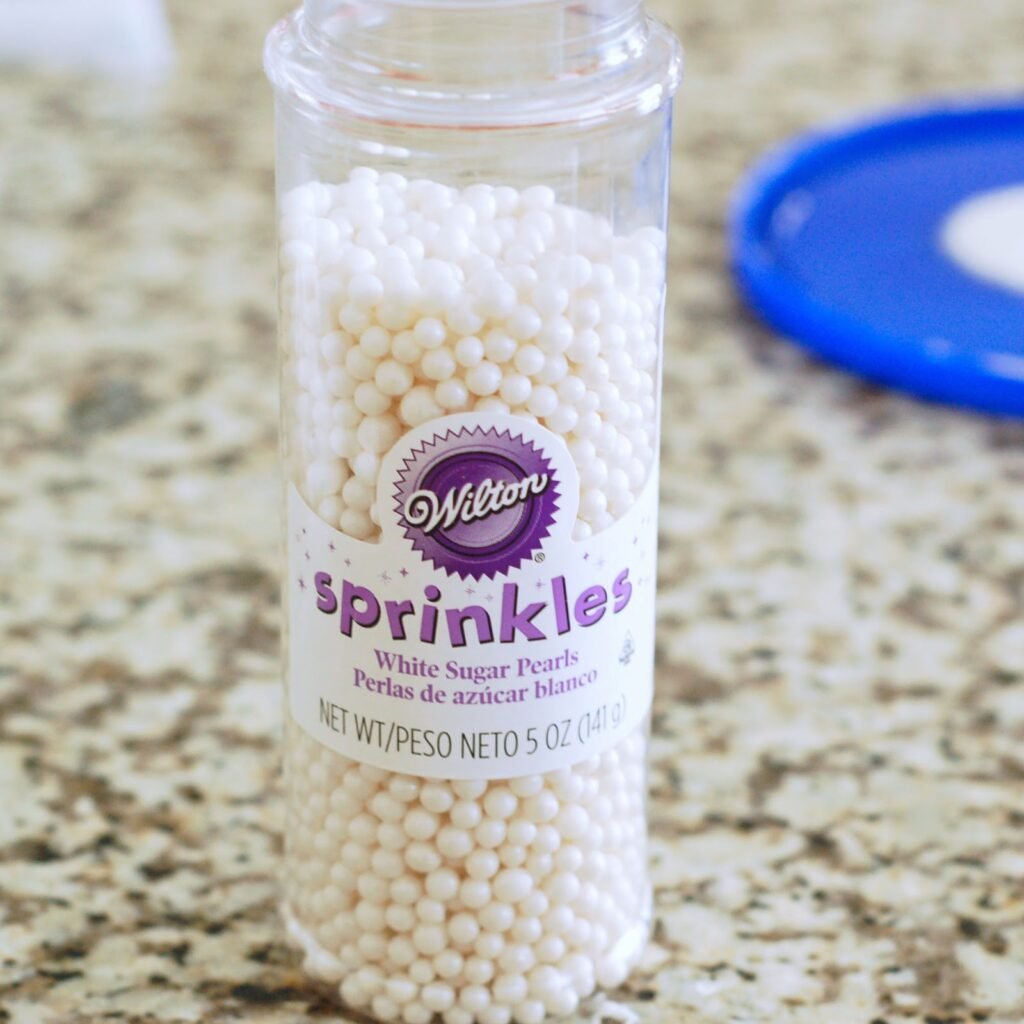
For the frosting, I didn’t want anything heavy, so I used Cool Whip frosting. I just spread it on with a spatula. I had these Wilton, white sugar pearls in the pantry so I added them with the other glitter sprinkles to resemble snowballs. Then I added the pole and the penguin.
Come on, what kid wouldn’t like to eat one of these? The only thing about these treats is that you have to eat them right away, or the cones with start to get soggy. After I made mine, I walked down the street and handed them to all the kids. They were gone in no time at all. We have a lot of kids in the neighborhood. (Ok, I did eat one before I left.)
You can eat the filling first with a spoon, then eat the cone or you can just bite into it all at once with no spoon at all. It may be a little messier, but definitely fun!
North Pole Dirt Cake Cones
by The Sweet Chick
Prep Time: 30 minutes
Keywords: no bake dessert snack cream cheese cool whip vanilla pudding Candy Cane Oreos Christmas trifle dirt cake American winter
Ingredients (24 cones)
- 25 Candy Cane Oreos
- 4 oz. cream cheese, softened
- 2 tablespoons butter, softened
- 1/2 cup powdered sugar
- 1 package (3.4 oz.) instant vanilla pudding mix
- 1 1/2 cups milk
- 1/2 cup vanilla eggnog
- 1 cup Cool Whip whipped topping, thawed
- 1 container (10.6 oz.) Cool Whip vanilla frosting, thawed
- 24 ice cream cups (flat bottom)
- 2 Wilton North Pole decorating kits
- 2 Wilton Penguin Icing Decorations kits
- 24 red Sixlets (or M&Ms)
- 1 package (7 oz.) Betty Crocker Cookie Icing (white)
Optional
- 1 container (5 oz.) Wilton’s White Sugar Pearls
Instructions
Chop Oreos in a food processor until they become a dirt like consistency or place them in a Ziplock bag and crush them by hand with a rolling pin. Set aside.
In a small bowl, mix together the cream cheese, butter and powdered sugar until smooth. Set aside.
In a large bowl whisk together the milk and pudding mix until pudding mix dissolves. Place bowl in fridge for pudding to set. (It will be a thick consistency)
Once pudding is set, add eggnog and mix well. Then fold whipped topping into the pudding until well blended.
Next add cream cheese mixture to pudding mixture and mix until fully incorporated. Place in fridge while you assemble the poles.
Unwrap each candy cane pole in the kits. Add a little dab of cookie icing to the tops of the poles and place a red Sixlet on top. Try to place the poles upright until the cookie icing sets.
Take each North Pole sticker and adhere it to white cardstock. Cut out by hand, leaving a small white border around each sign. Place a small dab of cookie icing to the back of the cardstock and adhere it to the pole. Place upside down on flat surface until it dries.
Set cones on a flat surface. Add 1 tablespoon crushed Oreos to the bottoms of each cone. Then add 1 tablespoon cream filling and another tablespoon of crushed Oreos.
Press down slightly with a spoon before adding the final tablespoon of cream filling. Smooth the filling with a spatula before adding the frosting.
If you want, decorate the tops of each cone with some cookie icing to resemble icicles.
Then with a spatula, frost each cone with the Cool Whip frosting. Sprinkle with the glitter sprinkles included in the kits. If you want you can also add some White Sugar Pearls to resemble snowballs.
Place a candy cane pole into the tops of each cone. Add a candy penguin to each cone by pressing them gently into the frosting.
That’s it! You are done. Dig in!
Related Posts


Subscribe for New Racipies
Get mental health tips, updates, and resources delivered to your inbox.
Ramps and Ricotta Gnocchi


I haven’t eaten enough gnocchi in my life to be on the fence about it, but I am. I don’t think I’ve given it a fair chance though. My mind conjures up images of heavy balls of dough, not helped by the fact that the one and only time I tried gnocchi, it was doused in a heavy gorgonzola sauce, so uniform in cheesiness that it tasted positively… bland? What I mean is, the sauce was a homogeneous goop-soup of melted cheese and heavy cream. So while the gnocchi itself probably tasted amazing, I could barely eat beyond a bite.
Luckily (for me), I was only sampling what my friend had ordered. We were in southern France, Nice to be exact, and I’d ordered a niçoise salad that was absolutely delectable. Earlier in the day, we’d consumed massive amounts of socca and pissaladière and gorgeous ripe cherries procured from the produce market and I was starting to feel really good about French Riviera cuisine – until the gnocchi bombs dropped.
Ever since, I’ve avoided the stuff. Knowing that potato is one of its primary ingredients certainly doesn’t help. (I’ve never been fond of potatoes.) Like I said, totally unfair right?
Well, let me tell you, these little guys are almost completely potato- and flour-free! In fact, aside from the flour used for dusting, these gnocchi are gluten-free. As a result, they have a texture that goes poof, a mouthfeel as light as a cloud; the gnocchi disintegrates as softly in the mouth as a silk slip. And the single note of ramps is a more winsome version, its garlicky edge dampened discreetly by parmesan. All in all, these are things of beauty.
Of course, I’m aware of the fact that ramps season is hurtling to its end. For some of you (and me), it’s just about finished, which makes this dish a bit irrelevant in a sense. But ramps, which you all know by now are kind of faddish anyway (though they really are good!), can be replaced with Chinese leeks, which smell so similar that I wouldn’t be able to tell them apart in a blind (what’s the olfactory equivalent? Stuffed-up?) smell test.
To be honest, I’ve actually made these gnocchi multiple times since ramp season began (and even posted them on Instagram a few weeks ago). I’d intended on sharing them much, much sooner. So now you know about my laggard ways. Anyone who knows me in person knows about my laggard ways, so I guess the secret is out.
Anyway, better late than never, right? I know there are still ramps floating out there, somewhere. Make this, and be prepared for the lightest “pasta” you’ve ever tasted.

RAMPS AND RICOTTA GNOCCHI
Adapted from Rachel Eats
Serves 3 to 4 (makes around 50 pieces)
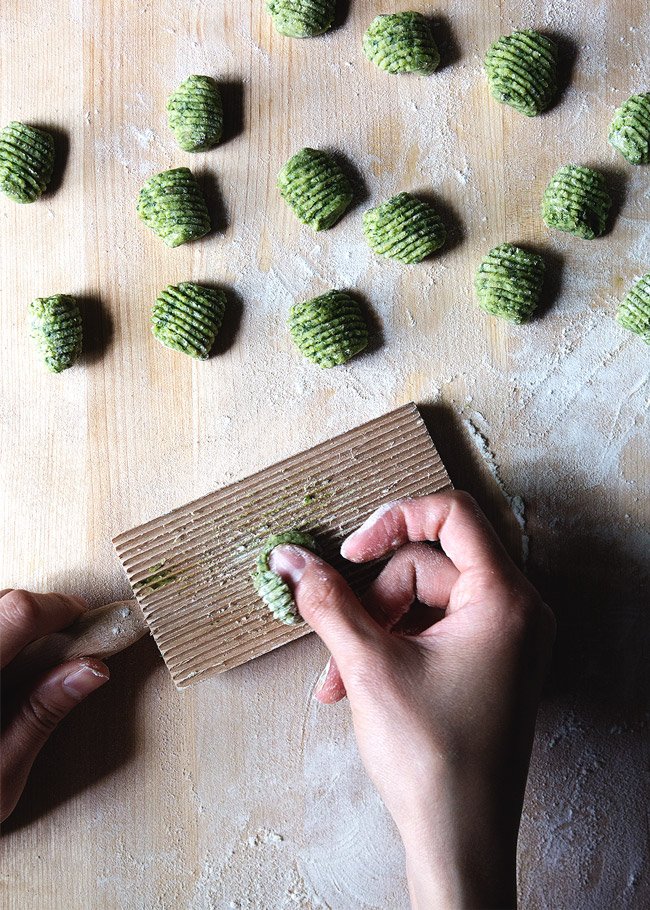
This recipe is almost gluten-free. Feel free to sub the AP flour with rice or oat flour to make truly gluten-free gnocchi. Also, rolling the gnocchi with a gnocchi paddle is a completely gratuitous touch, and in fact, can get messy very quickly (as is evidenced by the state of my paddle in the images above), so I didn’t include the step in the directions below.
Ingredients:
8 oz. (225 grams) ramps, about 30 to 40 stalks
1 Tbsp butter
2.5 oz. (75 grams) ricotta, drained of as much liquid as possible
1 egg yolk
2 oz. (60 grams) parmesan (can sub half the cheese with pecorino, but not much more than that!)
salt and pepper to taste
AP flour for dusting
For the sauce: 1 Tbsp butter per serving
For serving: salt, pepper, and parmesan cheese
Directions:
Separate the ramps into leaves and roots. Slice the roots into small pieces, and roughly chop the leaves. In a medium skillet on medium heat, melt the butter. Add the ramp roots and cook for a few minutes until softened. Add the leaves and cook another few minutes. Season with salt and pepper to taste and let cool. Once cool enough to handle, squeeze the ramps until drained of any excess liquid. Empty into a food processor. Add the ricotta, egg yolk, and parmesan, and process for about a minute until completely combined. Store the mixture in a bowl in the fridge for a couple hours.
Alternatively, if you don’t want to use a food processor (like me—raise your hand if you hate the clean up!), mince the ramps and toss them into a bowl. Add the ricotta, egg yolk, and parmesan, and stir vigorously until the mixture is well-combined. Store in the fridge for a couple hours.
Dust a clean work surface liberally with flour. Working quickly, take a portion of the ricotta dough and roll it into a log. It should be much easier to handle once coated with flour. Cut it into pieces (size is your preference) and rest them in a pan dusted with flour. Continue with the rest of the dough, re-dusting the surface with flour as needed. Keep in mind, the more flour you use, the heavier the gnocchi will be, so only use as much flour as necessary.
At this point, you can store the gnocchi in the fridge, covered, for up to two days. I found that they dry out a bit this way, which actually makes handling them a bit easier.
To cook, bring a pot of water to a boil, then reduce the heat to barely a simmer. Drop the gnocchi in a few pieces at a time, cooking for 30 to 60 seconds, then gently removing them with a slotted spoon into bowls for serving. They’re very delicate!
In the meantime, brown some butter for the sauce. In another pan, heat the butter on medium heat until it turns a medium brown and smells nutty and delicious, about 2 minutes. Spoon the browned butter onto the gnocchi, and season with salt, pepper, and extra parmesan.
Related Posts


Subscribe for New Racipies
Get mental health tips, updates, and resources delivered to your inbox.