
Crepes

Medically reviewed by Christiana George Updated Date: December 17, 2022


Growing up in a household with Canadian parents, crepes were pretty much a staple. My mom made them for us all the time. I remember coming in from playing out in the snow with my brothers and my mom would make us crepes and hot chocolate. Mmmm. My mom’s recipe was flour, eggs, and milk. I tried to get the combo right, but my crepes never came out as good as hers. They were always too thick, not light and fluffy. That is until I found the recipe that works for me. I found it in one of the flyers the grocery gives out. Simple ingredients, great taste.
Crepes
adapted from Big Y
1 1/4 cups milk
1 cup all purpose flour
1 egg
1 tsp vegetable oil
1/4 tsp baking powder
2 tsps pure vanilla extract
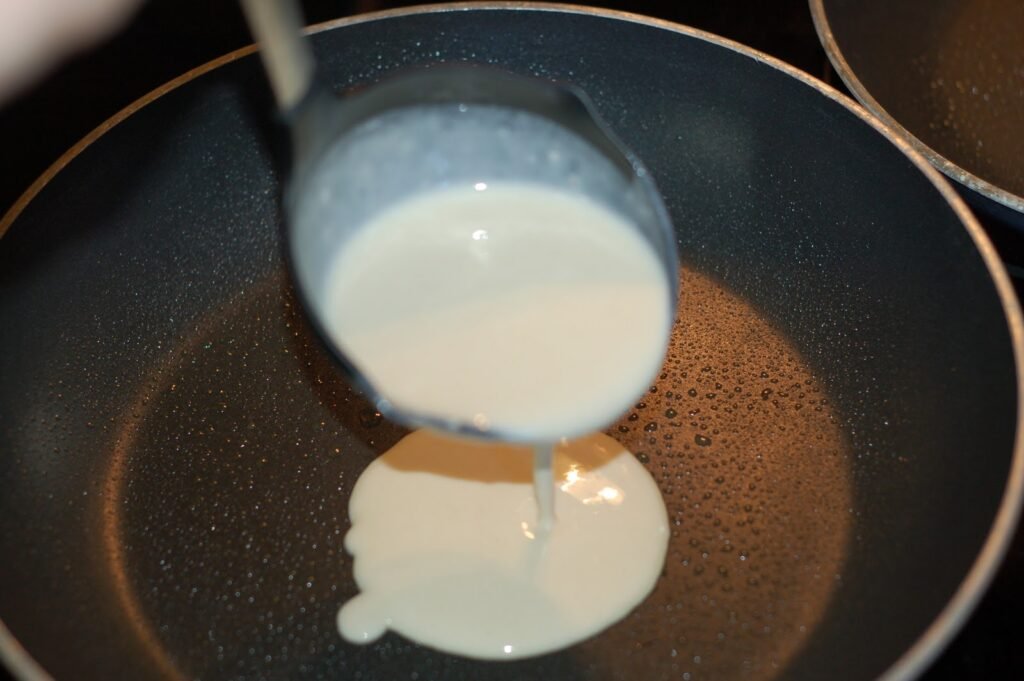
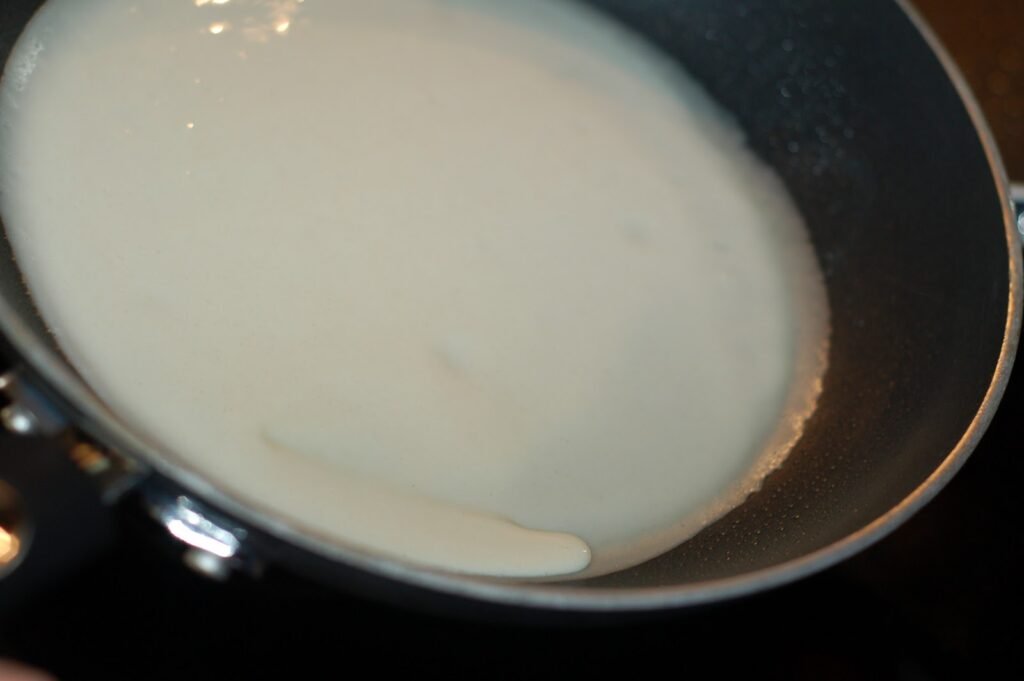
In a blender or with hand mixer, combine all ingredients. Blend until smooth. Heat a nonstick skillet with flared sides over medium-high heat. Remove from heat. Pour 1/4 cup batter into skillet; lift and tilt the skillet to spread batter evenly across bottom of skillet. Return to heat. Cook about 1 minute or until light brown. Flip crepe with a spatula and cook the other side for about 30 seconds. Cool crepe on paper towels. Repeat with remaining batter. Makes about 12 crepes.
I love crepes they are so versatile. We usually eat them for breakfast with pure maple syrup (no Aunt Jemina stuff). My husband is Argentinian so he grew up eating them with dulce de leche. They are also great with Nutella and bananas or just plain fruit. I have even used them for dinner in place of pasta when making manicotti. Oh the taste is incredible. So much better than pasta. I just leave out the vanilla extract.
Related Posts


Subscribe for New Racipies
Get mental health tips, updates, and resources delivered to your inbox.
Eggnog Cheesecake Truffles

Yay! I finally started my Christmas shopping. Hopefully I finish on time. I had a busy weekend putting together a sampler of goodies for my neighbors’ gift baskets. These Eggnog Cheesecake Truffles were a part of the baskets. I was really excited about how well they came out, in taste and visual appeal. I would have kept them all to myself, but I thought it would be nicer to share in this season of giving. And I would probably have had to buy some new pants come January. I am so bad at eating just one.

This recipe does have several steps that take time, but the good news is that it can be made in stages.
I was doing a little here and a little there in between housework, laundry, taking care of my son, making meals, etc. I did use real rum in this recipe, but it’s really just a little for flavor. If you want you can leave it out.

Once you make the balls, and put them in the freezer, you can leave them overnight or until you have time to dip them in the candy melt.

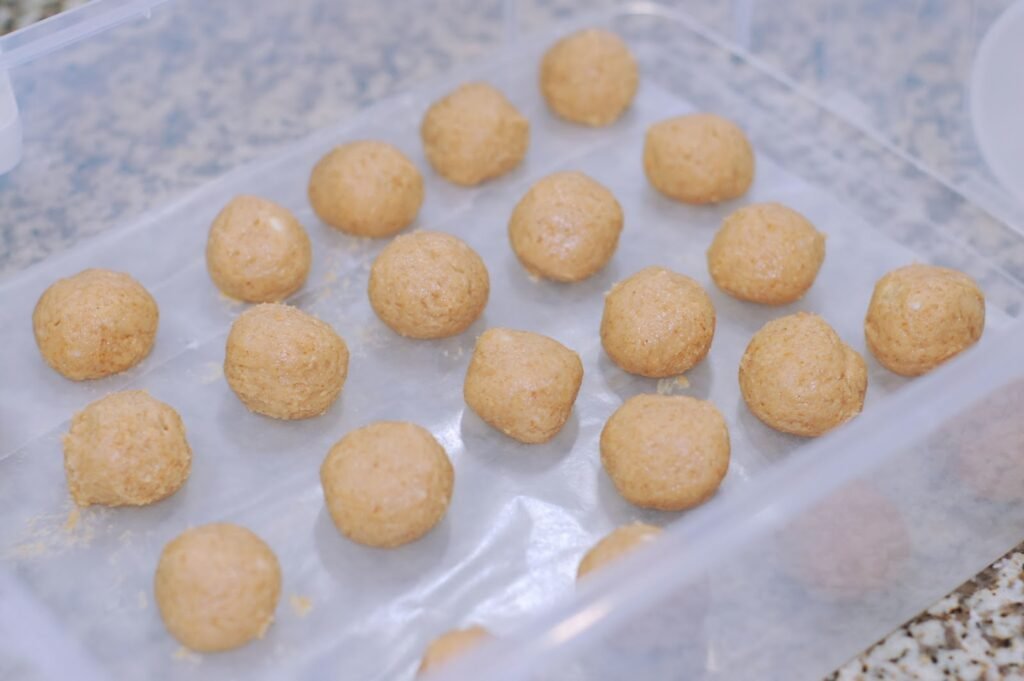
Rolling the balls, is a little messy, but not any worse than when I used to make cake balls. I found that rubbing my hands with leftover graham cracker crumbs reduced the stickiness. Although, you could try flour or powdered sugar also.
For the candy coating, I found Wilton’s Eggnog Candy Melt and Gingerbread Candy Melt. I had to try both. And by try, I do mean eat them straight out of the package. I couldn’t decide which I liked better, so I used both. I found both of these at Walmart.

I did find the melted consistency to be very thick, so I did add a generous amount of vegetable shortening to the melted candy to make it smoother, thinner, and easier to work with.
I just used a fork to sit the balls on top of to dip them in the candy melt and my cake tester to slide the balls off the fork onto the waxed paper. The candy melt did harden very fast, so I had to be quick with the sprinkles.
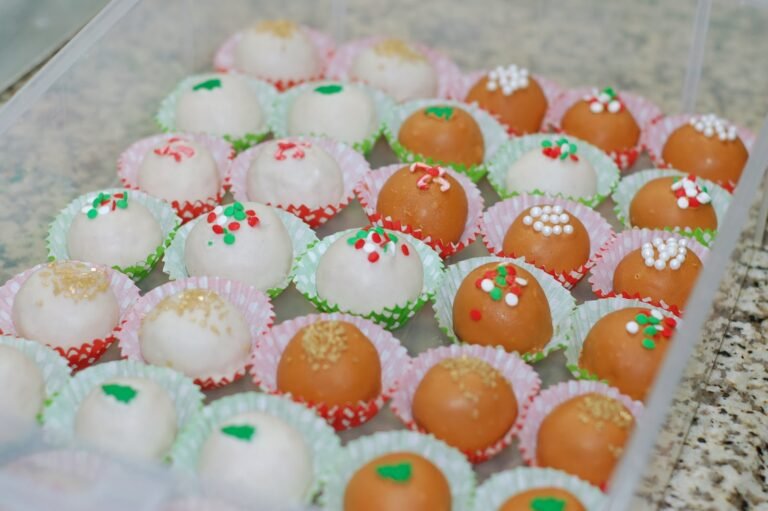
I used different sprinkles and placed them in some Wilton’s mini cupcakes wrappers to give them some character. These would look so pretty in a decorative box or tin given as a gift for the holidays.
Although the insides are the same, the different candy coatings give these Eggnog Cheesecake Truffles different flavors. The eggnog candy melt makes it more sweet, while the gingerbread candy melt makes it more spicy. Each are equally delicious. The cheesecake filling just melts in your mouth. You really can’t eat just one.
Eggnog Cheesecake Truffles
by The Sweet Chick
Prep Time: 2 1/2 hours
Keywords: no bake dessert egg nog egg nog candy melt cream cheese gingerbread candy melt Christmas truffles American winter
Ingredients (36 truffles)
For the filling
- 2 cups crushed graham crackers
- 1 package (8 oz.) cream cheese
- 1/2 cup vanilla eggnog
- 1/2 teaspoon vanilla extract
- 2 tablespoons sugar
- 1 1/2 teaspoons rum (optional)
- 1/4 teaspoon ground nutmeg
- 1/2 teaspoon ground cinnamon
- 1 cup white chocolate chips
For the coating
- 1 cup Wilton’s Eggnog candy melt wafers
- 1 cup Wilton’s Gingerbread candy melt wafers
- 2-4 tablespoons vegetable shortening
For the topping
- holiday sprinkles
Instructions
For the filling
In a stand mixer combine the graham cracker crumbs, cream cheese, eggnog, vanilla, sugar, rum, and spices and mix on low until completely blended.
Place white chocolate chips in a glass bowl over a pot of water so that the bowl does not touch the water. Bring water to a gentle boil and stir chocolate until all melted. (I find that white chocolate does not melt well in the microwave.)
Then add melted chocolate to the cream cheese mixer and mix on low until all incorporated. Mixture will be slightly soft.
Place mixture in the fridge for at least one hour to firm up.
Remove from fridge and roll mixture into balls. I measured out one tablespoon mixture for each ball. Place balls in airtight container lined with wax paper. Place the container in the freezer for at least one hour to set.
For the coating
After the balls are set, melt the candy wafers (one flavor at a time) in the microwave as per directions on package (30 second intervals , stirring in between). If melted candy is too thick add a tablespoon at a time of vegetable shortening until you get the right consistency.
Remove cream cheese balls from the freezer.
Dip the balls into candy coating mixture until all covered. I use a fork. Once covered, remove and softly tap until excess candy melt falls off. Then place pops on wax paper.
Carefully add the sprinkles to the top of the balls before the candy melt hardens.
When candy melt does harden, scrape off any excess candy melt on the bottom of the ball and place in mini cupcake wrapper.
Keep truffles refrigerated. Enjoy!
Related Posts
Subscribe for New Racipies
Get mental health tips, updates, and resources delivered to your inbox.