
Snowman Marshmallows

Medically reviewed by Christiana George Updated Date: December 17, 2022
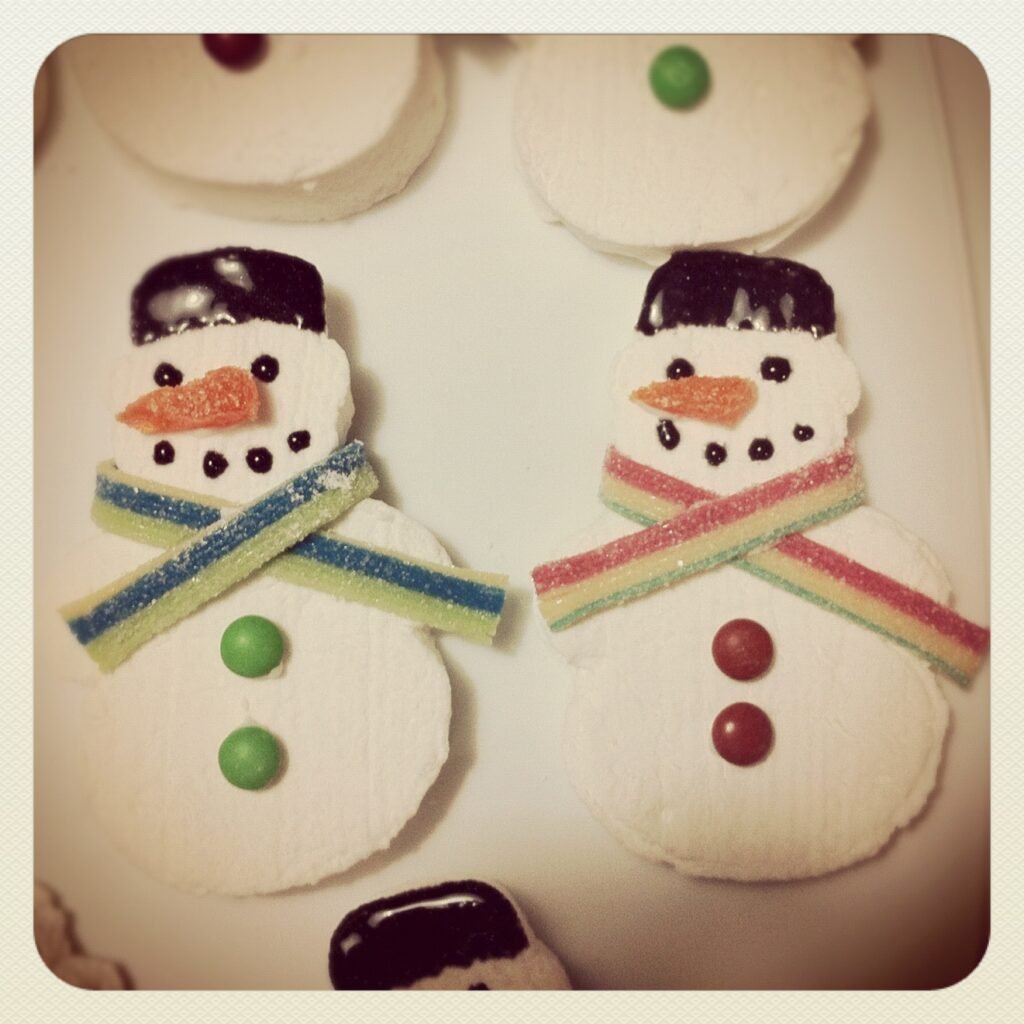
This is actually a project I did in January, but since we have just started getting snow here recently, I thought it would be appropriate. My daughter needed to take something to school for her Discover and Share that had a winter theme. So I thought snowmen marshmallows would be cute. I found a recipe for homemade marshmallows at. It looked easy, albeit perhaps messy. But, hey, with two small kids, it’s always messy here anyway.
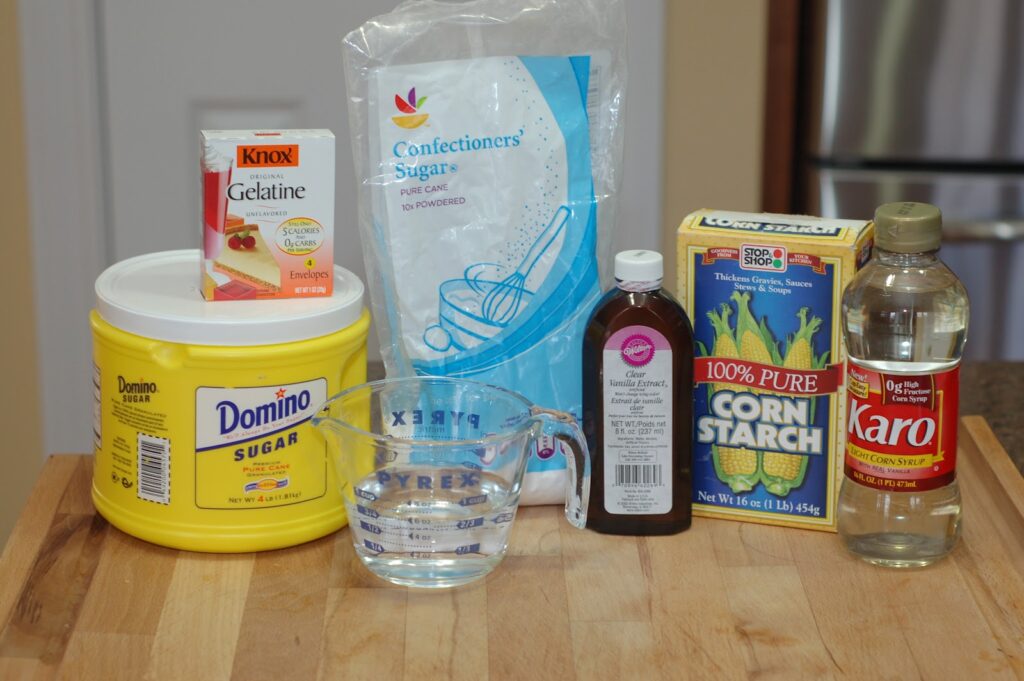
First I tested the recipe to make sure they would taste good and come out okay.

Homemade Marshmallows
by My Baking Addiction
Ingredients
- 3/4 cup water, divided
- 3 (.25 oz.) packages, unflavored gelatin
- 2/3 cup light corn syrup
- 2 cups white sugar
- 1 tbsp vanilla extract
- 1/4 cup cornstarch
- 1/4 cup confectioner’s sugar
Cooking Directions
- Line a 9×13 inch baking dish with plastic wrap and spray with non-stick cooking spray. Spray another piece of plastic wrap to cover the top, and set aside.
- Place 1/2 cup of water in the bowl of an electric mixer fitted with the whisk attachment, and sprinkle gelatin on top of water to soak.
- While gelatin is soaking, combine 1/4 cup of water, corn syrup, and sugar in a saucepan. Bring the mixture to a boil over medium heat. Boil the mixture hard for 1 minute.
- Carefully pour the hot sugar mixture into the gelatin mixture and beat on high for 12 minutes with electric mixer, until the mixture is fluffy and forms stiff peaks. Add in vanilla extract and beat until just combined.
- Pour the marshmallow mixture into the prepared baking dish, using a greased spatula to smooth the top. Cover the candy with the piece of prepared plastic wrap, pressing it down lightly to seal the covering to the top of the candy.
- Allow the marshmallow candy to rest for 4 hours or overnight.
- Mix together cornstarch and confectioner’s sugar in a shallow dish. Using oiled scissors or an oiled kitchen knife, cut the marshmallow candy into strips, then into 1 inch squares. Dredge the marshmallows lightly in the cornstarch mixture and store in an airtight container.

I did use clear vanilla extract as she suggested to keep the marshmallows pure white. Let me just say one thing though, the smell of the hot corn syrup mixture combined with the gelatin as it is being mixed is very off putting. It smelled like manure in my kitchen and I was very afraid of what these marshmallows would taste like, but have no fear, the smell does go away and does not affect the taste.

The first batch I made, I just cut them into squares. Okay, very large squares. Here is my assistant dredging them in cornstarch and confectioner’s sugar.

And here she is taste testing for me. She gave them her seal of approval. They really were quite good. Much better than the store bought ones. They are lighter and fluffier.

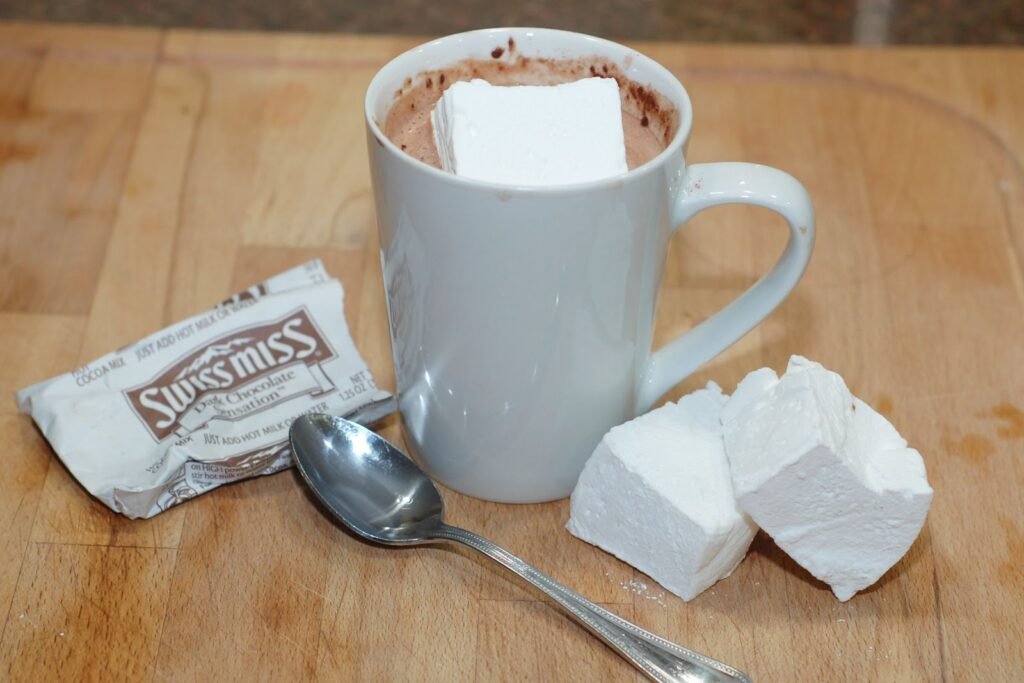
The real test for me, was to have some with a cup of hot cocoa. Yep, they were delicious in my book too. So then I knew I would make more and shape them into snowman for the kids. At first I was going to cut the marshmallows into circles and stack them up on a candy stick to make the snowmen, but when I went to get my circle cookie cutter, I found a snowman cookie cutter and went a different route.
I then when to the store to see what kind of candy I could find to decorate with. I found mini M&M’s for the buttons, some sour candy strips for the scarves, and orange slices for the nose. I had some black glitter gel for the hat, eyes, and mouth and I used cookie icing to glue things together.

I cut small triangles out of the orange slices to make the carrot nose.

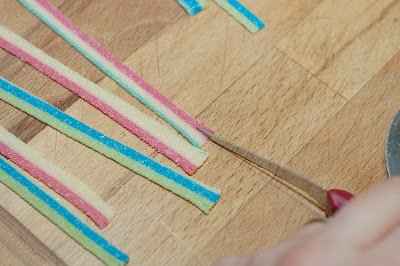
I cut the sour candy strips in two lengthwise for the scarves and even fringed the ends by making small slits with a sharp knife.
Here is the completed project. The black icing didn’t spread as well as I thought, so I just ended up using the black gel for the hat, eyes, and mouth. I think they came out pretty well.
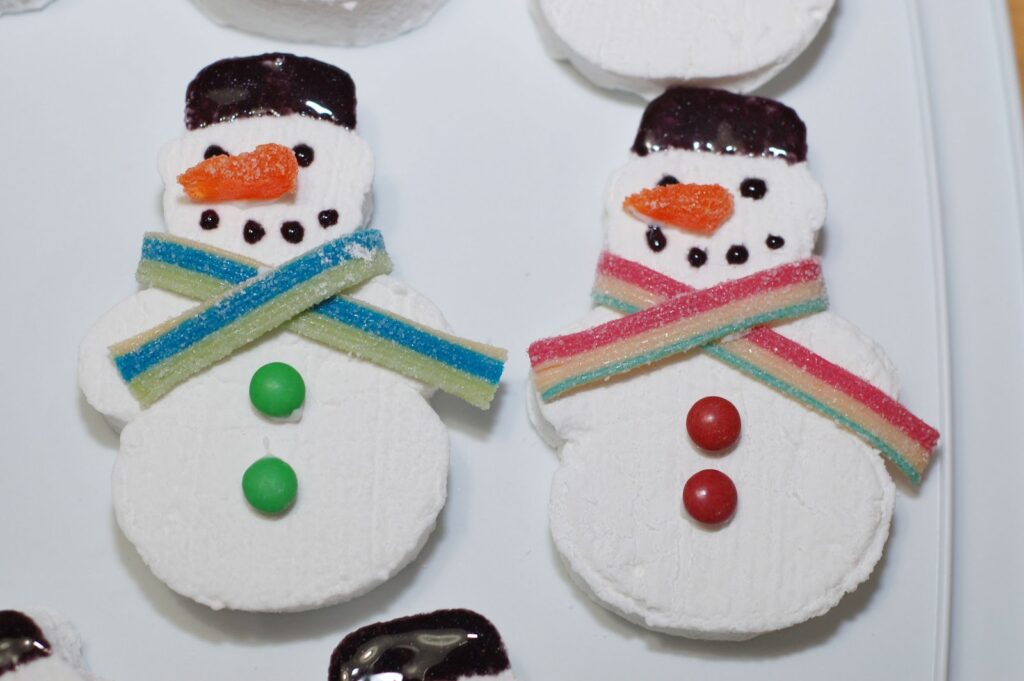
My daughter was excited to see them. I made girl ones and boy ones for her classmates.
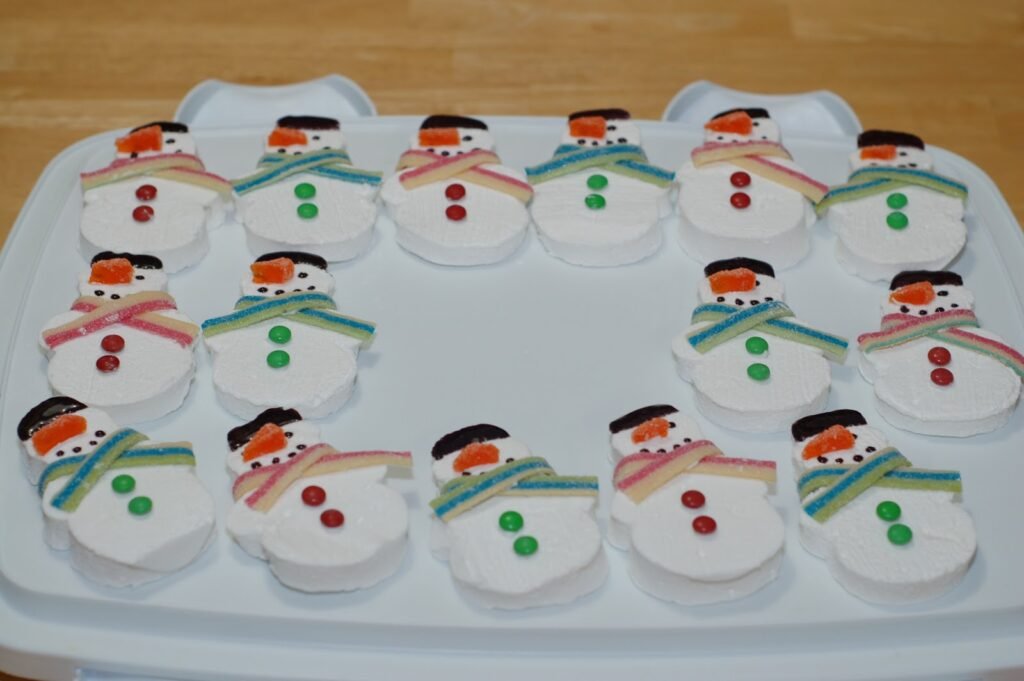
The kids really did like them and they tasted good. I will bookmark this recipe to do again next year.
Related Posts






Subscribe for New Racipies
Get mental health tips, updates, and resources delivered to your inbox.
Dark Chocolate Cherry M&M; Cookies

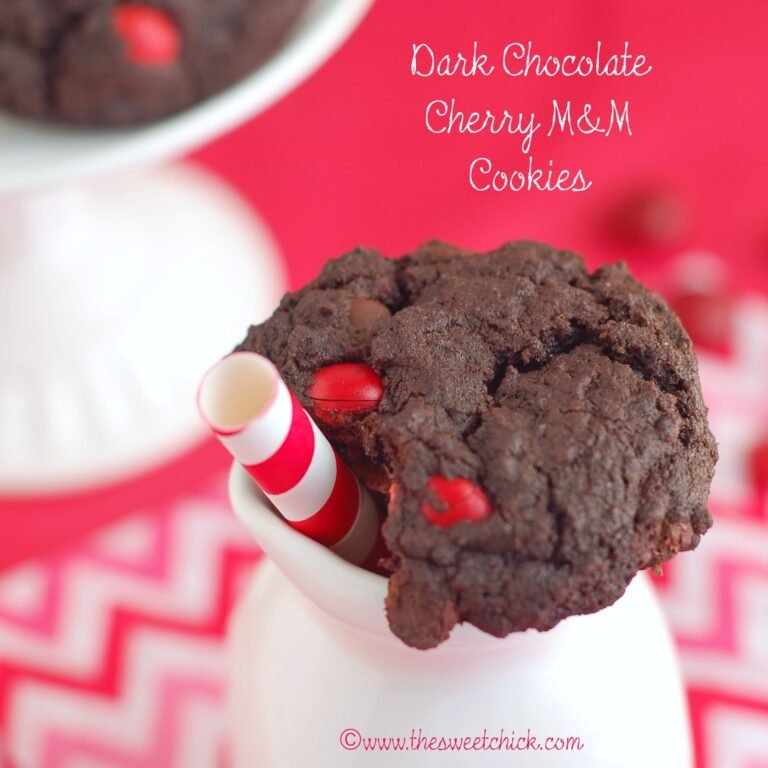

We had an open house over the weekend to bring some more interested buyers into our home and hopefully spark a sale. Prepping the house each time a potential buyer wants to come see it has become a nuisance, but we are keeping out fingers crossed that we will find someone to buy our home. So I didn’t have much time for baking, but I was in the mood for something chocolaty and I found a bag of Cherry M&M’s at Target the other day that I have been dying to try. Chocolate and cherry cookies seemed like a great idea.
I do like cherry flavored food, and dark cherries, but I do not like maraschino cherries. And what I detest the most is a finding one inside a perfectly good piece of chocolate. Yuck!
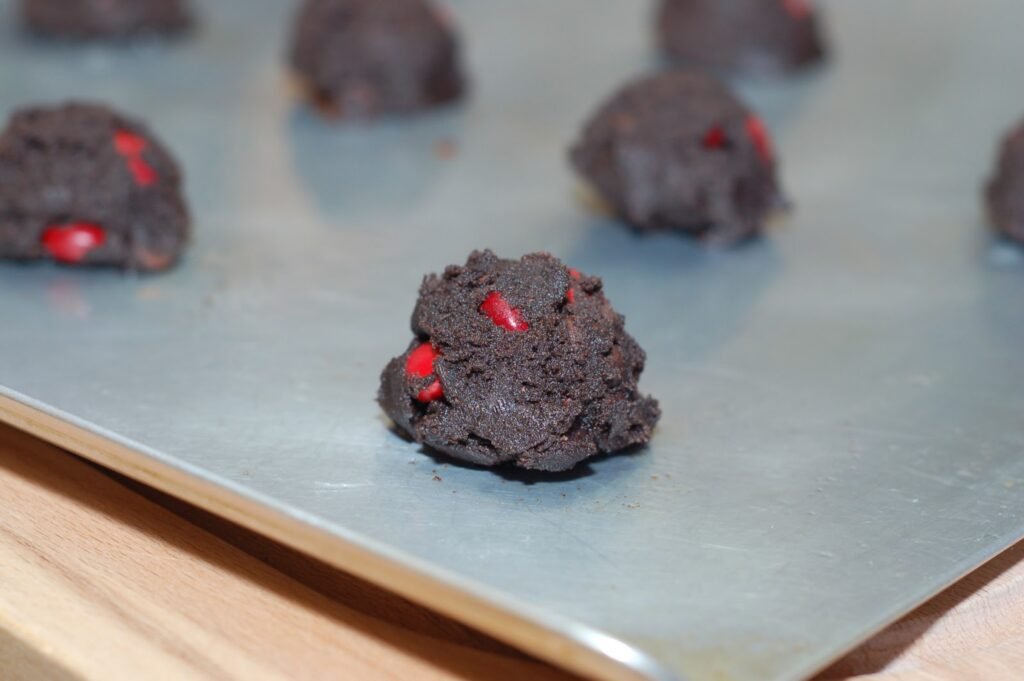
I did try the M&M’s before baking and they were quite good. I thought they would pair well with a deep dark chocolate cookie, so I substituted Hershey’s Dark Cocoa for regular cocoa in the original recipe.
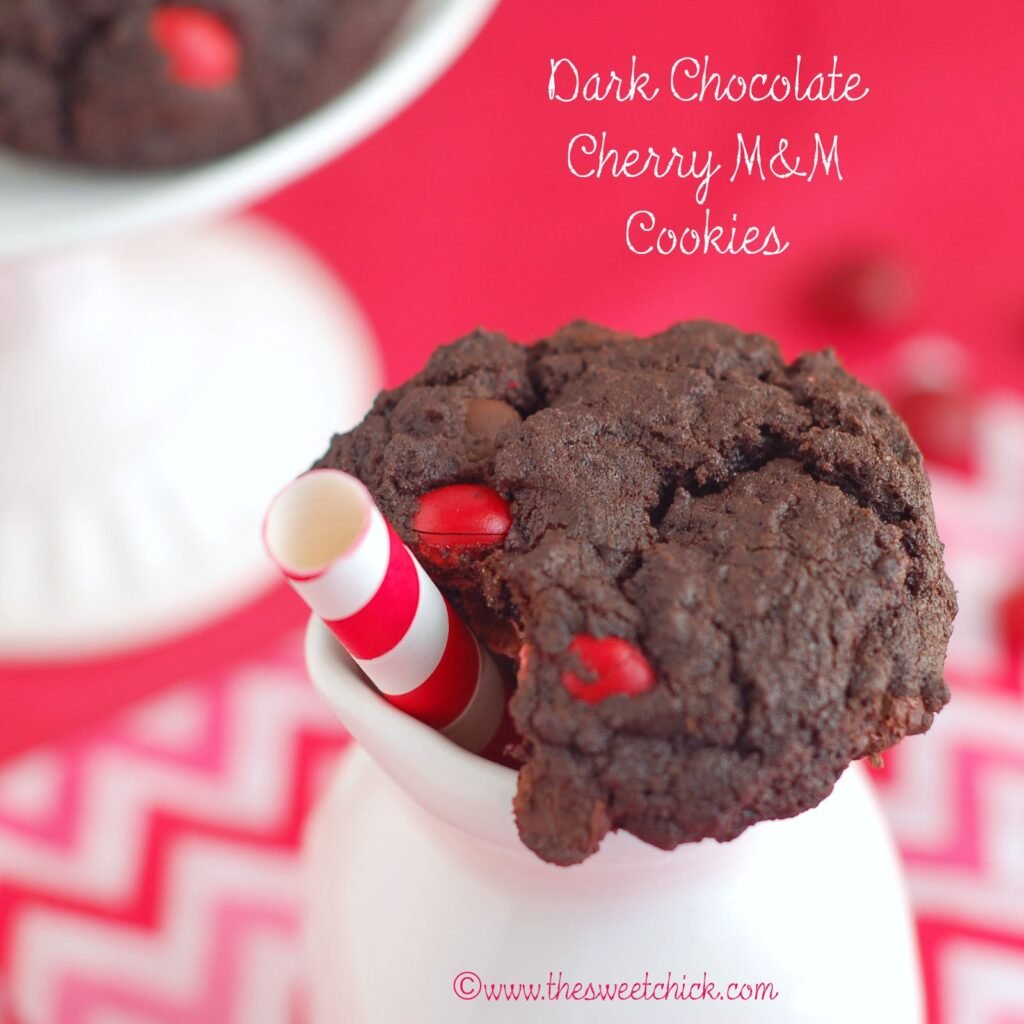
I am quite happy with my decision. These cookies are so rich and flavorful. I couldn’t stop eating them. These are intense cookies. Eat at your own risk (of not being able to stop). If you feel like sharing, these would be a great Valentine’s gift.
Dark Chocolate Cherry M&M Cookies
by The Sweet Chick
Prep Time: 15 minutes
Cook Time: 10-12 minutes
Keywords: bake dessert snack dark chocolate cherry cookie American
Ingredients (24 cookies)
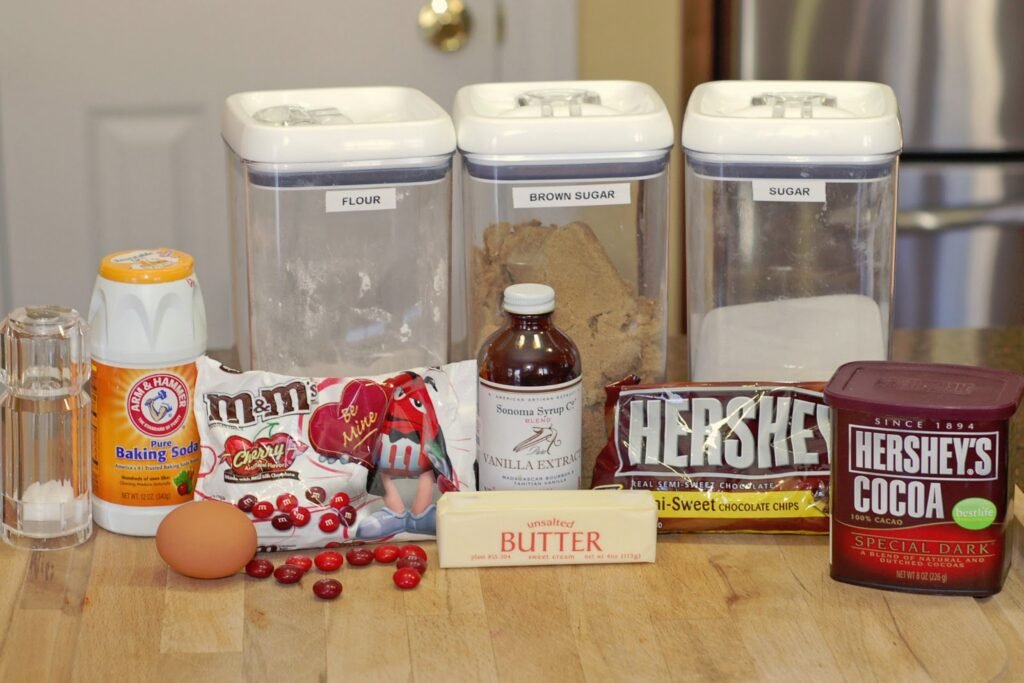
- 1/2 + 2/3 cups semi-sweet chocolate chips
- 1 cup all purpose flour
- 1/4 cup Hershey’s Dark Cocoa
- 1 teaspoon baking soda
- 1/2 teaspoon salt
- 1/2 cup (1 stick) butter, softened
- 1/2 cup light brown sugar
- 1/4 cup granulated sugar
- 1 large egg
- 1 teaspoon vanilla
- 1 cup Cherry M&M candies
Instructions
Preheat oven to 325º F.
Place 2/3 cups chocolate chips in a glass container and microwave at 30 second intervals until fully melted, stirring in between. Set aside.
In a stand mixer combine flour, cocoa, baking soda and salt. Mix on low until well blended.
Add butter and sugars and mix for 1 minute.
Pour in the melted chocolate, then add egg and vanilla and mix well.
Add the remaining 1/2 cup chocolate chips and mix on low until fully incorporated.
Then add the M&M’s and mix by hand as not to break the candies.
Place by cookie scoop full on greased baking sheets about 2 inches apart.
Bake at 325º F for 10-12 minutes or until the tops have cracked and a tooth pick inserted in the middle comes out with moist crumbs.
Place cookies on cooling rack and let cool completely.
Then enjoy with a nice tall glass of milk!
Related Posts
Subscribe for New Racipies
Get mental health tips, updates, and resources delivered to your inbox.