
Maple Dumplings

Medically reviewed by Christiana George Updated Date: December 17, 2022
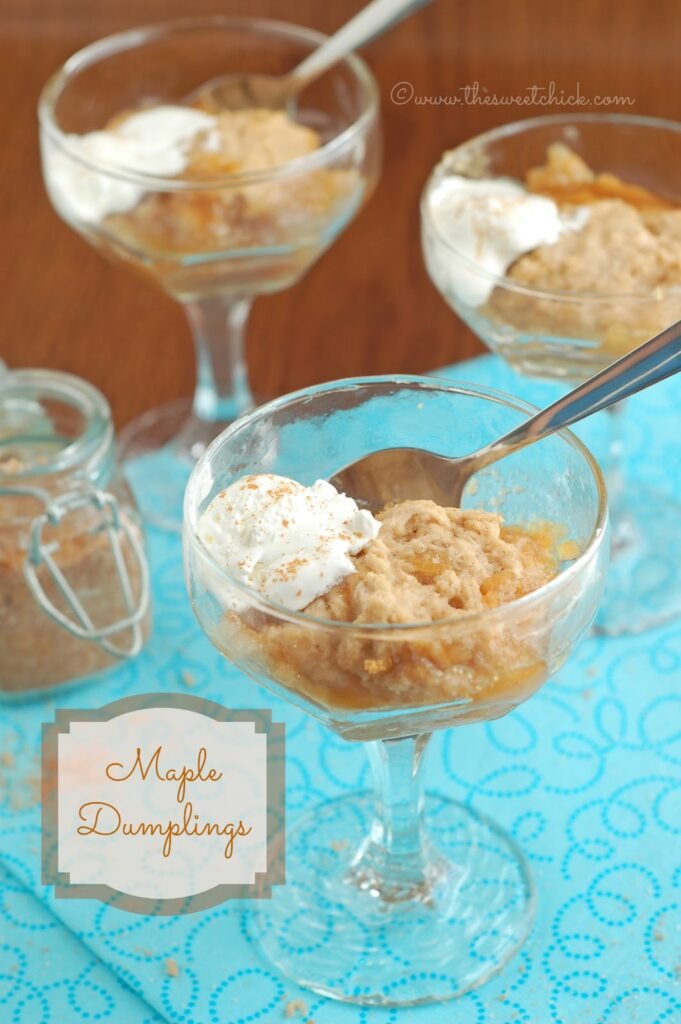
Maple season is over in our parts and I have lots of maple syrup to use to make goodies. This recipe is one that my mom used to make us all the time while growing up. It’s quick, easy, and it’s full of maple syrup. Of course, I called my mom for her recipe , but she was not very specific on measurements. And she calls back later to say she forgot one ingredient. Don’t worry mom, I Googled it.
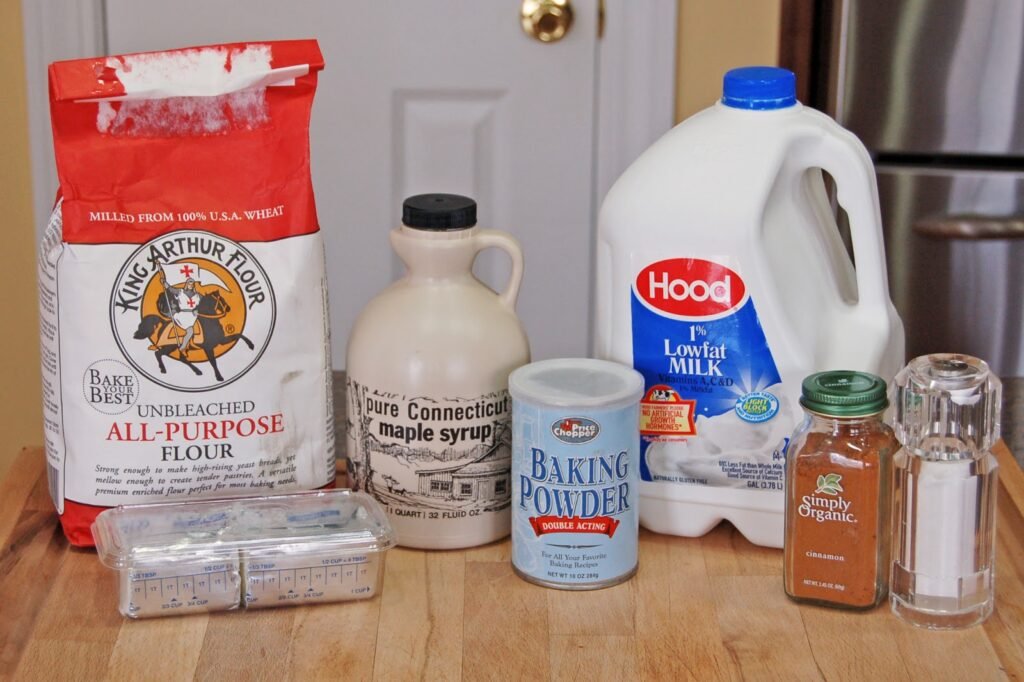
I found a recipe that closely resembled my mom’s. In Quebec this dish is called Grand-Père dans le Sirop. I just replaced the butter with Crisco, because that it what mom uses and I baked it in the oven instead of cooking it on the stove-top, just like mom. Then I added some cinnamon to the dough, because I felt like it. I happen to enjoy the taste of cinnamon and maple.
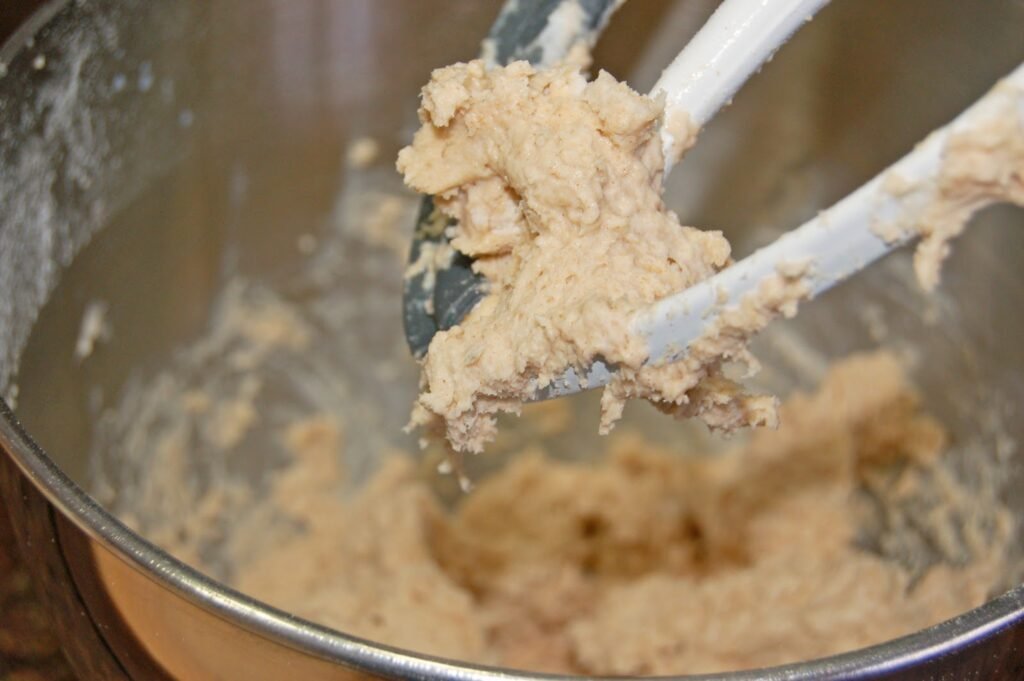
The dough needs to be on the thick side, because you need to form it into balls and line them up in a 9×13 glass dish.
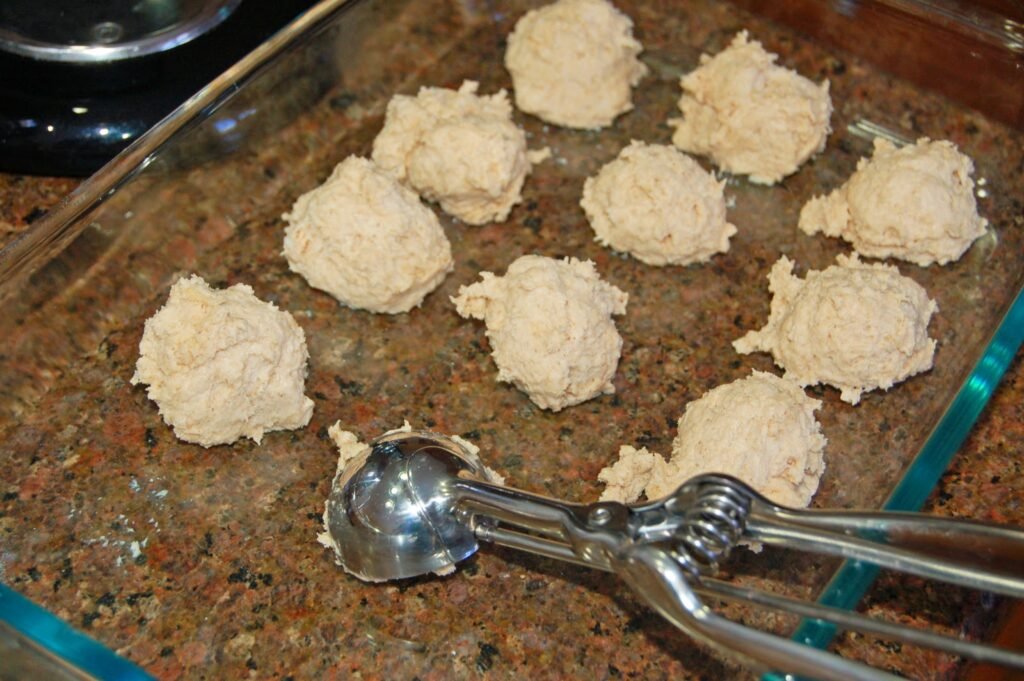
I used a large scoop, about the size of a scoop of ice cream. The dough will puff up and spread, so no need to be perfect.
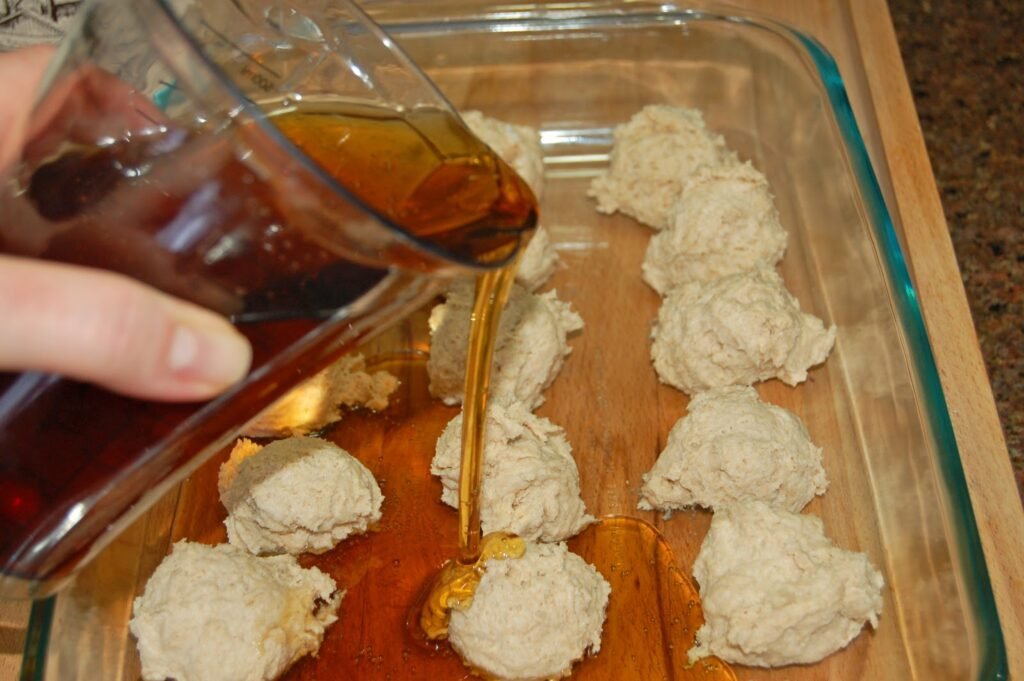
And then the best part, pour the pure maple syrup over all the dough and bake it in the oven.
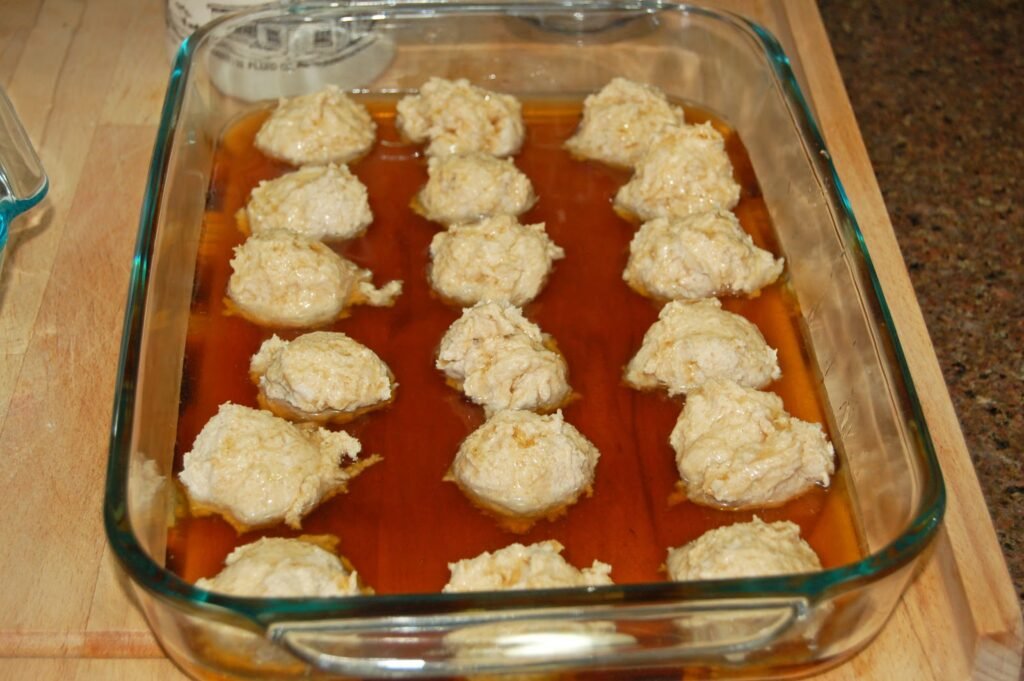
See, I told you it was easy. You’ll love the smell that baking this treat brings to your kitchen.
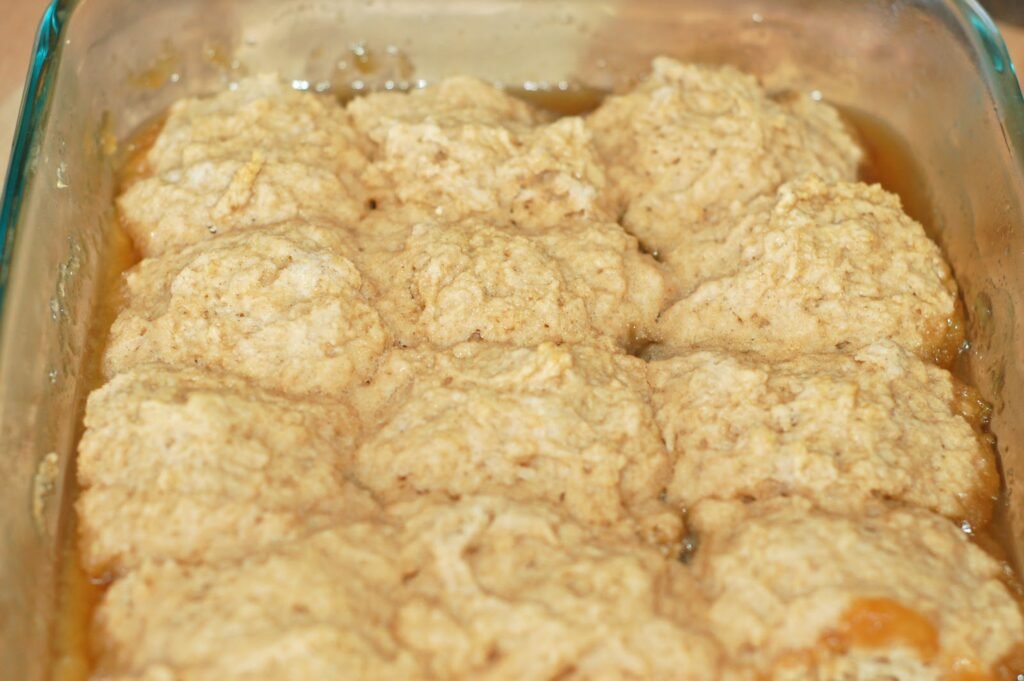
When it comes out of the oven the dough will have absorbed a lot of the maple syrup . The top of the dough will have a slight crispness to it, but the bottom is where the treasure is. The bottom of the dough will be soft and soaked with sweet maple syrup. The remaining syrup in the dish will have thickened and you can pour it over the dough. This dish is best served warm with a scoop of vanilla ice cream or whipped cream.

Just look at all that maple gooeyness at the bottom. That’s where all the flavor is. And yes, the addition of cinnamon was the right choice. I even sprinkled some cinnamon sugar on the whipped cream.
Maple Dumplings
by The Sweet Chick
Prep Time: 10 minutes
Cook Time: 20-25 minutes
Keywords: bake dessert maple syrup dumplings casserole French Canadian spring
Ingredients (18 servings)
- 2 cups all purpose flour
- 1 cup milk
- 4 teaspoons baking powder
- 4 tablespoons vegetable shortening (Crisco)
- 1 pinch salt
- 1 teaspoon cinnamon
- 2 cups maple syrup
- 1/2 cup water
Instructions
Preheat oven to 350º F
In a stand mixer combine the flour, milk, baking powder, vegetable shortening, salt and cinnamon. Mix on low until all incorporated and dough forms. Scrape sides of bowl as needed.
With a large scoop, scoop dough into even balls and place in a 9 x 13 glass dish.
Pour maple syrup over the balls of dough, then pour the water over the syrup.
Bake at 350º F for 20-25 minutes or until a toothpick inserted in the dough comes out clean.
Related Posts






Subscribe for New Racipies
Get mental health tips, updates, and resources delivered to your inbox.
Conversation Heart Cheesecake Truffles



For those of you that don’t know me, I am an organizational addict. I can spend an entire day re-organizing my pantry, my scrapbook room, or my closet. It gives me joy, pleasure, and a sense of fulfillment. Does my addiction drive my husband nuts? Absolutely. Do my friends think I am crazy? Absolutely. Do I care? Absolutely Not! I will continue color coding, labeling, and arranging things by size.
Now my daughter on the other hand, is a different story. She has a random personality. She received a Rainbow Loom for Christmas and has been constantly busy making bracelets for everyone and finds it more creative to use random colored bands in no particular order. NO PATTERNS!!??? Who is this child? Surely, she is not mine.
Not only that, but I bought her a case to hold and organize all the different colored bands for her loom. At first, the different colors were separated into different slots, but one day she decided that she wanted all the slots to look full so she mixed up all the colored bands and shoved them into the slots. WWWWWHAT???!!! I put up with it for weeks, but my eyes began to hurt from looking at all the disorder and my hands twitched from trying to restrain myself.
So, the other morning while she was at school, I dumped out all the bands, and spent an hour or so sorting colors and putting them in their proper slots in the case. After that, all was well in the world again. The sun came out, a rainbow burst out of the sky, and a million butterflies fluttered by. When she came home from school, I showed her what I had done. She was not impressed. I told her that if she could keep the bands organized I would buy her new ones. What’s a little bribery amongst family.
I feel sorry for those that are organizationally challenged. They must face great adversity in their lives. I wish I could buy them all a label gun and show them the way of true happiness. Alas, some people are too hard to change. My son has shown some signs of OCD. He can not stand to have doors or drawers open. He must close them all. I think I see some promise there. Perhaps I can teach him about the true meaning of organization. We shall see.

For those of you that are still here reading and understand my frustrations, I offer you a little treat. This is a result of the crazy ideas that sometimes float around in my head when I am not organizing.

I bought a bag of Brachs Conversation Hearts. These little hearts have different fruity flavors. They don’t seem as chalky as the Necco brand. You can smell the fruitiness when you chop them up. Now a word of caution here. These little hearts are a bit tougher to chop than I thought. First I tried my coffee bean grinder, but I ended up breaking the blade. Then I tried my little food processor, but it wasn’t powerful enough. The Blendtec worked fine to turn these into a fine powder. Although next time I think I will crush them by hand with a rolling pin first before putting them in the machine, to help things along. The Nilla wafers were a breeze to chop. I mixed all the ingredients by hand then used a cookie scoop to measure out the portions and rolled them into balls. Of course, then I remembered that I have a heart shaped cake pop mold so I turned all the balls into hearts. The size portion was pretty much the same.

I bought some Wilton’s candy melt to dip them in. Did you know they have Red Velvet candy melt? I had to try it. I also bought bright white and bright pink which are a regular vanilla flavor.
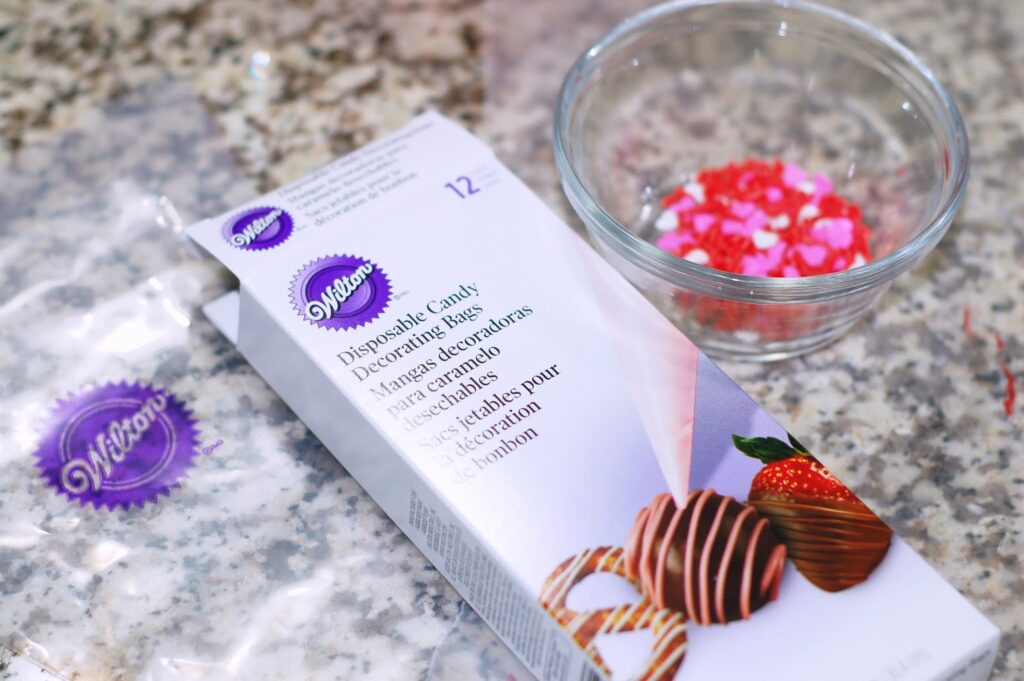
These disposable candy decorating bags are always good to have on hand, but you can also use a Ziplock bag.

You can choose to buy candy melt the colors of the conversation hearts, but I like these colors. I think I like the red velvet most of all with these Conversation Heart Cheesecake Truffles. The taste added more pop to the filling than just the regular vanilla. I hope Wilton carries this flavor again next year.
Conversation Heart Cheesecake Truffles
by The Sweet Chick
Prep Time: 2 hours
Keywords: no bake dessert cream cheese Nilla wafers Conversation Heart candy candy melt truffles American
Ingredients (16 truffles)
For the truffles
- 1 package (8 oz.) cream cheese
- 1 cup crushed Brachs Conversation Hearts candy
- 1/2 cup crushed Nilla wafers
For the coating
- 1 package (10 oz.) Wilton’s Red Velvet candy melt
- 1 package (10 oz.) Wilton’s Bright Pink candy melt
- 1 package (10 oz.) Wilton’s Bright White candy melt
Optional toppings
- sprinkles
Instructions
For the truffles
In a medium bowl, mix together the cream cheese, crushed candy, and crushed wafers until well combined.
With a cookie scoop, measure out each truffle and roll it into a ball, or press it into a heart shaped cake pop mold.
Note: If you are shaping them into balls and the mixture is too sticky, add a little bit of leftover crushed wafers to your hands. If you are using the mold, add a little powdered sugar to keep the mixture from sticking to the mold.
Place truffles on a waxed paper lined air tight container and place in freezer for at least an hour or overnight.
When you are ready to decorate, pick which color candy melt will be your base color and melt one cup of wafers in the microwave according to the instructions on the package.
Remove the truffles from the freezer and dip each one into candy coating mixture until all covered. I use a fork. Once covered, remove and softly tap until excess candy melt falls off. Then place truffles on a clean sheet of wax paper. I use a toothpick to slide them off the fork. Candy melt should harden fairly quickly.
Note: If melted candy is too thick for dipping add a teaspoon at a time of vegetable shortening until you get the right consistency.
Next prepare the candy melt color you are using for the drizzle, melting one cup of wafers. Fill a candy decorating bag or a Ziplock bag with the melted candy and snip off the end. Drizzle the melted candy over the tops of the truffles.
If you are adding sprinkles, do so quickly before the candy melt hardens.
When all truffles are done, keep them refrigerated. Enjoy!
Related Posts
Subscribe for New Racipies
Get mental health tips, updates, and resources delivered to your inbox.