
Maple Pecan Scones

Medically reviewed by Christiana George Updated Date: December 19, 2022
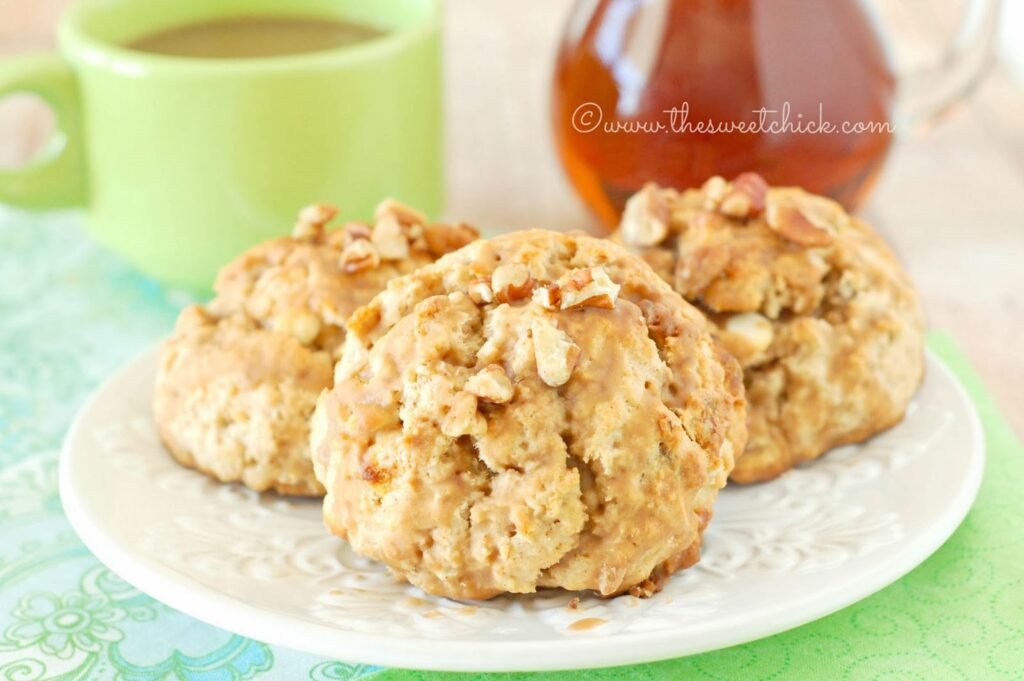
Maple season has finally started. Thank goodness, because I am all out of my father’s maple syrup. I actually had to buy a bottle of maple syrup at the grocery store to make these.

I do miss living close to my parents and popping over to their house during maple season. The smell of boiling maple water is intoxicating. And having that first sip of freshly made, piping hot maple syrup is the best. Good thing we will be heading up north again soon. My kids love being at the sugar house. And my daughter is looking forward to seeing some snow again. After spending the past week in flip flops, I sure don’t look forward to packing all our winter gear.
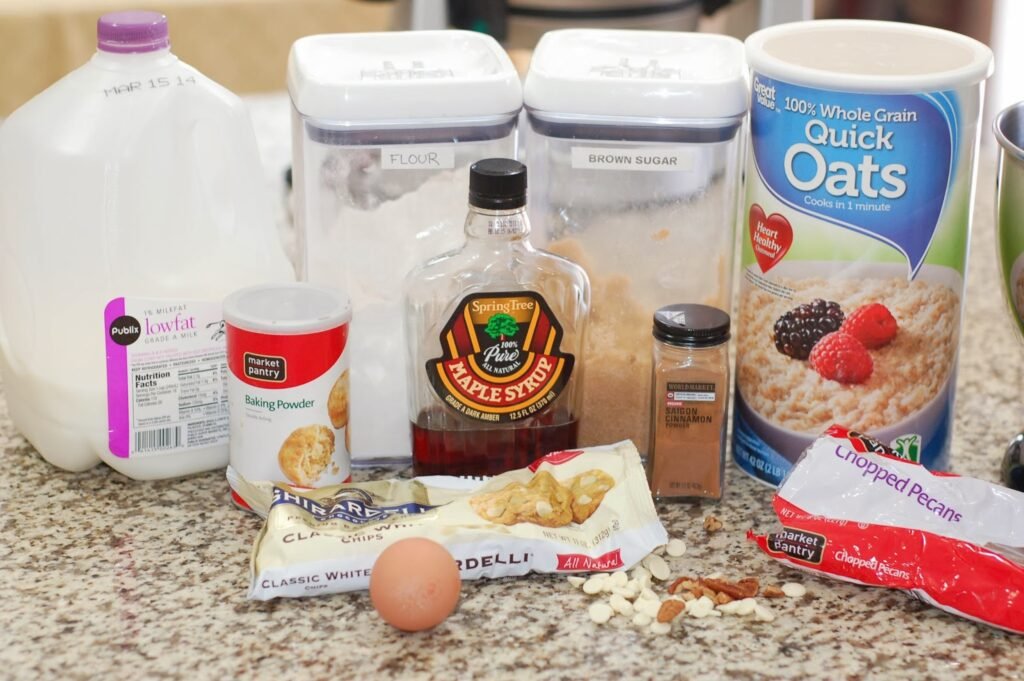
Don’t tell my dad, but the maple syrup at the grocery store was actually pretty good. I’ve been making a lot of waffles lately and the kids have been slathering them with maple syrup. They have been fortunate enough to have grown up on grandpapa’s maple syrup. They have no idea who Aunt Jemima is.
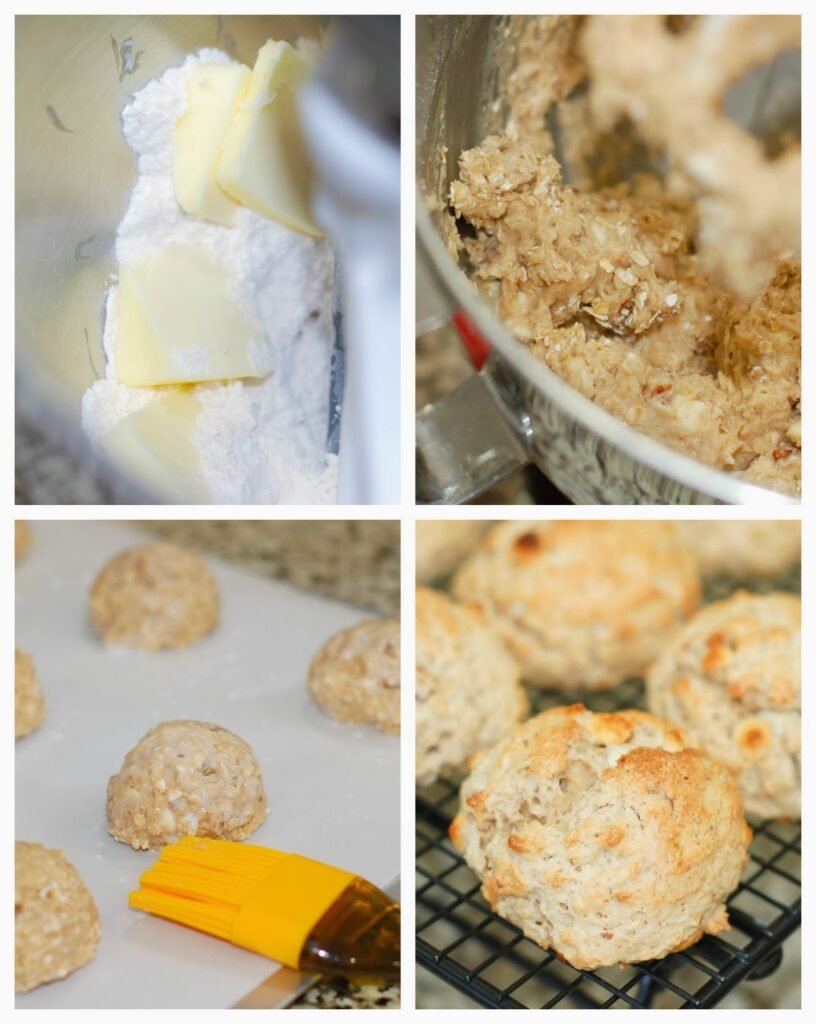
I based this recipe off my Cranberry Ginger Scones. I really love the texture the quick oats give the scones and I love how the brushed on milk gives it a nice golden color. I just replaced the honey with maple syrup and the dried cranberries and ginger chips with pecans and white chocolate chips.

For the glaze I swapped out vanilla extract for some maple extract and sprinkled a few more chopped pecans on top. I got a little lazy and didn’t place the scones on the cooling rack to drizzle on the glaze, I just did it on a sheet of waxed paper. Less to clean up.
The scones came out with just the right amount of sweetness, they are not super sweet like a dessert. They are perfect for breakfast or snack with a nice cup of coffee. The pecans give them a nice crunch and the cinnamon adds a punch of spice.
Maple Pecan Scones
by The Sweet Chick
Prep Time: 10-15 minutes
Cook Time: 13-15 minutes
Keywords: bake breakfast snack maple syrup cinnamon quick oats pecans scones American spring
Ingredients (12 scones)
For the scones
- 2 cups all purpose flour
- 1/3 cup brown sugar
- 1 teaspoon ground cinnamon
- 2 teaspoons baking powder
- 1 cup quick oats
- 1/2 cup chopped pecans
- 1/2 cup white chocolate chips
- 6 tablespoons cold butter
- 1/2 cup milk
- 1 egg
- 1/3 cup pure maple syrup
For the topping
- 2 tablespoons milk
- 1-2 teaspoons sugar
For the glaze
- 1 cup powdered sugar
- 2-3 tablespoons milk
- 1 teaspoon maple essence/extract
Instructions
For the scones
Preheat oven to 425° F.
In a stand mixer, mix flour, sugar, baking powder, oats, pecans, and white chocolate chips.
Cut up butter and add to flour mixture, mixing on low speed for 1 minute.
In a small bowl mix egg and milk until blended and add to the flour mixture.
Then add maple syrup and mix on low speed until fully incorporated. The batter will be a dough like consistency.
With a large scoop, place dough onto a greased cookie sheet. Do not flatten.
For the topping
Brush the tops and sides of each scone with milk and sprinkle with sugar.
Bake for 13-15 minutes or until toothpick inserted in middle comes out clean.
Remove from oven and carefully place scones on cooling rack with wax paper underneath. (Scones will be extra hot due to the sugar.)
For the glaze
In a small bowl whisk together powdered sugar, milk, and maple essence/extract until smooth.
Using the whisk, drizzle the scones with as much or as little glaze as you prefer.
Grab a cup of coffee. Dunk, eat, and enjoy!
Related Posts






Subscribe for New Racipies
Get mental health tips, updates, and resources delivered to your inbox.
Brioche Hamburger Buns, Or Let’s Get That Grill Fired Up


I don’t know about you, but I’ve always viewed hamburger buns as purely functional things. They’re receptacles, carb-wrappers, so you don’t get your hands dirty while eating the truly desirable bits within. Cheese, for instance, and grilled onions, and sauteed mushrooms. Oh right, and the patty too.
Buns are integral to the entire structure of the burger, yet they’ve done little to niggle my desire, warrant my enthusiasm, or raise lustful thoughts (and shouldn’t they? Given their namesake and all). Until now, that is.
These buns—blogged about by Deb and later Sara—are dreamy: as in, they bake like a dream, come together in a cinch, and their ingredients can be found in most anyone’s pantry. They’re also versatile: I chose all-purpose, whole wheat, and rye flour to go in mine, and they came out hearty but light, soft but complex. But most importantly, they raise the hamburger bun to a higher echelon, one that will no longer be left until the end as an afterthought. And is there anything worse than forcing yourself to eat afterthoughts?
You’ll be ready to fire up your grill after making these.
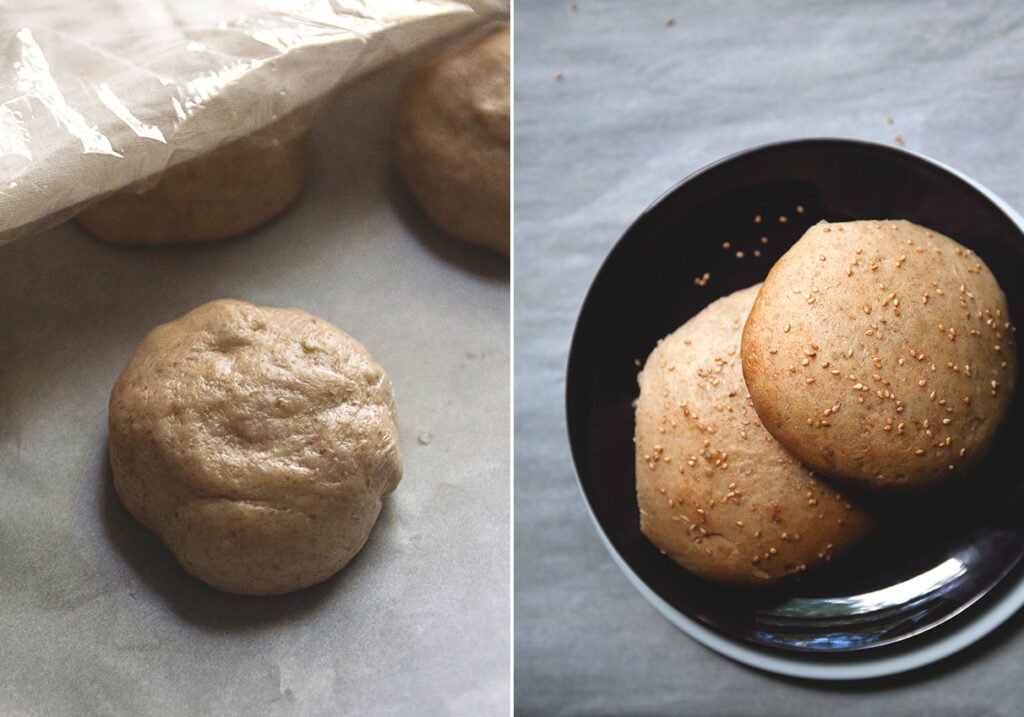
BRIOCHE HAMBURGER BUNS
Adapted from Smitten Kitchen and Sprouted Kitchen
Makes 8 regular-sized buns
Ingredients:
3 Tbsp warm milk
2 tsp active dry yeast
2-1/2 Tbsp sugar
2 large eggs
1/2 cup whole wheat flour
1/2 cup rye flour
2-1/3 cups all-purpose flour
1-1/2 tsp salt
2-1/2 Tbsp unsalted butter, softened
sesame seeds (if desired)
Directions:
In a glass measuring cup, combine one cup warm water, milk, yeast and sugar. Let stand until foamy, about five minutes. Meanwhile, beat one egg.
In a large bowl, whisk the flours with the salt. Add the butter by rubbing it into the flour between your fingers, making crumbs. Stir in the yeast mixture and beaten egg until a dough forms. Scrape onto a clean, well-floured counter and knead (by scooping it, slapping it onto the counter, and turning) until smooth and elastic (8 to 10 minutes). It should be sticky, so try not to knead in too much flour.
Shape the dough into a ball and return it to the bowl. Cover it with plastic wrap and let it rise until doubled (1 to 2 hours).
Line a baking sheet with parchment paper. Divide the dough into 8 equal balls. Gently roll each ball and arrange them 2 to 3 inches apart. Cover the baking sheet loosely and let the dough rise until doubled (1 to 2 hours).
Set a shallow pan with water in it on your oven floor or lower rack. Preheat the oven to 400 degrees Fahrenheit. Beat the other egg with 1 Tbsp of water and brush the egg wash onto the buns. Sprinkle sesame seeds on top, if using. Put the baking sheet in the oven and bake for about 15 minutes (turning halfway through), until the buns are golden-brown. Transfer to a rack and cool.
Note: I kept them in the fridge for about a week after I baked them and they still tasted good. Just heat them up on the grill or toast them right before eating.
Related Posts
Subscribe for New Racipies
Get mental health tips, updates, and resources delivered to your inbox.