
Peppermint Eggnog Fudge

Medically reviewed by Christiana George Updated Date: June 9, 2023
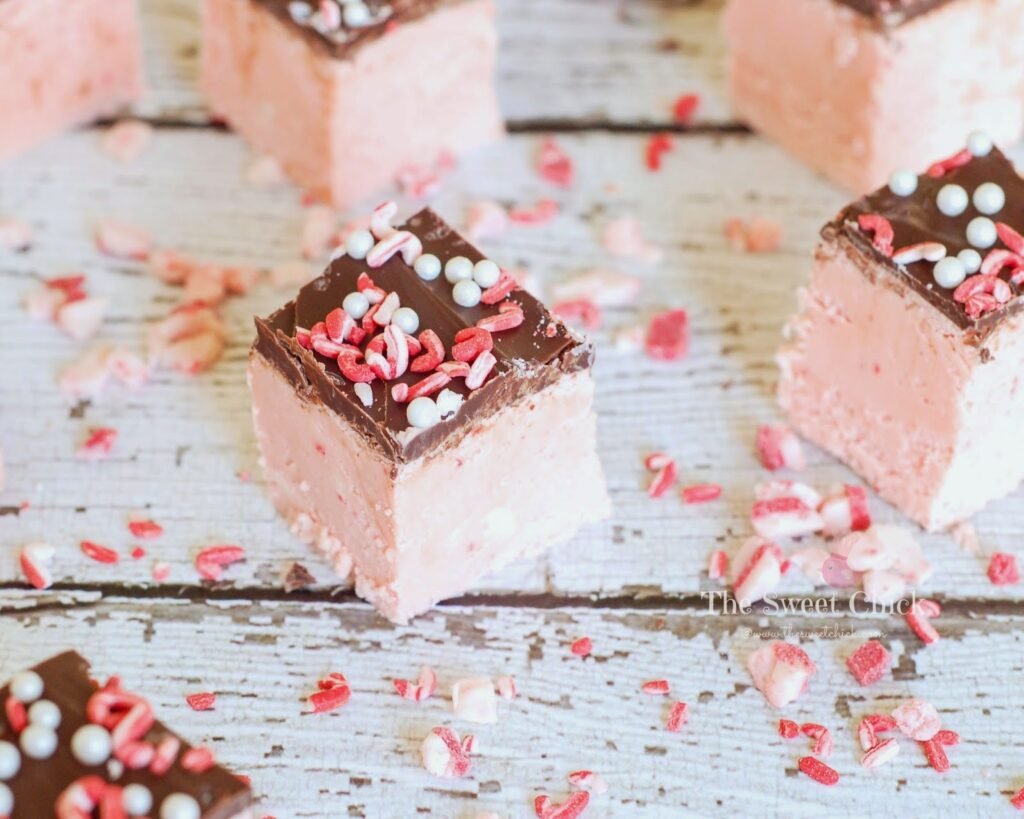

I hope everyone had a wonderful Thanksgiving holiday. We spent ours with some kind and generous neighbors this year. There was a ton of food and all of it was delicious. My plate was quite full. I also was able to get my Christmas tree up and decorated while my husband decorated outside. To get myself in the full Christmas spirit, I whipped up a batch of this Peppermint Eggnog Fudge. There’s nothing better than combining two of the most popular holiday flavors for a creamy, smooth fudge that fills your mouth with delightful mintiness.
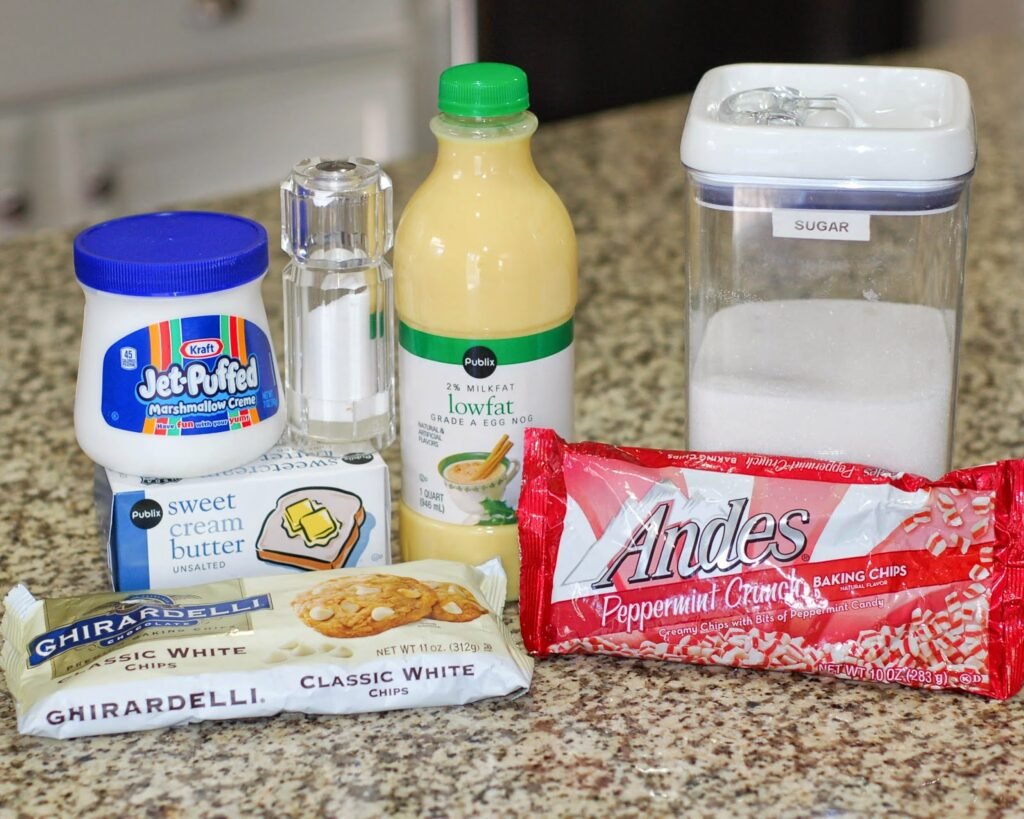
These Andes Peppermint Crunch baking chips are the best. I just eat them straight out of the bag. They are great to bake with because they melt so smoothly.

The fudge comes together pretty quickly. It just requires a little stove top work. Nothing to be scared of. You can just add sprinkles and leave the fudge as is or you can add another layer of goodness with some melted chocolate.
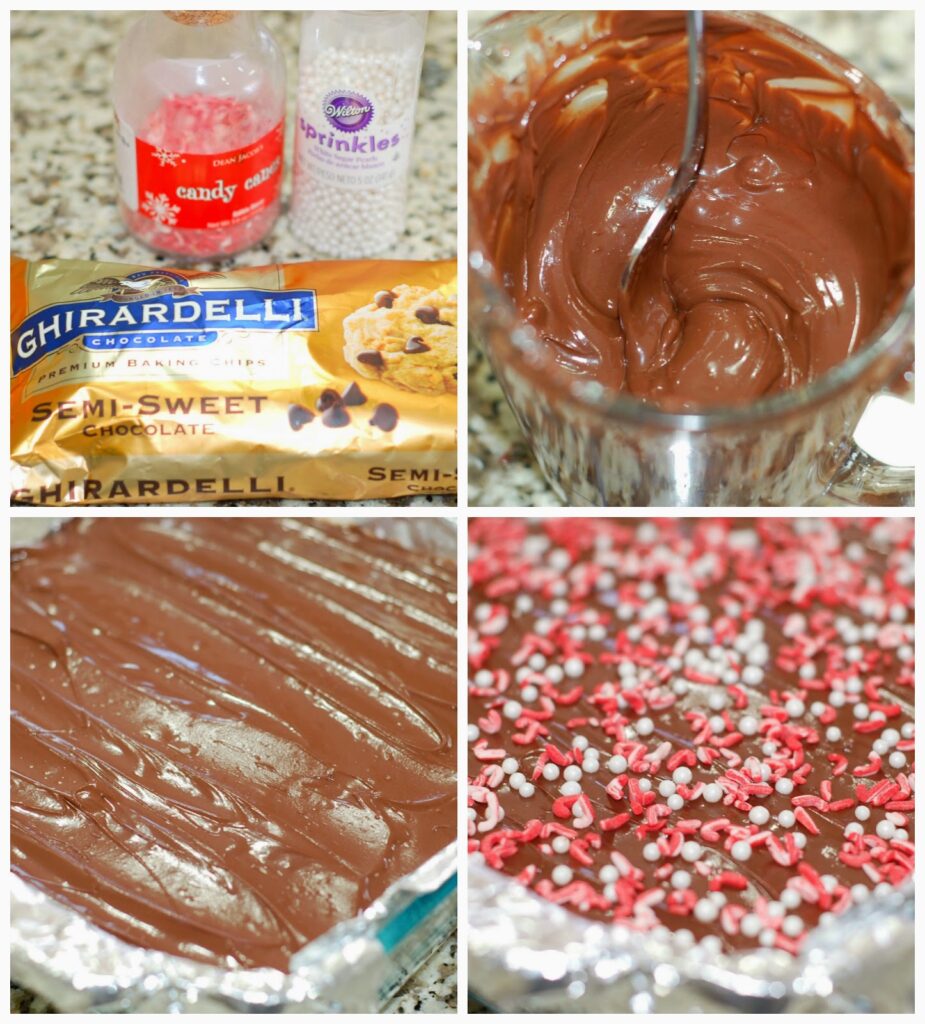
Now doesn’t that look good. I even added some peppermint flavored candy cane sprinkles to finish it off. Chocolate and peppermint go together so well.
The fudge came out with a perfect peppermint flavor with a hint of eggnog. The eggnog made it smooth and creamy while keeping the peppermint from becoming overpowering. My candy cane loving kids, husband, and neighbors loved it. However, this Peppermint Eggnog Fudge is better than candy canes because it melts in your mouth without sticking to your teeth.
Peppermint Eggnog Fudge
by The Sweet Chick
Prep Time: 20-25 minutes
Cook Time: 10-12 minutes
Keywords: stove top dessert snack peppermint egg nog marshmallow fluff chocolate Christmas fudge candy American winter
Ingredients (30-40 squares)
For the fudge
- 2 cups sugar
- 1/2 cup unsalted butter
- 1 cup eggnog
- pinch of salt
- 11oz. package white chocolate chips
- 7 oz. jar marshmallow fluff
- 1 cup Andes Peppermint Crunch Baking Chips
For the topping
- 1 cup semi-sweet chocolate chips
Instructions
For the fudge
Line a 8 or 9 inch square pan with aluminum foil and spray foil with a non-stick spray (I used Baker’s Joy).
In a medium saucepan mix together the sugar, butter, eggnog and salt. Bring to a rolling boil, stirring constantly.
Continue boiling 8 to 10 minutes over medium heat or until a candy thermometer reaches 230°F. Don’t forget to stir constantly to prevent scorching.
Once the temperature has been reached, remove from stove-top. Quickly add in white chocolate and peppermint baking chips. Stir until chocolate and baking chips are melted and smooth.
Then stir in marshmallow creme. Beat until well blended and then pour into prepared pan. You can use a spatula to smooth out the top if it doesn’t spread evenly.
Place fudge in the fridge for about 15- 20 minutes to cool and set completely.
For the topping
Once fudge has cooled, melt your chocolate chips according to instructions on package. (I like to use Ghirardelli chocolate chips because they melt easily and smoothly in the microwave. Other chocolate chips you have to melt in a bowl over boiling water on the stove-top.)
Pour the melted chocolate over the fudge and spread evenly with a spatula.
Add sprinkles to the top.
Place fudge back in the fridge for chocolate to set. Once chocolate sets, cut fudge into squares with a sharp knife.
Grab some hot cocoa with your fudge square and enjoy!
Notes
I melt my chocolate chips in a glass measuring cup in the microwave. Therefore, it’s easier to pour over the fudge.
I kept my fudge in an airtight container in the fridge, but I also placed some squares in the freezer for a week and it came out tasting just the same. Perfect for making ahead for Christmas gift packages.
Recipe adapted from Eggnog Fudge by Recipe Girl
Related Posts






Subscribe for New Racipies
Get mental health tips, updates, and resources delivered to your inbox.
Brioche Hamburger Buns, Or Let’s Get That Grill Fired Up


I don’t know about you, but I’ve always viewed hamburger buns as purely functional things. They’re receptacles, carb-wrappers, so you don’t get your hands dirty while eating the truly desirable bits within. Cheese, for instance, and grilled onions, and sauteed mushrooms. Oh right, and the patty too.
Buns are integral to the entire structure of the burger, yet they’ve done little to niggle my desire, warrant my enthusiasm, or raise lustful thoughts (and shouldn’t they? Given their namesake and all). Until now, that is.
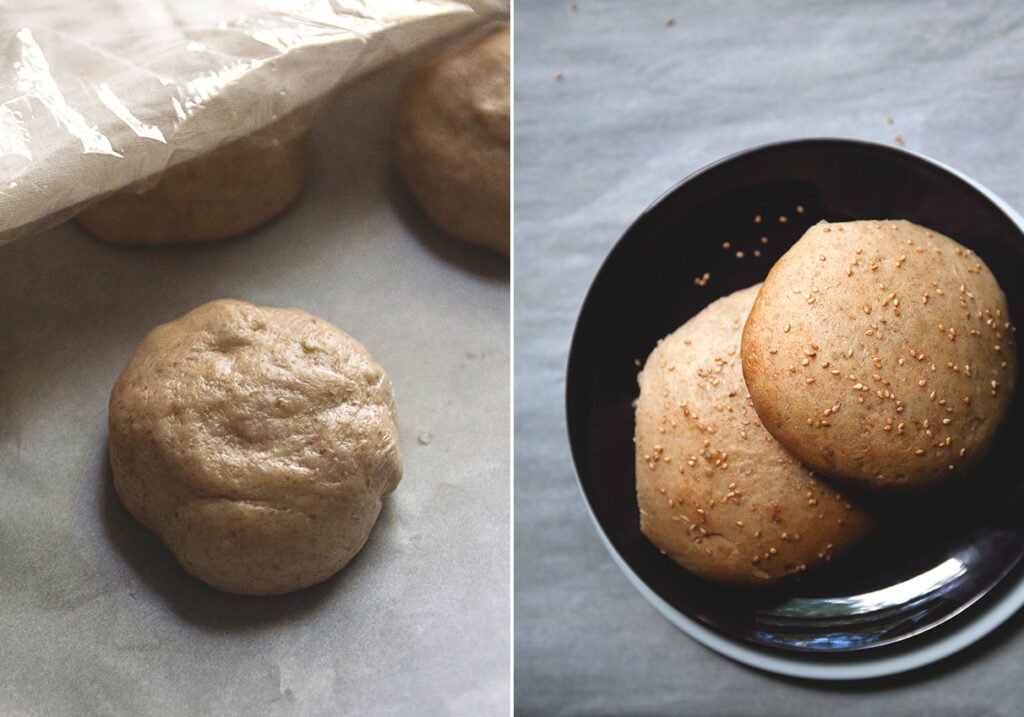
These buns—blogged about by Deb and later Sara—are dreamy: as in, they bake like a dream, come together in a cinch, and their ingredients can be found in most anyone’s pantry. They’re also versatile: I chose all-purpose, whole wheat, and rye flour to go in mine, and they came out hearty but light, soft but complex. But most importantly, they raise the hamburger bun to a higher echelon, one that will no longer be left until the end as an afterthought. And is there anything worse than forcing yourself to eat afterthoughts?
You’ll be ready to fire up your grill after making these.
BRIOCHE HAMBURGER BUNS
Adapted from Smitten Kitchen and Sprouted Kitchen
Makes 8 regular-sized buns
Ingredients:
3 Tbsp warm milk
2 tsp active dry yeast
2-1/2 Tbsp sugar
2 large eggs
1/2 cup whole wheat flour
1/2 cup rye flour
2-1/3 cups all-purpose flour
1-1/2 tsp salt
2-1/2 Tbsp unsalted butter, softened
sesame seeds (if desired)
Directions:
In a glass measuring cup, combine one cup warm water, milk, yeast and sugar. Let stand until foamy, about five minutes. Meanwhile, beat one egg.
In a large bowl, whisk the flours with the salt. Add the butter by rubbing it into the flour between your fingers, making crumbs. Stir in the yeast mixture and beaten egg until a dough forms. Scrape onto a clean, well-floured counter and knead (by scooping it, slapping it onto the counter, and turning) until smooth and elastic (8 to 10 minutes). It should be sticky, so try not to knead in too much flour.
Shape the dough into a ball and return it to the bowl. Cover it with plastic wrap and let it rise until doubled (1 to 2 hours).
Line a baking sheet with parchment paper. Divide the dough into 8 equal balls. Gently roll each ball and arrange them 2 to 3 inches apart. Cover the baking sheet loosely and let the dough rise until doubled (1 to 2 hours).
Set a shallow pan with water in it on your oven floor or lower rack. Preheat the oven to 400 degrees Fahrenheit. Beat the other egg with 1 Tbsp of water and brush the egg wash onto the buns. Sprinkle sesame seeds on top, if using. Put the baking sheet in the oven and bake for about 15 minutes (turning halfway through), until the buns are golden-brown. Transfer to a rack and cool.
Note: I kept them in the fridge for about a week after I baked them and they still tasted good. Just heat them up on the grill or toast them right before eating.
Related Posts
Subscribe for New Racipies
Get mental health tips, updates, and resources delivered to your inbox.