
Red Velvet Brownie Krispie Treats

Medically reviewed by Christiana George Updated Date: December 15, 2022

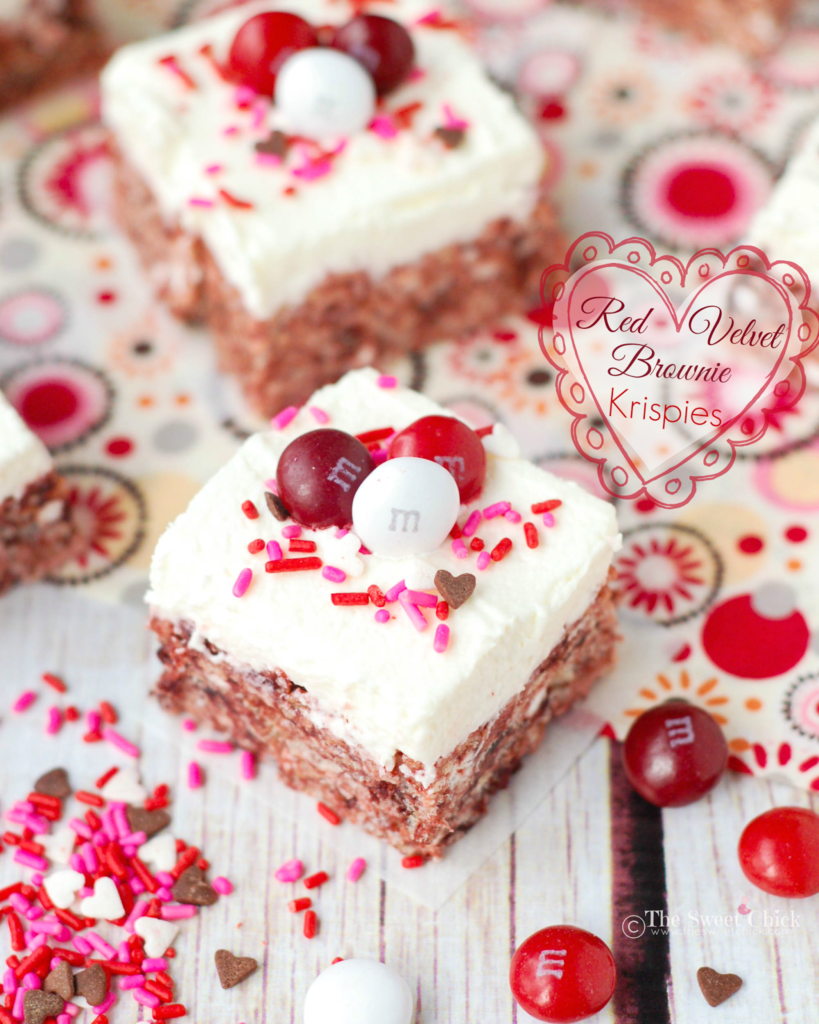
So what do you do when you have a box of Red Velvet Brownie mix? You make brownies, then crumble them up and throw them in your Rice Krispies Treats, right? Perhaps that’s just my crazy thinking, but these Red Velvet Brownie Krispies bring Rice Krispie Treats up another notch in my book. These treats are filled with chunks of red velvet brownies and topped with my favorite mascarpone frosting and some Red Velvet M&M’s. They are perfect for those upcoming Valentine’s parties at school, or just to make for your sweetheart.
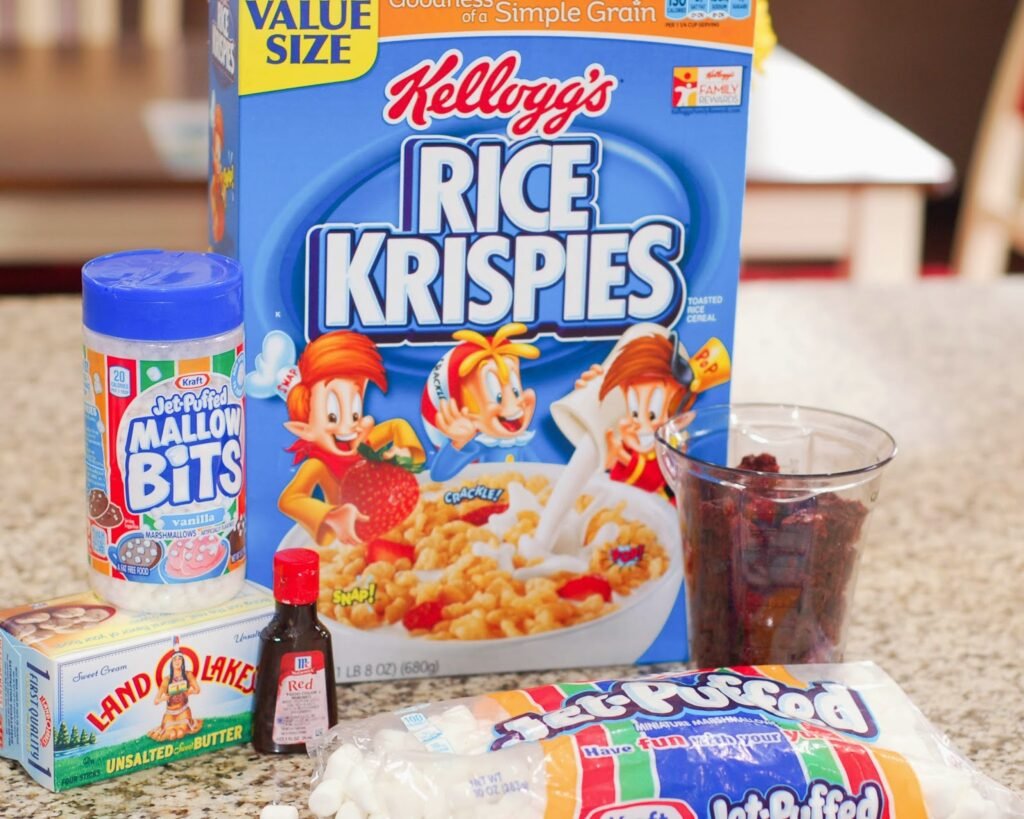
You will need 2 cups of broken up brownies for these treats. That leaves plenty to munch on while you put things together.

Although I normally bake my brownies more cake-like, this time I just made them the regular way. Then I cut some pieces and broke them apart by hand. Kinda messy, but you get to lick your fingers after. I added a few drops of red food coloring to the melted marshmallows to ensure a nice even color for the treats.

I know people usually top red velvet with a cream cheese frosting or glaze, but I really like a freshly whipped mascarpone frosting. It’s light, and not too sweet. I also found some Red Velvet M&M’s at Walmart to finish off the top. They do taste like red velvet, but if you eat too many, they start to leave a chemical taste in your mouth. So three per treat, is a good number.
The treats themselves have a mild red velvet flavor, which I like. They are not overdone. I like randomly biting into a piece of brownie. The fluffy frosting goes well with the crunchy cereal and the M&M’s do enhance the overall red velvet experience. I brought them to the bus stop yesterday for the kids and moms to try. Everyone gave them a thumbs up, including my kids. Now I have another successful Rice Krispie Treat flavor to add to my arsenal. Because as you know, you can never have too many.
Red Velvet Brownie Krispies
by The Sweet Chick
Prep Time: 20 minutes
Cook Time: 5 minutes
Keywords: no bake dessert snack red velvet brownies rice krispies marshmallows Red Velvet M&Ms Valentine’s Day rice krispie treats bars American
Ingredients (24 squares)
For the treats
- 4 tablespoons butter
- 6 cups mini marshmallows
- 2 cups crumbled red velvet brownies
- 1/2 cup Jet-Puffed Mallow Bits
- 6 cups Rice Krispies cereal
- 2-3 drops red food coloring
For the frosting
- 1 cup heavy cream
- 8 oz. mascarpone cheese, room temperature
- 1/2 cup confectioners’ sugar
Additional Toppings
- Valentine’s sprinkles
- Red Velvet M&Ms
Instructions
For the treats
In a large sauce pan, melt butter and marshmallows over low heat. Stir until completely melted.
Remove from heat and add the food coloring. Stir until well blended.
Then add the crumbled brownie pieces, Mallow Bits, and Rice Krispies. Stir until completely incorporated.
Pour the mixture into a greased 9 x 13 pan or a cookie sheet and spread it evenly with a piece of greased waxed paper.
Allow to cool at room temperature or place in fridge to cool quickly.
For the frosting
With a stand mixer on medium to medium/high speed, whisk heavy cream until stiff peaks form (be careful not to overbeat, or cream will be grainy).
In another bowl, blend together mascarpone and confectioners’ sugar until smooth.
Gently fold the whipped cream into the mascarpone mixture until completely incorporated.
Spread the frosting evenly over the cooled treats with a spatula.
For additional toppings
Add sprinkles and place treats in fridge to cool (about 10-15 minutes).
Cut treats into squares with a sharp knife, wiping down knife after every cut. Keep treats refrigerated in an airtight container.
If you are adding M&Ms, add them just before serving, as the candies tend to discolor in the fridge.
Notes
For better success with whipping the cream, place mixer bowl and whisk in the freezer for about 15 minutes before using.
Related Posts






Subscribe for New Racipies
Get mental health tips, updates, and resources delivered to your inbox.
Pumpkin Pops

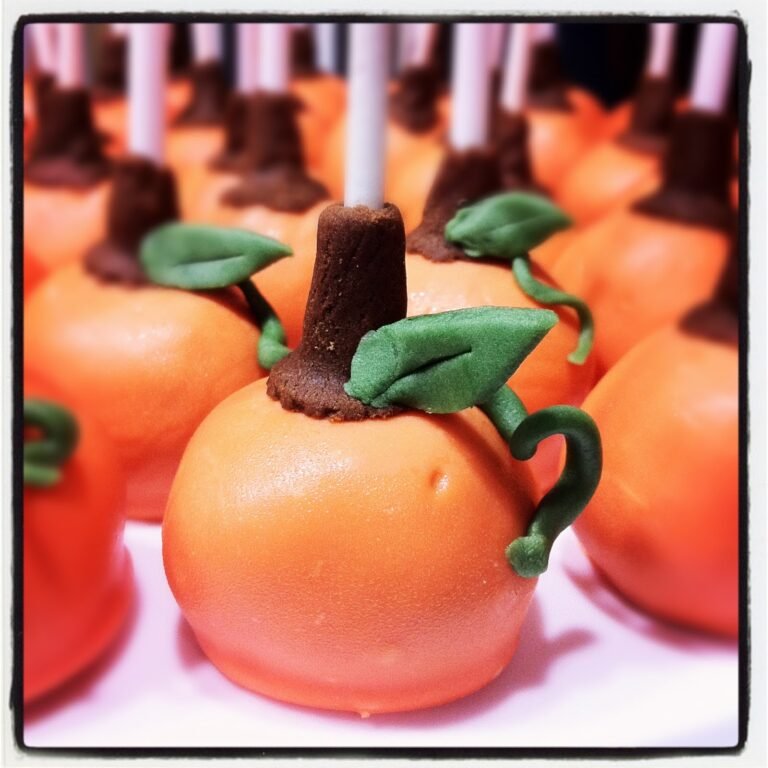

My daughter needed to do a project about pumpkins for school, so I decided to do a remake of pumpkin pops I made a while back. Instead of making cake balls, I used the Oreo and cream cheese recipe from the Cupcake Pops I previously made.
Pumpkin Pops
adapted from My Little Cupcake and Bakerella
Supplies:
1 pkg. Oreo cookies
1 – 8 oz. pkg. cream cheese
Orange candy melt
Lollipop sticks
Brown fondant
Green fondant
Directions:
Grind Oreo cookies in a food processor and hand mix or use stand mixer to combine with cream cheese until it becomes a dough like consistency. Roll Oreo mixture into quarter size balls and place in airtight container lined with wax paper. Places the container in the refrigerator overnight to set.
After the balls are set, melt candy in the microwave as per directions on package. (30 second intervals , stirring in between)
Remove Oreo balls from the refrigerator and insert lollipop sticks into each ball. Dip the Oreo balls into candy coating until all covered. Once covered, remove and softly tap and rotate until excess candy melt falls off. Don’t tap too hard or the Oreo ball will fall off , too. Then place pops on wax paper, stick facing upwards.
Once candy melt has hardened, it is time to decorate. Use brown fondant to create a stem for the pumpkin. Shape by hand. Cut green fondant into leaves and strips that can be rolled into vines. Carefully attach leaves and vines to the stems.
Makes about 24 pops. Pumpkin Pops can be made ahead of time and refrigerated for 3-4 days.
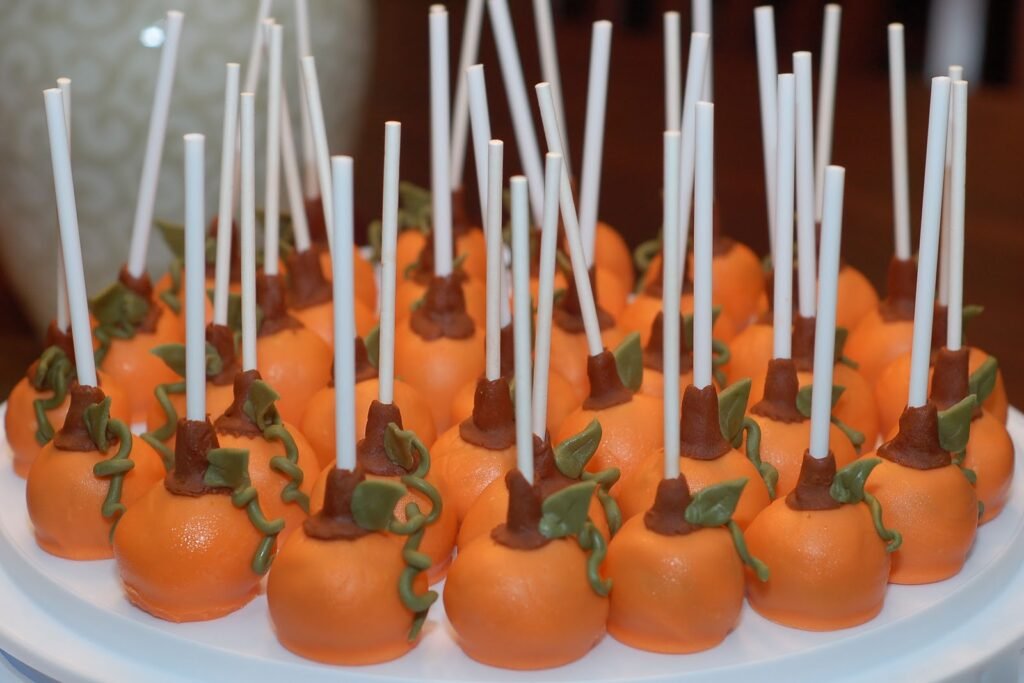
They taste delicious and all the kids in my daughter’s class loved them. I think I like them better with Oreos and cream cheese.
Related Posts
Subscribe for New Racipies
Get mental health tips, updates, and resources delivered to your inbox.