
Hazelnut Caramel Coffee Macarons

Medically reviewed by Christiana George Updated Date: January 2, 2026
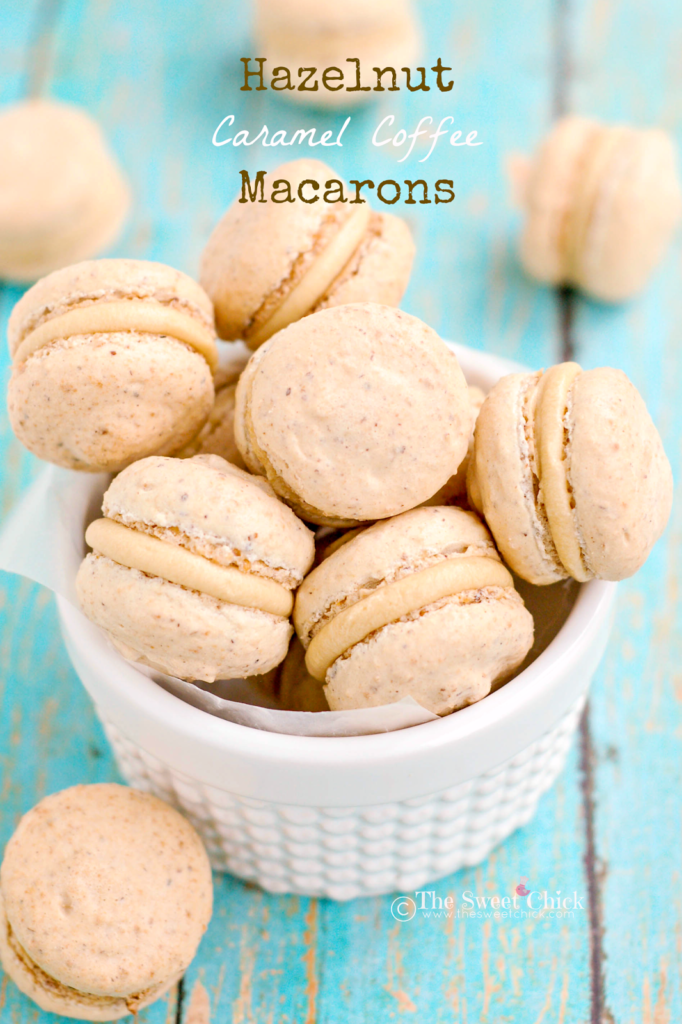
Mother’s Day is coming up this weekend. How about baking her something special instead of buying something? I know french macarons may look intimidating to make, but if I can make them while being interrupted fifty times by a four year old, you can certainly make them. These Hazelnut Caramel Coffee Macarons are worth the effort. They taste like one of those ridiculously expensive gourmet flavored coffees and they are so light and airy, you can’t eat just one. I know my mom would love to receive these on Mother’s Day.
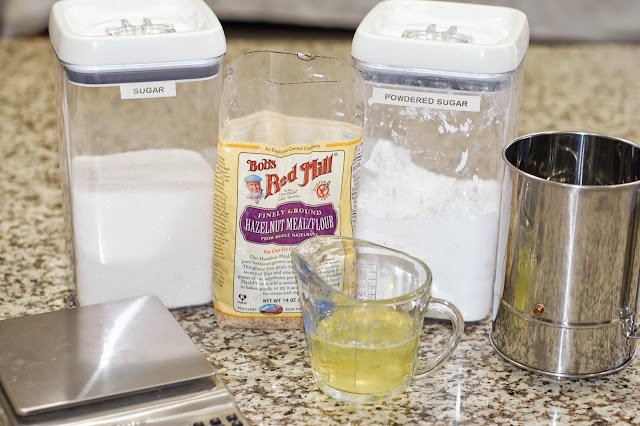
This was my first time using hazelnut flour to make macarons. The nice people over at Sidechef com sent me a little care package for being one of their featured bloggers. One of the items inside the box was this bag of hazelnut meal/flour. I couldn’t wait to use it. I love hazelnuts and I love Bob’s Red Mill products. I have used their almond flour to make my Conversation Heart and Churro Macarons, their coconut flour to make my Maple Pumpkin Chocolate Chip Cookies, and their rolled oats to make most of my muffins and some of my scones. So thanks Side Chef for some great stuff!
Have you guys checked out the SideChef app yet? You should, it’s free and it gives you step-by-step instructions with photos to help you make the recipes. It even talks you through it and has timers when needed. How cool is that? Some even have videos. Sometimes it’s nice to have some help in the kitchen.

Besides changing out the flour, I also used fresh egg whites this time as opposed to the boxed ones. Wow! What a difference it made. My meringue was much thicker and fluffier. Lesson learned, use fresh. I suppose I should have pulsed the hazelnut flour in the food processor a bit by itself to make the pieces finer, so the final product would be smoother. Oh well. My piping skills are also not the greatest. I definitely would not make it as a pastry chef. Neither of these things will matter in the end, because it’s all about the taste. I did taste the shells by themselves before I filled them and quite honestly, I could have eaten them all just as they were. The hazelnut flavor is so heavenly.
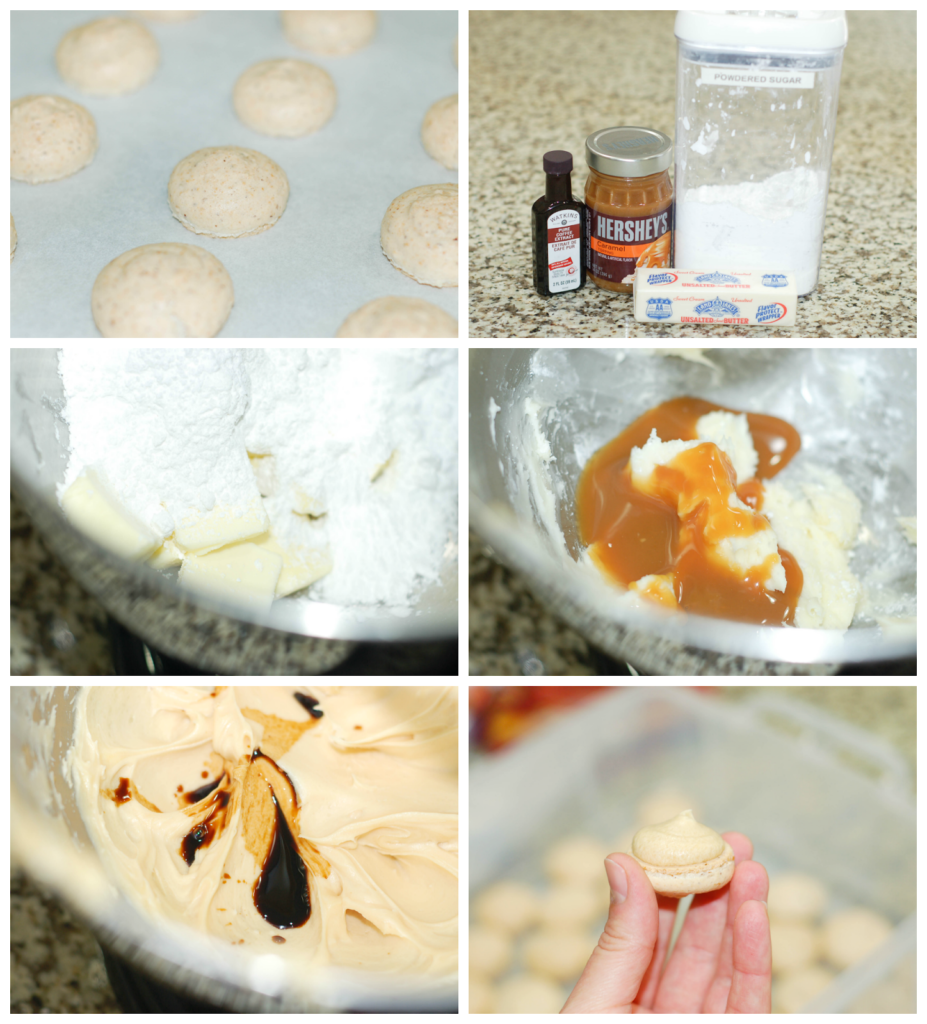
But I am glad I went ahead and made the filling. This caramel coffee buttercream is amazing. The caramel and coffee flavors work so well together and the buttercream is so creamy. It was really hard not to just grab a spoon and eat it all. I am definitely going to make this again to top some cupcakes. By the way, the coffee extract I used is Watkin’s. I found it a Walmart.
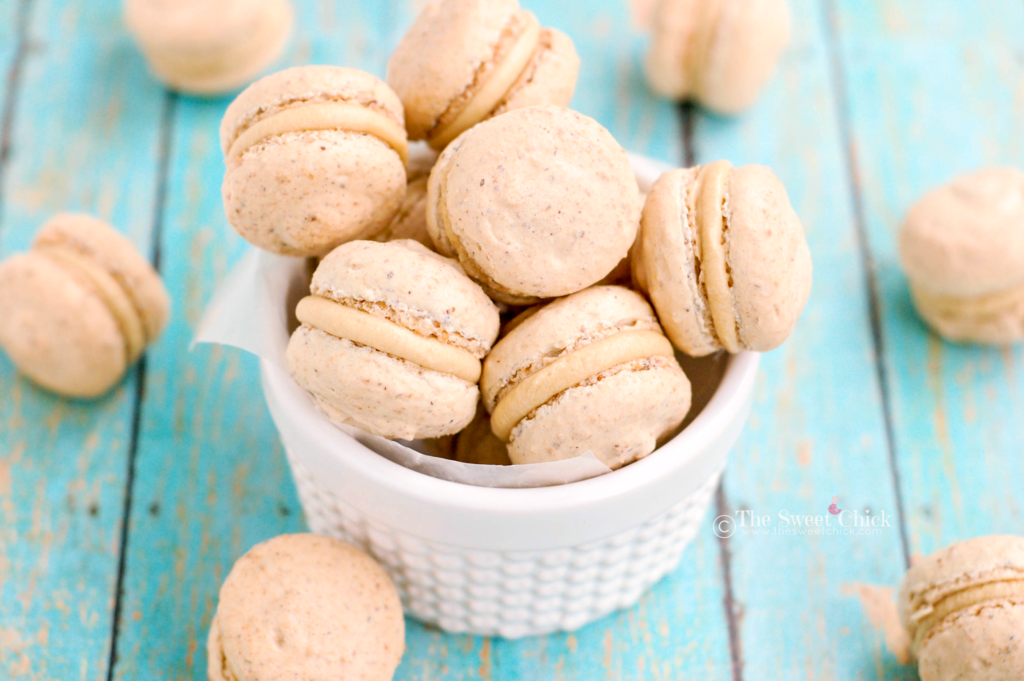
Putting aside my bad piping skills and slightly lumpy shell exterior, these Hazelnut Caramel Coffee Macarons are little nuggets of pure bliss. The shell is slightly crispy on the outside, chewy on the inside. The caramel coffee filling accents the hazelnut macarons perfectly.
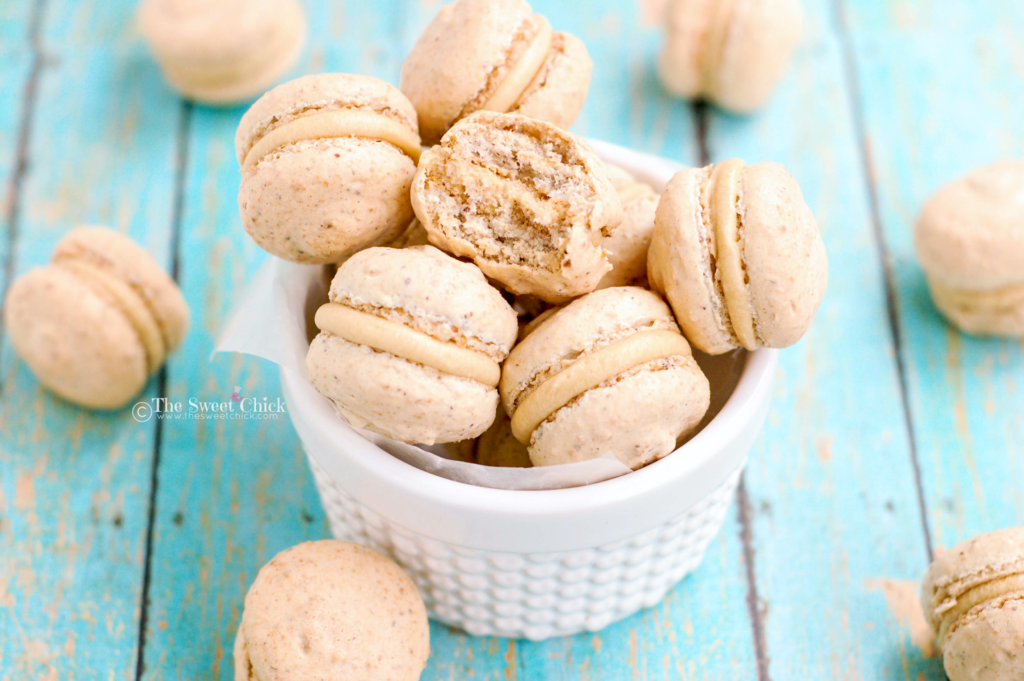
Now I thought the coffee flavor would make the kids stay away and let the adults enjoy these treats. Nope. The neighborhood kids loved them. And even my picky eating son kept asking for more. Thank goodness this recipe makes a huge batch. If your mom likes hazelnuts and flavored coffee, you’ve gotta make her these Hazelnut Caramel Coffee Macarons. She will thank you.
Hazelnut Caramel Coffee Macarons
by The Sweet Chick
Prep Time: 2 1/2 hrs
Cook Time: 10-15 min
Keywords: bake dessert snack egg whites hazelnut flour caramel topping coffee extract macarons French
Ingredients (50 macarons)
For the macarons
- 7 oz. powdered sugar, divided
- 4 oz. hazelnut flour/meal
- 4 large ( 4 oz.) egg whites, room temperature
- 3 1/2 oz. granulated sugar
For the filling
- 1 cup butter, softened
- 2 cups powdered sugar
- 1/2 cup caramel topping ( I used Hershey’s)
- 1 teaspoon coffee extract (I used Watkin’s)
Instructions
For the macarons
Prepare circle templates (I made 1 1/2 in circles on a piece of paper a 1/2 inch apart.) and line baking sheets with parchment paper, placing template under parchment.
In a food processor, pulse 1/3 of the powdered sugar and all the hazelnut flour to form a fine powder. Then sift sugar mixture 2 times. Sift remaining powdered sugar 2 times also. In a large bowl combine hazelnut flour mixture and remaining powdered sugar.
Add egg whites to stand mixer bowl with whisk attachment. Whisk whites on medium speed until foamy. Then gradually add the granulated sugar. Once all sugar is added, scrape down the sides of the bowl. Increase mixer speed to high and whisking until stiff, firm, glossy peaks form.
Next sift the powdered sugar mixture 1/3 at a time over the egg white mixture and carefully fold using a large silicone spatula until mixture is smooth and shiny. Repeat process for the remaining 2/3 of the powdered sugar mixture.
Place the macaron mixture into a piping bag with a round tip ( I used Ateco # 805 or you can use #806). With piping tip 1/2 inch above the template , pipe 1 1/2 inch circles onto parchment paper lined baking sheets. Once finished gently tap baking sheet on your work surface to release and air bubbles and help form the “feet” of the macarons.
Let macarons stand at room temperature for 30 minutes. (Yes, you have to do this.)
During this time, preheat oven to 375°F. Macarons will be ready to bake when they no longer stick to your finger when lightly touched. (Do not forget to remove the template paper before baking.)
When ready, bake the macarons at 375°F for 10-15 minutes. (Mine took 10 minutes.) Rotate baking sheets halfway through to promote consistent baking. Macarons will be ready when they are crisp and firm.
Remove from oven and let cool for 2-3 minutes. Then carefully remove the macarons from parchment paper and place on a wire rack to cool completely.
For the filling
In a stand mixer, cream together the butter and powdered sugar, until smooth.
Next add the caramel topping and mix well.
Then add the coffee extract and mix until fully incorporated. ( I wanted my buttercream to be really firm to pipe it properly so I popped it in the fridge for 15 minutes before using it.)
Place filling in a piping bag with round tip (I used Ateco #804 or you can use Wilton #2A).
Pipe filling onto one macaron and then sandwich it together with another one. Repeat for remaining macarons.
Macarons should be placed in the fridge for 24 hours before eating. This is how they mature and reach their full flavor. You can eat one right away, but when you eat one the next day it will be so much better. Be patient.
Notes
You will need a kitchen scale and sifter for this recipe.
Macarons can be kept sealed in an airtight container up to 1 week in the fridge.
Macaron recipe adapted from Sur La Table
Disclaimer: This is not a sponsored post. Although SideChef.com sent me the product I used to make the macarons, I was under no obligation to create a recipe or review it. I simply liked the product and was excited to use it. All thoughts and opinions are my own.
Related Posts


Subscribe for New Racipies
Get mental health tips, updates, and resources delivered to your inbox.
My Lasagna


I am by no means a great cook. I have had my fair share of mishaps in the kitchen. I have over- seasoned, under-seasoned, burnt, dried, or completely trashed some meals ( ok, my husband would probably say more than some, but he is no one to talk, since he has had mishaps too). But once in a blue moon I do get it right and come out with something delicious. I decided to make lasagna the other night and really took my time to get it right and make it flavorful. No one likes bland lasagna. And my husband is pretty picky about his lasagna. So this is what I came up with:
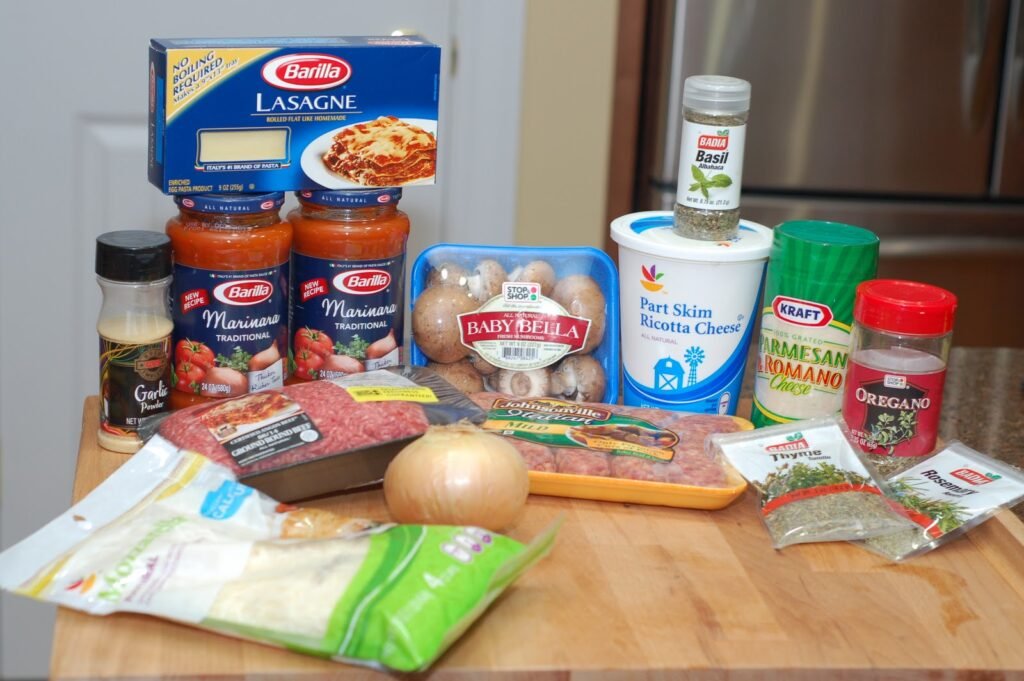
(I forgot to put eggs and butter in the picture. I seem to be on a role of forgetting things lately. That’s what happens with 2 little ones running around the kitchen, while I am cooking. Oh well, as long as I don’t forget to put them in the recipe.)
My Lasagna
Ingredients
- 1 box (9oz) Barilla lasagne (no-boil kind)
- 1 lb ground beef
- 3 Italian sausages
- 2 eggs
- 1 container (15 oz) ricotta cheese
- 1 cup parmesan/romano grated cheese
- 1 1/2 cup sliced baby portabello mushrooms
- 1/2 medium onion, diced
- 1 tbsp butter
- 4 cups (16 oz) mozzarella cheese
- 1 tsp dried oregano
- 1 tsp dried basil
- 1 tsp dried rosemary
- 1 tsp dried thyme
- 1/2 tsp garlic powder
- 2 jars marinara sauce
Cooking Directions
- Preheat oven to 375 degrees.
- Take casings off the 3 sausages by cutting a slit at the top and squeezing out the insides into a pan. Crumble them up with the ground beef and cook until brown. Then drain and set aside.
- In another pan place 1/2 tbsp butter and the sliced mushrooms, cook on medium/high until soft and set aside.
- Use same pan add the other 1/2 tbsp butter and the diced onion. Cook on medium/high until soft and golden brown.
- In a medium bowl, beat the eggs, then stir in the ricotta, 2 cups of mozzarella, and the parmesan/romano cheese. Then add the onion, all the dried spices and the garlic powder. Mix until all is well blended.
- Then it’s time to start layering. First I lined my 13 x 9 pan with Reynolds’ Non-Stick Pan Lining Paper. Then spread 1 cup sauce on bottom.
- Layer 4 uncooked pasta sheets, 1/3 cup ricotta mixture, half browned meat, 1 cup mozzarella and 1 cup sauce.
- Layer 4 uncooked pasta sheets, 1/3 cup ricotta mixture, cooked mushrooms, 1 1/2 cups sauce.
- Layer 4 uncooked pasta sheets, the remaining ricotta mixture and browned meat, and 1 cup sauce.
- Layer 4 uncooked pasta sheets, the remaining sauce, and 1 cup mozzarella.
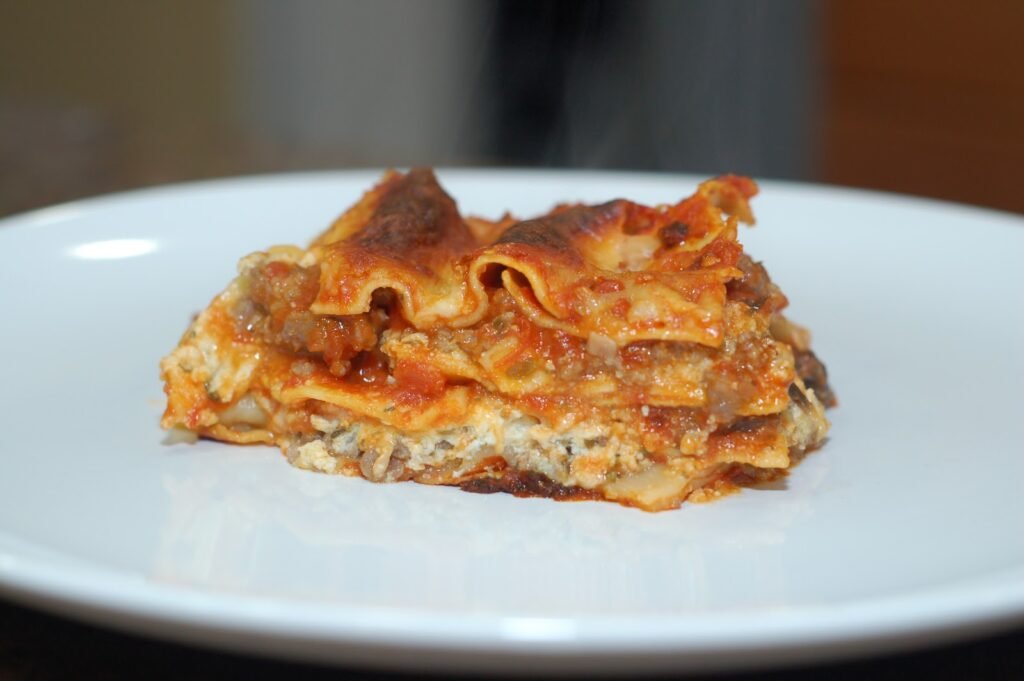
- Bake covered with foil until bubbly, about 50-60 minutes. Then uncover and continue cooking until cheese is melted, about 5 minutes. (I leave mine uncovered, I like the top crunchy)
- Let stand for about 15 minutes. Then cut and serve. Makes about 12 servings.
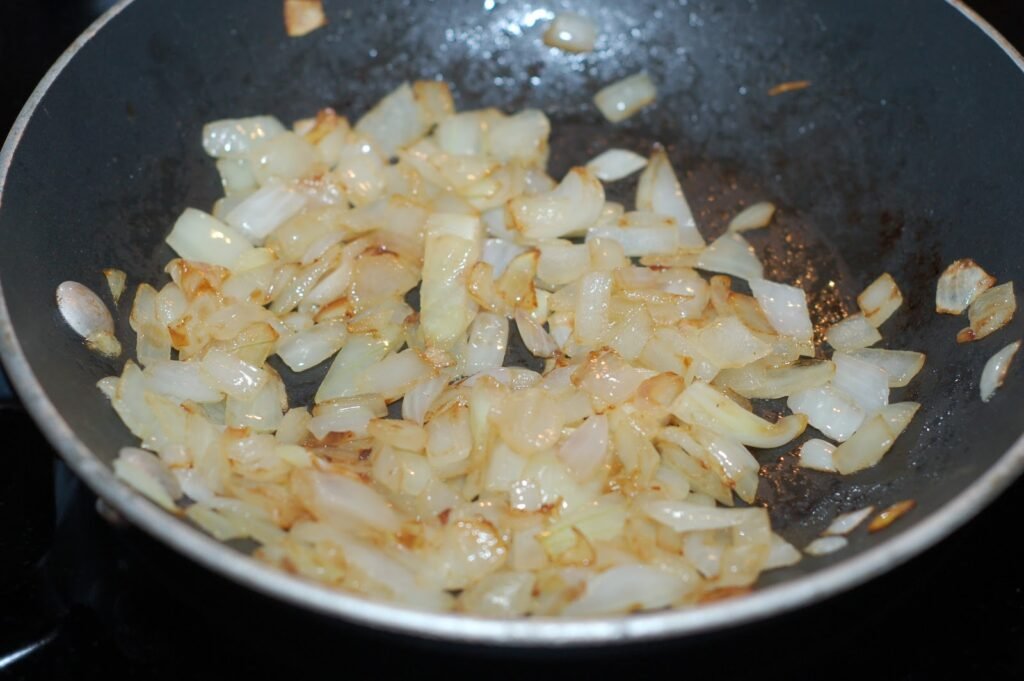
Carmelized onions add so much flavor to recipes. And they are so easy to cook.
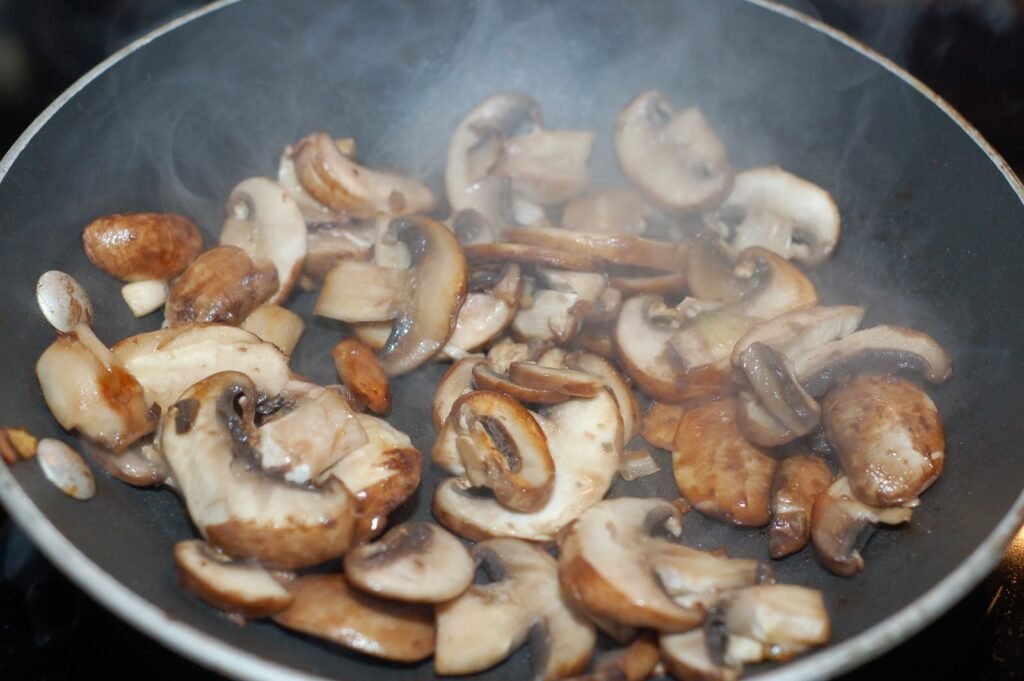
I love mushrooms and so do my husband and daughter so we use them a lot in recipes.
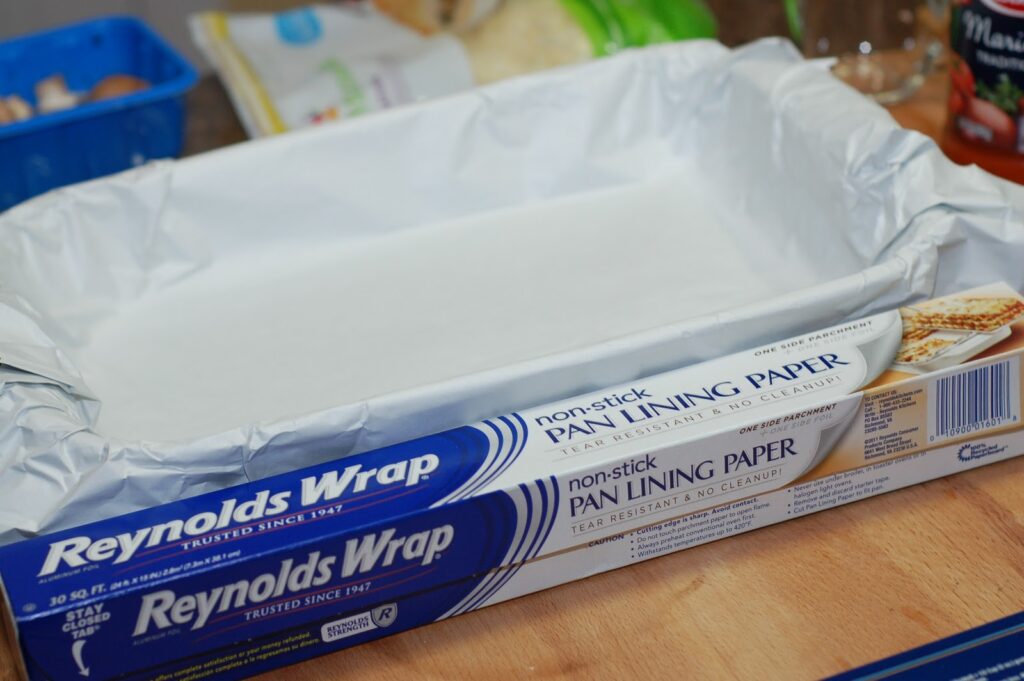
I had a coupon for this pan liner and wanted to try it out. I hate scraping dried lasagna.
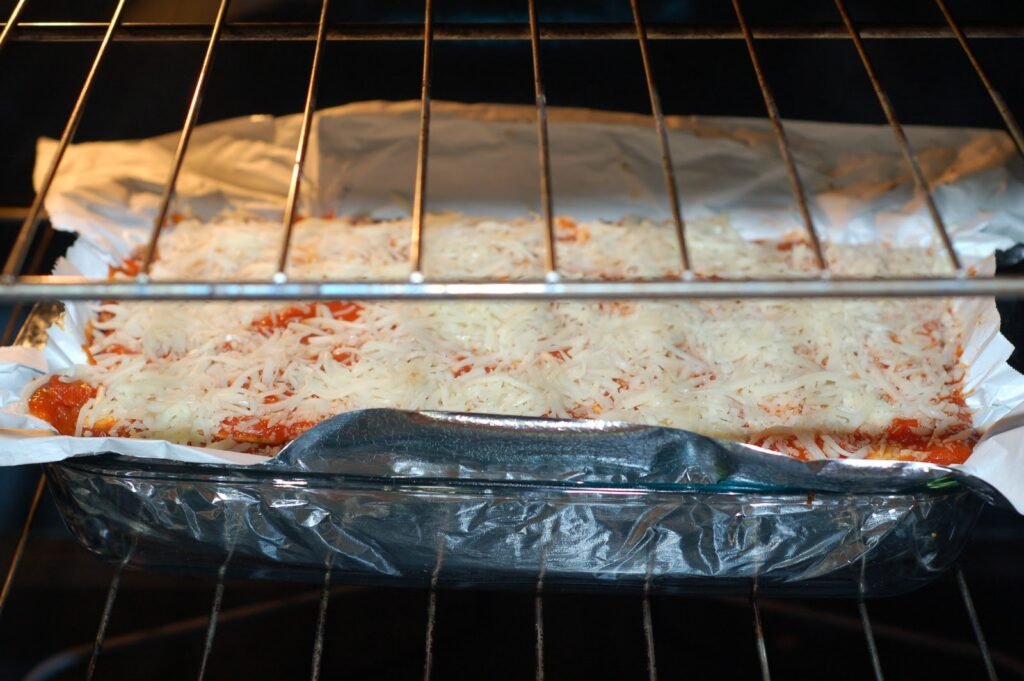
I don’t put a foil on top when I bake the lasagna, but if you like your cheese nice and soft go right ahead and foil it.

Otherwise it turns out like this, which is the way I like it. By the way, the liner worked great. Saved a lot of time in the clean up. Hubby really enjoyed this lasagna, so this recipe is a keeper.
Related Posts
Subscribe for New Racipies
Get mental health tips, updates, and resources delivered to your inbox.