
Sweet Treat Bouquet

Medically reviewed by Christiana George Updated Date: January 6, 2026

I had put this basket together for the 4th of July picnic I attended this year. I wanted something fun and different. It ended up being very popular and was all eaten by kids as well as adults. The project was a little time consuming, but I didn’t do it all in one day.

The stars are Rice Krispie treats cut out with cookie cutters and decorated with candy coating and sprinkles like I did here. I made them a few days ahead of time. They keep well in the fridge.

I also found star shaped marshmallows that worked well with this project. But I could have just as well used regular or mini marshmallows or colored mini marshmallows.

The round and cone shaped pops at the bottom are made with Oreo/cream cheese mixture dipped in candy coating and decorated with sprinkles like I made here, here, and here. They also keep well in the fridge once made. I used My Little Cupcake molds to get the shapes.

On the day of the party I put together the bouquet. I used wooden skewers (like you use for shish kabos) for the Rice Krispie treat stars and added blueberries and star marshmallows to keep it together. The Oreo pops I had already put on popsicle sticks before I dipped them in candy coating. My plan had been to put them all on the wooden skewers, but soon learned that the Oreo pops just fall right off the skewers. Lesson learned. I put a piece of styrofoam at the bottom of my basket to poke all the skewers and lollipop sticks into and just covered it with tissue paper.
This project is easily adaptable to any party. With a change of color accents or a change of shape in Rice Krispie treats the possibilities are endless. Even if you don’t want to make the Orea pops, you can replace them with candy coated fruit like strawberries or melon balls on sticks.
I think I may have to make one for a Halloween party. Picture this, pumpkin oreo pops with Rice Krispie treats shaped like skulls or monster faces. I can use the cone shapes to make witches hats. See what I mean, the possibilities are endless.
Related Posts




Subscribe for New Racipies
Get mental health tips, updates, and resources delivered to your inbox.
Red Velvet Cake Balls


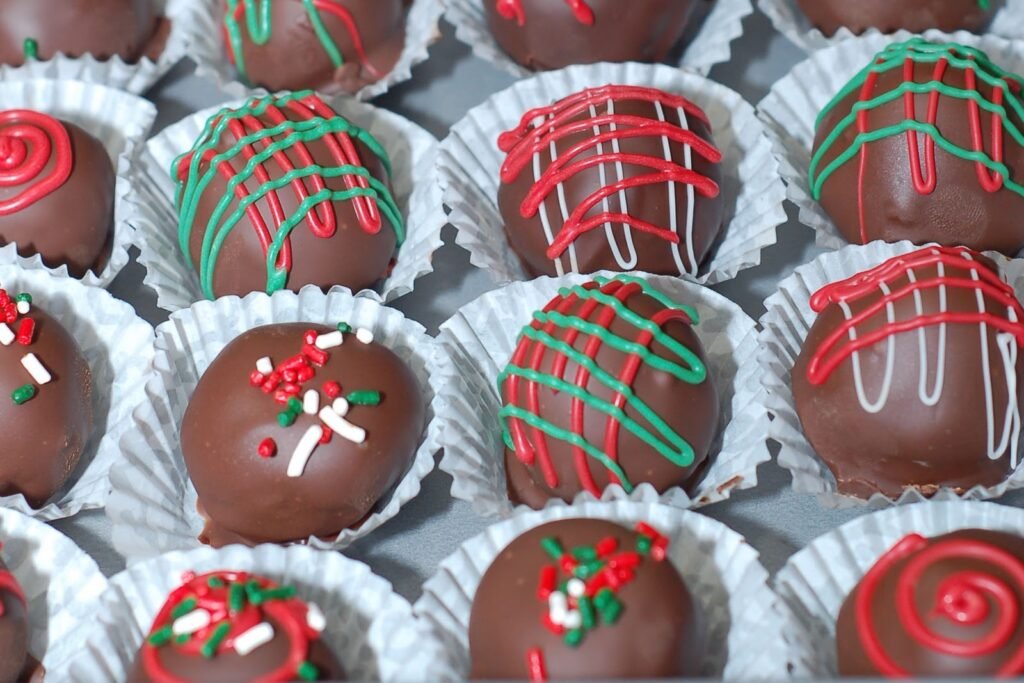
I hope everyone had a lovely Christmas. I sure did, although it was quite hectic. I was planning on talking about cake balls before the holiday, but just didn’t have time. But now I have some time to share this great recipe.
I have been making Red Velvet Cake Balls for the past 2 years now, since I found them on Red Velvet Cake Balls. They are pretty simple to make and I always get compliments on them. Bakerella is a very talented woman. It is amazing what she can do with cake balls. Check out her site, if you haven’t already.
There are not many ingredients. A cake mix, pre-made frosting, and some candy melt. Easy peasy.


So far I have found that only Duncan Hines makes a Red Velvet Cake Mix and Cream Cheese Frosting and not all stores carry them. I always find mine at Price Chopper.

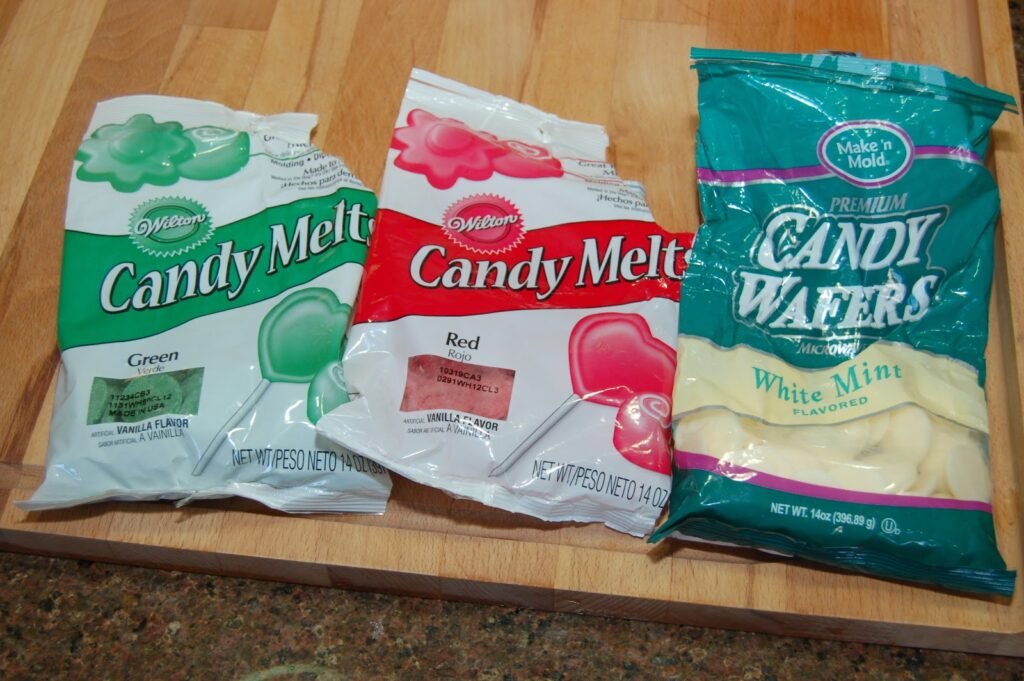
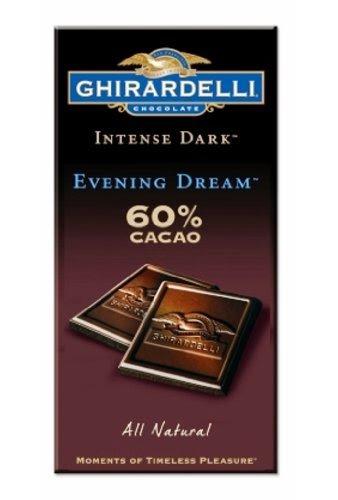
I usually dip the cake balls is a mix of dark cocoa candy melt and a bar of dark chocolate like Ghiradelli for a more intense chocolate taste, but a hard candy coating. And since I usually do mine around the holidays, I buy colored candy melts to decorate.
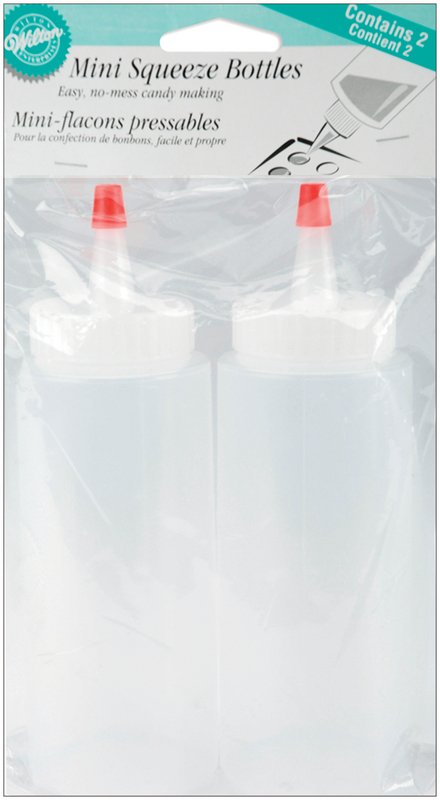
Last year for decorating, I used my cake decorating bags and tips, but this year I decided to try squeeze bottles. The squeeze bottle has more control, but I like the smaller holes on the cake decorating tips. Either way, everyone loves them. Adults and kids. The taste is incredible and they are so moist. I get compliments every year. I had to make a double batch this year to please everyone.

Red Velvet Cake Balls
Ingredients
- 1 pkg red velvet cake mix
- 1 container (16 oz) cream cheese frosting
- 1 pkg (14 oz) dark cocoa candy melt
- 1 large bar dark chocolate
- 1 pkg (14 oz) red candy melt
- 1 pkg (14 oz) green candy melt
- 1 pkg (14 oz) white candy melt
- optional sprinkles
Cooking Directions
- Bake the cake mix as per instructions on the box for a 9 x 13 cake.
- Once cake is completely cooled, crumble it by hand into a large bowl.
- Then add in the cream cheese frosting and mix well. This can be done by hand or throw the crumbled cake and the frosting into a large mixer and mix on low.
- Then take a scoop at a time of the mix and roll into small balls about the size of a quarter. This will be very messy and you may have to wash your hands several times. But please refrain from licking them!
- Place the balls in a freezer friendly container lined with parchment/wax paper.
- When all balls are complete, place them in the freezer overnight or until you have time to do the rest of the recipe.
- When you are ready to dip, melt the dark cocoa candy melt and the dark chocolate together in a deep bowl in the microwave 30 seconds at a time until all melted.
- Dip the cake balls in the chocolate mixture and place on parchment/wax paper until chocolate has hardened. ( I use a fork to dip, roll, and shake off any extra chocolate.) If you want you may add fun holiday sprinkle before the chocolate hardens.
- In separate bowls, melt the red, green, and white candy melt and place in the squeeze bottles. Then decorate with any patterns you like. Or if you want, dip some of the balls in the colored candy melt instead of the chocolate.
- Makes about 50 cake balls.

I did buy pretty boxes to place the cake balls in to give as gifts for my daughter’s teachers and a few other people, but I was so busyI forgot to take pictures of the boxes all tied up with a nice ribbon and tag. But here are what the balls looked like decorated.

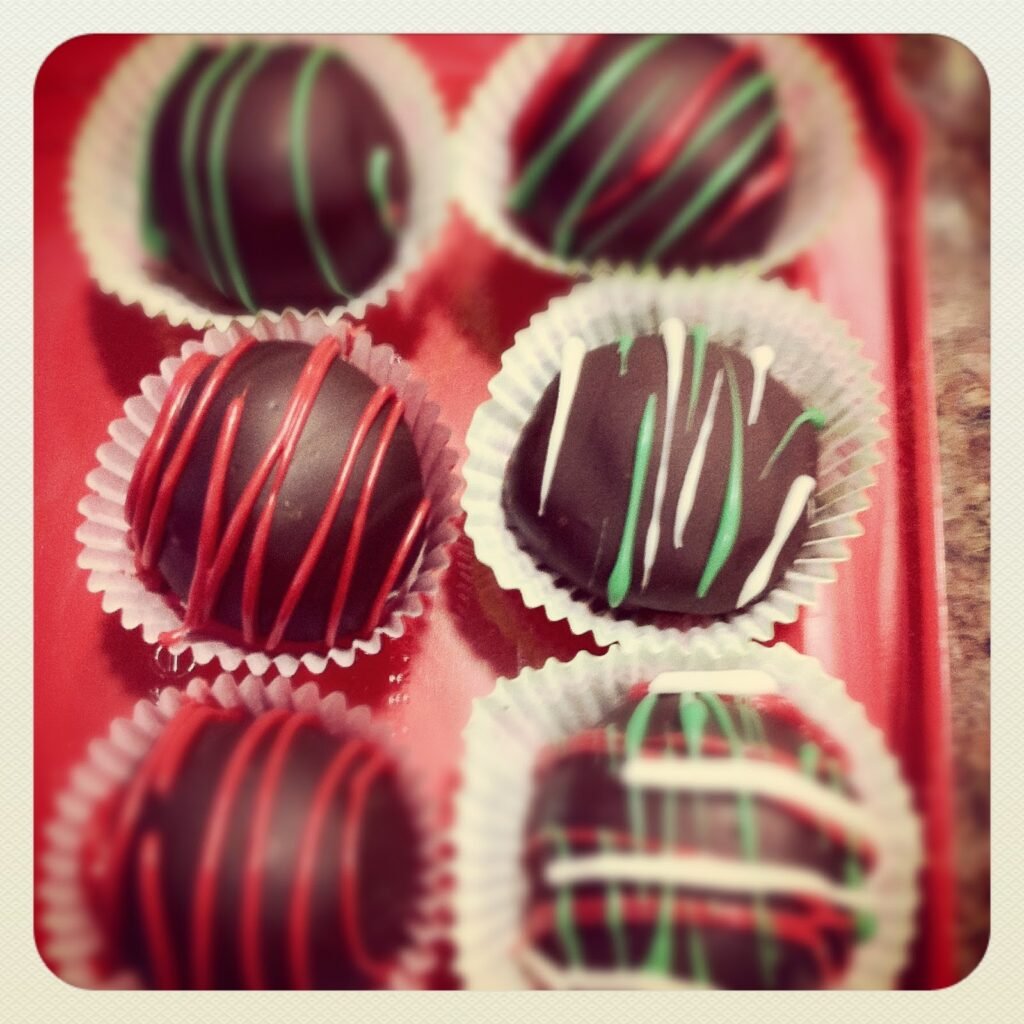
Last year I put them in tins to give out as gifts. Here is what they looked like. I placed the cake balls in mini cupcake liners to they don’t stick together and they look pretty. There are so many ways to decorate the cake balls and many different varieties of cake mixes and frosting to use.

The best part of the recipe is that it can be done in stages. One night I bake the cake. Another night I crumble and mix with the frosting and make the balls. I freeze them until I have the time to finish. I had them in there for a week and no worries. I think I will make some again for Valentine’s day.
Related Posts
Subscribe for New Racipies
Get mental health tips, updates, and resources delivered to your inbox.