
Rice Krispie Cupcake Pops

Medically reviewed by Christiana George Updated Date: December 17, 2022


Been busy around here with graduations and birthdays. Here is a cute treat I made for my daughter’s class to celebrate her birthday this month. It’s quick, easy, and no bake. Perfect for a summer birthday. And who doesn’t like Rice Krispie treats.

I bought this cute set of cupcake cookie cutters as Walmart, fully intending to bake up some cookies, but I really didn’t want to turn on the oven and heat up the whole kitchen. So I came up with this idea.

You just make a batch of Rice Krispie treats, cut out the cupcake shape and decorate with candy melt. I put mine on popsicle sticks for some extra fun.
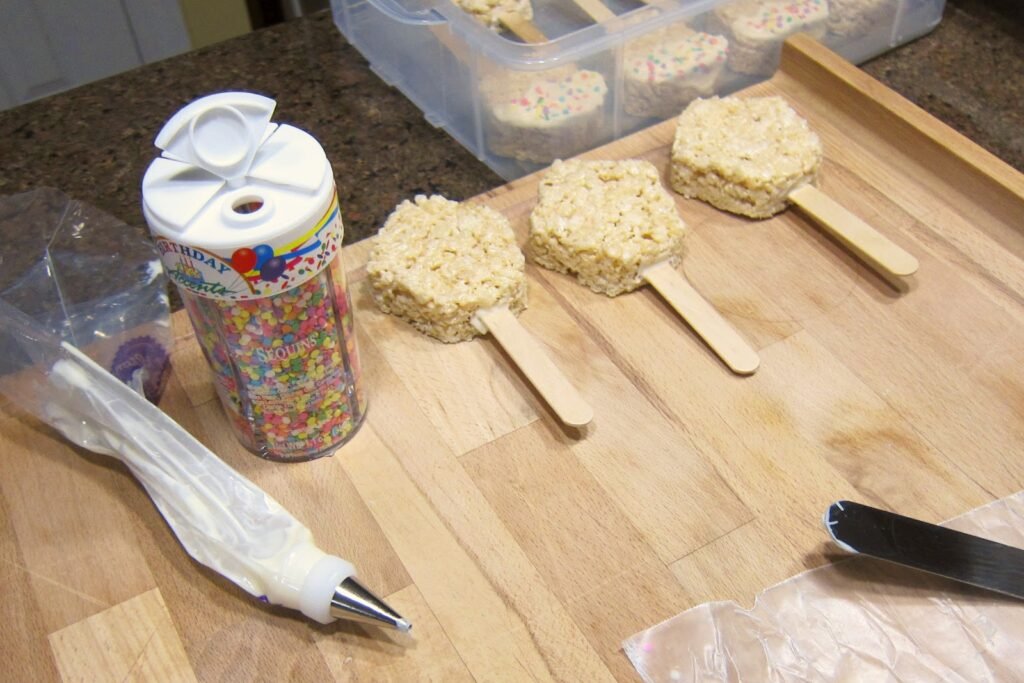
I used Wilton #1 decorating tip to outline and fill in the cupcake design.
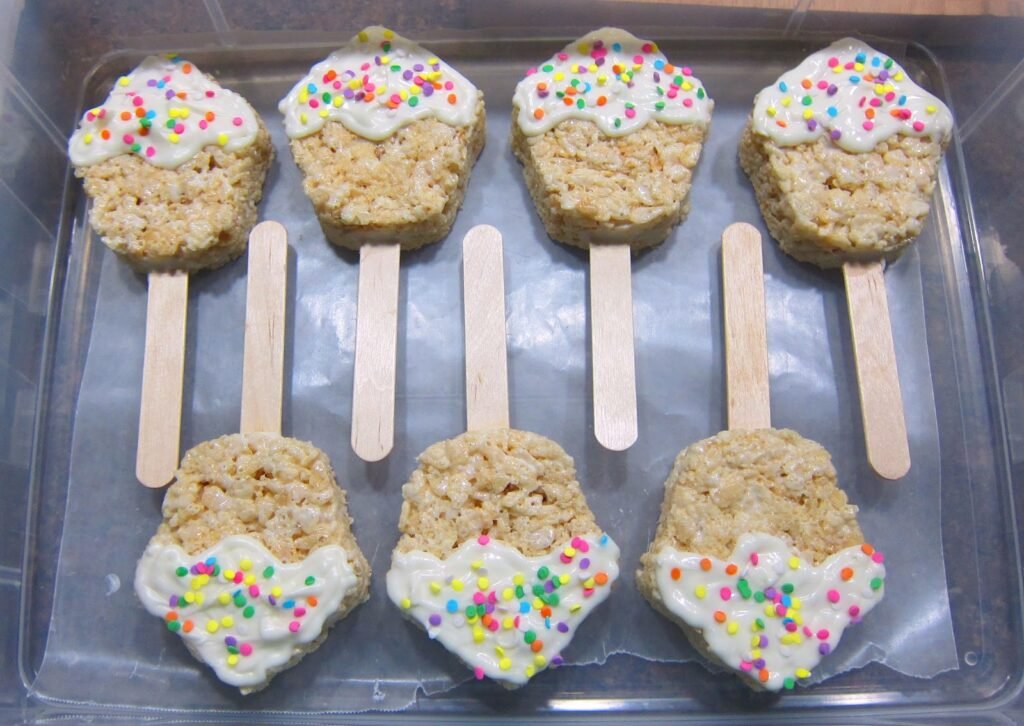
I really like how they came out and the kids loved them too.

Rice Krispie Cupcake Pops
by The Sweet Chick
Prep Time: 20-30 minutes
Cook Time: 10 minutes
Keywords: no bake dessert rice krispies birthday Rice Krispie Treats
Ingredients (about 12 cupcake pops)
For Rice Krispie Treats
- 3 tablespoons butter or margarine
- 1 package (10 oz.) regular marshmallows or 4 cups of mini marshmallows
- 6 cups Rice Krispies cereal
For Decorating
- 2 cups white or pink candy melt wafers
- 2 cups light or dark chocolate candy melt wafers
- 1 cup red candy melt wafers
- sprinkles
Also needed
- cupcake cookie cutter
- disposable cake/candy decorating bags
- Wilton cake decorating tip #1 (optional)
- popsicle sticks
Instructions
1. Melt butter over low heat in a large pot. Add marshmallows and stir until completely melted. Remove from heat.
2. Add Rice Krispies cereal. Stir until cereal is all coated with the marshmallow/butter.
3. Using a buttered spatula or wax paper, spread the Rice Krispies mixture onto a wax paper on a flat surface or in a greased jelly roll pan till about a half inch thick.
4. Use your cookie cutter to cut out shapes. You should be able to to yield 12 cupcake shapes. Use every last bit of mixture. Just keep compressing it together to cut out your shapes.
5. Place completed cupcakes into the fridge for 15 minutes to firm up before decorating.
6. Meanwhile melt the white/pink candy wafers one cup at a time in the microwave, preferably in a glass container as per instructions on package. ( I use a glass measuring cup, because it makes it easier to pour the melted candy into the decorating bags later.) Dip the popsicle sticks in the candy melt (only a small dab) and insert in the firmed up Rice Krispie cupcakes.
7. Then pour the remainder of the candy melt into a disposable decorating bags. Using a Wilton #1 cake decorating tip or cutting a very small hole in the tip of the decorating bag, outline the frosting part of the cupcake shape on the top of the Rice Krispie treat, then fill in.
8. Carefully add sprinkles to the white/pink candy melt and place cupcakes back in fridge for 5 minutes to harden the candy melt.
9. Next melt the chocolate candy melt and outline and fill in the bottom half of the cupcake design in the same fashion. While the chocolate candy melt is hardening, prepare your red candy melt and pipe on a small red circle on top of the cupcake design for the cherry.
10. You can store the treats in an air tight container for two days at room temperature or in the fridge for up to five days.
Related Posts






Subscribe for New Racipies
Get mental health tips, updates, and resources delivered to your inbox.
Are Apples Good for Your Teeth?

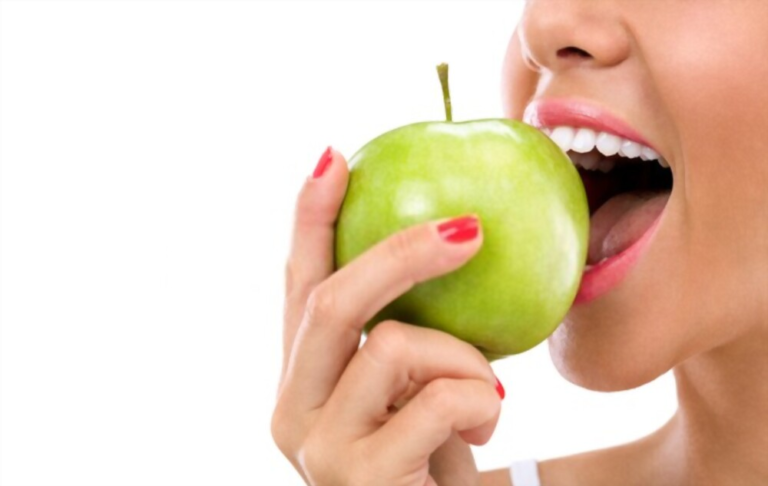
You are already familiar with the adage, “an apple a day keeps the doctor away.” The new question, however, is whether apples also keep the dentist away. There is some debate about whether apples are beneficial to your teeth or not.
So, are apples good for your teeth? Apples are good for your teeth because they help clean and freshen your teeth and fight bad breath. Dietary fiber in apples, mostly found in the peel, functions as a toothbrush, scraping away plaque and removing other food particles from the teeth. The acidity of apples also aids in the eradication of harmful germs that produce bad breath.
However, too much of anything can be detrimental. Eating too many apples can harm your teeth! But there is no need to worry. You can take measures to ensure this does not happen. Here is an in-depth look at how apples affect your teeth.
How Are Apples Good for Your Teeth?
Dentists frequently recommend apples for a variety of health benefits.
Apples are nature’s toothbrush
You can get the benefits of nature’s toothbrush by biting into the fibrous texture of an apple, ideally with the peel on. Crisp fruits (like apples) and vegetables help eliminate plaque and bacteria that cause cavities. You can finish off your dinner with a tasty apple, for your teeth’s benefit!
Apples are beneficial to your gums
Apples are high in vitamins, particularly vitamin C, which benefits your gums. For example, vitamin C (found in apples) protects your gums healthily and prevents infection. You risk becoming ill if you do not consume enough Vitamin C. Furthermore, a lack of Vitamin C will lead to gum swelling and bleeding, especially if you already have gum disease.
Apples include a lot of vitamins and minerals
Apples contain a variety of minerals and vitamins in addition to Vitamin C. Apples contain malic acid, which, when consumed, causes salivation. Saliva is necessary for oral health. Apples also contain calcium, which helps to strengthen teeth and bones. They also contain fiber, which the body requires for general health, especially gastrointestinal system health.
Chewing on an apple increases saliva production
Apples contain malic acid, which causes salivation during chewing. This fact is amazing! Saliva acts as a rinse for the teeth. Saliva in your mouth is a barrier against bacteria and inhibits plaque formation.
Examining the mouths of people after chewing either fresh or dried apples has shown that plaque is eliminated, but only from the protruding surfaces of the teeth.
Some plaque will, however, remain in the crevices and interdental regions, which are particularly susceptible to cavities and periodontal disease due to plaque accumulation.
Even frequent apple chewing is not a substitute for excellent oral hygiene, which includes flossing and interdental brushing.
Can Apples Affect Your Teeth Negatively?
So what impact does eating apples have on your teeth? The acidity of apples may be harmful to oral health. Correct; acidic foods can cause dentin damage in your mouth. Dentin is the tooth layer immediately under tooth enamel. The acidity of an apple can dissolve dentine and cause tooth damage.
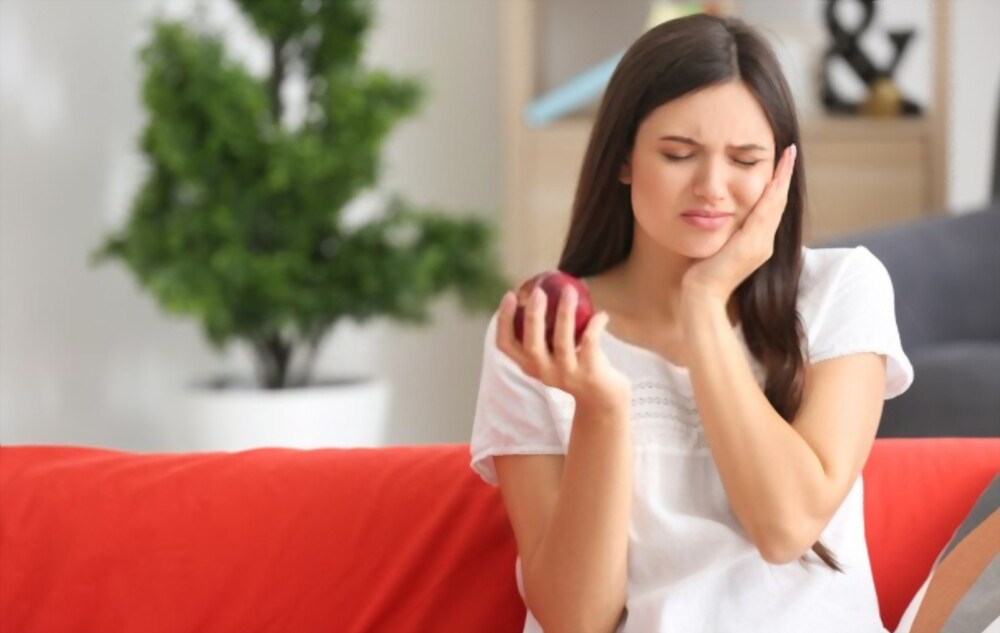
However, studies have shown that chewing an apple may not remove dental plaque but may promote plaque rebuilding within the first 24 hours. Still, it does cause an immediate decrease in salivary bacterial viability comparable to that reported after tooth brushing.
The sugar content of the modern apple is higher
As a result of plant hybridization, the sugar content of apples has increased by 50% over the years. Unfortunately, people have grown accustomed to a sweeter apple, which is less healthy for your teeth. According to the United States Department of Agriculture, modern apples have as much sugar as four tablespoons of table sugar. It is essential to know this because sugar can promote tooth decay.
Gala, Fuji, and Pink Lady varieties currently contain about 15% sugar. Sugar content was formerly 10% or less. One apple with a 15% sugar content contains approximately four teaspoons!
This information should cause you to reconsider eating apples, especially between meals and in juice form. According to studies, consuming a lot of fruit and fruit juices is a primary cause tooth decay in adults. It is alarming for youngsters. Fruit juice should only be given to children in diluted form, if at all.
Therefore you should encourage your children to consume apples mixed with other healthy foods. For instance, you may serve them Honeycrisp apple salad with walnuts and pumpkin seeds. It will become their favorite afternoon treat in no time!
Apples have a high acidity level
Apples are a great source of critical nutrients for the body. If you are concerned about your oral health, the acid concentration in some apples is close to that of soda. Sodas have a typical pH in the range of 2.5 to 3.5, and many apples have a pH in the range of 3.0-4.0.
| Type of Apple | pH Level |
| Ida Red | 3.0 |
| Granny | 3.0 |
| Amri | 3.8 |
| Golden | 4.0 |
| Red Chief | 4.0 |
| Golden Delicious | 4.2 |
| Double Red | 4.2 |
| Spartin | 4.3 |
| Red Golden | 4.3 |
| Jona Gold | 4.3 |
| Sky Spur | 4.8 |
| Gala | 6.2 |
Acid can erode tooth enamel. Cavities are unavoidable if there is no barrier between your dentin and microorganisms. Certain fruits have a high acidic content.
As a result, dentists advocate eating acidic fruits like apples as desserts at the end of a meal, rather than as snacks during the day.
Is the Acidity in Apples Bad for My Teeth?
Apples may be as acidic as soft drinks. However, the detrimental effects of acidity in meals such as processed meats and coffee can be easily avoided by following the instructions below:
Pair your apple with another snack
Perhaps a tiny slice of cheese, a glass of milk, or some crackers might be appropriate. Other foods, primarily those high in calcium, will assist in balancing out the acidity of the apple. To help you out, you can do the following:
Cut them up and put them in yogurt
Apples can be consumed by slicing them into thin slices and dipping them in your desired yogurt. This snack of apples mixed with yogurt is high in calcium. Try adding a little honey to the yogurt if your preference gravitates towards a sweeter flavor.
Eating Applesauce
If you loathe biting into apples, applesauce is a good alternative. Make sure to consume just applesauce that has no added sugar. Including anything with added sugar will invalidate any dental benefits provided by this fruit.
Roast Them
Alternatively, you can cut the apples into thin slices, sprinkle them with cinnamon, and roast them in your oven. This snack is not only tasty, but it can also help fight bad breath and remove harmful bacteria from the mouth.
Rinse well with a glass of water
You should drink a glass of water after eating apples. Water aids in the removal of acid and food particles from between the teeth. To counteract the effects of acid erosion, you can also drink milk or eat cheese, which contains calcium.
Do not brush your teeth immediately
It is not advisable to brush your teeth shortly after eating sugary food. Sugar acts like sandpaper, causing tooth enamel deterioration. Brushing also softens and makes teeth more vulnerable to acid because teeth are porous. Brush your teeth at least 30 minutes after consuming sweet treats.
Conclusion
An apple’s high acidity aids in the elimination of germs in the mouth that cause bad breath. While some individuals are concerned that apple acidity would damage their enamel, the sugar content in apples neutralizes potentially harmful acids while making it easier for your body to absorb healthy ones.
The fiber component of apples aids in keeping teeth and gums clean and free of bacterial growth. Because they are crisp, apples enhance salivation, strengthening teeth and preventing cavities.
Related Posts






Subscribe for New Racipies
Get mental health tips, updates, and resources delivered to your inbox.