
In an Instagram Minute

Medically reviewed by Christiana George Updated Date: January 6, 2026
Just when I though May was busy, then came June. I have not had much time to breathe yet. Every weekend has been taken up by family events. The most important one being my daughter’s birthday. So of course I was busy making treats for her. Here is what I have been doing for those that don’t follow my on Instagram.

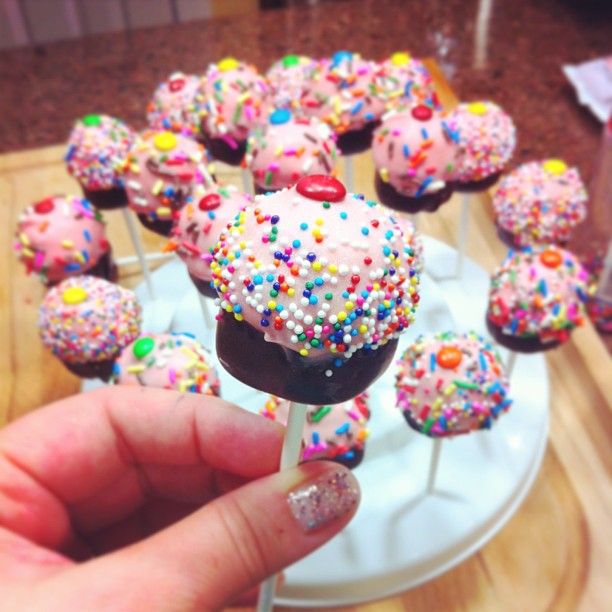
First up were some treats for her party at school. I made some cookie dough cupcake pops. You can find the recipe and the how-to here.

Then I made some cupcakes fop her party at a miniature golf place with her friends and cousins. I just used a Funfetti cake mix and made some buttercream frosting. I used some green candy melt to make the leaves. I drew the leaves on a wax paper and then peeled them off when the candy melt set.

Pink and green glittery sprinkles added the final touch. My daughter thought they were pretty, which is not bad considering she mostly likes boys stuff and her favorite color is blue.

When I asked her what she wanted on her cake for the family party we were having after her friend’s party, she said she wanted an outer space theme. Yes, leave it to my daughter to make my life challenging. She has a fascination with outer space, planets, constellations, and stars ever since Santa brought her the Children’s Atlas of the Universe two years ago.

I didn’t want to disappoint her, so I racked my brain for a way to make it work. For the frosting, I bought a can of blue frosting and added some black frosting to it to make it darker. I swirled on some extra black frosting to give the cake more dimension and brushed on some edible glitter dust for added effect.
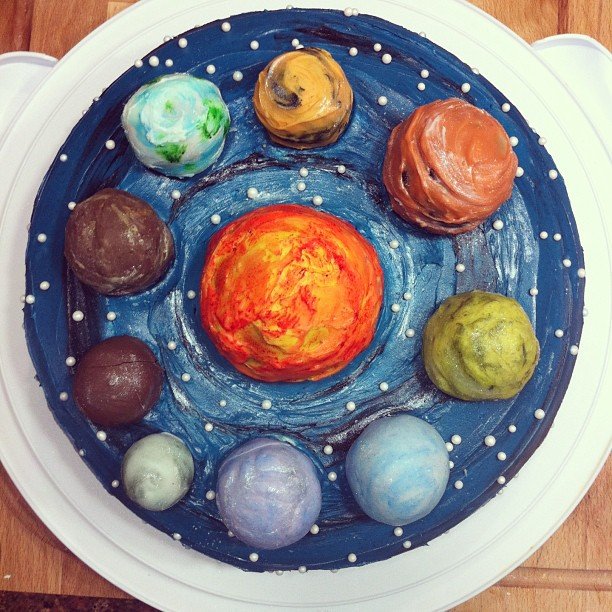
For the planets, I used an Oreo and cream mixture to form the balls. Then dipped them in candy melt and painted on them with gel food coloring. They were not the best looking things, but not bad for someone who does not do cake decorating for a living. My daughter was pretty impressed and thrilled that she had planets on her cake.
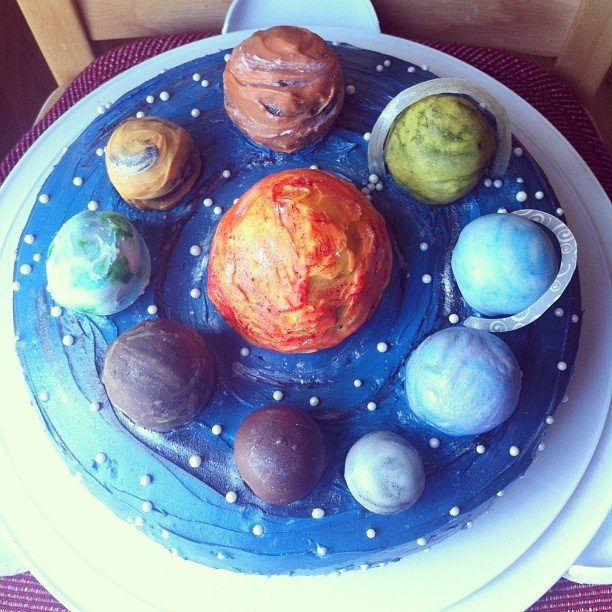
Of course, when she saw me adding the little pearl balls for the stars, she asked me to make some constellations. Seriously? I just busted my hump making these planets. Sheesh! I did try to make some, but it wasn’t really that easy. Those little pearl candies are very slippery creatures. I also couldn’t find a way to make edible rings for the planets, so I had to resort to vellum paper from my scrapbooking stash. Other than that everything was edible.

The inside was a just a white cake (from a box) that I filled with some homemade dulce de leche and strawberries. I got lots of props on the cake the day of the party. I was able to make it all the way through to the blowing out of the candles when out of nowhere, I got slammed with a stomach virus. I had to quietly slip away from the party and spent the rest of the day in bed. Not cool.
At least this time, the virus did not cause me to pass out face first and smash up my face. But it did put a kink in my Father’s Day plans. I was not able to indulge in all the yummy food my mom made for brunch.
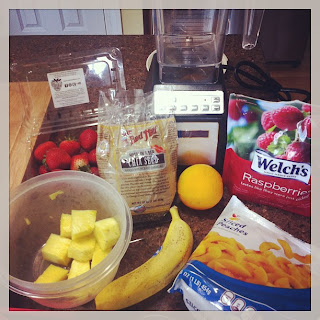
Now I am almost back to my regular eating. I am trying to keep it healthy. But I am dying to get back to baking some yummy treats. Next week is my last week of work, after that I will have more free time to do the things I love. So stay tuned!
Related Posts






Subscribe for New Racipies
Get mental health tips, updates, and resources delivered to your inbox.
Christmas Rice Krispie Treats

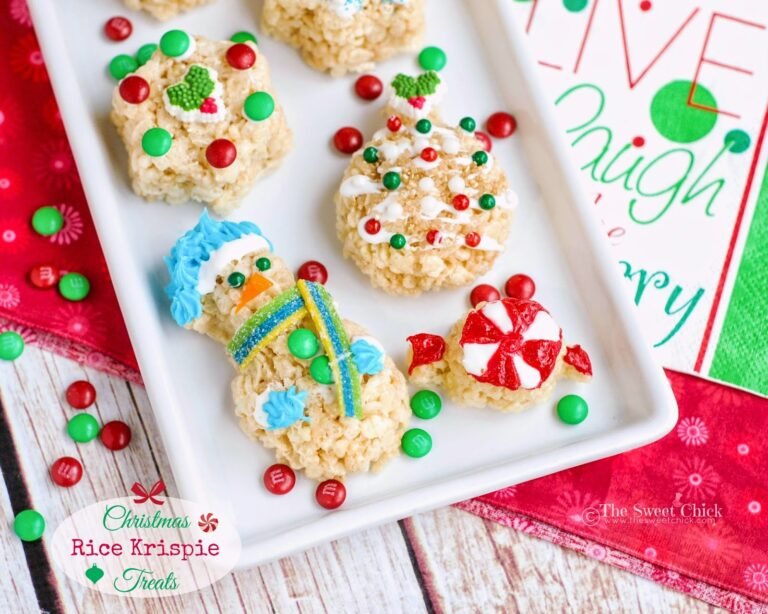
Having the kids home for winter vacation is always difficult. They always seem to get bored, no matter how many toys, crafts, or games they have. Cold, rainy days make it even harder because they can’t go play outside. So today I kept them busy for a little bit with some fun Rice Krispie Treats we shaped out of a Jello Jigglers mold. They came out really cute, so I thought I’d share them with you.
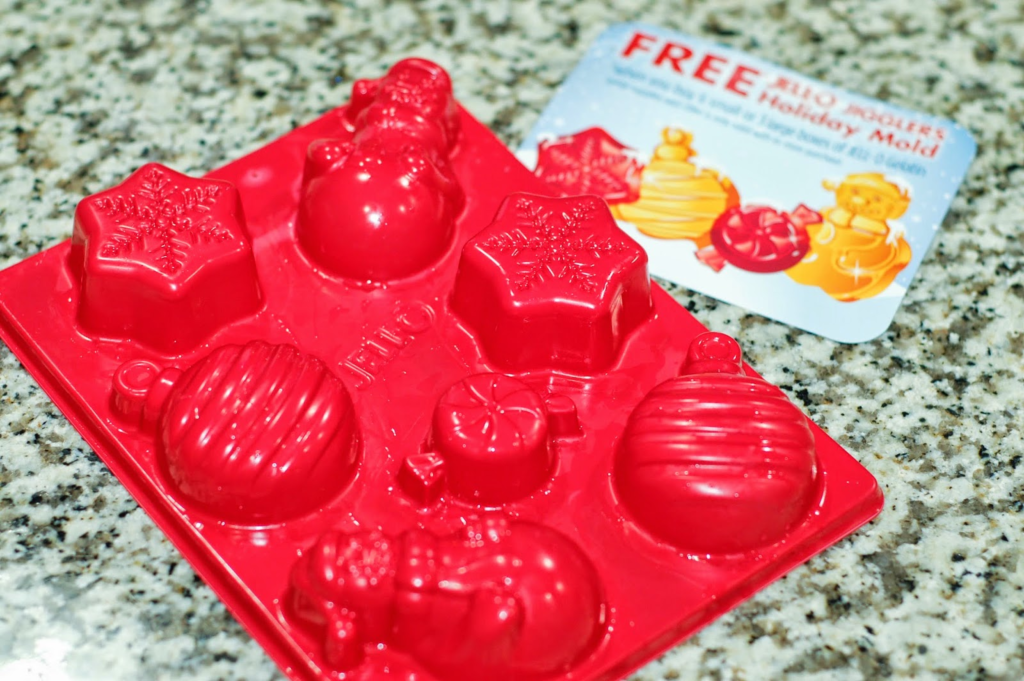
I got this mold free at the supermarket and hadn’t used it yet. I kept meaning to make Jello, but kept forgetting. I had some Rice Krispie cereal left in the pantry that I wanted to use up, so that seemed like a more interesting choice for this mold.
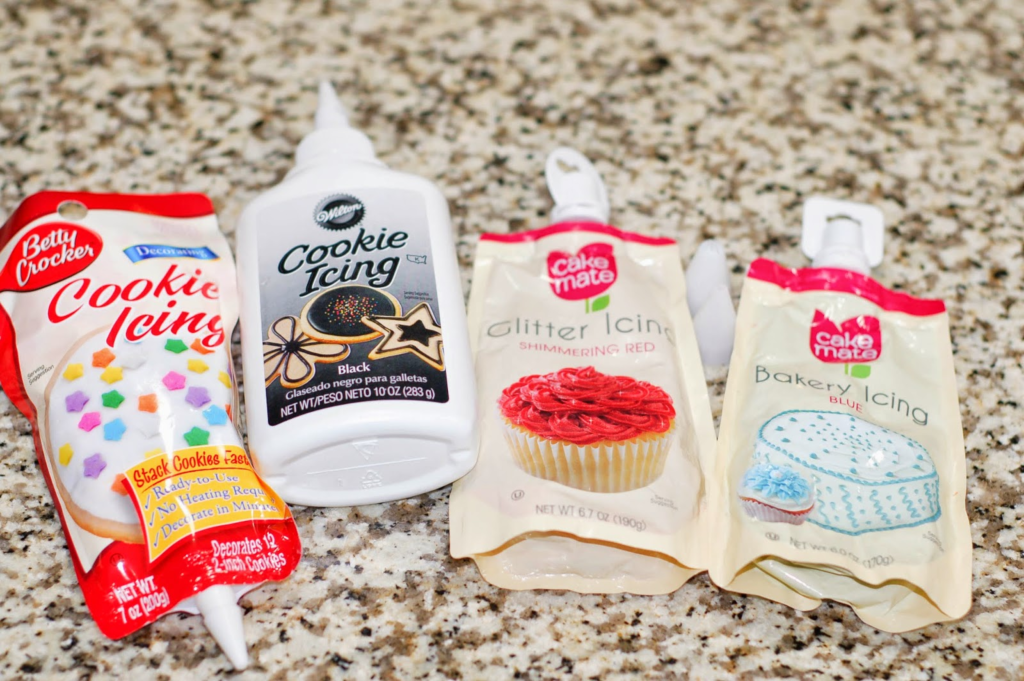
I went through the pantry for icing and candy to decorate the treats. I had cookie icing and regular icing. Cookie icing is great for glueing on candy because it hardens. The other icing will get stiff, but not harden as much. It does make for pretty decorations though, especially the glitter one.
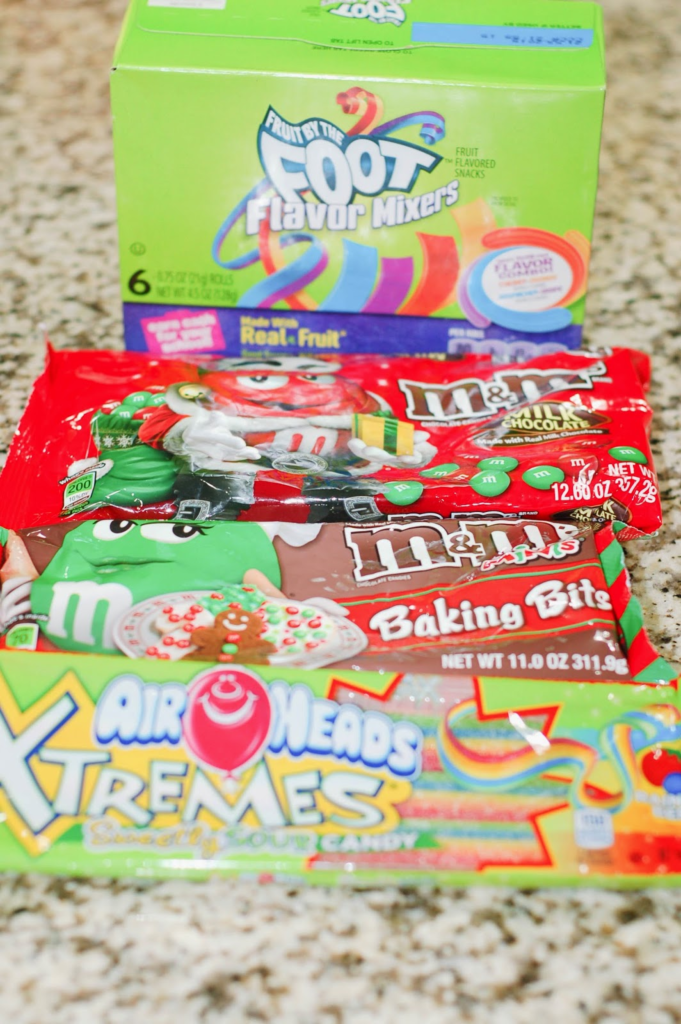
Besides sprinkles, I also pulled out some fruit roll-ups, Air Heads candy strips, and regular and mini M&Ms.
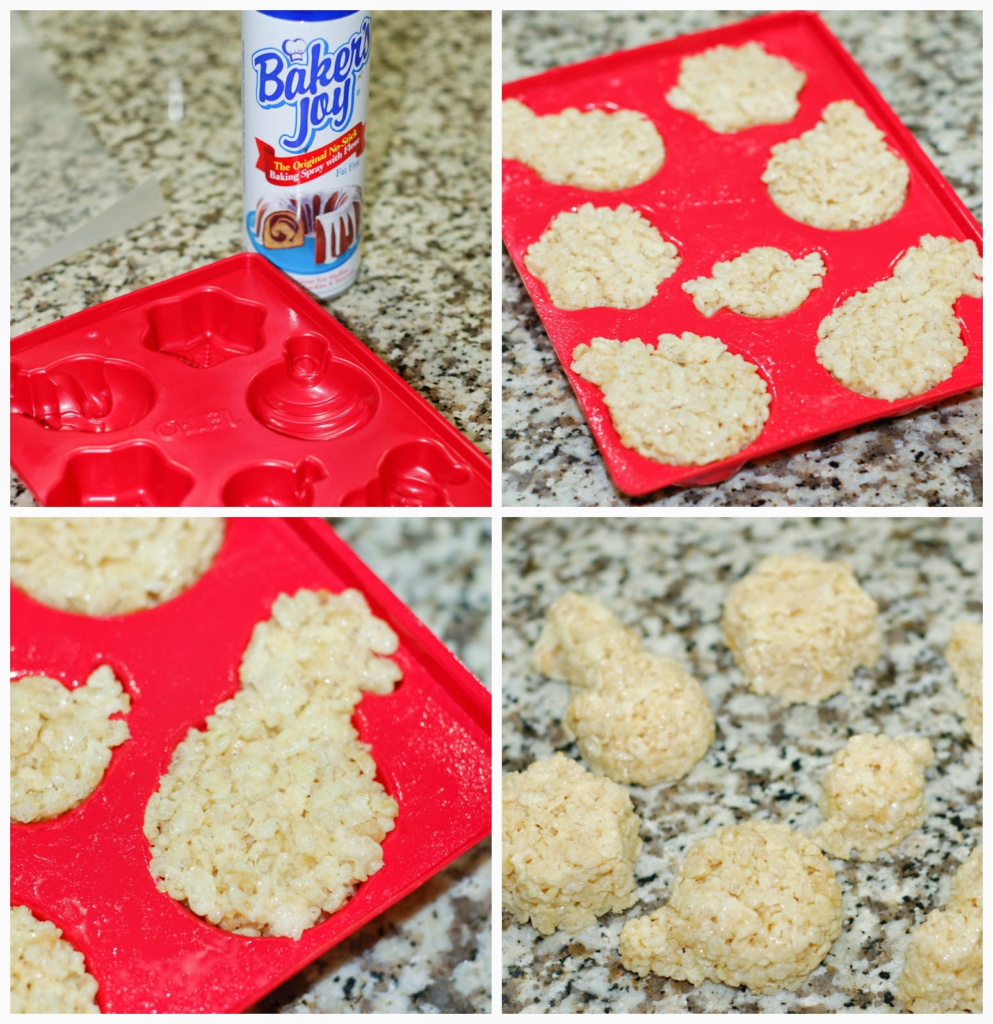
After I mixed the Rice Krispies with the melted butter and marshmallows, I just took scoops and place them in the mold cavities and pressed them in to form the shape. By the time I filled in the last cavity, I was able to flip the mold over and the shapes slid out thanks to the Baker’s Joy non-stick spray I used. So I just kept refilling the mold and making more shapes. I was able to fill the mold three times before running out of the Rice Krispie mix. I placed the molded treats in the fridge to firm up a bit more before decorating them.

Here’s where the kids had fun. My daughter usually takes her time decorating, while my son just likes to put as many candies as possible like he did for our gingerbread cookies a few weeks ago.
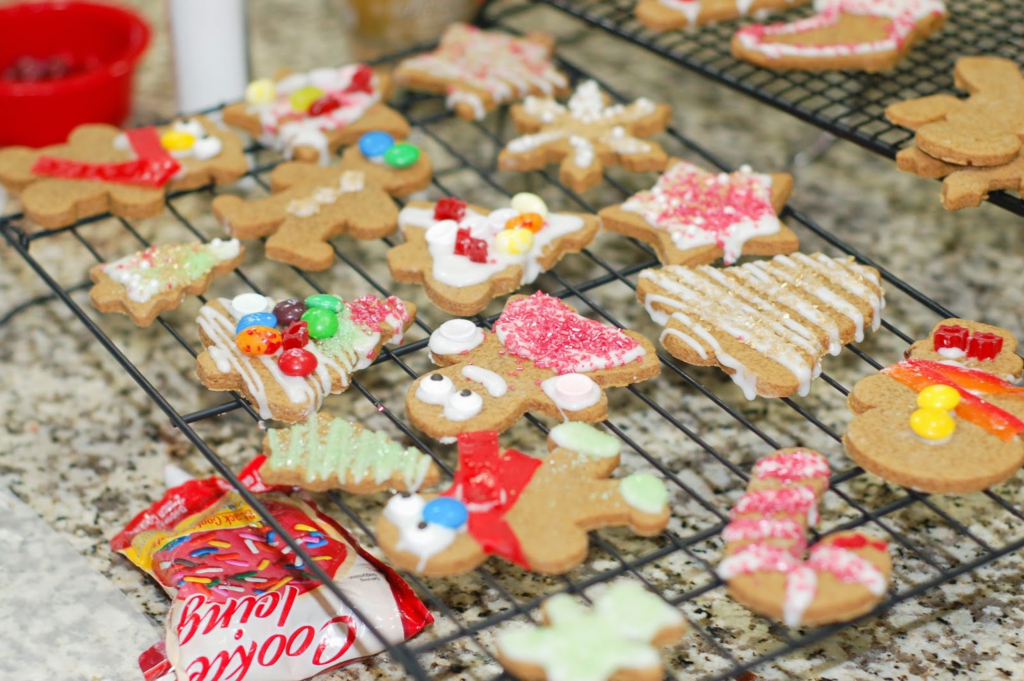
We didn’t end up using all the candies and sprinkles I pulled out, but the Air Heads made for some nice scarves on the snowmen. The fruit roll ups I used to wrap around the tops of the ornaments and for the snowman noses.
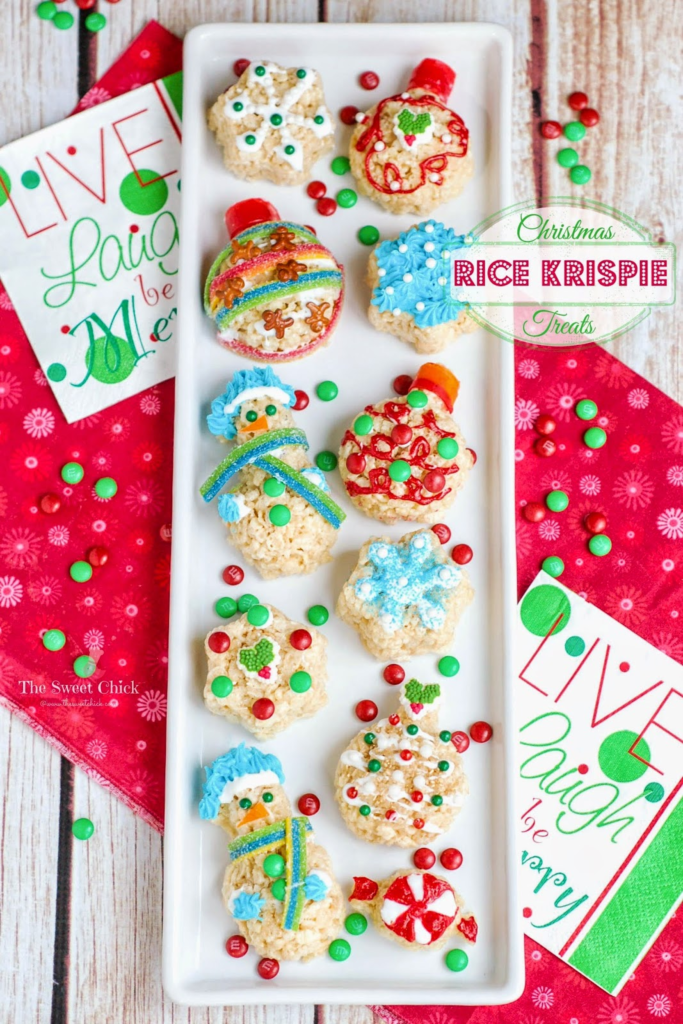
My kids enjoyed themselves and it kept them from fighting and driving me nuts for about an hour. And the treats came out reasonably good looking, so it was a success in my book. What are your kids doing for winter break?
Christmas Rice Krispie Treats
by The Sweet Chick
Prep Time: 20-30 minutes
Cook Time: 5 minutes
Keywords: stove top dessert snack rice krispies marshmallows cookie icing candy Christmas rice krispie treats American winter
Ingredients (21 treats)
For the treats
- 3 tablespoons butter
- 3 cups mini marshmallows
- 4 cups Rice Krispie cereal
For the toppings
- mini M&Ms
- sprinkles
- fruit roll ups
- Air Heads Extremes
- Betty Crocker cookie icing
- Cake Mate glitter icing/ bakery icing
Additional items
- Jello Jigglers holiday mold
Instructions
For the treats
In a large sauce pan, melt butter and marshmallows over low heat. Stir until completely melted.
Remove from heat and add Rice Krispie cereal. Mix until fully incorporated.
Spray Jello mold with non-stick spray.
Once the cereal mixture has cooled slightly, and can be touched, place spoonfuls of mixture into the mold cavities.
Press the mixture in with your hands to form the shapes, filling the cavities flush.
Once all cavities are filled, flip the mold over and the treats should fall out by themselves. If not, give the mold a slight tap.
Place finished treats aside and fill the mold again.
Once all mixture is used, place finished treats in an airtight container and place in the fridge for about an hour or overnight.
For the toppings
Once the treats have set, let the decorating begin. Use your imagination.
Use the cookie icing as the glue to hold candies in place and also as a decoration. The fruit roll ups and Air Heads work great as scarves, just cut to fit.
The Cake Mate icing bags come with different tips (sold separately), so you can experiment. I used the star tip to make the snowman hat and mittens.
It’s all about having fun. Enjoy!
Notes
The treats can be made ahead of time and decorated another day.
Finished treats can be kept in an airtight container at room temperature or in the fridge for longer storage.
Related Posts

Subscribe for New Racipies
Get mental health tips, updates, and resources delivered to your inbox.