
Dark Chocolate Orange Cupcakes topped with Orange Spice Buttercream and Candied Orange Peel

Medically reviewed by Christiana George Updated Date: December 15, 2022

It has come to my attention that I need a new clock. My current one simply doesn’t have enough hours on it to allow me to do everything I want to do in a day. If anyone know of one that does, please tell me where they got it from. I need to find more time to blog and more time to bake!
The other night I came home from work and just had to make cupcakes. Of course, I didn’t go to the store, so I had to work with what I had in the pantry. I did find a recipe for dark chocolate cake on he back of my Hershey’s Cocoa box. That sounded good, but needed a little umph. I have noticed some food bloggers adding pudding to their cake mixes lately and thought, well why not try Jello. I had some orange flavored jello on hand and some orange marmalade. Mmmmm….dark chocolate and orange, how can I go wrong? Time to experiment.
Dark Chocolate Orange Cupcakes
(adapted from Hershey’s Kitchens)
Ingredients
- 2 cups sugar
- 1 3/4 cups all-purpose flour
- 3/4 cup Hershey’s Special Dark Cocoa
- 1 1/2 tsp. baking powder
- 1 1/2 tsp. baking soda
- 1 tsp. salt
- 2 eggs
- 1 cup milk
- 1/2 cup vegetable oil
- 2 tsp. vanilla extract
- 1 cup boiling water
- 1 pkg. (3 oz.) orange flavored Jello
- 1 jar (12 oz.) Smucker’s Sweet Orange Marmalade (reserve 3 tbsp. for frosting)
Cooking Directions
- Heat oven to 350 F. Line muffin tins with cupcake liners.
- In a large bowl or stand mixer, stir together sugar, flour, cocoa, baking powder, baking soda, and salt.
- Add eggs, milk, oil, vanilla, and orange marmalade. Beat on medium speed for about 2 minutes.
- Stir in boiling water and Jello (batter will be thin).
- Pour batter into prepared muffin tins using a small ladle. If you use a regular scoop like I did, you will make a mess.
- Bake for 15 to 20 minutes or until toothpick inserted in center comes out clean. Cool completely before frosting.
- Makes about 36 cupcakes.
OH. MY. GOD. The cupcakes came out delicious. They were moist and dark chocolaty, with a hint of orange. Just perfect symmetry. So next I had to come up with a frosting. Although, hubby and I did eat a few cupcakes just as they were. I thought about a cream cheese frosting, but hubby doesn’t like cream cheese, so I made a buttercream frosting instead, inspired by the orange in the cupcakes.
Orange Spice Buttercream
by The Sweet Chick
Ingredients
- 2 sticks butter, softened
- 3 tbsp. reserves orange marmalade
- 1/4 tsp. pumpkin spice
- 5 cups powdered sugar
- 2 tbsp. orange juice
- 2 tbsp. or more milk
Directions
- Using an electric or stand mixer, mix together butter, 3 tbsp. marmalade and pumpkin spice on high until well blended.
- Add the powdered sugar one cup at a time until mixture is thick and creamy.
- Add orange juice and milk. If needed add more milk until consistency is fluffy.
I wanted to add just one more element to the cupcake, something fun and different. So I tried my hand at candied orange peels. I found a basic recipe online and went with it. They are actually not hard to make.
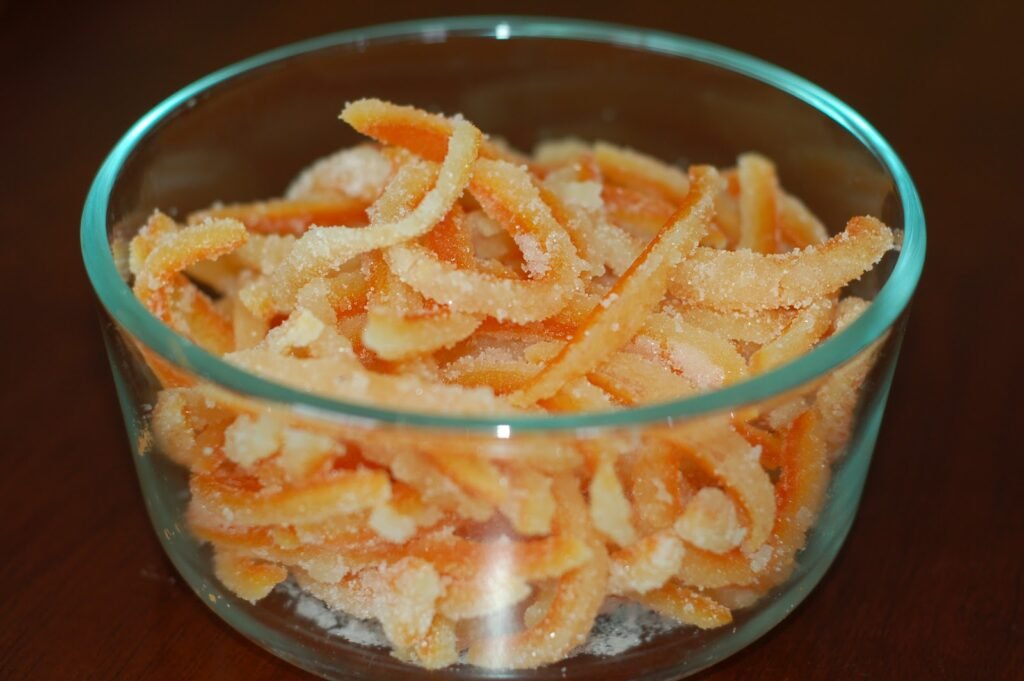
Candied Orange Peel
Ingredients
- 3 medium oranges
- 1/2 tbsp. salt
- 2 1/2 cups water
- 1 cup sugar (plus extra to roll peels in)
Cooking Directions
- Remove peel from oranges with an orange peeler or a spoon. Also remove most of the pith or white membrane from the peel.
- Add salt to 2 cups water. Soak peels in the salty water overnight.
- Drain and rinse peels thoroughly. In a pot, cover peels with cold water and heat to boiling. Then drain and repeat process 3 times to remove any bitter taste.
- Cut peels into strips. In a sauce pan, combine peel, sugar and 1/2 cup water. Heat and stir until sugar dissolves. Continue to cook until peel is translucent.
- When done, drain any extra liquid and roll peel in granulated sugar and allow to dry completely.
I chopped up the strips and added them to the tops of the cupcakes. Perfect texture and taste. Now I need to get back to looking for a new clock.
Related Posts






Subscribe for New Racipies
Get mental health tips, updates, and resources delivered to your inbox.
Dark Chocolate Cherry M&M; Cookies

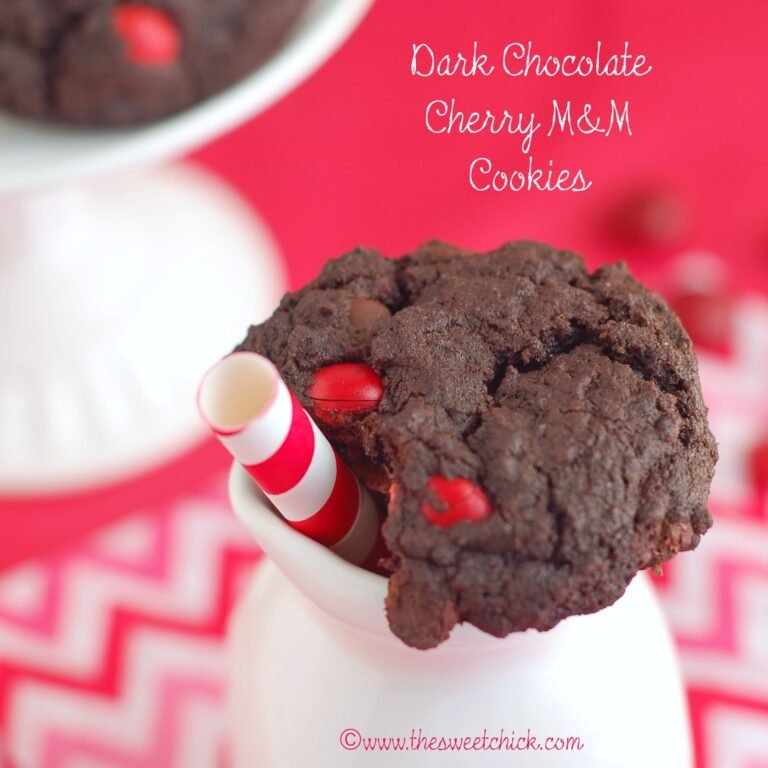

We had an open house over the weekend to bring some more interested buyers into our home and hopefully spark a sale. Prepping the house each time a potential buyer wants to come see it has become a nuisance, but we are keeping out fingers crossed that we will find someone to buy our home. So I didn’t have much time for baking, but I was in the mood for something chocolaty and I found a bag of Cherry M&M’s at Target the other day that I have been dying to try. Chocolate and cherry cookies seemed like a great idea.
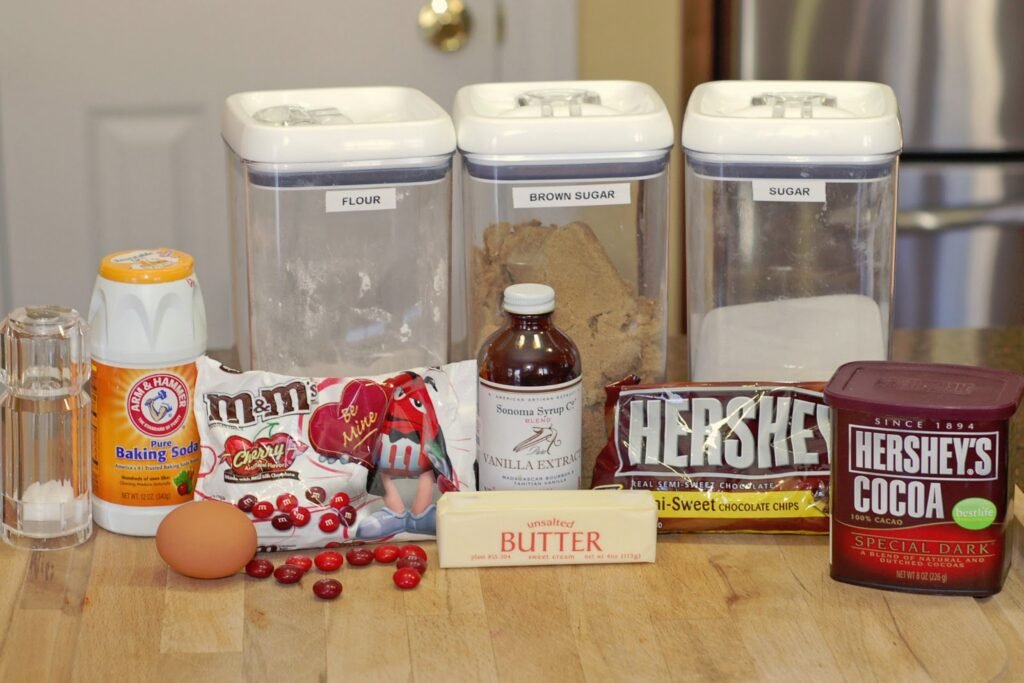
I do like cherry flavored food, and dark cherries, but I do not like maraschino cherries. And what I detest the most is a finding one inside a perfectly good piece of chocolate. Yuck!
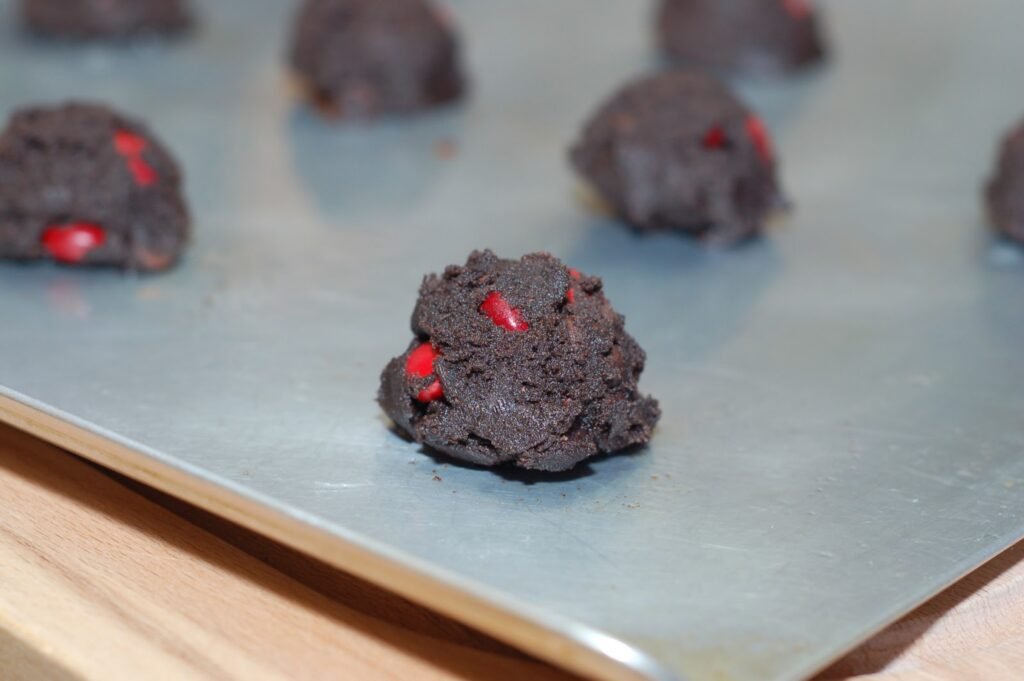
I did try the M&M’s before baking and they were quite good. I thought they would pair well with a deep dark chocolate cookie, so I substituted Hershey’s Dark Cocoa for regular cocoa in the original recipe.
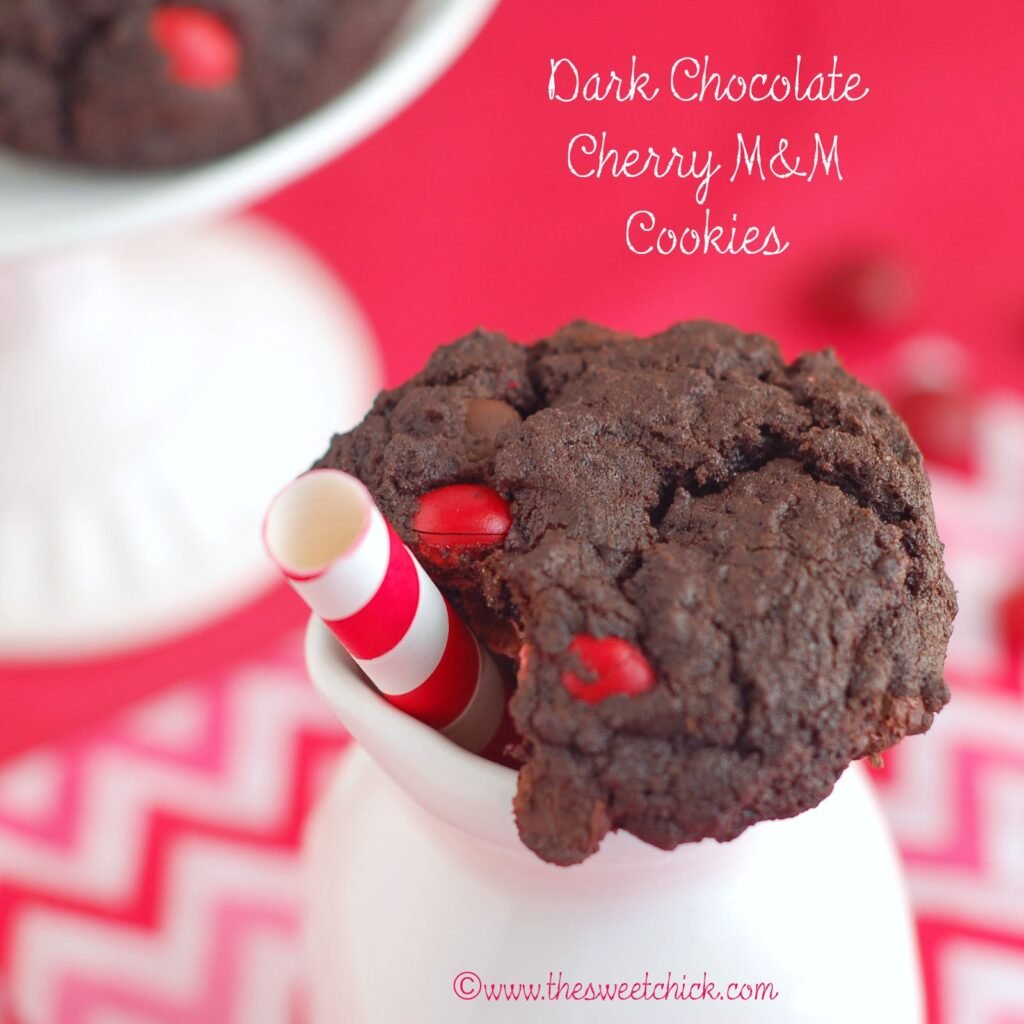
I am quite happy with my decision. These cookies are so rich and flavorful. I couldn’t stop eating them. These are intense cookies. Eat at your own risk (of not being able to stop). If you feel like sharing, these would be a great Valentine’s gift.
Dark Chocolate Cherry M&M Cookies
by The Sweet Chick
Prep Time: 15 minutes
Cook Time: 10-12 minutes
Keywords: bake dessert snack dark chocolate cherry cookie American
Ingredients (24 cookies)
- 1/2 + 2/3 cups semi-sweet chocolate chips
- 1 cup all purpose flour
- 1/4 cup Hershey’s Dark Cocoa
- 1 teaspoon baking soda
- 1/2 teaspoon salt
- 1/2 cup (1 stick) butter, softened
- 1/2 cup light brown sugar
- 1/4 cup granulated sugar
- 1 large egg
- 1 teaspoon vanilla
- 1 cup Cherry M&M candies
Instructions
Preheat oven to 325º F.
Place 2/3 cups chocolate chips in a glass container and microwave at 30 second intervals until fully melted, stirring in between. Set aside.
In a stand mixer combine flour, cocoa, baking soda and salt. Mix on low until well blended.
Add butter and sugars and mix for 1 minute.
Pour in the melted chocolate, then add egg and vanilla and mix well.
Add the remaining 1/2 cup chocolate chips and mix on low until fully incorporated.
Then add the M&M’s and mix by hand as not to break the candies.
Place by cookie scoop full on greased baking sheets about 2 inches apart.
Bake at 325º F for 10-12 minutes or until the tops have cracked and a tooth pick inserted in the middle comes out with moist crumbs.
Place cookies on cooling rack and let cool completely.
Then enjoy with a nice tall glass of milk!
Related Posts
Subscribe for New Racipies
Get mental health tips, updates, and resources delivered to your inbox.