
Candied Citrus Peel

Medically reviewed by Christiana George Updated Date: June 8, 2023
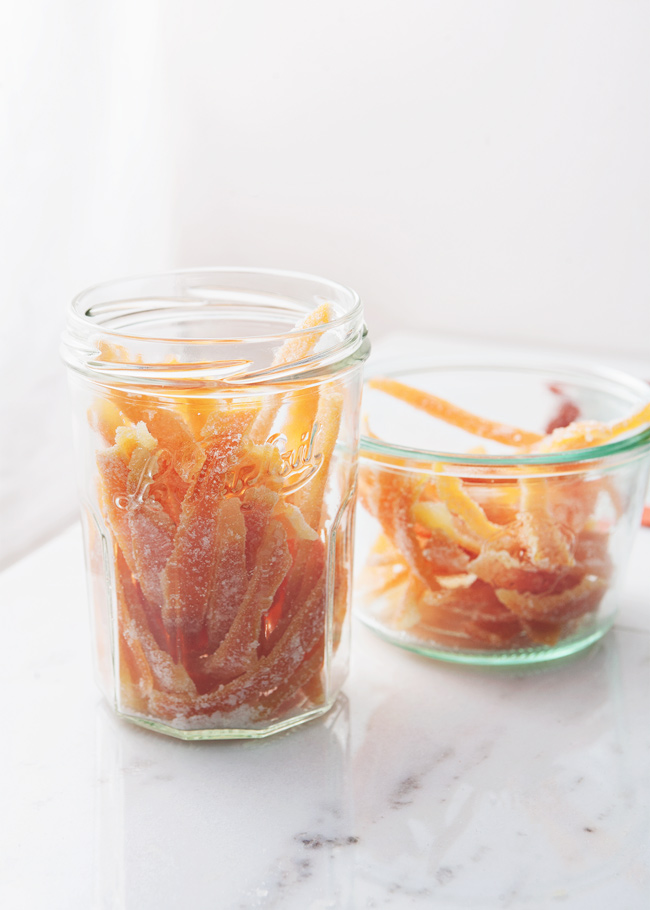
As a kid, I had a voracious appetite for, among other things, Nancy Drew mysteries, complex role-playing games (in sixth grade, my friend D’Ann devised a fantastical game for our group where each of us played a different warrior princess complete with our own unique personality [I was the spunky one], wardrobe [I wore all green], and weapon [mine was the rapier]—yes, I’m aware this is sounding suspiciously like LARPing, but our game came before all of that, plus we spent most of our time preening ourselves in our imaginary dressing room as opposed to, say, fighting evil), and candy.
Nothing, however, could’ve compelled me to eat candied orange peels. It was the equivalent of candy for old people, and therefore not sufficiently sweet. I liked greater hits of sugar, super-sugar if you will, the kind found in the cheapest milk chocolate bars, sour strips, and (I’m shuddering thinking about this now) Airheads.
Fast forward fifteen years, and I can’t say I’ve come around much. I actually don’t think I’ve given candied orange peels a single thought until the moment, a few days ago, when I decided I wanted to make panetonne. Which necessitated me making my own candied citrus peels of course.
I wasn’t even planning on sharing this recipe at all, hence no process photos, but it occurred to me you might enjoy candying your own candied peels? Yes? They’re quite good, much fresher than their storebought counterparts. I ended up candying the peels of two navel oranges and a grapefruit, and holy cow, the grapefruit tastes really good! Maybe that was the missing link this entire time.
Anyway, enjoy! If my panetonne goes well, I’ll be sharing it in this space. If not, happy happy holidays and I’ll be back very soon!
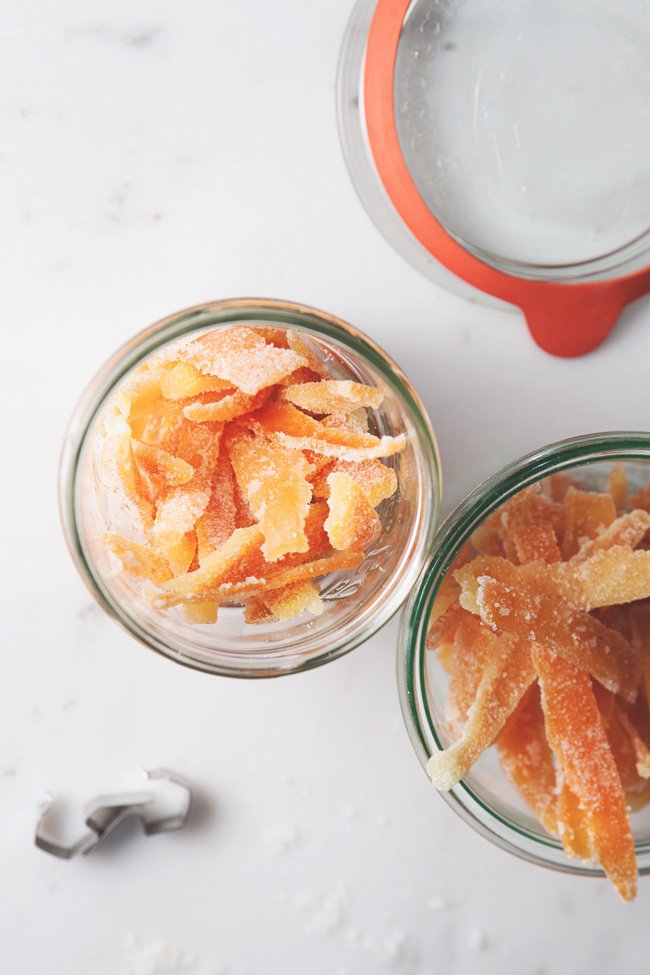

CANDIED CITRUS PEELS
Adapted from Remedial Eating (whose recipe is her mother’s!)
Makes quite a lot (enough for panetonne, plus more for snacking, or turning into orangettes!)
Ingredients:
2 grapefruits, or 4 navel oranges, or 6 lemons (I hope you get the idea—I settled on 1 grapefruit and 2 oranges. Just be sure to prepare different fruits separately or their tastes will become muddied.)
2 cups water
2 cups sugar, plus more for coating the strips
Directions:
Peel off the outer layer of the citrus and cut the pieces into thin strips. (You can cut them into thick strips too, but you’ll need to adjust the amount of time they simmer in the sugar water.) I peeled vertically, you can peel horizontally, just cut them into whatever shape you’d like. Slip the peels into a medium pot, cover them with cold water, and bring the water just to a boil on high heat. Drain. Repeat: cover the peels with cold water, bring it to a boil, drain. Repeat once more. Once they’ve cooled a little, use a sharp paring knife or small spoon to remove as much pith as you can. Set aside.
Using a pot that will slightly crowd the peels (I know this goes against conventional wisdom, but I boiled my orange peels in a pot that was too big and the sugar water boiled away quicker than I would’ve liked), add the water and sugar and turn the heat to low. Stir until the sugar dissolves, then add the peels. Let them simmer for about 30 to 60 minutes until the peels are translucent and the syrup thickens. (A thermometer will register the syrup at 220 to 222 degrees F.)
Strain the finished peel and spread it on a single layer on a cooling rack to cool and dry, 1.5 to 2 hours. When it’s no longer wet but still sticky, toss the peels in a bowl of granulated sugar until thoroughly coated. Let dry overnight, then transfer to an airtight jar to store.
Related Posts






Subscribe for New Racipies
Get mental health tips, updates, and resources delivered to your inbox.
Carrot and Zucchini Cupcakes w/ Maple Cream Cheese Frosting

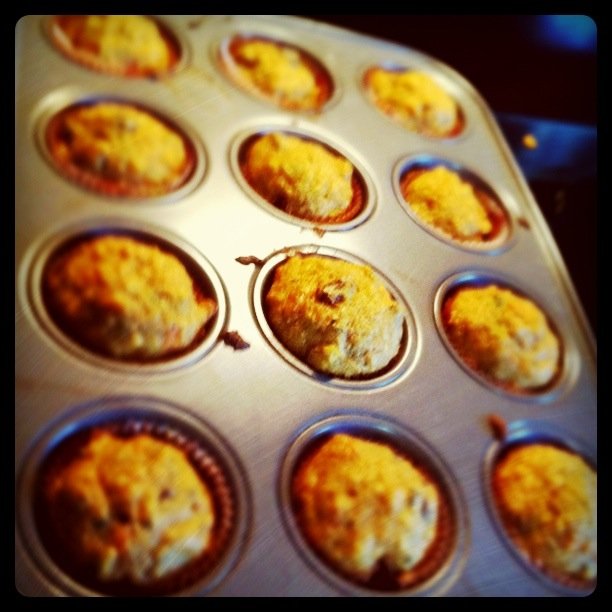
Time to bake again. I signed up for baking once a month for my daughter’s school. I needed new victims for my recipes. Kids like cupcakes with frosting, but they don’t know that these come with veggies. We will see how they like them. My daughter taste tested them and said they were yummy. I wanted to use zucchini, but this time I wanted to try a new recipe. This one I found in the Better Homes and Garden Magazine. It was a recipe for bars, but I made it into mini cupcakes.
Carrot and Zucchini Mini Cupcakes
Ingredients
- 1-1/2 cups all-purpose flour
- 1 teaspoon baking powder
- 1/2 teaspoon ground ginger
- 1/4 teaspoon baking soda
- 2 eggs, slightly beaten
- 1-1/2 cups shredded carrots (3 medium)
- 1 medium zucchini, shredded (1 cup)
- 3/4 cup packed brown sugar
- 1/2 cup raisins
- 1/2 cup chopped walnuts
- 1/2 cup cooking oil
- 1/4 cup honey
- 1 teaspoon vanilla

1. Preheat oven to 350 degrees F. In a large bowl combine flour, baking powder, ginger, and baking soda. In another large bowl stir together eggs, carrot, zucchini, brown sugar, raisins, walnuts, oil, honey, and vanilla. Add carrot mixture to flour mixture, stirring just until combined. Divide mixture into lined mini muffin pans.
2. Bake about 15 minutes or until a toothpick inserted in center comes out clean. Cool completely in pan on a wire rack.

The frosting they suggested was a Citrus Cream Cheese Frosting. Basically 8 oz. cream cheese, 1 cup powdered sugar and 1 tsp lemon or orange peel. I decided I wanted to use the Maple Cream Cheese frosting I had used previously.
Maple Cream Cheese Frosting
- 10oz. cream cheese
- 5 tbs unsalted butter, room temperature
- 2 1/2 cups powdered sugar
- 1/4 cup pure maple syrup
Using electric mixer, beat cream cheese and butter in large bowl until light and fluffy. Add powdered sugar and beat at low speed until well blended. Beat in maple syrup. Chill until just firm enough to spread, 30min
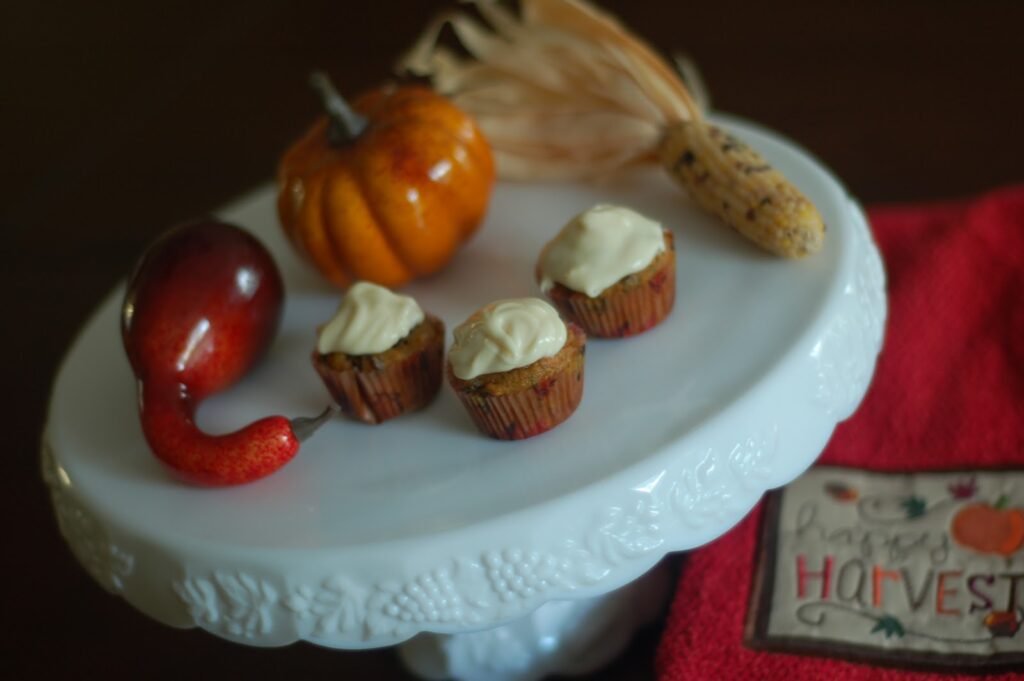
Mmmmm….now doesn’t that look inviting.
Related Posts
Subscribe for New Racipies
Get mental health tips, updates, and resources delivered to your inbox.