
Sugar Cookie Waffle Sticks

Medically reviewed by Christiana George Updated Date: December 18, 2022


Ok, this is it. I have used up all my leftover sugar cookie mix. Phew! I still can’t believe how much stuff I filled up my pantry with over the holiday season. The pile is finally getting smaller. I thought these waffle sticks would be cute for the kids. I think I only used my Bella Waffle Stick Maker once so far. I bought it at Target for $10 or something on clearance. One of those impulse purchases that always happen to me at Target. The sprinkles are from the Target $1 bins. I might have to call up Target and ask if I can be their new spokesperson because I buy so many things there.
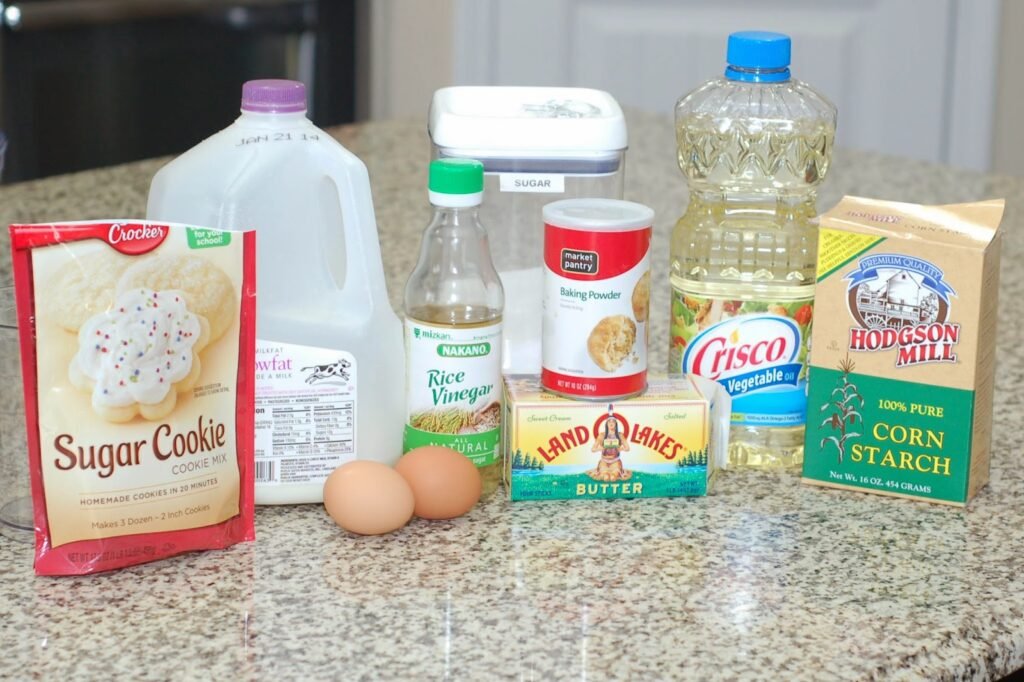
For this recipe I just slightly adapted my Mini Sugar Cookie Donut recipe. I added a little sugar and some corn starch to make the waffles more crispy on the outside.
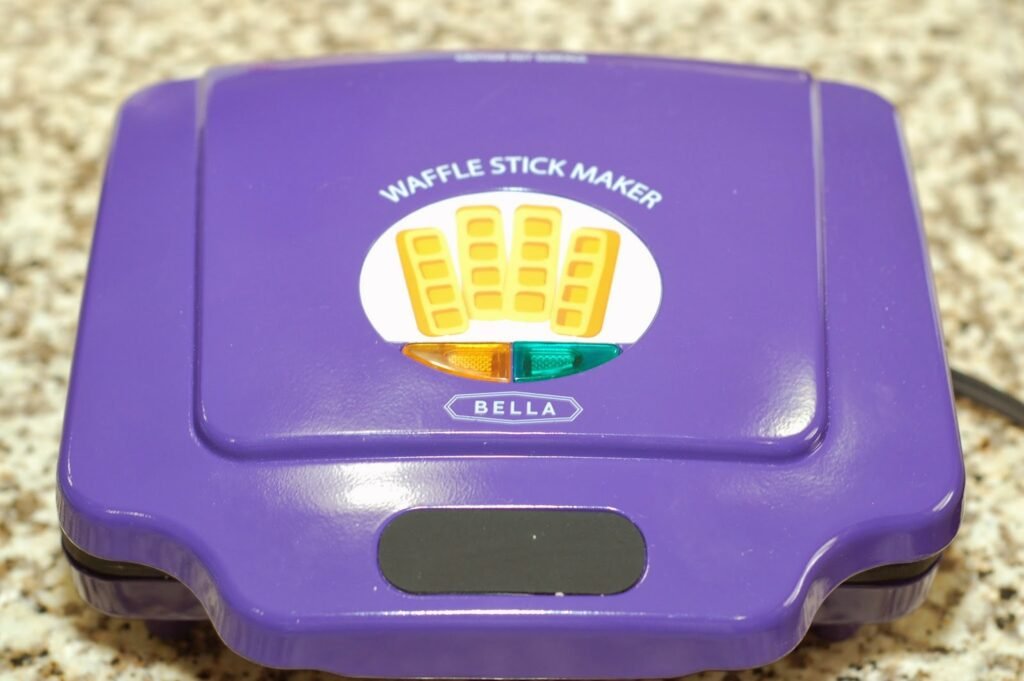
I used my Bella Waffle Stick Maker. I know Babycakes make one also or you can use a regular waffle maker. I just don’t know how many waffles it would make.
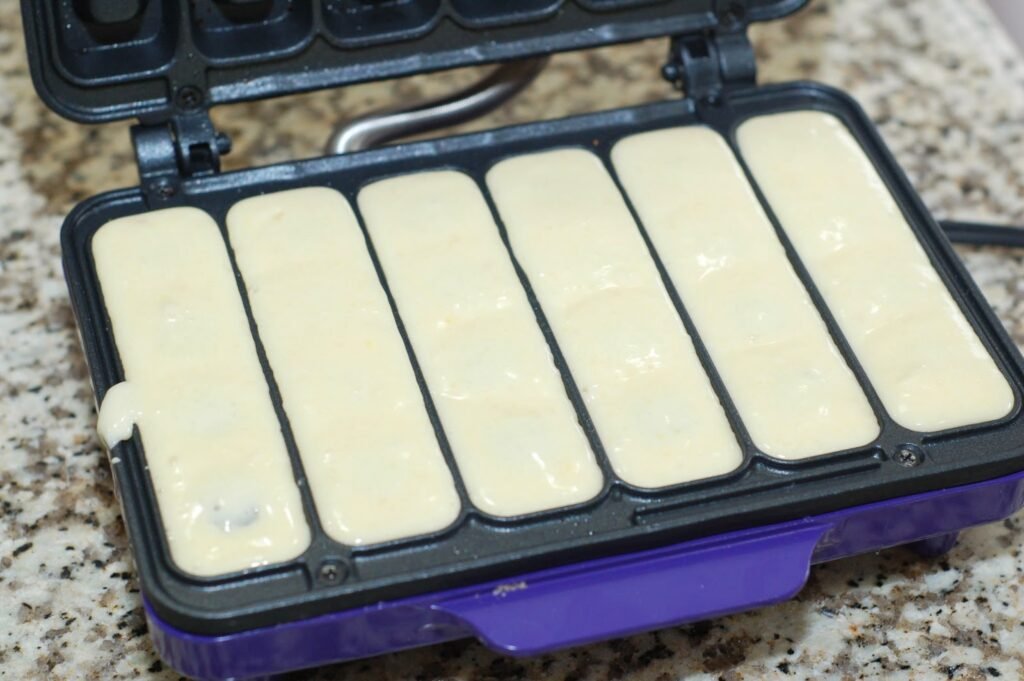
My machine makes 6 waffle sticks at a time. I use my Tovolo Pancake Pen to fill each cavity with batter like I do for my donut maker and cake pop maker.

It just so much easier and more accurate than a measuring cup. You can also use a plastic bag with the tip cut off if you like.
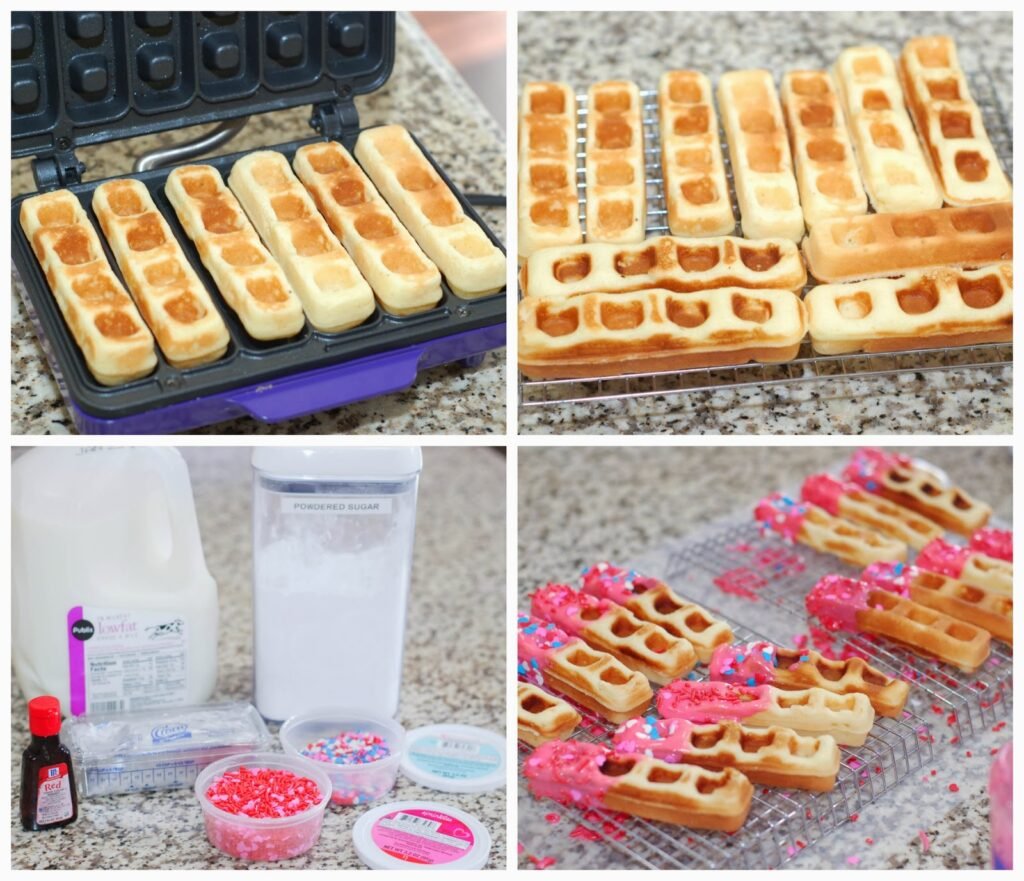
These baked up in about 3-4 minutes. It just depends on whether it is the first couple of batches or the last batch. When warm, straight out of the machine, the outside of the waffles did come out crispy with a soft center, like a Belgian waffle. You can eat them with some maple syrup or slather them with jam. You can probably freeze some and reheat in a toaster oven later.
I wanted to have a little fun with them, so I let them cool completely and placed them in an airtight container until I was ready to glaze them. A little glaze and sprinkles always makes dessert more fun. The waffles did lose their crispiness at this stage, but didn’t lose their flavor. They came out tasting similar to the Mini Sugar Cookie Donuts. And that’s not a bad thing since those donuts were oh so yummy.
Sugar Cookie Waffle Sticks
by The Sweet Chick
Prep Time: 15 minutes
Cook Time: 3-4 minutes
Keywords: bake dessert breakfast snack sugar cookie mix waffles American
Ingredients (21 waffle sticks)
For the waffles
- 1/2 cup milk
- 1 tablespoon vinegar
- 2 cups sugar cookie mix
- 1/4 teaspoon baking powder
- 2 tablespoons corn starch
- 1 tablespoon sugar
- 2 eggs
- 1 tablespoon butter, melted
- 1 tablespoon oil
For the glaze
- 1 1/2 cups powdered sugar
- 3-4 tablespoons milk
- 1 1/4 teaspoons vegetable shortening
- 1-3 drops red food coloring
Optional topping
- sprinkles
Instructions
For the waffles
Preheat your Bella Waffle Stick Maker.
Mix together milk and vinegar and set aside for a few minutes while it curdles (a replacement for buttermilk).
In a medium bowl, mix together the dry sugar mix, baking powder, corn starch and sugar.
Then add the egg , butter, oil, and curdled milk. Mix until completely blended, using a whisk or a hand mixer.
Use a piping bag, a Ziplock bag with tip cut off, or a pancake pen, fill each waffle reservoir flush to the rim with the batter.
Bake for about 3-4 minutes or until toothpick inserted in center of the waffle comes out clean.
Place hot waffles on cooling rack with a wax paper underneath and prepare the glaze.
For the glaze
In a small bowl whisk together powdered sugar, milk, vegetable shortening, and food coloring until smooth.
Dip the tips of each cooled off waffle in the mixture ,then place back on the cooling rack until the glaze is dry.
For the topping
Add your sprinkles before the glaze dries to be sure they will stick.
Related Posts






Subscribe for New Racipies
Get mental health tips, updates, and resources delivered to your inbox.
Blood Orange Curd

I realized yesterday that our living room is just about about the size of the island in Chris’s aunt’s kitchen. Granted, her kitchen is super-sized, but that still tells you something, doesn’t it?
Currently, a huge piece of surface material is taking up about a quarter of the total space, smack in the middle of it all. It makes getting around the apartment challenging. You have to shimmy around it, but mind the wires!, because you might trip like I did this morning, knocking over a speaker that had been playing Lykke Li. (I don’t think it’s broken.)
Chris likes to joke that the entire apartment has become my studio, and he’s not kidding. Lining one wall are foamboards and reflectors and all kinds of surfaces. Lining the opposite wall are stacks of bowls, plates, jars, glassware, silverware, pots, pans, and other props. It’s a delicate situation.
The kitchen is no exception, both in the fact that it’s tiny (I’ve touched on this before), and that I treat it as an extension of my studio. Open any drawer and you’ll discover the tricks of my trade: a rolling pin balanced precariously atop a couple mortars, pestles off to the side, an entire drawerful of random shiny gizmo-gadgets: biscuit cutters, the candy thermometer, a milk frother. And watch out if you want to grab a baking sheet: you’ll have to dig through a mountain of metallica, maneuvering your hand through tiny crevices and odd corners.
Oh, the life of a food blogger.
The truth is, despite having all this stuff lying around, I still find myself gravitating towards simple recipes, today’s being no exception. I like using ingredients that are in season (well, I guess that’s true of many of us), and I like being able to really taste their essence.
Maybe that makes me lazy. Or maybe it makes me a faux-Alice Waters in training? I’ll let you decide.
To tell you the truth, being newly open to baking with citruses and all, I had planned on preparing something a little more ambitious for today. In my head, I envisioned perfect mini tarts filled with silky caramel and topped with this blood orange curd, glistening of course. I really intended to stun you all away with my baking prowess.
But: a) and mostly importantly, I have no baking prowess, and b) there are bills to pay (also very important, come to think of it), so I let my intentions dwindle into this blood orange curd, which ended up being a real treat.

I’m with Kate on this one. The word ‘curd’ just doesn’t do it for me. It rhymes with ‘turd’ for one thing, and ugh, the tongue seems to linger on that ‘r,’ drawing it out so it sounds like you’re insulting someone.
Anyway, as you can see, the citrus obsession continues. (Amy! I’m filling your plate with more citrus!) Please don’t let its name detract from what it is, because that would be doing a great disservice to this recipe.
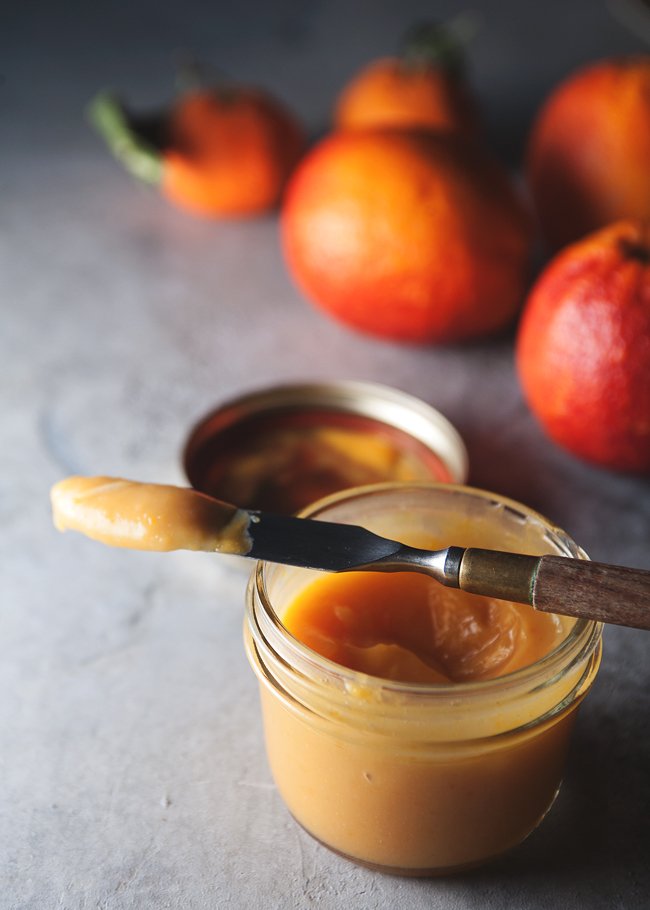
Though the butter and egg yolk have the effect of mellowing out the acidity of the orange, the citrus flavor really comes through. I like how blood oranges aren’t super sweet; it really helps keep the sweetness factor in check. And I like how the curd is creamy, like a buttery jam. It tastes really good on plain toast (in particular, it pairs really well with this poppy seed bread we have in the house).
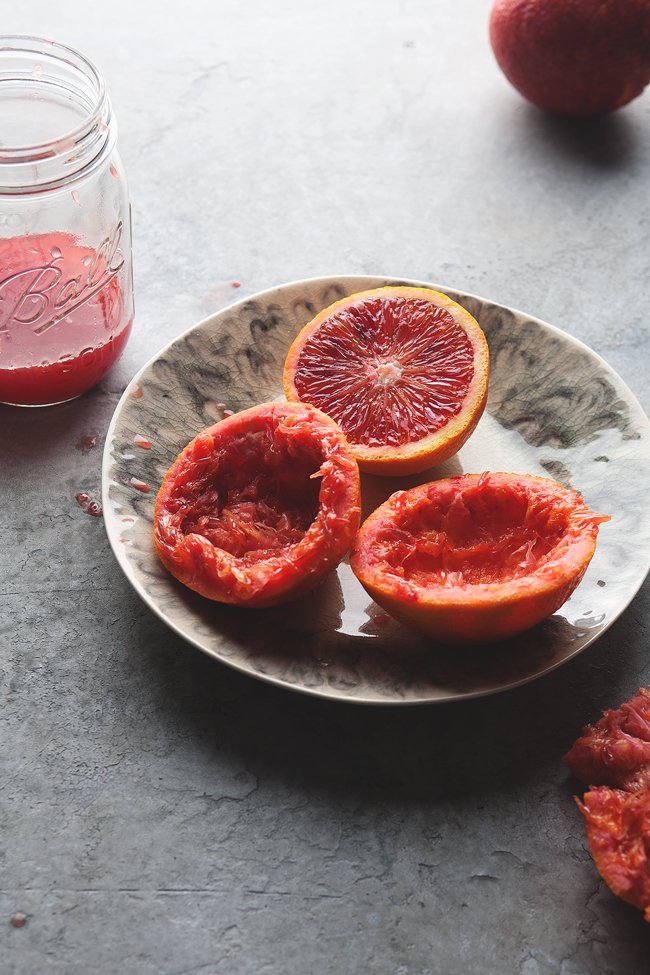
I was surprised with how the color turned out, because the juice was such a vivid coral, but again, mellowing occurred and the pinkish-red turned into a pretty pastel orange. Don’t you love lovely-looking food?
Other ways in which to use your curd (ugh, that sounds so dirty):
These shortcakes via Bon Appétit
This chiffon cake via Eat the Love (gorgeous photos!)
These bars via White on Rice Couple (with a brown butter crust, yum)
In other words, you can pretty much do whatever you feel like with the stuff. So go, go and make your blood orange caramel tarts, see if I care!

BLOOD ORANGE CURD
Makes about 1 pint
Ingredients:
- 12 egg yolks
- 3/4 cup freshly-squeezed blood orange juice (from around 3 blood oranges)
- 1/4 cup lemon juice
- 1 cup sugar
- 1/2 cup butter (8 Tbsp), cut into Tbsp pieces
Directions:
Place the egg yolks, sugar, blood orange juice, and lemon juice in a medium saucepan and turn the heat on to low. Whisk constantly (or the yolks will curdle), for about 10 minutes. At this point, the curd should become really foamy, then thicken up. When it’s thick enough to coat the back of a spoon, run the ingredients through a sieve into a medium bowl. Immediately stir in the butter a little at a time until it all melts and becomes incorporated. Let cool and refrigerate.
Related Posts
Subscribe for New Racipies
Get mental health tips, updates, and resources delivered to your inbox.