
Chocolate Chip Zucchini Brownies

Medically reviewed by Christiana George Updated Date: December 16, 2022
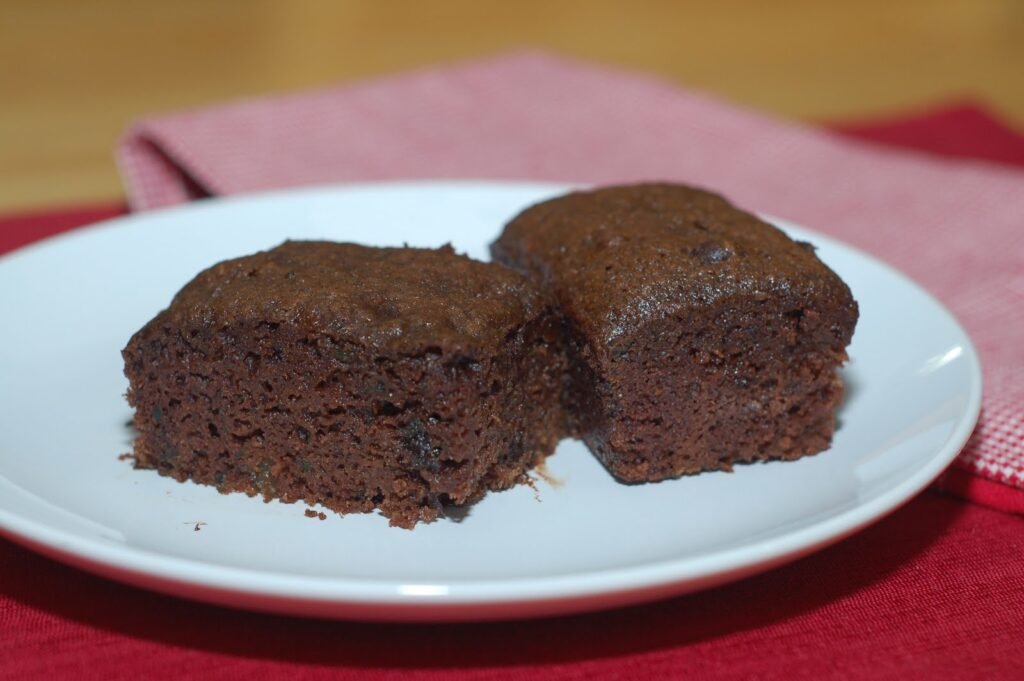
I finally got around to making the Chocolate Chip Zucchini Brownies. The house smells so chocolaty. Who would have thought to put zucchini in a brownie. Thanks www.healthyfoodforliving.com. They really are divine. They are moist, chocolaty, with a hint of zucchini. There are not many ingredients and the recipe is super easy. Mine came out a little more cake like then what was pictured on there site, but I used the same ingredients. Perhaps it is the special brownie pan I use. It’s that one you see on TV that cuts the brownies as they bake. My mother bought it for me on QVC (her favorite channel), so I tried it and have loved it since. It really does bake the brownies a lot better than a pyrex glass dish and I don’t destroy them trying to cut them. They come out cut and looking pretty! Here is the recipe for anyone who has extra zucchini laying around:
Chocolate Chip Zucchini Brownies
Yield: 16 brownies
Cook Time: 25-30 minutes
Ingredients:
1 1/2 cups granulated sugar
1/2 cup canola oil
2 cups all purpose flour
1/4 cup cocoa
2 cups shredded zucchini
2 teaspoons vanilla extract
1 teaspoon salt
1 1/2 teaspoons baking soda
1 cup chocolate chips
Directions:
1. Preheat oven to 350 degrees F. Grease an 8 x 11 baking pan with cooking spray, set aside.
2. In a stand mixer, combine sugar, canola oil, and flour, combine until mixture resembles wet sand. While mixing, on low, add cocoa, zucchini, vanilla extract, salt and baking soda. Mix until well combined. Stir in the chocolate chips.
3. Pour brownie batter into prepared pan and bake for 25-30 minutes or until a toothpick comes out clean and the brownies are set.
4. Cool on a wire rack. Cut brownies into squares and serve.
Recipe adapted from healthyfoodforliving
Related Posts






Subscribe for New Racipies
Get mental health tips, updates, and resources delivered to your inbox.
Maple Carrot Oatmeal Cookies

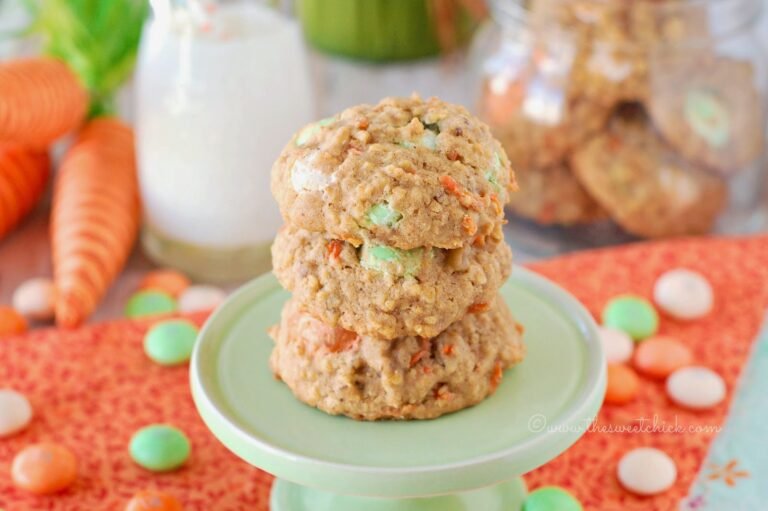
A long drive, friends, family, my birthday, and maple syrup, that pretty much sums up last week.
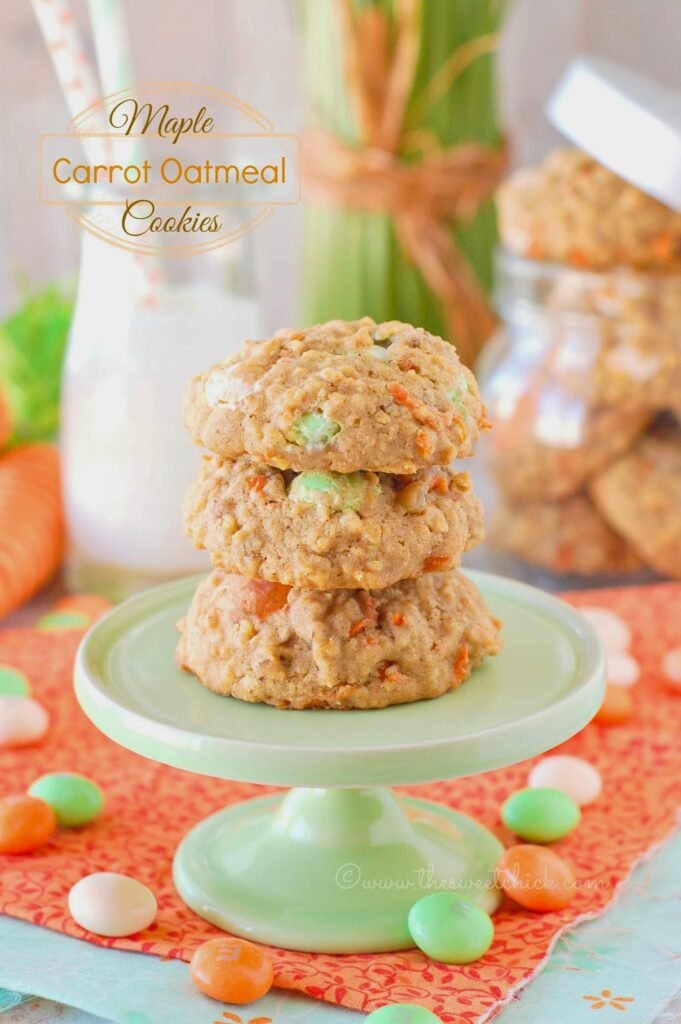
I traveled up to Connecticut to visit family and friends as well as celebrate my birthday. It’s finally sugar season up there. My mom made us a big sugar house meal with ham and kielbasa cooked in maple syrup. The kids were just happy to watch my dad while he boiled the maple water into syrup. My daughter especially loves maple taffy on snow. We were all sugared up by the time we left. I made sure I stocked up on plenty of syrup for my recipes. These Maple Carrot Oatmeal Cookies have a generous amount of pure maple syrup in them that tastes great with the Carrot Cake M&M’s I found at Walmart.
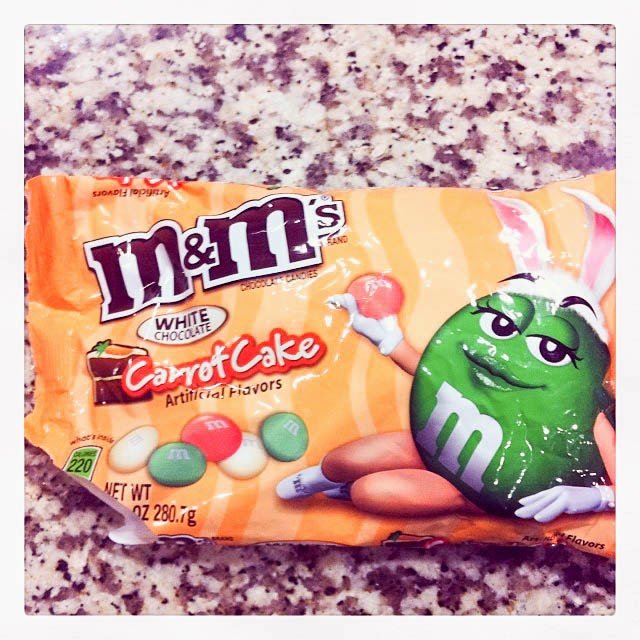
These Carrot Cake M&M’s are actually pretty good. They are made with white chocolate and they taste like carrot cake. I know sometimes, flavored M&M’s are disappointing in their attempt to mimic a flavor, but these hit the nail on the head. I bought an extra bag to taste test first before adding them to my cookies. My son probably ate about half the bag himself.
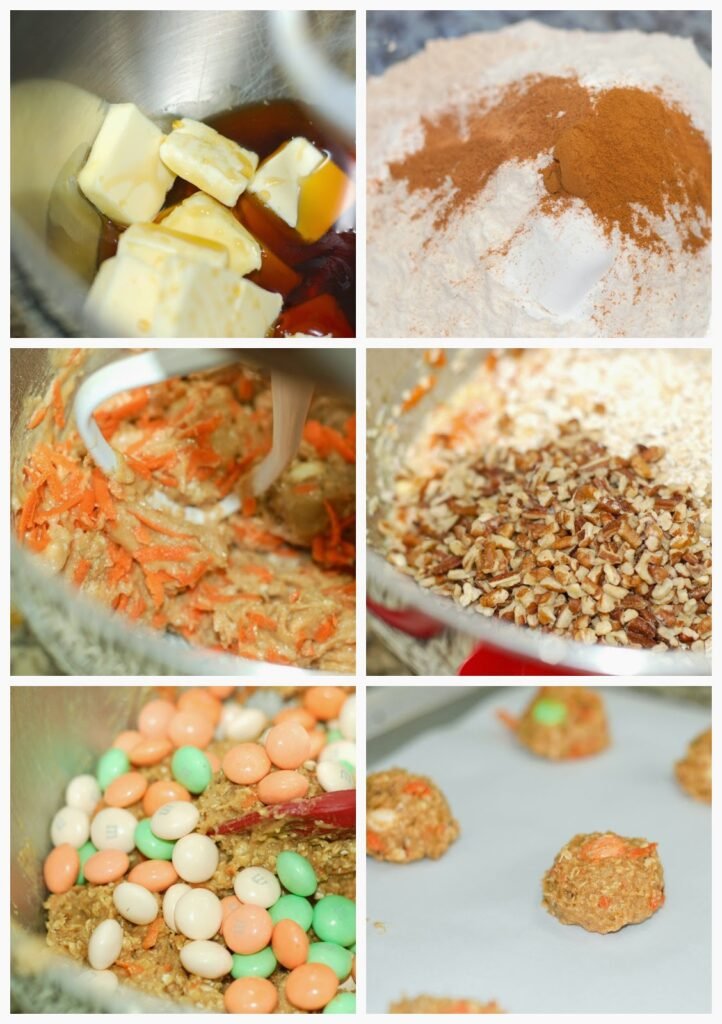
This cookie recipe is adapted from my Honey Carrot Oatmeal Raisin Cookies. If they tasted good with honey, they taste even better with maple syrup. I swapped out raisins for the M&M’s and added some pecans I had left over from my Maple Pecan Scones. The cookies came out soft, moist and full of flavor. I love the pretty spring colors of the M&M’s. They do bleed out a little into the cookies, but who cares, because they taste so darn good.

So now that I turned the big 4 -0, I really don’t feel any different. I think having young kids keeps me feeling young. I know most people my age have teenagers around, but I am still chasing around a three year old and my oldest is only seven. So I can pretend I am still in my thirties, right? I’ll just keep coloring my grey hair and staying out of the sun so I don’t wrinkle. What are your thoughts?
Maple Carrot Oatmeal Cookies
by The Sweet Chick
Prep Time: 15 minutes
Cook Time: 15 minutes
Keywords: bake dessert snack carrots oatmeal maple syrup Carrot Cake M&M’s Easter cookie American spring
Ingredients (36 cookies)
- 2/3 cup butter, room temperature
- 1 cup maple syrup
- 2 eggs
- 1 cup whole wheat flour
- 3/4 cup all purpose flour
- 2 teaspoons baking powder
- 1/4 teaspoon baking soda
- 1/4 teaspoon salt
- 1 teaspoon ground cinnamon
- 1/2 teaspoon ground nutmeg
- 1 cup grated carrots
- 2 cups quick oats
- 1/2 cup chopped pecans
- 1 cup Carrot Cake M&M’s
Instructions
Preheat oven to 350º F.
With a mixer, cream the butter and the maple syrup. Then add the eggs and mix well.
In a large bowl sift together the flours, baking powder, baking soda, salt, cinnamon, and nutmeg.
Slowly add the dry ingredients to the wet ingredients and mix until all is incorporated.
Then add the carrots, oats and pecans, mixing until well distributed.
Add the M&M’s and mix well. (I mixed them in by hand because I didn’t want them to break.)
Drop batter by large spoonful or cookie scoop full onto a greased cookie sheet, leaving 2 inches between scoops.
Bake at 350ºF for 15 minutes or until tops are a golden color.
Remove from oven and let cool for 2 minutes, then move cookies to a cooling rack to completely cool.
Enjoy!
This recipe may be shared at these fabulous parties.
Related Posts
Subscribe for New Racipies
Get mental health tips, updates, and resources delivered to your inbox.