
Blueberry Yum Yum Smoothie

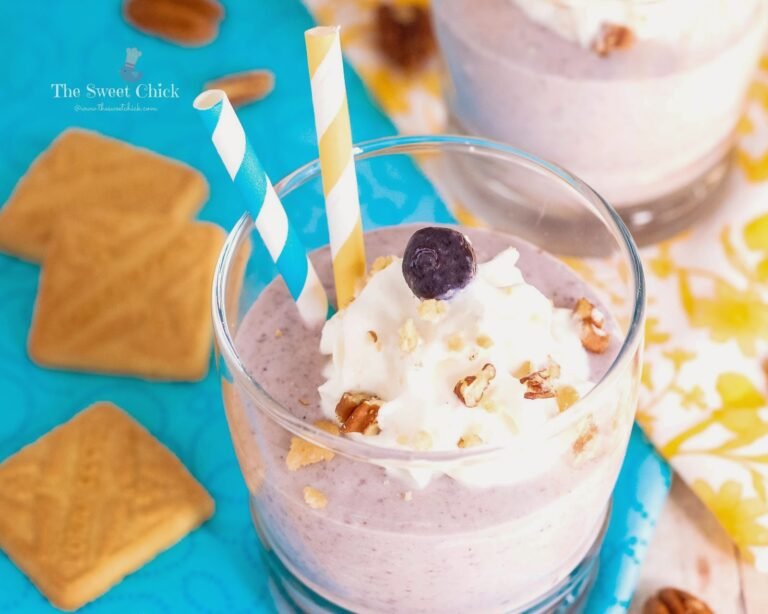

I had never heard of a Blueberry Yum Yum dessert until one of my neighbors suggested I make it. Of course I did. It’s super easy and oh my, it is so delectable. It’s a no bake layer cake made with crushed Lorna Doone shortbread cookies, blueberry pie filling, whipped topping, cream cheese, powdered sugar, and pecans. What’s not to like about that? I thought it would be perfect to make as a dessert smoothie. Yeah, I know it’s not a healthy smoothie, but sometimes you have to be bad. You can use low fat whipped topping and cream cheese if it makes you feel better. Me, I’m sticking to the good stuff.

Williams-Sonoma contacted me to be a part of their Smoothie Week with their first installment being “Not Your Typical Smoothie”. I think this fits the bill. I am a dessert girl, so of course I had to make a dessert smoothie.

I used my Blentec to make this, but in all fairness it should work in any blender. If you don’t have a blender you should check out Williams-Sonoma, they have a sale on blenders and free shipping going on right now.
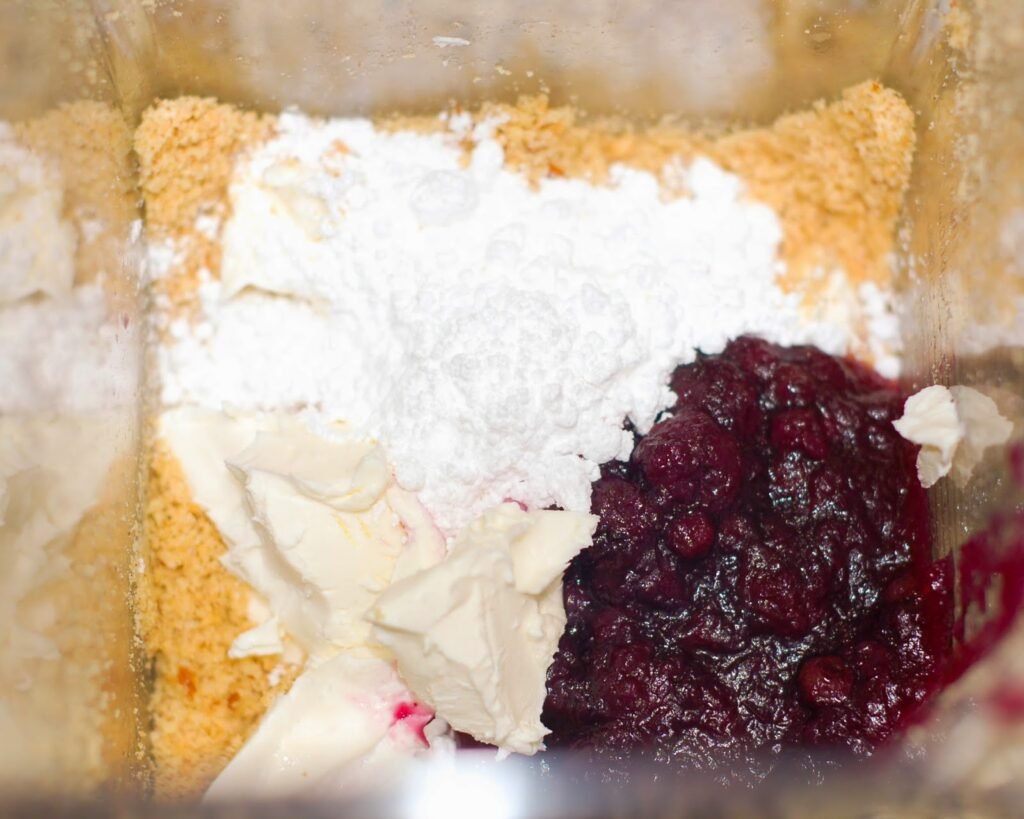
The cookies crumble fairly easy and I had pre-chopped the nuts, so it all worked smoothly. As for the pie filling, my neighbor had given me an industrial sized can of blueberry pie filling that I ended up freezing because I hadn’t used it all. Now, I had a good excuse to use it.

I left the frozen whipped topping for last and the milk. I added 1/4 cup because I like my smoothies thick, but you can add more if you like.

And that’s it. You can add more cookie crumbles or pecans to the top if you want. It makes one 12 oz. serving or two 6 oz. servings. Depends how greedy you are. It is really good though, so I would keep it all to myself. It tastes just like the dessert, except in a drinkable form. Enjoy!
Blueberry Yum Yum Smoothie
by The Sweet Chick
Prep Time: 10 minutes
Keywords: blender dessert snack beverage blueberry pie filling Lorna Doone Cookies whipped topping shake American
Ingredients (2 servings)
- 10 Lorna Doone shortbread cookies
- 1/4 cup chopped pecans
- 1/3 cup blueberry pie filling
- 2 oz. cream cheese
- 1/4 cup powdered sugar
- 1 cup frozen whipped topping
- 1/2 cup milk (or less, if you want a thicker smoothie)
Instructions
Add the cookies and pecans to your blender and pulse until cookies become crumbs.
Then add pie filling, cream cheese, and powdered sugar. Pulse until smooth.
Lastly, put in the whipped topping and milk. Pulse until well blended.
Pour and serve immediately.
Notes
This recipe makes one 12 oz. serving or two 6 oz. servings.
Although Williams-Sonoma contacted me to participate in their Smoothie Week, this is not a sponsored post. All thoughts and opinions are my own.

Related Posts


Subscribe for New Racipies
Get mental health tips, updates, and resources delivered to your inbox.
Candy Coated Oreo M&M;’s
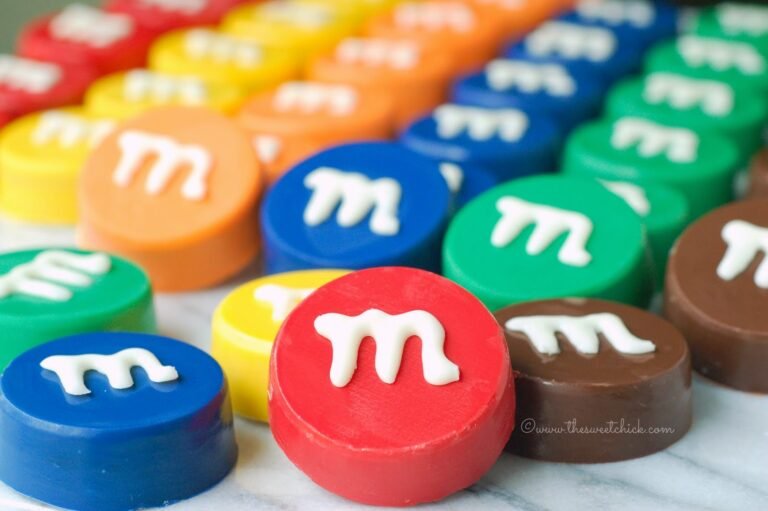
Summer is coming to a close. Kids are going back to school in two weeks. Yay! I love my kids, but I need a break. The past couple of weeks have been busy. We drove up north for a week to see family and friends. It’s was nice to see everyone, but man, that drive is killer. Then last week I was occupied with making treats and decorations for my son’s birthday. He loves M&M’s, so I scoured Pinterest for ideas on doing an m&m party. I found a few things, but these Candy Coated Oreo M&M’s were my idea. I’ve been wanting to make them for a while, so I thought this was the perfect opportunity. They came out pretty cute.

I was able to find all the color candy coating I needed at Walmart. They carry the Wilton, Chocomaker, and Candiquik brands. I used Birthday Cake Oreos for the center, but you can use regular Oreos. If you choose to do Double Stuf Oreos, you will need a different mold.

I bought these candy molds at a small culinary shop while I was up north, but they also sell similar ones on Amazon. They are made for candy coating Oreo shaped cookies. I bought four sets of molds so by the time I finished the last cookies, the first ones were ready to pop out and I could continue using the mold.
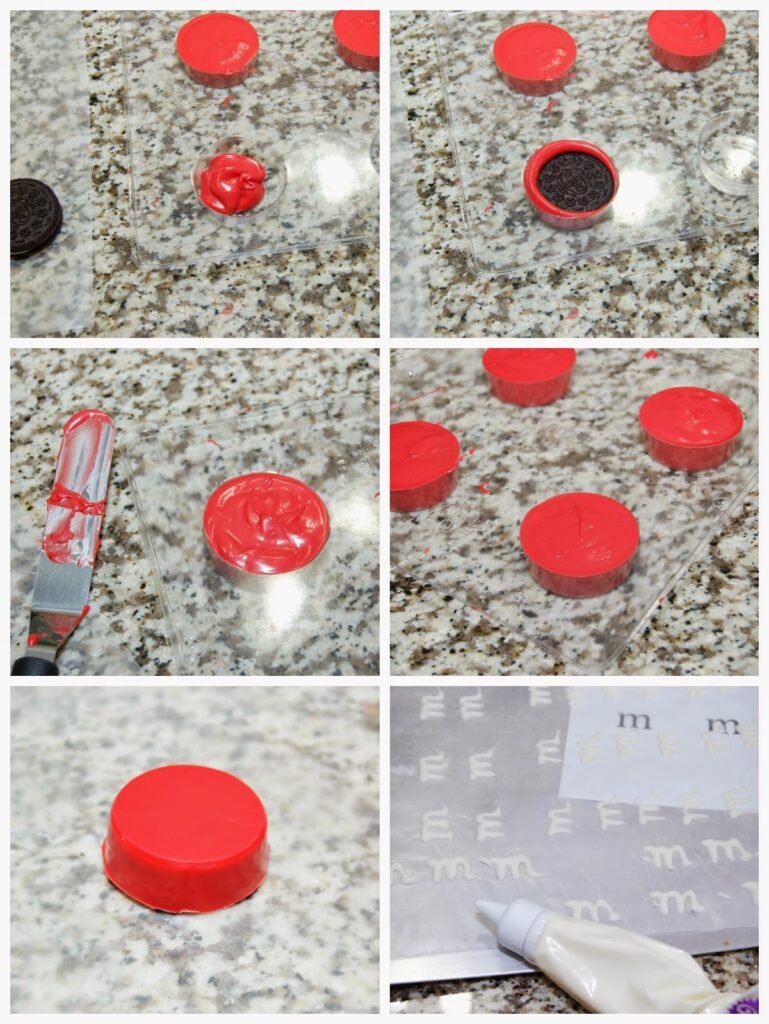
This was my first time trying this. It was a learn as you go process. I poured about a tablespoon or so of candy melt into the mold, then pressed an Oreo cookie into the middle and twirled it around to cover the sides. Then I added candy melt to the top and flattened it out with a spatula. By the second tray I had figured out not to overfill the cavities. You have to tap the mold a few times against the counter to get the air pockets out and that also levels out the candy melt. I placed them in the fridge to harden quickly. You have to work a little to loosen the hardened candy from the mold, but it didn’t take too long.
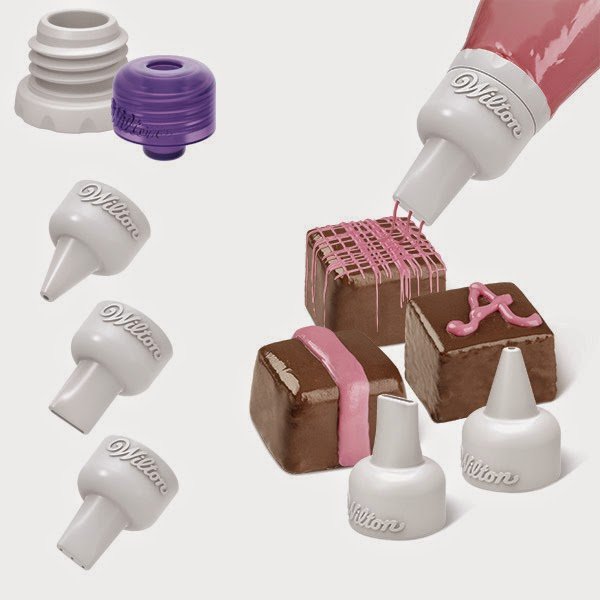
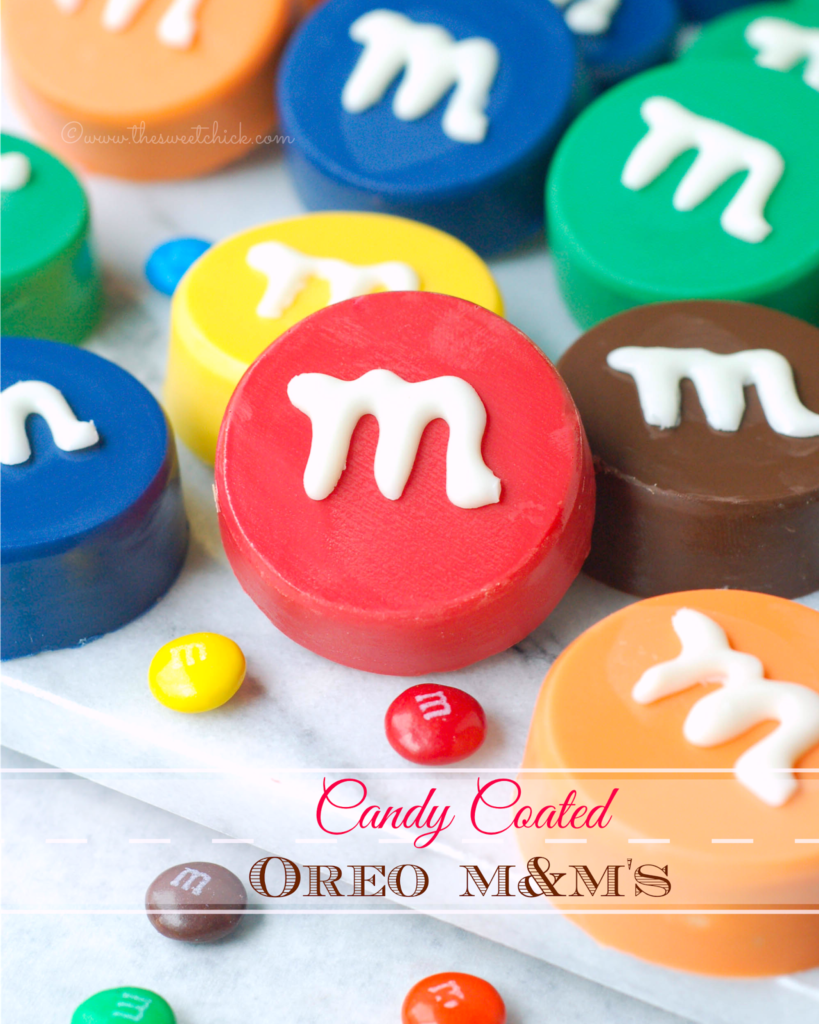
For the “M’s”, I bought the Wilton Candy Melts Decorating Tip Set at Walmart. The writing tip worked perfect. I printed some “M’s” on my computer and placed the printer paper under a piece of wax paper and traced them the best I could. You could write directly on the candy coated M&M’s, but I was too scared to mess them up. When the candy “M’s” had hardened, I attached them to the Oreos with a few dabs of candy coating.

I made these as treats for the party, but they make great party favors also. You can place them in little bags or boxes and make some cute tags to attach to them. All the party guests loved them.
Candy Coated Oreo M&M’s
by The Sweet Chick
Prep Time: 1-1.5 hours
Cook Time: 10-12 minutes
Keywords: microwave dessert snack candy melt birthday cake oreos birthday cookie candy American
Ingredients (48 treats)
For the cookies
- 2 Packages (15.25 oz. each) Birthday Cake Oreos
- 1 package (12 oz.) Wilton’s Candy Melt, green
- 1 package (12 oz.) Wilton’s Candy Melt, red
- 1 package (12 oz.) Wilton’s Candy Melt, yellow
- 1 package (12 oz.) Wilton’s Candy Melt, orange
- 1 package (16 oz.) Chocomaker candy wafers, dark blue
- 1 package (16 oz.) Candiquik candy coating, chocolate
For the “M’s”
- 1 package (16 oz.) Candiquik candy coating, vanilla
Additional items needed
- 2-4 candy molds for plain cookies
- Wilton’s Candy Melt Decorating Tips
- 1 box (12) Wilton’s Disposable Candy Decorating Bags.
Instructions
For the cookies
Using one color at a time, melt candy coating according to instructions on the back of the package. (Usually it’s 30 seconds at a time in the microwave.) I melted a 1 cup at a time. You can always add more if needed. You will not use the entire bag of candy melt. Make sure you candy melt is warm, but not hot before pouring into the mold.
Pour about 1- 1 1/2 tablespoons of candy melt into each cavity of the mold. ( I worked with one mold of 4 at a time). Place one Oreo cookie in the center of each cavity on top of the candy coating. Gently press the cookie down and spin is slowly to coat the sides.
Add a bit more of candy coating on top of the Oreo, careful not to overfill. Spread the candy melt out with a spatula. Then gently tap the mold a few times on a hard surface to release any air bubbles.
Place finished mold(s) in the fridge for 5-10 minutes to speed up the hardening of the candy melt. I continued the same process with another color while the first color was setting. I used 2 molds per color, so it worked out great.
When the candy coating has hardened, remove from fridge and gently wiggle the mold to release the cookie. The flat surface will be the top of the “M&M”.
For the “M’s”
Once all the colors are done, it’s time for the “M’s”. If you are confident about your writing skills, you can write directly on the candy coated cookies. I wasn’t, so I made a template on my computer and printed it out. I placed the template under a piece of wax paper to write my “M’s”. My “M’s” were about an inch tall.
Melt the vanilla candy coating according to the package instructions and pour into a disposable candy decorating bag with writing tip attached.
Trace the “M’s” onto the wax paper over your template. Practice makes perfect.
I placed my template and wax paper on a cookie tray so I could pop it in the fridge for a quick set. I also used a sharp knife to cut off any “tails” that occurred due to run-off candy coating.
Once the “M’s” have set, carefully remove from the wax paper, add a couple of dabs of vanilla candy coating to the backs and place them on your candy coated cookies. Let dry and you are done!
Related Posts
Subscribe for New Racipies
Get mental health tips, updates, and resources delivered to your inbox.