
Peppermint Cheesecake Rice Krispie Treats

Medically reviewed by Christiana George Updated Date: June 9, 2023
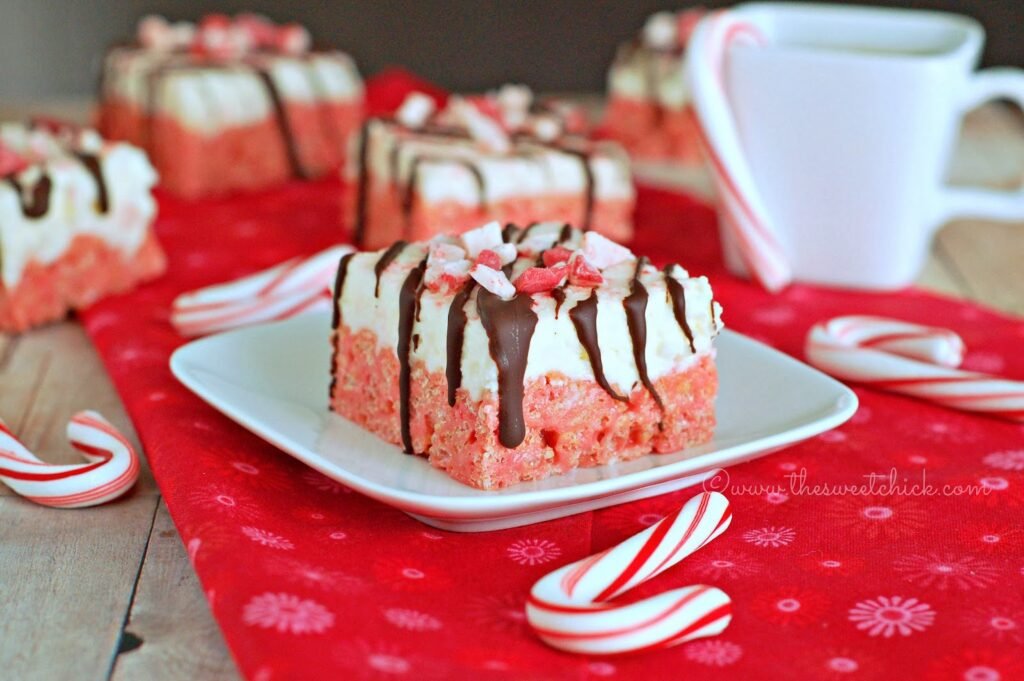

After my first Rice Krispie recipe failed, I went back to the pantry to see what else I could find to make Rice Krispie treats. I went looking through all the goodies I found at World Market, Walmart, and Target. I had some Jet-Puffed Peppermint Mallows, a box of cheesecake flavored Jell-O Pudding, a bag of Andes Peppermint Crunch Baking Chips, and a bottle of Peppermint Pigsy Dust. Well, now that got the creative juices flowing. I never had peppermint cheesecake before, but it does exist. So why not try it as Rice Krispies.

The cheesecake flavored Jell-O pudding I found at Walmart and the marshmallows are from Target. The peppermint flavor in the marshmallows is mild, but I found something else to amp up the flavor.

These little treasures I found at World Market. I think they may have them at other store also. They have a nice peppermint flavor, but are oh, so creamy. I have to go by some more of these.
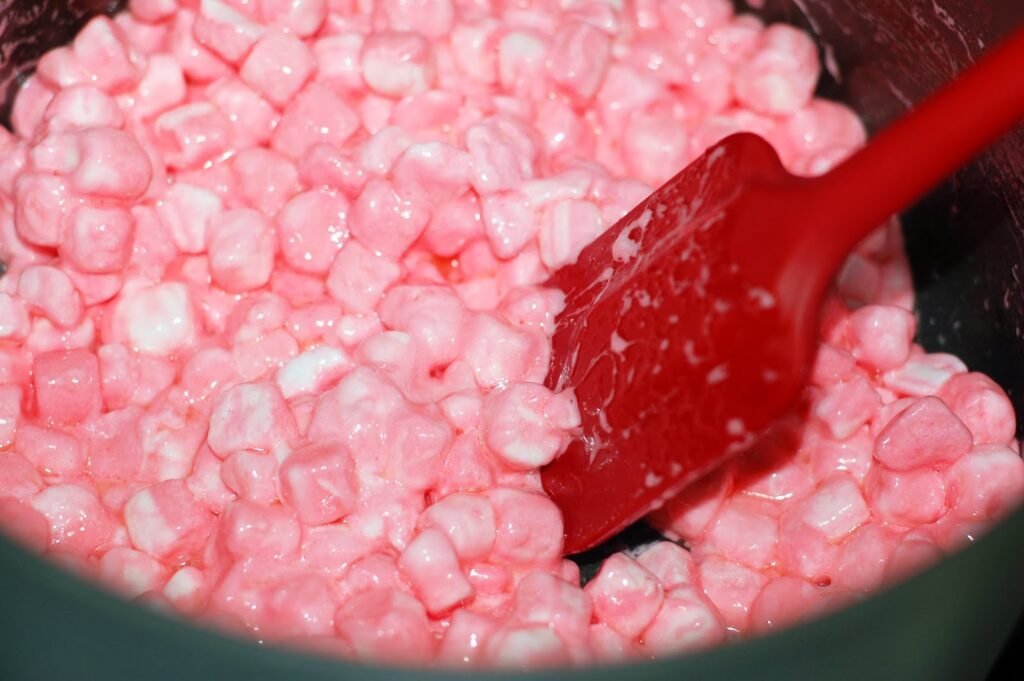
The marshmallows melted into a very pretty pink color. To bad it’s not Valentine’s Day.

These baking chips boosted up the peppermint taste to the max. Then I added the powdered cheesecake Jell-O mix.
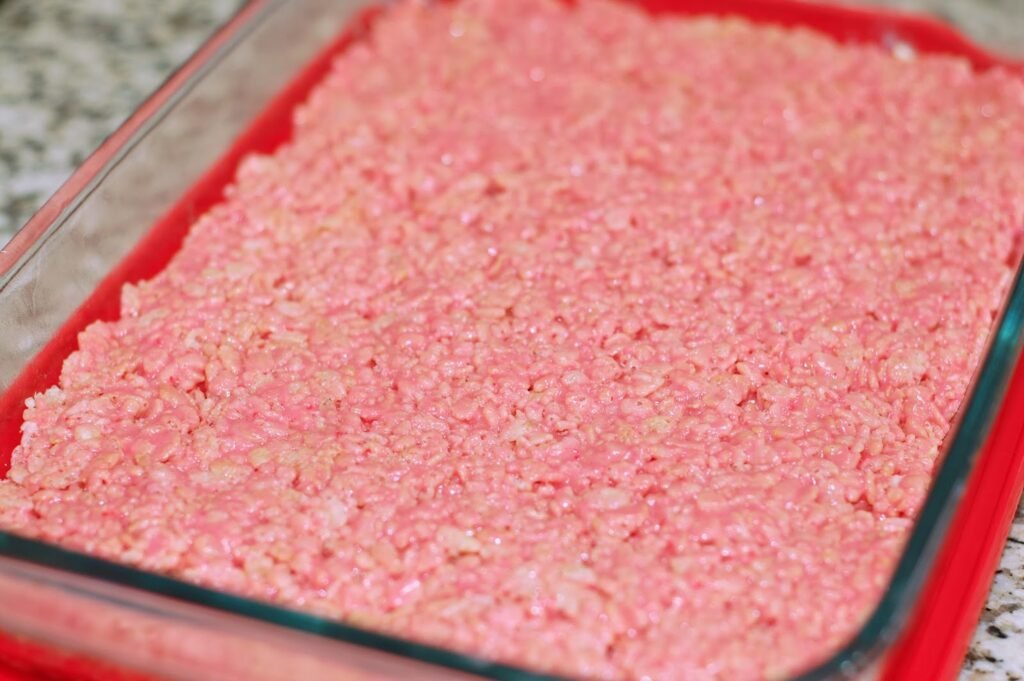
I was going to leave them like this and just drizzle some melted chocolate on top, but then I went to the fridge and realized I still had some heavy cream and mascarpone cheese left from making my No Bake Butternut Squash Cheesecakes the other day. Well, this was supposed to be a peppermint cheesecake flavored dessert, so why not top it off with a whipped mascarpone frosting.
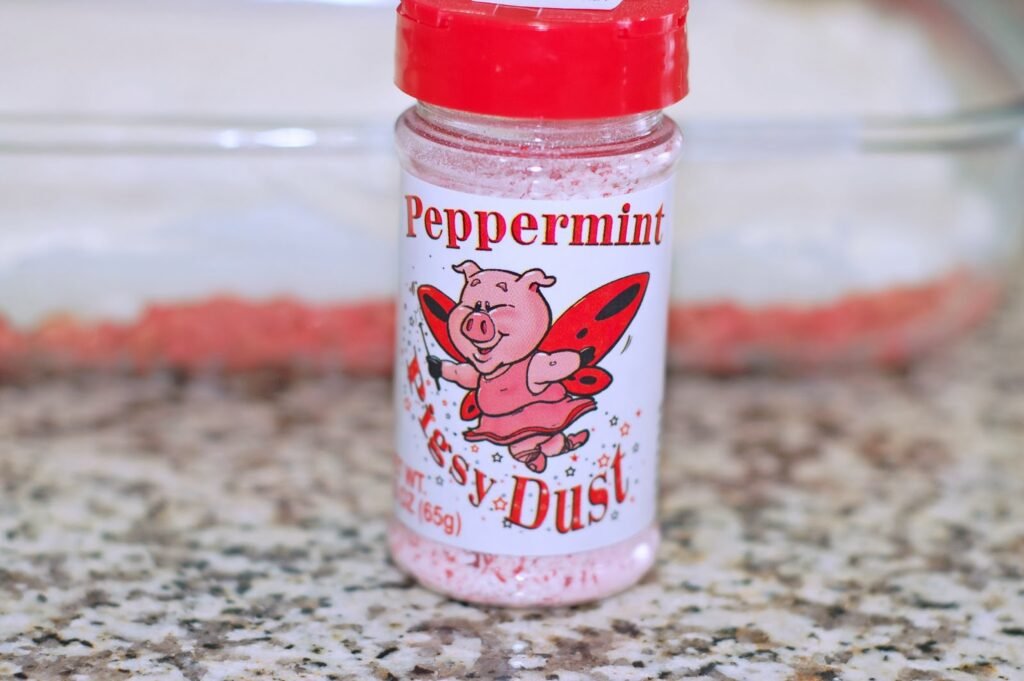
After I spread the frosting over the treats, I sprinkled it generously with Pigsy Dust. Isn’t this bottle the cutest? I found it at World Market. It’s basically a fine dust of crushed peppermint candies. Great for sprinkling on anything.

I had placed the treats back in the fridge for the frosting to set and when I removed the tray, I noticed the Pigsy Dust had melted into my frosting, making little red polka-dots. I love it!
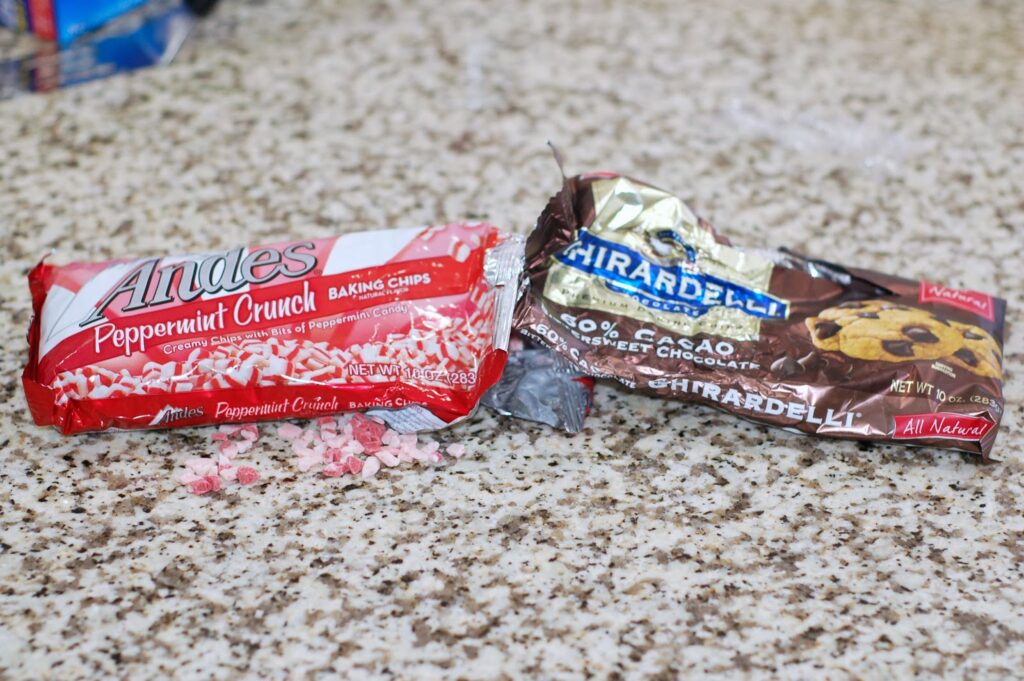
But I wasn’t done yet. I still wanted to add some melted chocolate and a few more bits of Peppermint Crunch. I used Ghirardelli Baking Chips because they melt very easily in the microwave and come out smooth, not lumpy. But you can use whatever chocolate you like best.

I choose to cut the squares before I added the chocolate because I wanted nice clean cuts. You also need to clean you knife after every cut if you want the lines precise. I just used a fork to drizzle the chocolate, but you can use a piping bag for a clean look.
You have a nice crunchy peppermint cheesecake base topped with a light, fluffy frosting, a drizzle of chocolate and another hint of peppermint. This is a lovely decadent treat. This isn’t just for kids. Welcome to my Peppermint Paradise.
Peppermint Cheesecake Rice Krispie Treats
by The Sweet Chick
Prep Time: 20 minutes
Cook Time: 5 minutes
Keywords: stove top no bake dessert snack peppermint Jell-O Cheesecake Pudding Mix rice krispies Jet-Puffed Peppermint Mallows Christmas bars rice krispie treats American winter
Ingredients (24 Squares)
For the treats
- 4 tablespoons butter
- 1 bag (10.0 oz.) Jet-Puffed Peppermint Mallows
- 1/2 cup Andes Peppermint Crunch Baking Chips
- 1 box (3.4 oz.) Jell-O Cheesecake Instant Pudding mix
- 5 cups Rice Krispie cereal
For the frosting
- 1 cup heavy cream
- 8 oz. mascarpone cheese, room temperature
- 1/2 cup confectioners’ sugar, sifted
- 1 tablespoon Peppermint Pigsy Dust
Additional Toppings
- 1/2 cup Ghirardelli 60% Cocoa Baking Chips
- 1/4 cup Andes Peppermint Crunch Baking Chips
Instructions
For the treats
In a large sauce pan, melt butter and marshmallows over low heat. Stir until completely melted.
Remove from heat and add the peppermint baking chips. Stir until the candies are all melted and mixture is smooth.
Next add the dry pudding mix and stir until completely blended.
Then add Rice Krispies and stir until completely incorporated.
Pour the mixture into a greased 9 x 13 pan or a cookie sheet and spread it evenly with a piece of greased waxed paper.
For the frosting
With a stand mixer on medium to medium/high speed, whisk heavy cream until stiff peaks form (be careful not to overbeat, or cream will be grainy).
In another bowl, blend together mascarpone and confectioners’ sugar until smooth.
Gently fold the whipped cream into the mascarpone mixture until completely incorporated.
Spread the frosting evenly over the treats with a spatula.
Sprinkle with Pigsy Dust and place in fridge to cool (about 10-15 minutes).
Cut treats into squares with a sharp knife, wiping down knife after every cut.
For the additional toppings
Place chocolate baking chips in a microwave safe container and microwave at 30 second intervals, stirring in between, until chocolate is completely melted and smooth.
With a fork or piping bag, drizzle chocolate over cooled treats and sprinkle with peppermint baking chips.
Rice Krispie Treat recipe adapted from Pumpkin Spice Rice Krispie Treats by Shugary Sweets
Mascarpone Frosting Recipe by Martha Stewart
Related Posts






Subscribe for New Racipies
Get mental health tips, updates, and resources delivered to your inbox.
Behind the Scenes

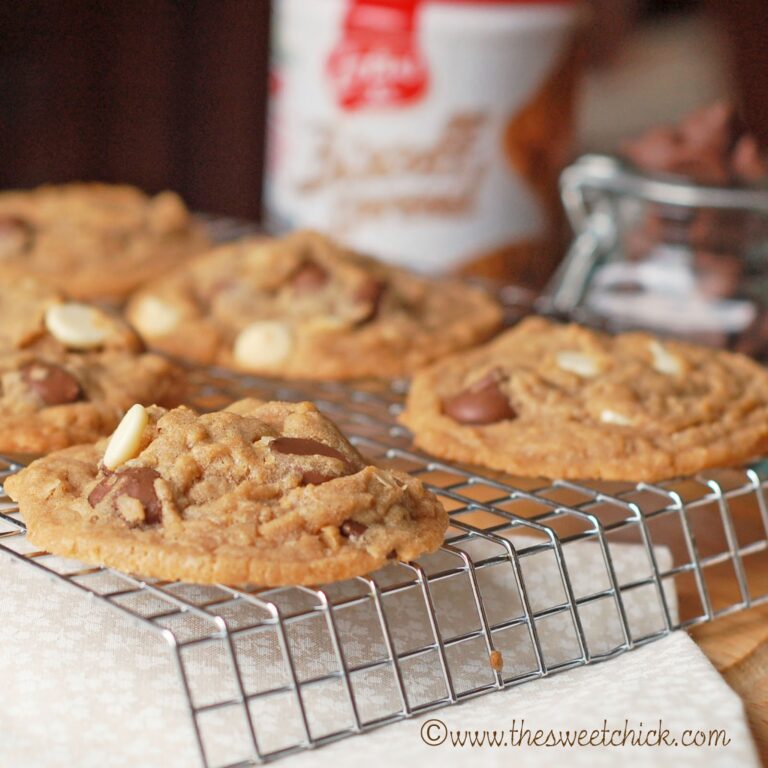
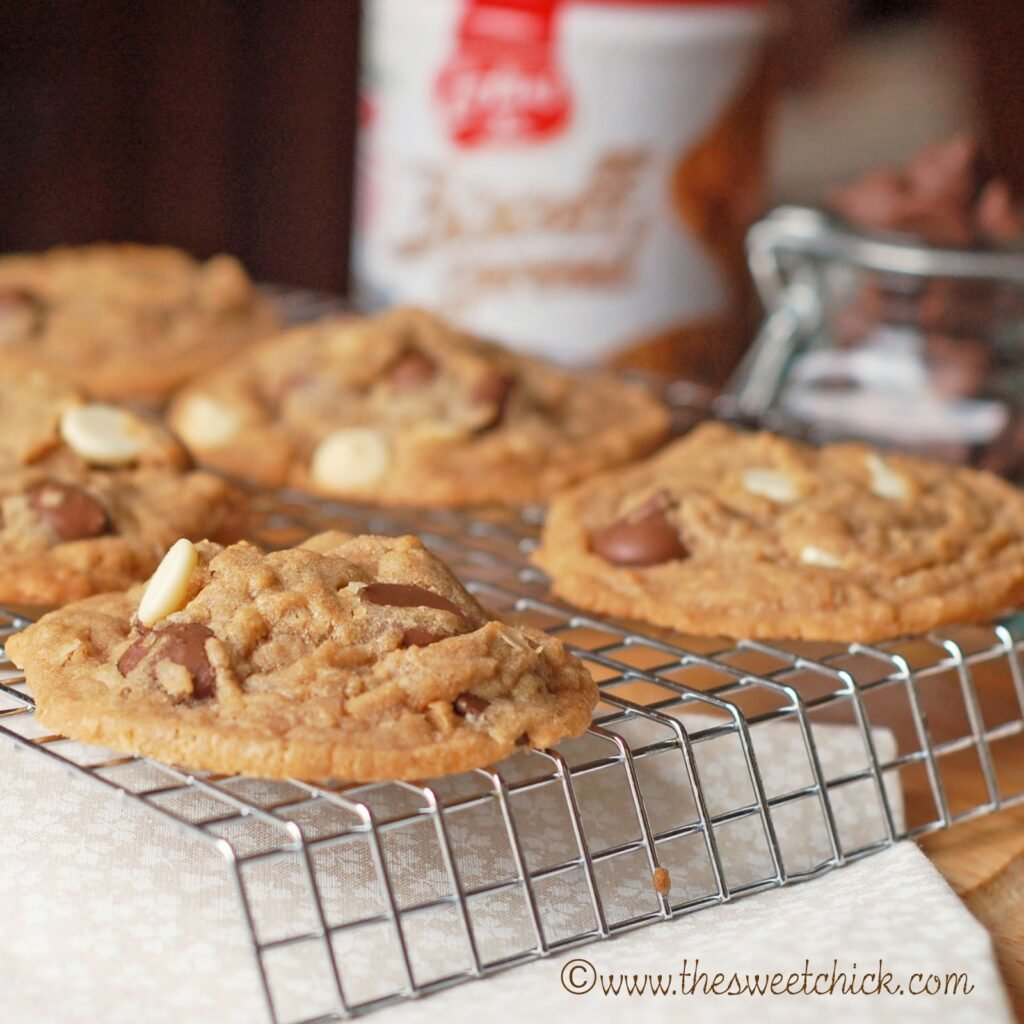
I thought it would be fun to show you all how I go about taking my food photos for this blog. I am by no means an expert on photography, but I have learned some new things over the past year that have helped improve my overall images. I have been able to get my photos featured on Tastespotting, Foodgawker, and Tasty Kitchen. I am quite pleased with that accomplishment. It means my hard work is paying off.
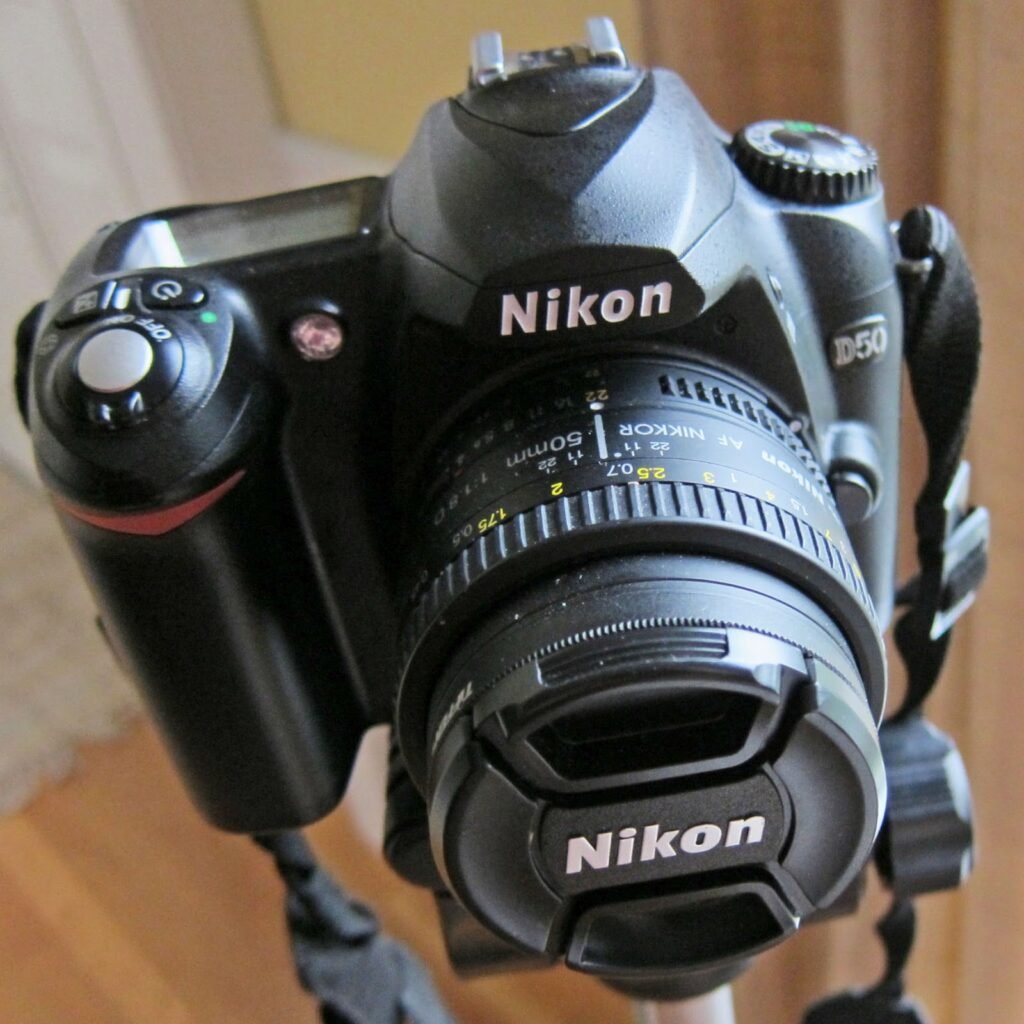
This is my camera, a Nikon d50. I bought it over six years ago before my daughter was born to take pictures of her. Now it has been re-purposed. This poor camera usually ends up with bits of food on it as I try to take pictures of my treats as I am in the process of making them. Thankfully it has been a good sport. It may be old, but it is still a good camera. I do not have a need to upgrade yet.
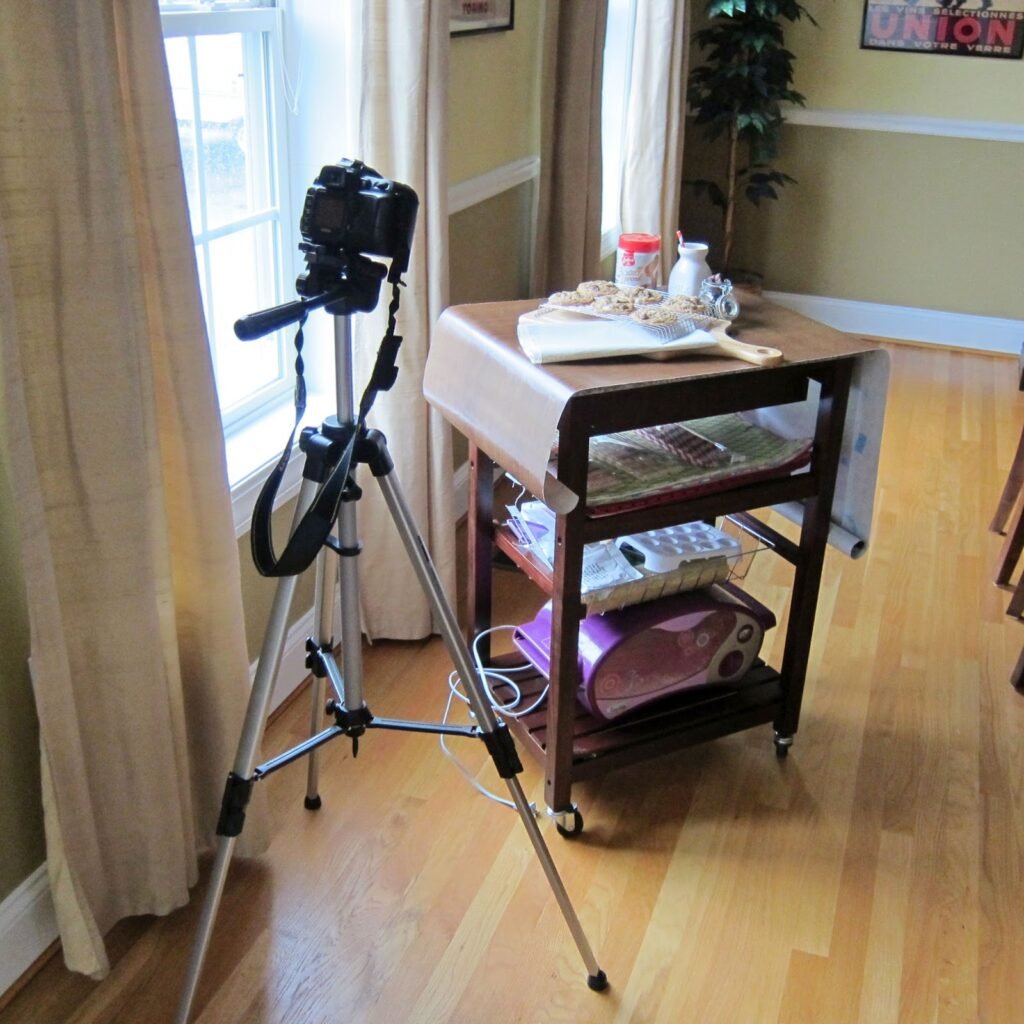
When I first started this blog I was mostly taking pictures at night when the kids were asleep, so I depended on my flash to brighten things up. I know, shame on me. I have since learned that flash is such a no-no when it comes to food photography. It just makes the food look unreal and unappetizing. Now I wait for the weekend to bake and take pictures during the day, so as to capture all the natural light I can get.
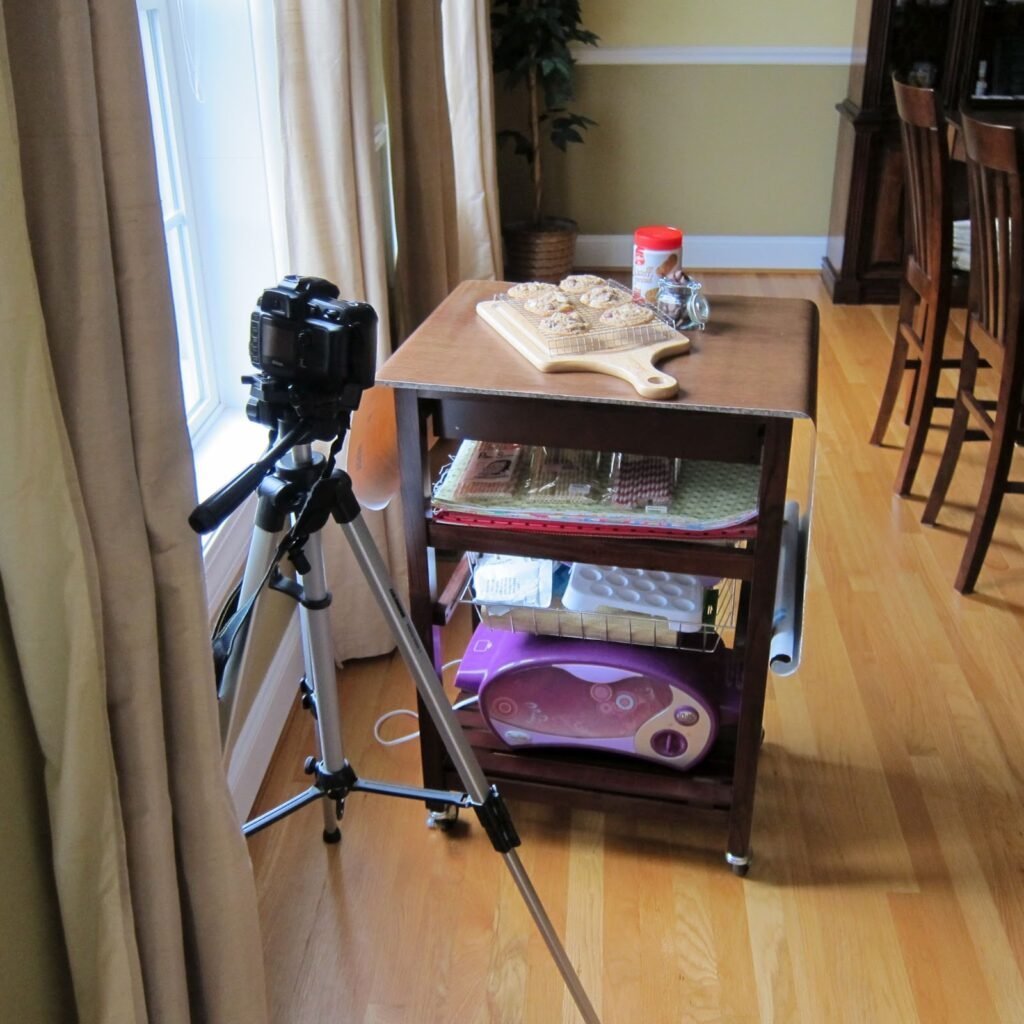
Since my kitchen is not very sunny, I take my pictures in the dining room. I have found that between 2pm and 3pm (Eastern Time Zone) I have the best lighting. Of course, some weekends we have plans and I have to make do with whatever light I can get. The less light, the closer I get to the window. Sometimes I use some white foam boards to bounce light off of. I just prop them up on some chairs next to my table. I don’t have any fancy light boxes. I really try to keep equipment down to a minimum. I don’t want to clutter my closets anymore than they already are.
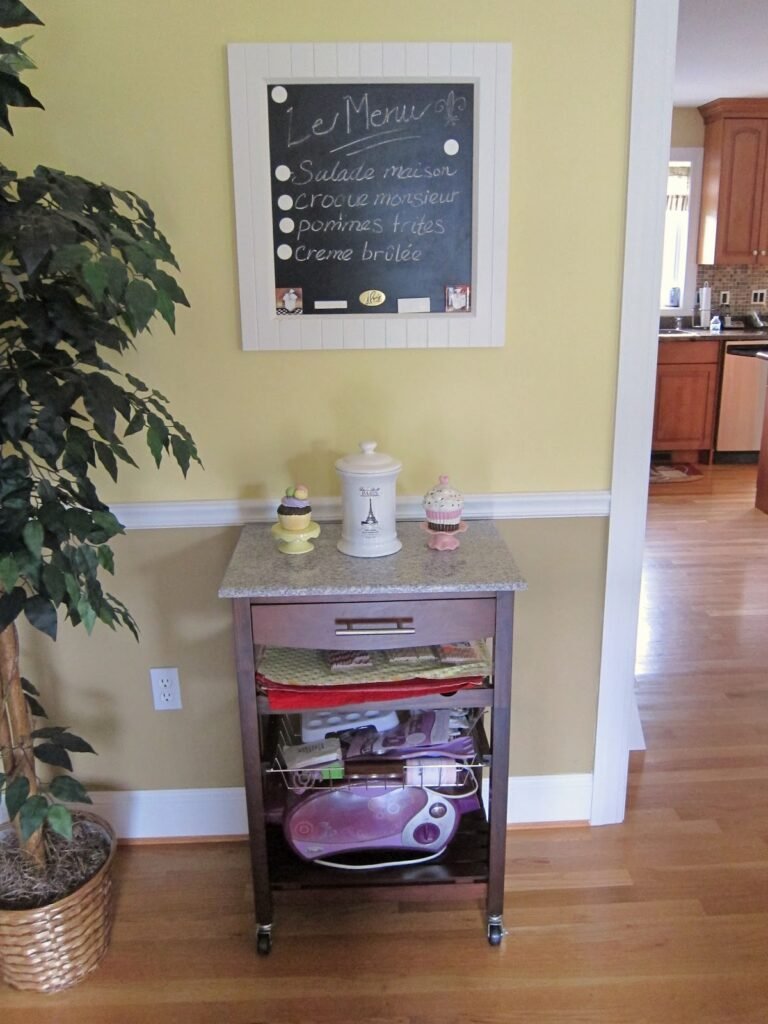
I bought this kitchen cart at Walmart to use as my “table” for taking my food photos as well as hold some of my props (and now my daughter’s Easy Bake Oven). It is just the right size and it is easily moveable. When not in use, it stays in the dining room as a furniture piece.
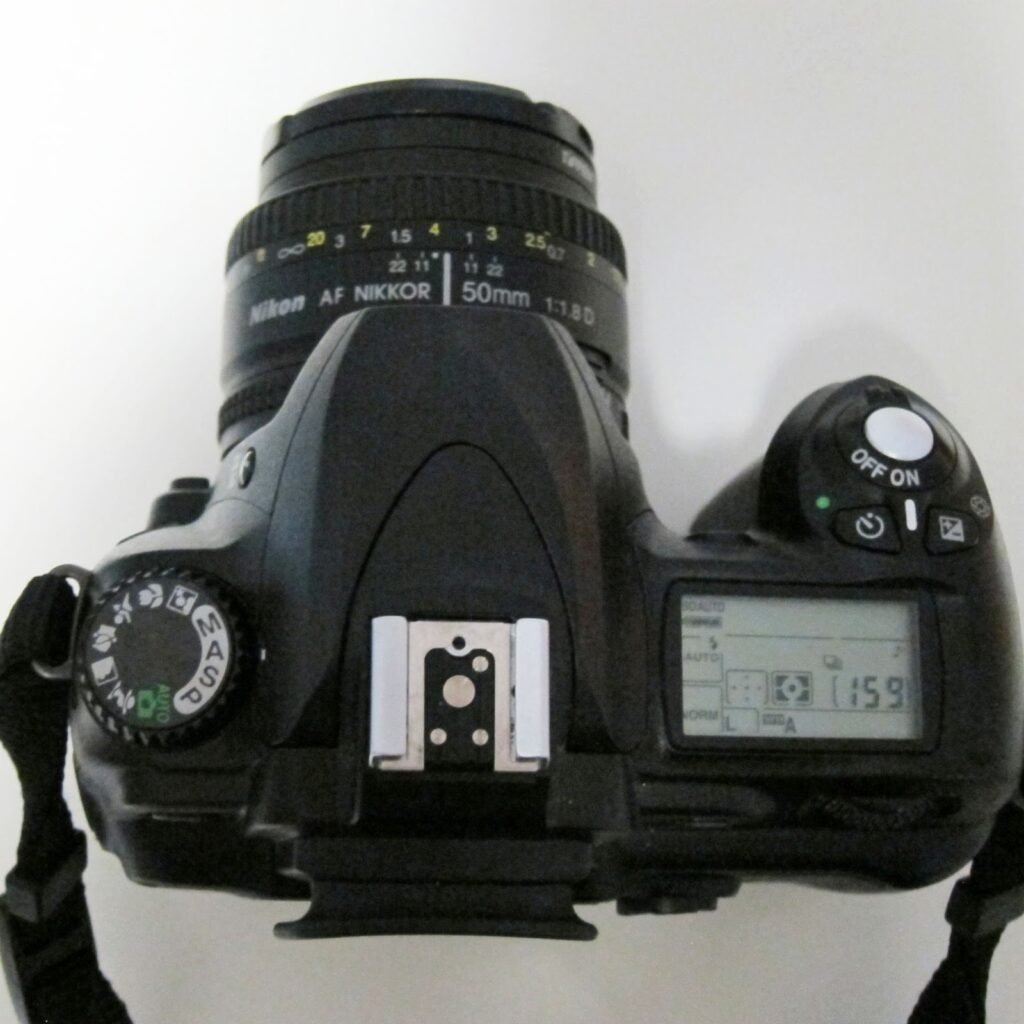
Even though I have had my camera for over six years, until this year, I have never taken it out of “auto” mode. After reading many tutorials online and actually downloading the manual for my camera onto my iPad, I have learned how to use natural light and set my camera properly to achieve better quality photos. I am still learning what all the buttons do. I should probably take a class, but with a full time job and two small kids, that isn’t convenient. Plus, I am stubborn by nature, so I like to learn my way.
What works best for me is a 50mm lens and the aperture priority auto(“A”) setting. It gives a nice blur to the background, while keeping the subject in focus. You do have to use a tripod to get crisp, clear photos. I bought mine around the same time I bought my camera. It was not expensive, but it does what I need it to. It holds my camera still and I can adjust the height. I like to keep it simple. I still have a lot of learning to do, but I am happy with my progress thus far.
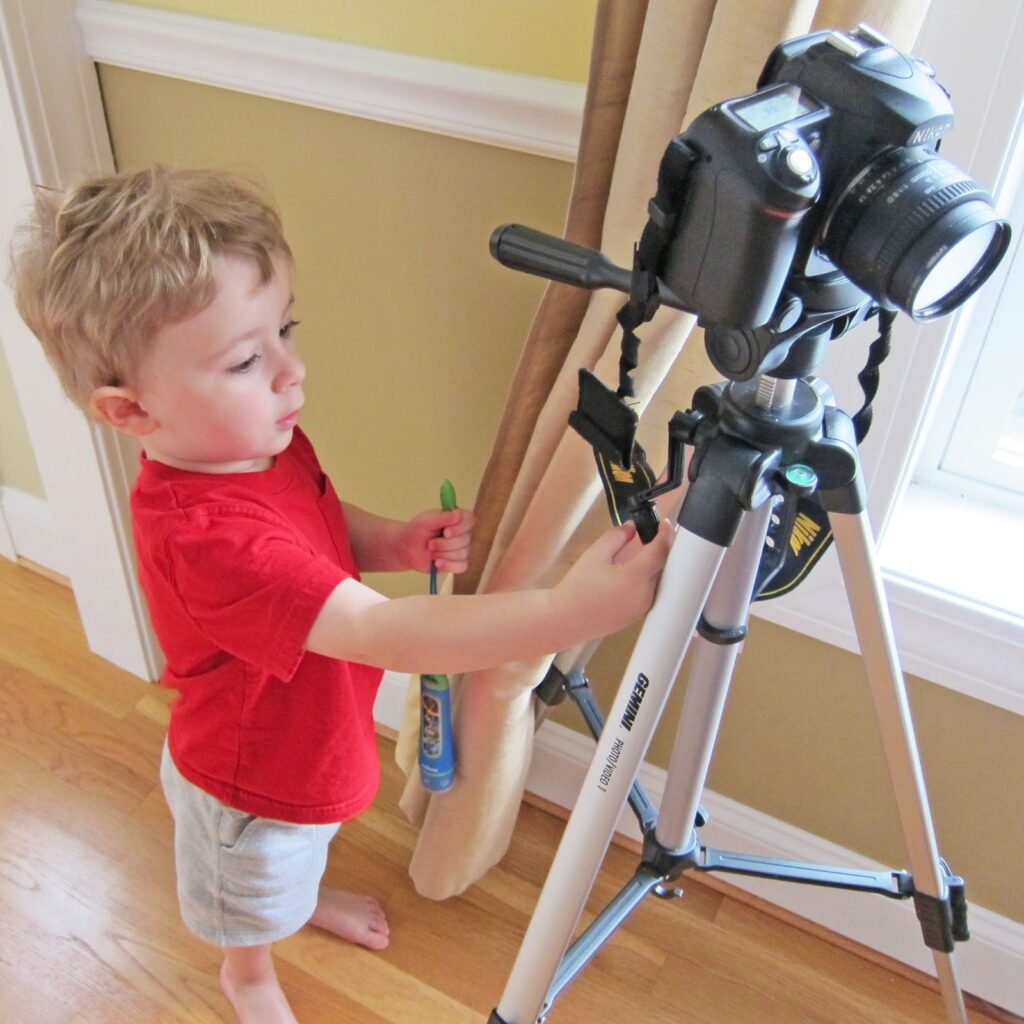
I would like to thank my production team for all their help. Here is my Chief Technical Engineer, he always makes sure my tripod is in working order by randomly turning knobs and waiting for a reaction.
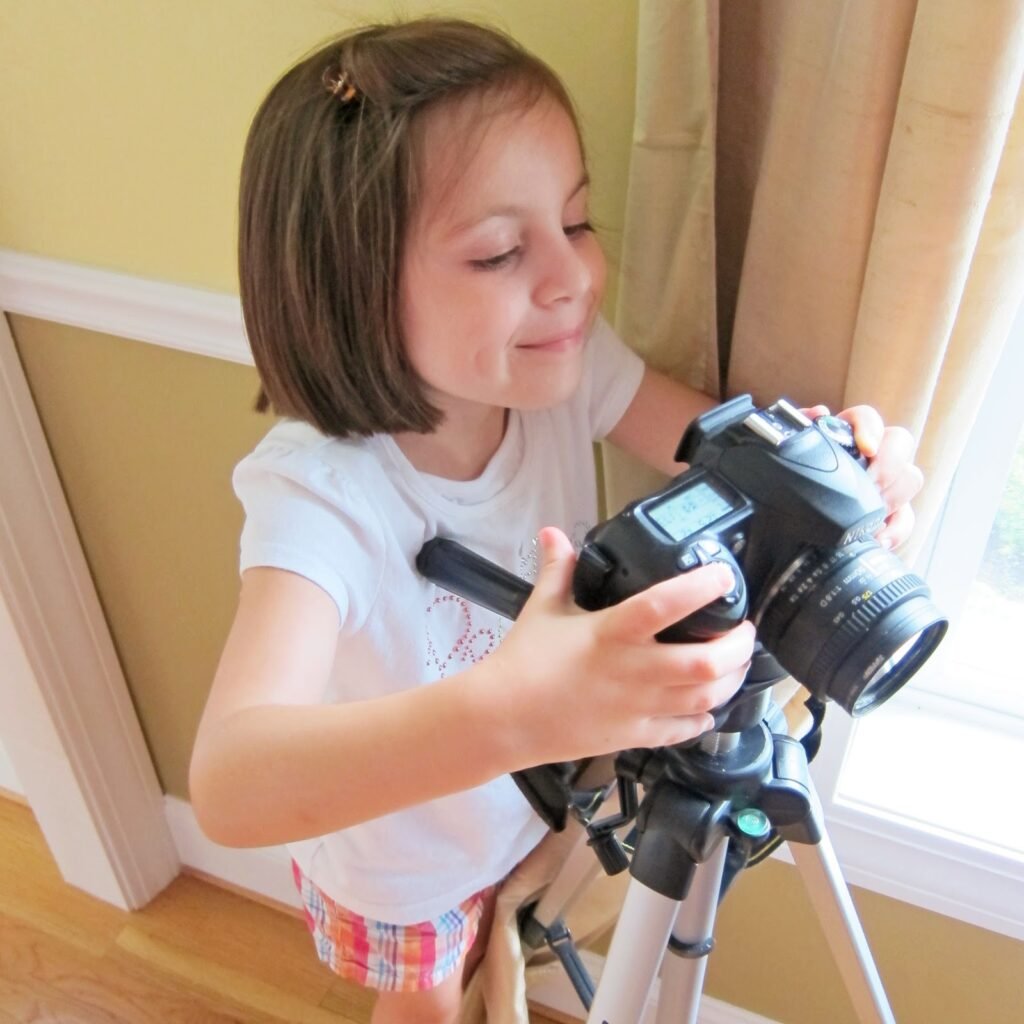
And here is my Assistant Photographer. She is in charge of taking test shots to make sure the camera is working properly and that my set looks good. I don’t know what I would do without them. Well, except maybe take my pictures a lot faster.
So how do you take your food photos? I’d love to hear from you.
Related Posts
Subscribe for New Racipies
Get mental health tips, updates, and resources delivered to your inbox.