
Raspberry Jam, Without A Recipe

Medically reviewed by Christiana George Updated Date: June 8, 2023
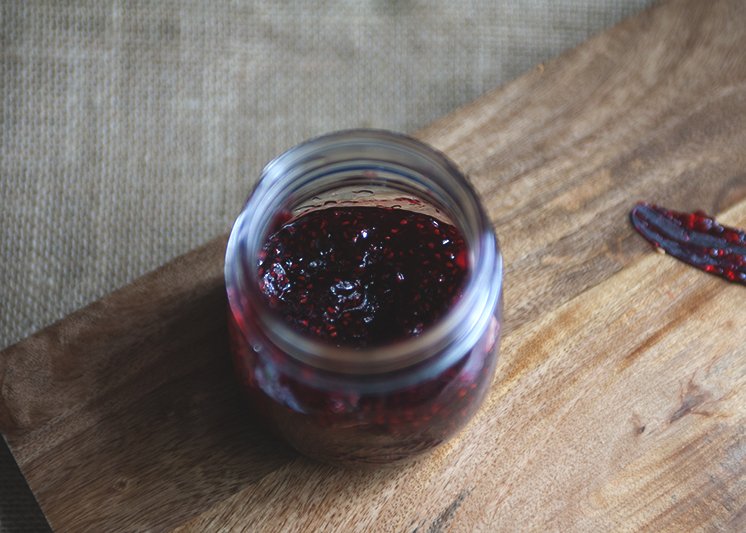
I admit I don’t have a real recipe today. Because I didn’t exactly have any directions to follow, just some general guidelines put forth in this article.
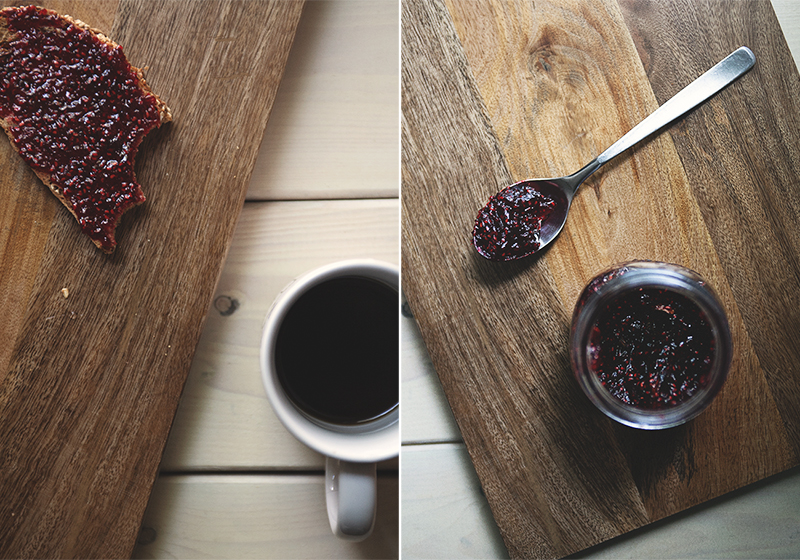
In short, I made raspberry jam. Winged it. And it was overwhelmingly easy.

People approach jam making with trepidation because they associate with it Herculean levels of labor. I certainly did, enough that I never really figured out what exactly this labor involved; in my mind, it was a Cinderella-type effort, consisting of hovering over steaming vats of boiling jam and stirring, stirring, stirring. (Except Cinderella probably doesn’t sweat, does she?)
And then—and this is what really deterred me from the process—there’s the bit about canning, which requires doing something complicated-sounding to a line of jars. I don’t trust myself with avoiding botulism. In the first month that we were dating, I gave Chris food poisoning in the form of a tomato which I didn’t realize was moldy at the time.
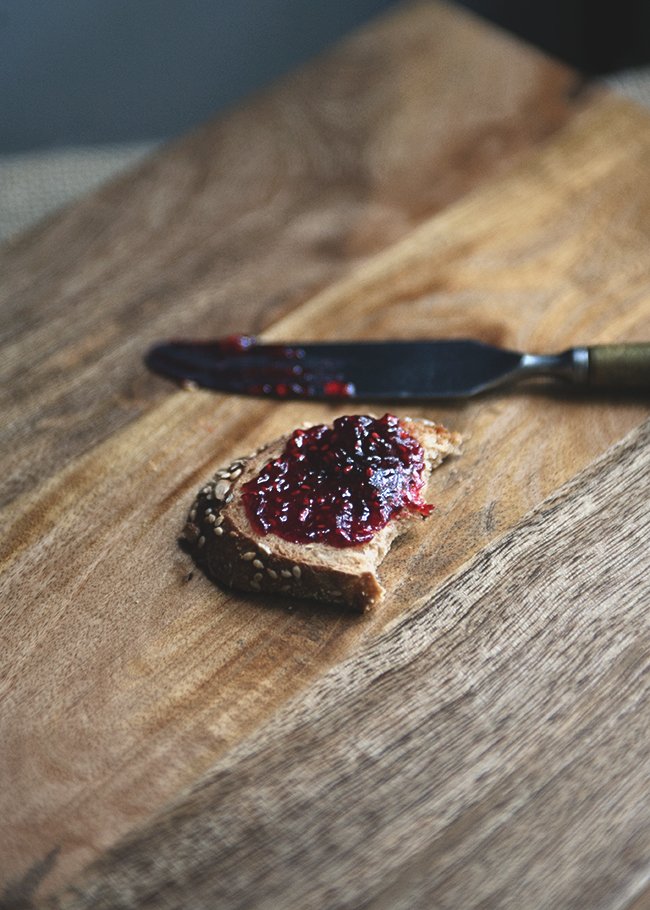
So here’s the gist of Mr. Parsons’s article: when you make jam in tiny little batches at a time, say, with a couple pounds of fruit or less, the process is actually incredibly easy. Like, seriously easy. You could do it right before going to bed and right after getting up. Waiting for the jam to cool takes longer.
Other advantages: not having to deal with the pesky safety proceedings. After all, you’re not making jam to last you through the winter, just through next week.
Also, being able to be spontaneous—not only with deciding to make jam in the first place, but also with the creative license that comes from making small enough batches so that screwing up is not a big deal.
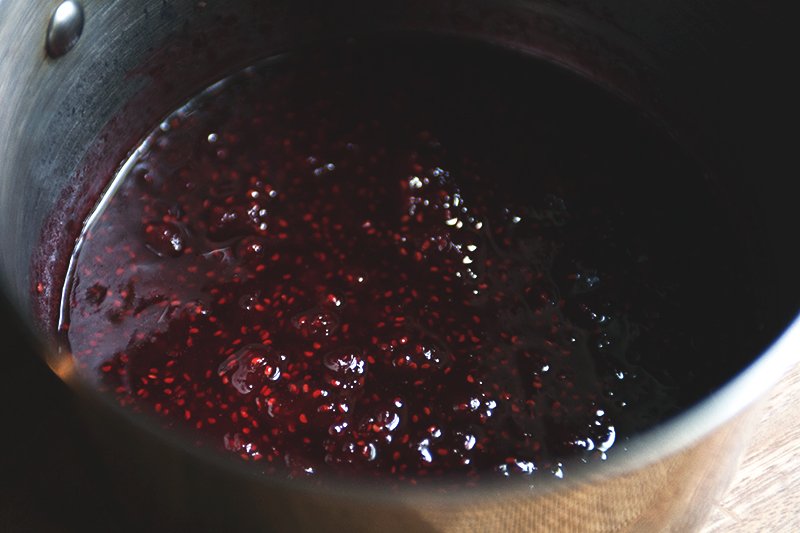
I discovered two 6-ounce containers of raspberries in the fridge, slightly moldy, some of the berries covered in dark spots (what are the spots by the way?). Those I tossed, the rest I decided to use in testing out this nouveau style of jam making. I think raspberries are absolutely adorable as jam, by the way. Their jewel-like seeds remind me of rubies.
So, I estimated that I started out with 12 ounces of raspberries, but tossed roughly 3 to 4 ounces. This left me with roughly 8 to 9 ounces. 8 ounces of sugar is roughly a cup, so I decided to reduce the amount to roughly 3/4 of a cup because I didn’t want too-sweet jam. I also threw in a handful of basil leaves.
Do you see where I’m going with this? I kind of sort of guestimated every step of the way and still ended up with a tiny jarful of bona fide raspberry jam. Note however that Parsons does caution that anything less than 35% by weight of sugar results in runny, concentrated fruit juice.
Have fun! And let me know what kinds of results you get. I’m eager to try making apricot jam next.
JAM
From the LA Times article California Cook: Making jam in small batches
Cut up and weigh your fruit (with stone fruit, weigh after removing the pits). Pour it into a pot along with an equal weight in sugar. With the heat on medium, let the mixture come to a boil, all the while stirring. Remove from heat, let it sit overnight. Covered, if you’d like.
Pour a cup or two of the mixture into a saucepan (preferably non-stick, but my regular saucepan worked fine). Turn your stove to medium-high and begin stirring. The jam should set within 5 minutes. Immediately remove it from the heat and pour it into a prepared container. And that’s it!
How do you know when the jam has set? First, you’ll feel it. While stirring the jam, you’ll feel the texture change from light and liquid to heavier and smoother.
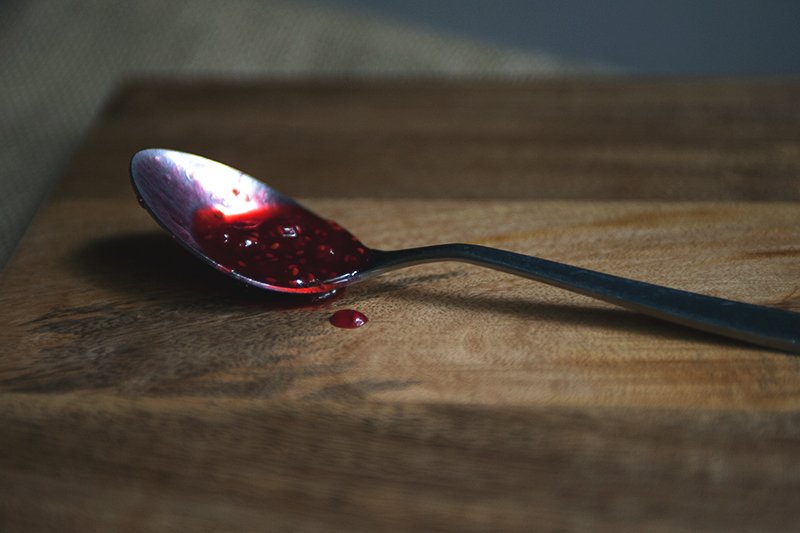
But the surest way is by watching the way the jam falls from the stirring spoon. When you first start cooking the jam, it will come off in one stream, like water. When it’s almost ready, it’ll fall off in multiple streams, but still slightly liquid. Cook it 30 seconds or so more and you’ll notice that a sheet begins to form at the base of the spoon. That’s the moment.
According to Russ
Got it?
Related Posts
Subscribe for New Racipies
Get mental health tips, updates, and resources delivered to your inbox.
Pumpkin Gingerbread Cupcakes

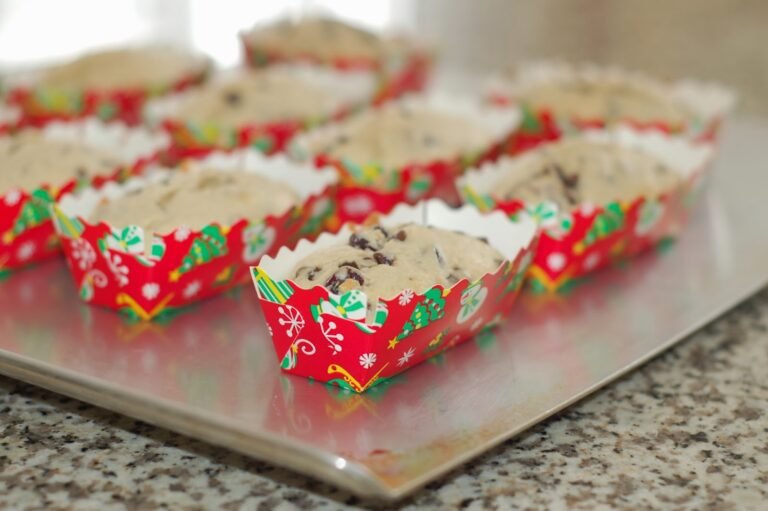
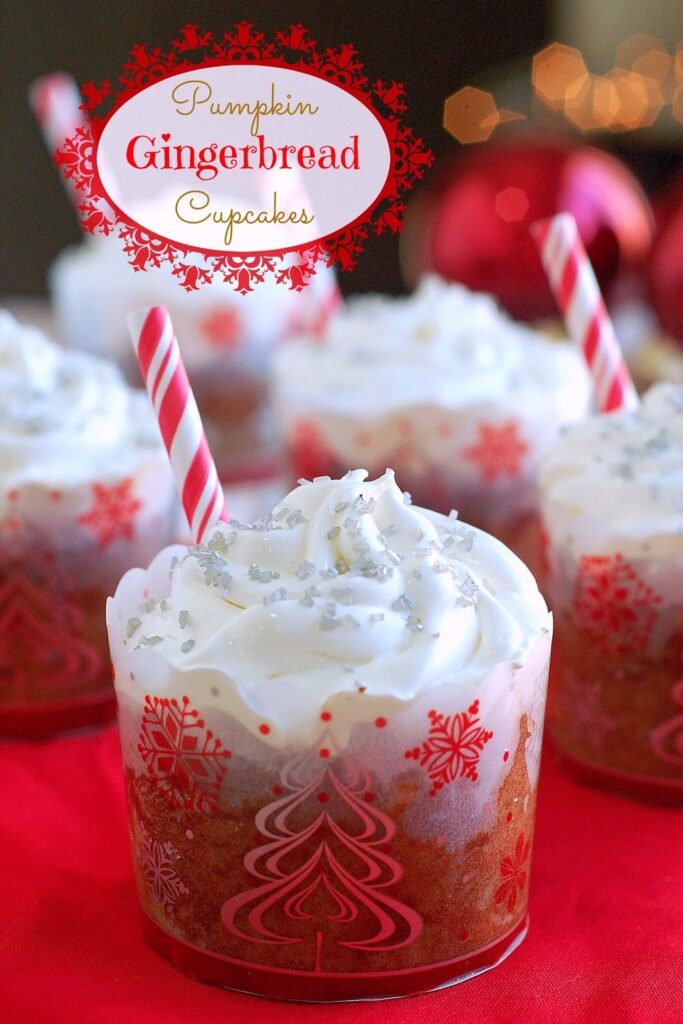
We have been having some cold, wet weather here lately. This kind of weather just makes me want to stay in bed. But at least it’s not as bad as the snow and ice that some folks are getting. I surely don’t miss that. If bad weather keeps me in the house, I usually end up baking something. I had some leftover pumpkin puree in the pantry that I wanted to use and I thought it would pair nicely with gingerbread. I was right!
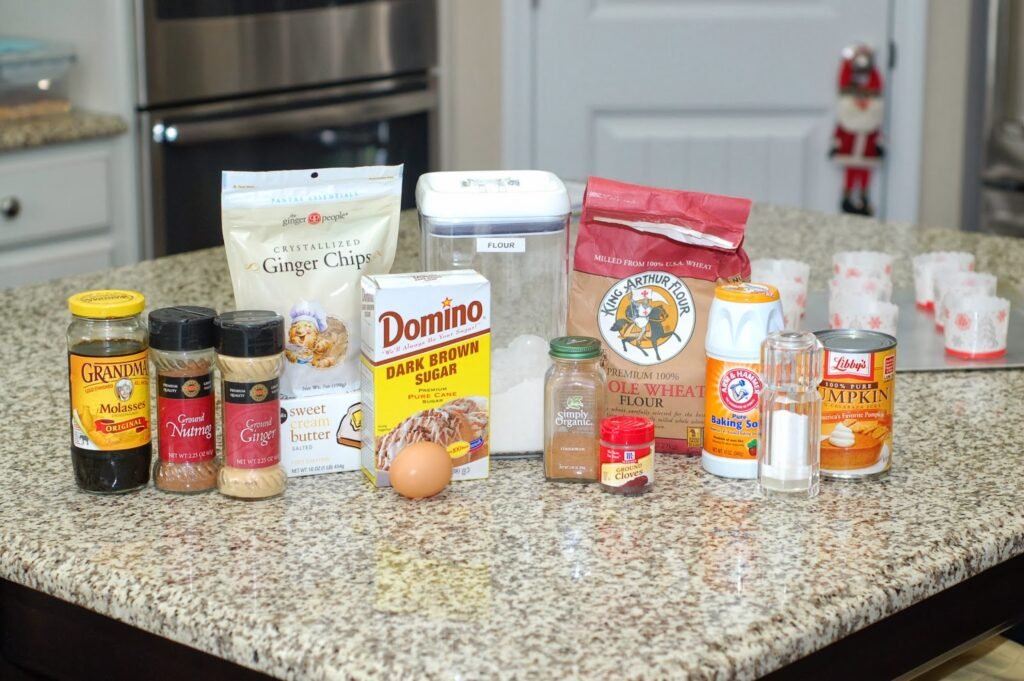
I also had some Crystallized Ginger Chips I have been dying to use. I bought these at World Market, but I also have seen them at T.J. Maxx, Sur la Table, and Amazon.com.
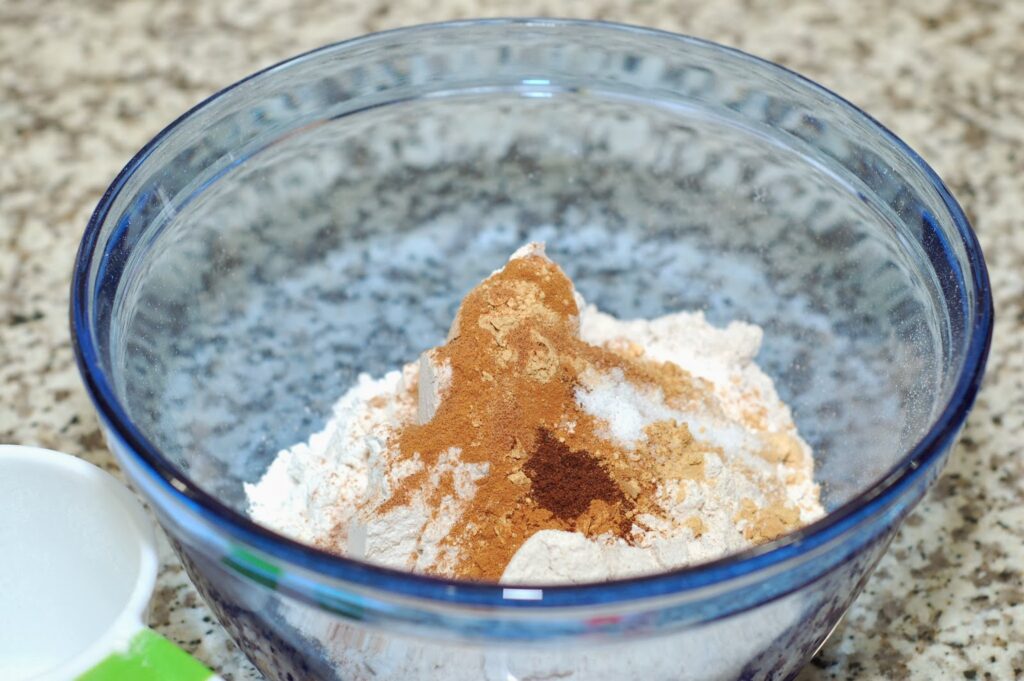
The spices all together smell so wonderful. I need to get myself a gingerbread candle or room spray.
Here comes the pumpkin. I love how pumpkin makes baked goods so nice and moist. I hate dry cupcakes.

The crystallized ginger chips are what really make this cupcake pop. They have a strong ginger taste with a little bit of sweetness. A great compliment to all the other spices.
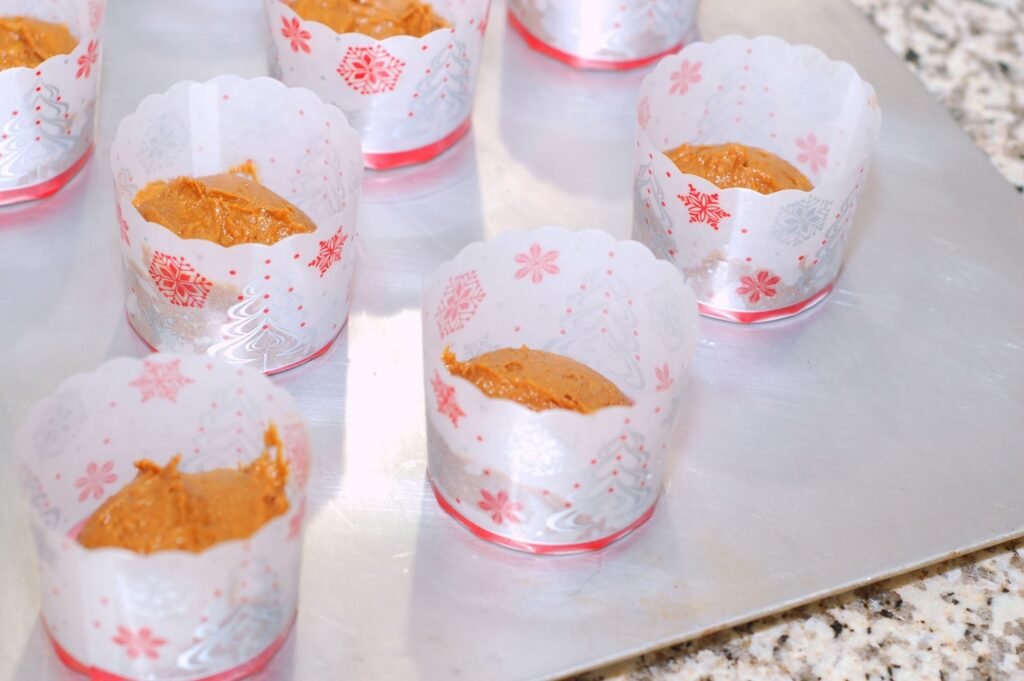
Napkins com sent me a few samples of baking cups, mini loaf liners, and paper straws to try out. The baking cups are made of a glossy, translucent paper with beautiful silver and red designs. I didn’t even need a muffin pan for these. I love the scalloped edges. You can find out more about them on their website. They sell in bulk wholesale, but with the holidays coming around and all the parties you may be attending, wouldn’t it be nice to have pretty and durable baking liners.
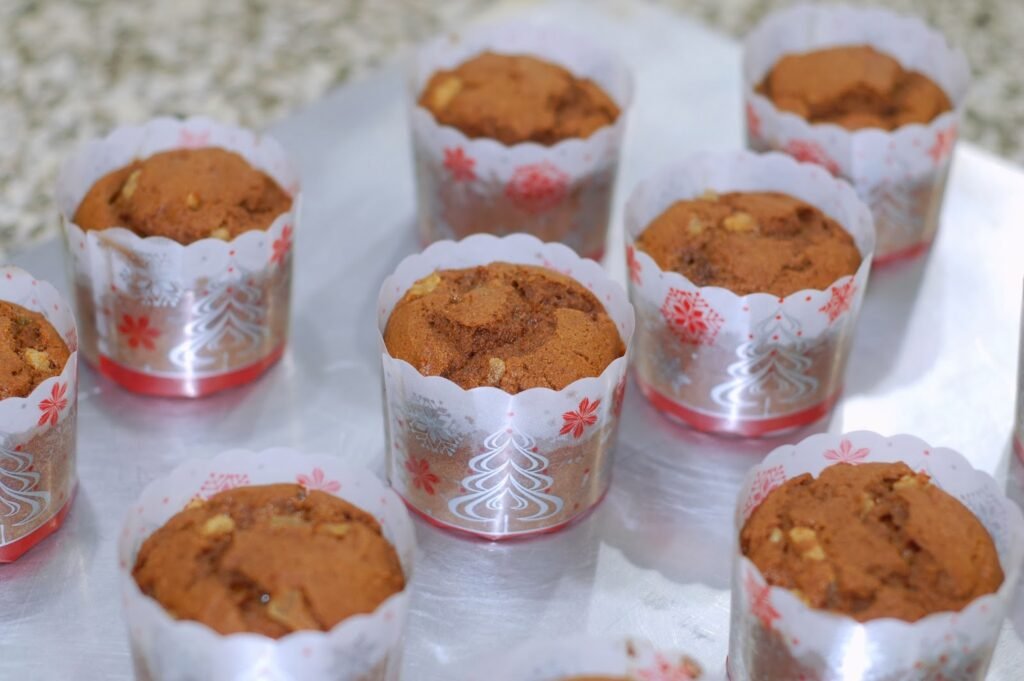
My muffins came out perfect. The baking cups really held up. They are oven and freezer safe, so you can bake ahead of time. Napkins com has other decorative baking cups available as well as napkins, plates, tablescloths, cups and cutlery in a rainbow of colors for all your party needs. They even have eco-friendly and custom print products.
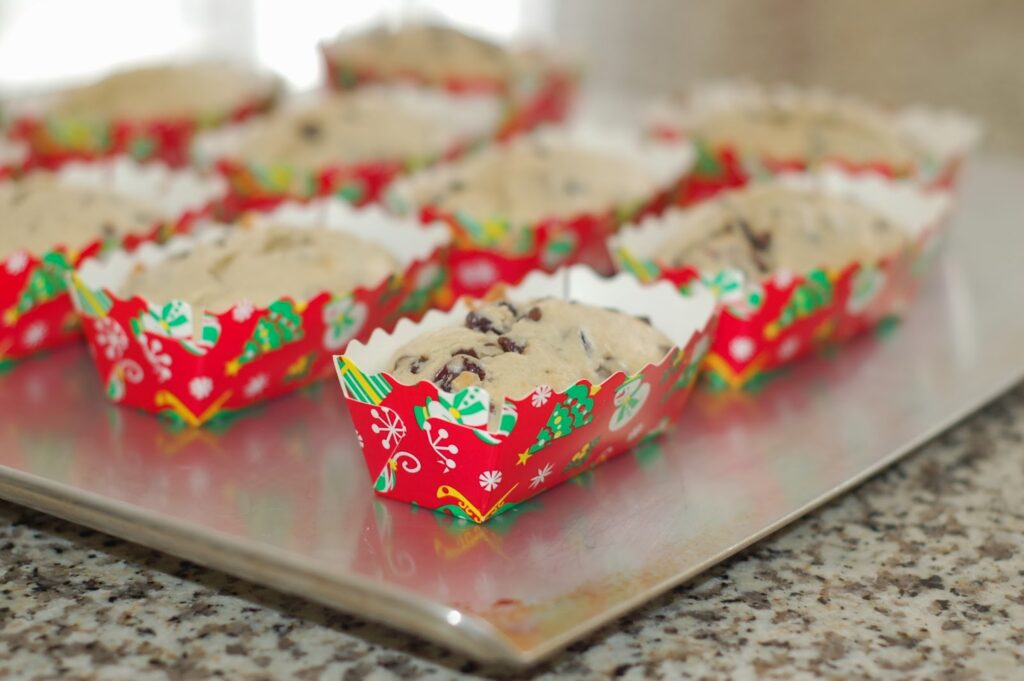
I tried the mini loaf liners also. I made some bread to give out as gifts. These are the perfect size for a single serving. There are bigger loaf liners available if you need them.
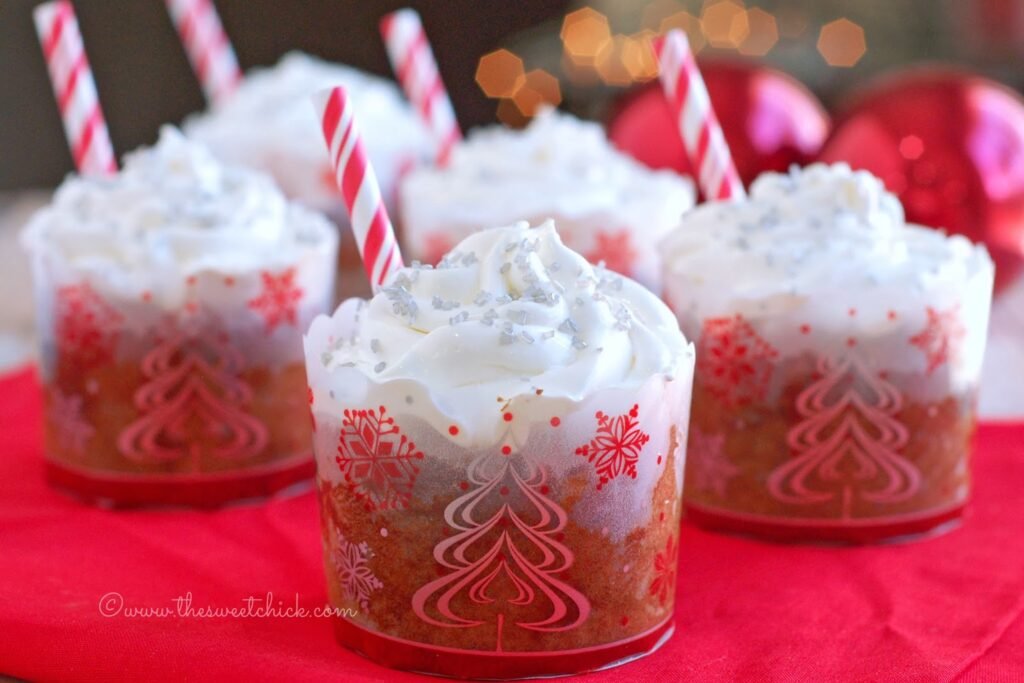
Getting back to the cupcakes, the original frosting I had intended was an eggnog buttercream frosting, but it was too sweet and heavy. I thought it was take away from all the wonderful ginger flavor of the cupcakes. I would have gone with my usual whipped mascarpone frosting, but I didn’t have any whipping cream or mascarpone cheese in the fridge.
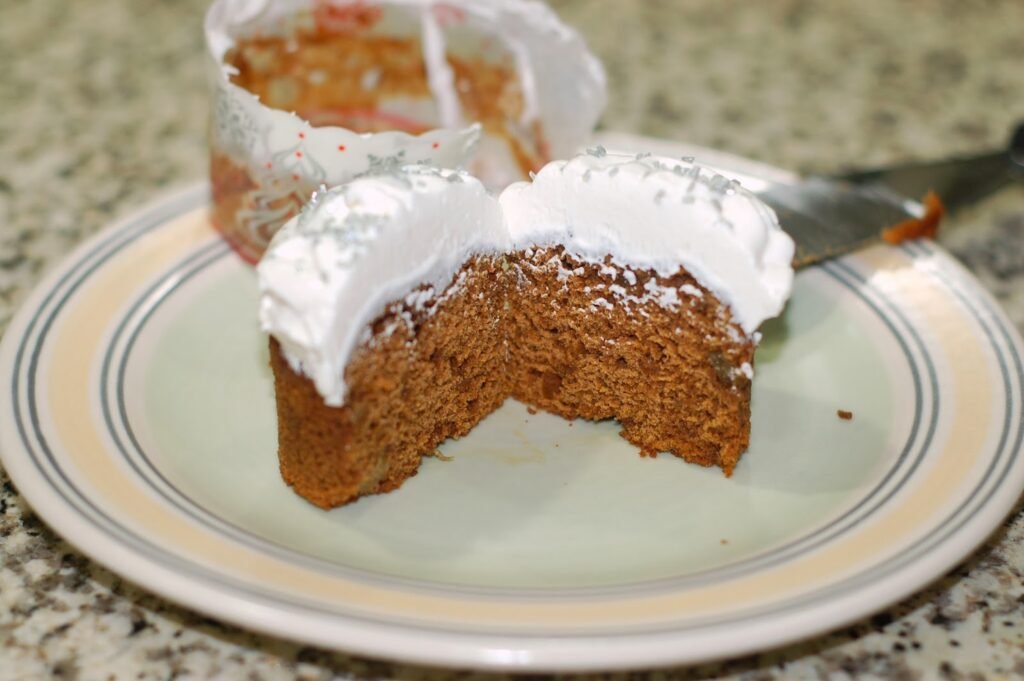
But I did have some cream cheese and Cool Whip. I found an easy recipe online for a light fluffy frosting. I like how it came out. The light taste of the frosting was the perfect pairing for my spice cupcakes and it had a nice glossy sheen that reminded me of snow. The cupcakes came out of the wrapper in perfect condition, the inside of the cupcake was moist with lots of bits of chewy ginger chips, and the frosting was just the right amount of sweet with a hint of cream cheese. I definitely had a winner.
Pumpkin Gingerbread Cupcakes
by The Sweet Chick
Prep Time: 20 minutes
Cook Time: 20 minutes
Keywords: bake dessert snack ginger cinnamon cloves pumpkin Christmas cupcake cake American winter
Ingredients (12 cupcakes)
For the cupcakes
- 1 cup all purpose flour
- 3/4 cup whole wheat flour
- 1 teaspoon baking soda
- 2 teaspoons ground cinnamon
- 1 teaspoon ground ginger
- 1/4 teaspoon ground cloves
- 1/4 teaspoon ground nutmeg
- 1/4 teaspoon salt
- 1/2 cup butter, melted
- 1/2 cup dark brown sugar
- 1/2 cup molasses
- 1 large egg
- 1/4 cup water
- 1/2 cup pumpkin puree
- 1/2 cup crystallized ginger chips
For the frosting
- 4 oz. cream cheese
- 1/2 cup powdered sugar
- 1/4 teaspoon vanilla extract
- 8 oz. Cool Whip whipped topping
Instructions
For the cupcakes
Preheat oven to 350ºF.
In a medium bowl, mix together the flours, baking soda, spices, and salt until well blended.
In a large bowl or stand mixer place the butter, sugar, molasses, and egg. Mix on low until well blended. Then add the water and pumpkin puree mixing until smooth.
Add the dry ingredients to the wet mixture a little at a time as you continue to mix, making sure all ingredients are fully combined.
Next add the ginger chips and mix until all incorporated.
Divide batter evenly into 12 cupcake liners or a greased muffin pan. Bake for 20 minutes or until a toothpick inserted in the center comes out clean.
Remove from oven and place on cooling rack. Cool completely before frosting.
For the frosting
In a medium bowl or stand mixer, combine cream cheese, sugar and vanilla. Mix until smooth.
Then add Cool Whip and continue to mix until well combined.
Using a piping bag with your favorite tip or a spatula, frost your cupcakes and place in the fridge. (If there is any left over frosting, it makes great fruit dip!)
Keep refrigerated until ready to serve.
Cupcake recipe adapted from King Arthur Flour
Frosting recipe adapted from Babble com
Disclaimer: Napkins com did provide me with some of the products used in this post, but I was under no obligation to develop a recipe for them nor provide a favorable review. All thoughts and opinions are my own.
This recipe may be linked to these fabulous parties.
Related Posts






Subscribe for New Racipies
Get mental health tips, updates, and resources delivered to your inbox.