
Almond Macarons With Caramelized White Chocolate Ganache

Medically reviewed by Christiana George Updated Date: June 8, 2023

I’m emerging from a wedding planning, er, onslaught (for lack of a better word) to bring you this post. I made these macarons last week, but things have been crazy around here—can a person literally drown in details?—so forgive my slightly belated post. The good news: a semblance of a plan for the weekend of the wedding is finally coming together!
The first macaron I ever tried was… underwhelming. Being that it was a Pierre Hermé macaron that my friend and I had left the Louvre early to seek out (it was our last day in Paris), I think I can say with some confidence that my disappointment wasn’t due to it being a macaron of questionable quality.
I don’t remember anything about the actual pastry. I do remember dashing down the street to get to the shop before it closed, I remember feeling aghast at how expensive two macarons were as I handed my euros over to the cashier, I remember standing outside the store bathed in golden hour sunlight taking my first tentative bite. But I don’t remember what flavors I chose, nor do I remember if I found them enjoyable.
See? Underwhelming. It probably doesn’t help that macarons are such a cult food item. I tend to expect my mind to be completely blown in the case of cult foods, and really, what could possibly match those kinds of expectations?
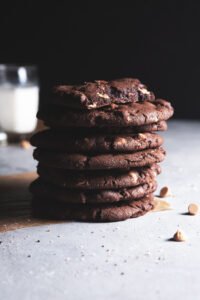
Every macaron since Pierre’s has been pleasant, I suppose, but seriously, what is the big deal? Given the choice between a chocolate chip cookie or a macaron, I would choose the cookie. I would choose just about anything over a macaron. Which is why I’d never felt the urge to try making them. Besides, their reputation of being notoriously difficult to make is a well known fact, and I don’t like to fiddle with fussy directions or spend too much time gathering obscure ingredients.
It turns out, macarons are really fun to make.
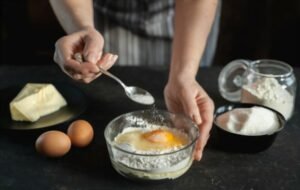
The other day, while reading about laminating dough, I got drawn into the macaron tutorial. It was right there and curiosity got the better of me. It turned out, basic macarons only require something along the lines of four ingredients: egg whites, powdered sugar, regular sugar, and almond meal. What?! Furthermore, they didn’t look nearly as difficult to make as I’d imagined. Of course, the process requires a certain amount of finesse, good technique let’s say, but the basic steps are few and simple enough. Later that day, I ran out and bought almond meal (from Trader Joe’s—yup, the stuff works).
My first batch. I piped the shells onto parchment paper using a Ziploc bag with a hole cut in one corner. They kind of sucked, but not enough to discourage me.
I made another batch, this time with a piping bag and a large tip. Major flop. They were cracked and bubbly, really unappealing to look at though still delicious.
Distressed, I searched the web for guidance. I wanted to know what I’d done wrong, and I wanted reassurance. There are millions of macaron tutorials, it turns out, but Stella’s was the best. Not only was it straightforward, she called shenanigans on all the fussy details. Forget the aging of the egg whites or the resting of the shells or blanched almonds or cornstarch-free confectioner’s sugar. With minimal fuss, brilliant macarons could be made. Thank you, Stella!
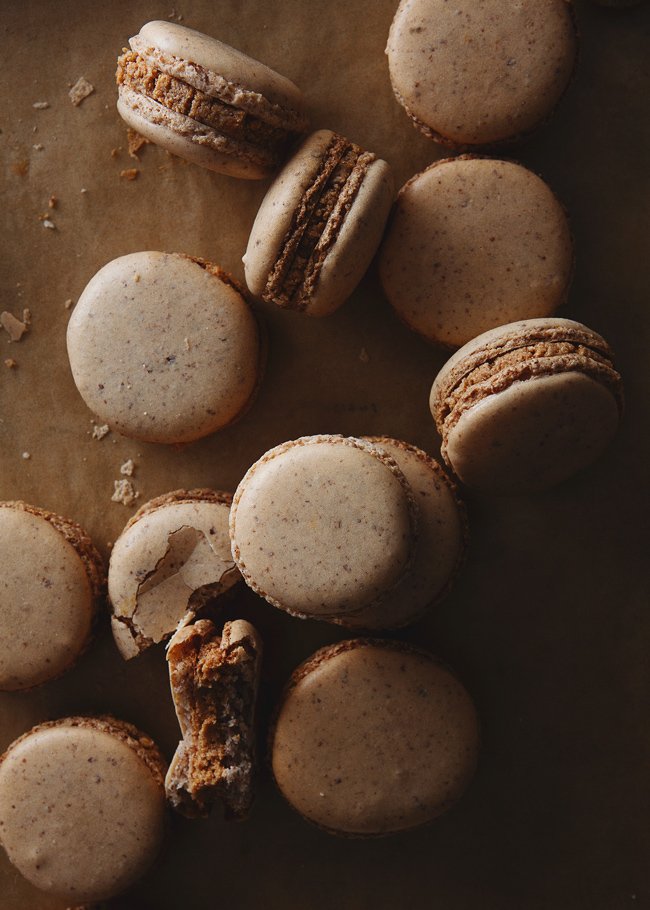
My third batch came out perfectly. They were beautiful, confident shells with trim feet and creamy surfaces. I was so proud! But I decided to bake another batch since they came out just a tad bit overdone.
My fourth batch leaked together, so that macaron snowmen greeted me from the oven. Word of advice: give your shells some space, people, because the dough can be kind of runny. I also discovered that the shells were hollow on the inside. What a disaster! I wrote it off.
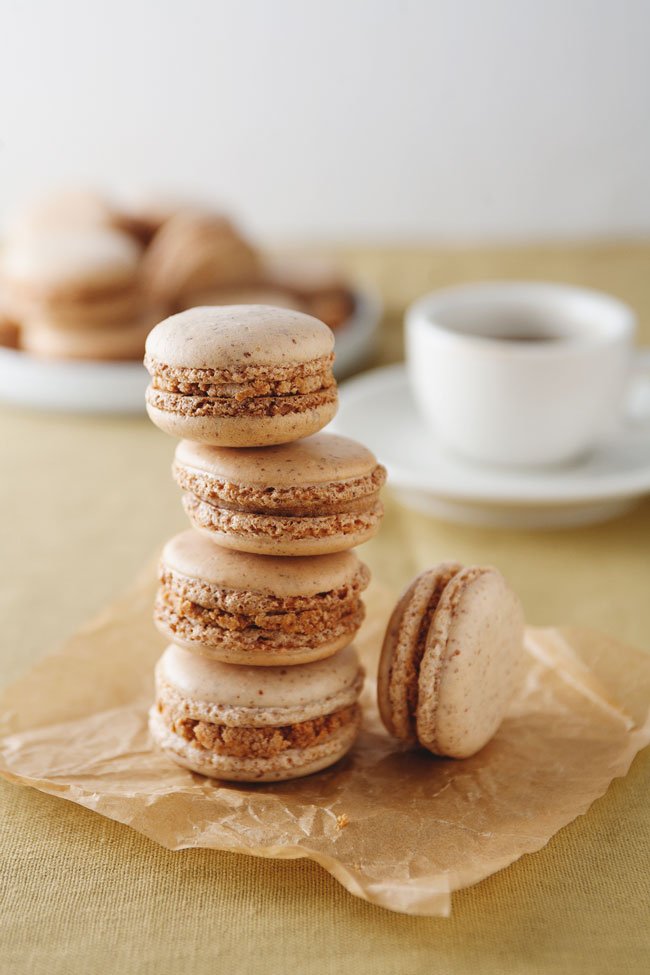
My fifth batch, now they were damn cute shells. About time too, because by this time, the kitchen was teeming with them despite our attempts to pawn them off. They heaved off the counters, smooshed into each other, it was a macaron eat macaron world. I finally decided to stop.
But let me assure you, I am a woman possessed. Expect lots of macarons in the future. I apologize in advance, because I realize macarons have been done to death. But whatever, so what, this is my blog! Plus, I really hope to convince those of you that feel the same way I’d felt about macarons to give them a try. They just might blow your mind.

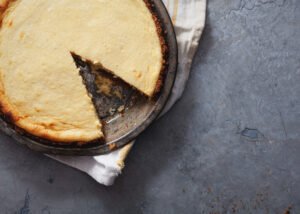
(I realize a big, glaring omission I should probably address: the caramelized white chocolate ganache. Yup, it’s exactly what you think it is, and it is delicious. However, since my oven can’t go lower than 300 degrees F, the caramelization, which should’ve taken 45 minutes to an hour, happened in about 15 minutes, and the chocolate seized up and looked awful and gritty and never quite recovered. Basically I don’t want to focus on how unsightly my filling looks, so let’s all ignore this tiny, insignificant detail and ooh and aah instead at how pretty my macaron shells look. Did I mention they have the cutest feet? ; ) But do visit Food52 to see what caramelized white chocolate should look like. Also, check out Emma’s caramelized milk chocolate experiment, because it’s awesome, and there should always be room in your life for the scientific method.)

PLAIN ALMOND MACARONS
Makes about 40 shells, or 20 macarons
Adapted from, oh, I don’t know, a million sources, but mainly Brave Tart
Before going into the recipe that resulted in my fifth and most successful batch, I should direct you to the sources I found IMMENSELY helpful. First, check out Stella of Brave Tart’s macaron recipe, the directions which I followed almost to a tee. Also check out Macaron Mythbusters, 10 Commandments, and All About Hollows. Good stuff. I found Mardi’s pictures really helpful (she follows Stella’s directions). I also found Not So Humble Pie’s Macaron 101 tutorial super comprehensive. She covers a LOT. You’ll find lots of good nuggets buried in there.
Also, because I don’t have a scale, you will see volume measurements listed below. I’ve found that a bit of flexibility with the amounts is acceptable, but having a scale would make the results much more reliable. So get yourself to the store and pick one up! I need to take my own advice.
Ingredients:
- 3/4 cup almond meal
- 1 cup confectioner’s sugar
- 2 large egg whites (any temperature)
- 3 Tbsp sugar
Directions:
Preheat your oven to 300 degrees F. Line two baking sheets with parchment paper.
In the case of Trader Joe’s brand almond meal, which isn’t very fine, I mixed the almond meal and confectioner’s sugar together in a medium bowl and blended them together thoroughly with an immersion blender. A food processor would be the better tool in this case, but I don’t have one. Sift the mixture, using a fine sieve, into a large bowl. (I don’t know how much of a difference the immersion blender made, but I wasn’t ending up with huge grains of almond meal getting caught in the sifter, so I think it worked out okay.)
In the bowl of a stand mixer with the whisk attachment affixed, add the egg whites and sugar. Turn the mixer on to power level 4 and whisk the mixture together for 3 minutes. Next, turn the power up to 7 and whisk an additional 3 minutes. Turn the power up to 8 and whisk an additional minute or two. By now, there should be a stiff meringue in the bowl. Knock the meringue that’s trapped in the whisk back into the bowl.
Now, add the almond meal mixture into the bowl all at once. I’ll let Stella’s instructions take over:
- Use both a folding motion (to incorporate the dry ingredients) and a rubbing/smearing motion, to deflate the meringue against the side of the bowl.
- The dry ingredients/meringue will look hopelessly incompatible at first. After about 25 turns (or folds or however you want to call “a single stroke of mixing”) the mixture will still have a quite lumpy and stiff texture. Another 15 strokes will see you to “just about right.” Keep in mind that macaronage is about deflating the whites, so don’t feel like you have to treat them oh-so-carefully. You want to knock the air out of them.
And a quote I liked from Joe Pastry:
The biggest mistake most people make with macaron batter is that they baby it too much. I’ve said it before and I’ll say it again: pastries can smell fear. Confidence is key.
Basically, you don’t need to be too gentle with the batter. By the time it’s ready, its consistency will be runnier than you’d think, closer to pancake batter than cake batter. Check out 5:10 in this video to see how it should look.
Fill a pastry bag with the batter. You can use a pastry bag with just a coupler, or with a tip. I used an Ateco 806 tip, which resulted in shells on the larger side. Pipe your shells onto the parchment-paper lined baking sheets, a little more than a quarter (US currency) in size (about 2 cm. or 1 inch), spacing them about 1 inch apart.
When you’re done piping, pick up the pan and whack it down hard against your counter. Do this another time, then rotate the pan 90 degrees and do the same thing twice. You might see tiny air bubbles appear on the top of the rounds, a good sign because they could be potentially damaging if buried within the batter. Repeat with the other pan.
Slide the pans into the oven and bake for about 15 minutes, at which point the shells should be able to be cleanly picked off the parchment paper.
Fill your macarons with the caramelized white chocolate ganache (recipe below). I used a pastry bag, but a spoon should work as well.
CARAMELIZED WHITE CHOCOLATE GANACHE
Makes enough to fill 2 dozen macarons
Adapted from Food52 and other sources
Again, a note. Since my caramelized white chocolate didn’t come out the way it was supposed to due to the limitations of my oven (see above), I’ll start this recipe assuming you’ve already caramelized your white chocolate. Visit Food52 for instructions how.
Ingredients:
- 3/4 cup caramelized white chocolate (from about 8 oz. of white chocolate)
- 1/2 cup heavy cream
Directions:
Have the caramelized white chocolate ready in a medium bowl. Heat the heavy cream in a saucepan to boiling, then reduce the heat and let it simmer for about 30 seconds. Turn off the heat and stir the cream into the bowl with the white chocolate. Keep stirring until well-incorporated.
Let the ganache come to room temperature. Using the whisk attachment of your mixer, whisk the ganache on medium speed for a few minutes until it’s light and airy.
Related Posts


Subscribe for New Racipies
Get mental health tips, updates, and resources delivered to your inbox.
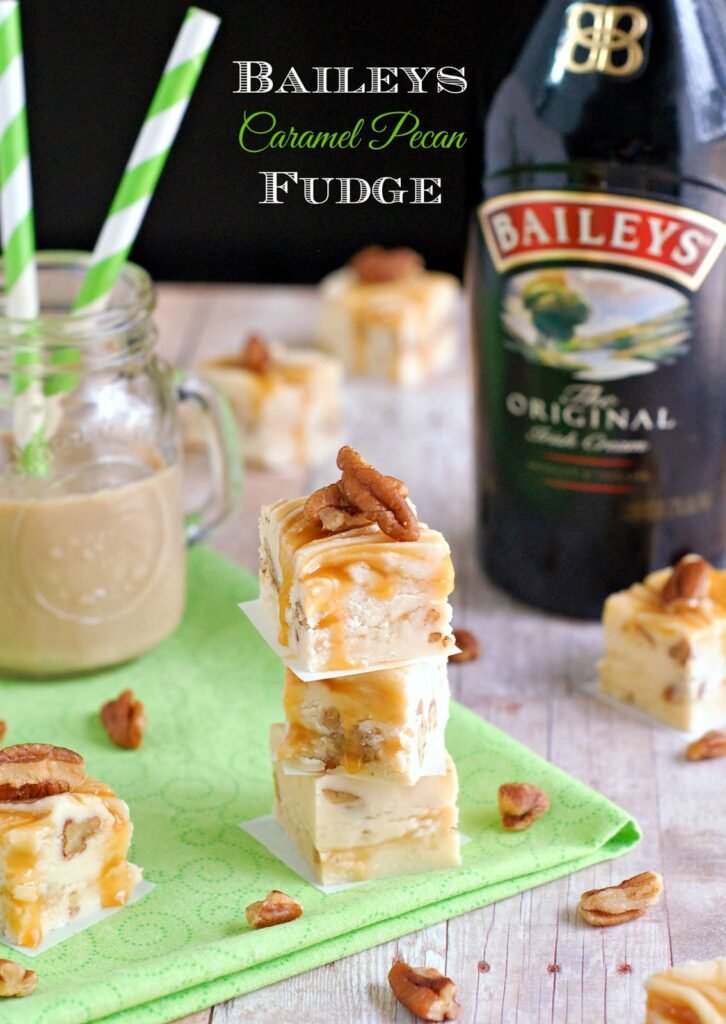
Baileys Caramel Pecan Fudge


I really can’t believe how fortunate we were to move into our neighborhood. Everyone is so friendly and most of them love just hanging out together outside chatting while our kids are contently running wild up and down the street. We seem to have a lot of impromptu block parties. It starts with a couple of people and just grows. The other day it was dark out and way past dinner time, but no one wanted to go home so someone order pizzas and fed those that were hungry. This is definitely the type of neighborhood I want my kids to grow up in.
Today I was passing around these Baileys Caramel Pecan Fudge squares to the neighbors. Last year I made some awesome Dark Chocolate Guinness Fudge, so this year I had to change it up a bit and use Baileys. This recipe is actually adapted from my Tequila Lime Coconut Fudge. They are two different methods of making fudge, but both equally easy to make with successful results.

I will admit, I didn’t do a very good job of distributing the caramel while I was swirling, so some pieces of fudge had more caramel than others. To cut the fudge I made sure I had a sharp knife and cleaned it after every cut and I also dipped it in some warm water before cutting. That made my squares come out a little straighter.
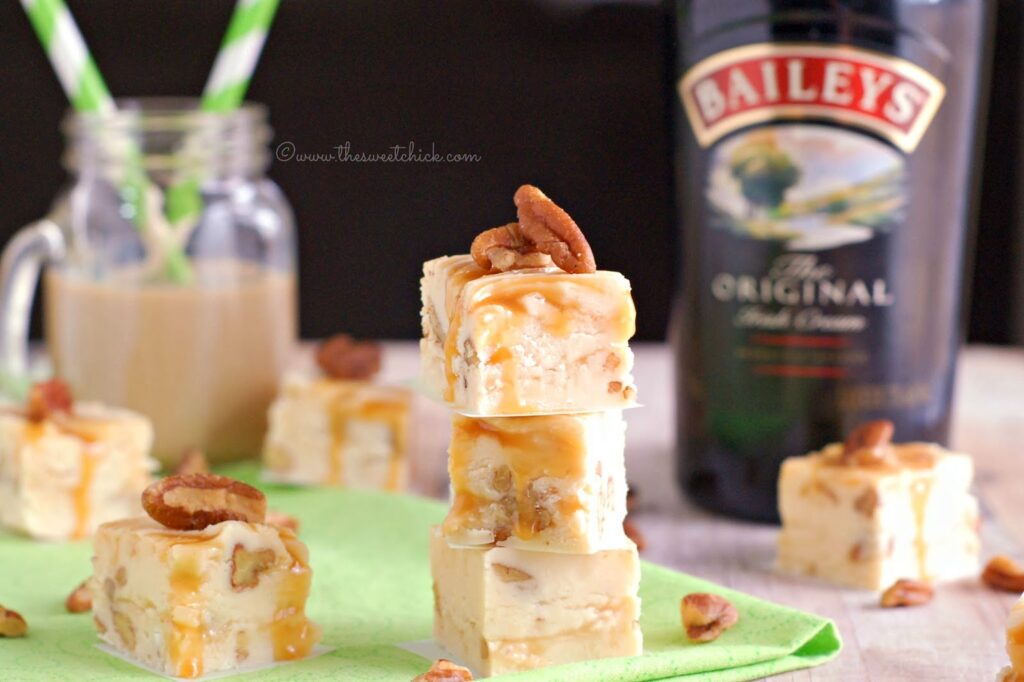
This fudge came out so smooth and creamy. The coffee flavor of the Baileys Irish Cream, the white chocolate, and the caramel came together in a symphony of flavor. I was only going to add two tablespoons of Baileys, but I am glad I went with three. It really gives the fudge it’s flavor, without having too much of an alcohol taste. The pecans give the fudge a nice texture and their sweetness blends right in.

The neighborhood kids are not too happy with me right now because they can’t have this fudge, but their parents are happy to get in on the taste testing.
Baileys Caramel Pecan Fudge
by The Sweet Chick
Prep Time: 15 minutes
Cook Time: 10 minutes
Keywords: no bake stove top dessert white chocolate chips pecans caramel Baileys Irish Cream St. Patrick’s Day fudge American
Ingredients (64 squares)
- 1 can (5 oz.) evaporated milk
- 1 2/3 cups sugar
- 1 2/3 cups mini marshmallows
- 2 cups white chocolate chips
- 3 tablespoons Baileys Irish Cream
- 1 teaspoon vanilla extract
- 1/2 cup chopped pecans
- 1/4 cup caramel, divided
Instructions
In a large saucepan, combine milk and sugar.
Cook over medium heat, stirring constantly until the mixture comes to a boil.
Then cook for 8 minutes, again stirring constantly so that the milk does not scorch at the bottom of the saucepan.
Remove from heat and stir in the marshmallows, chocolate, Baileys, and vanilla.
If you mixture begins to harden up, simply place pot back on stove top and heat on low until the mixture becomes soft and smooth.
Next add in the pecans and stir until all incorporated.
Pour half the chocolate mixture into an 8×8 pan lined with parchment paper and spread out evenly.
Take 1/2 the caramel and drop it by spoonful on top of the chocolate mixture. Take a knife and swirl the caramel into the fudge until it is about evenly distributed.
Pour the remaining white chocolate mixture on top. Then add the remaining caramel to the top of the fudge, dropping it by spoonfuls and swirling it with a knife. (It doesn’t have to look perfect.)
Then place the 8×8 pan in the fridge until fudge is completely set, about 1-2 hours.
Cut into squares, eat, and enjoy! ( I was able to lift the fudge out of the pan with the parchment paper, then cut it.)
Related Posts


Subscribe for New Racipies
Get mental health tips, updates, and resources delivered to your inbox.