
Maple Pumpkin Rice Krispie Treats

Medically reviewed by Christiana George Updated Date: January 6, 2026
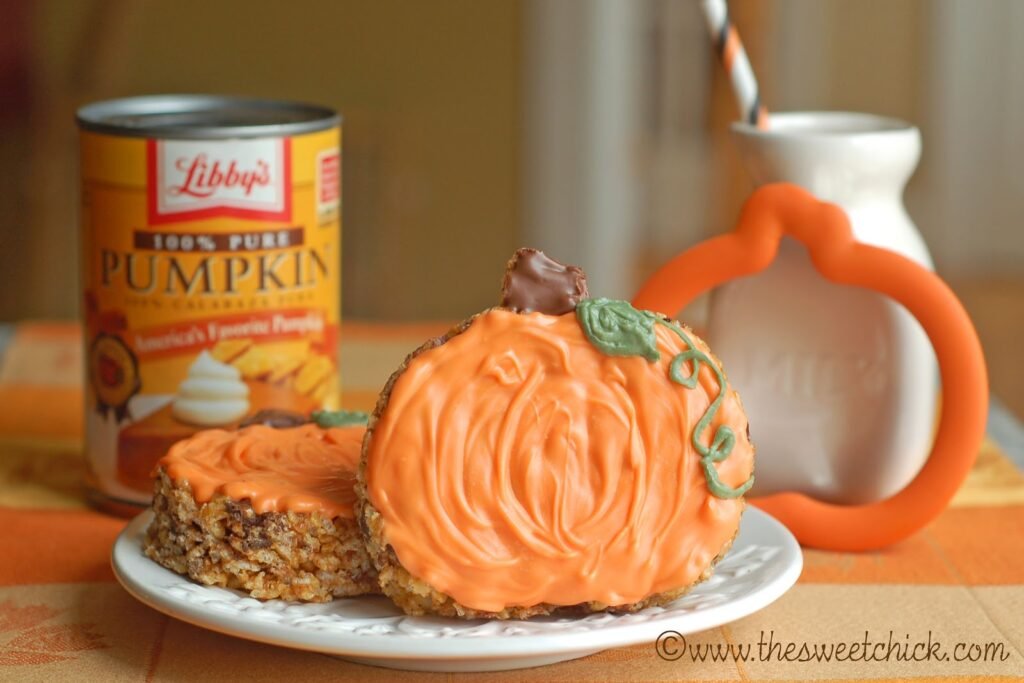
I had some leftover maple butter from this recipe and some pumpkin puree leftover from this recipe. What to do, what to do?? How about some Rice Krispie Treats? Well, that’s just what I made. I am really beginning to like pumpkin.
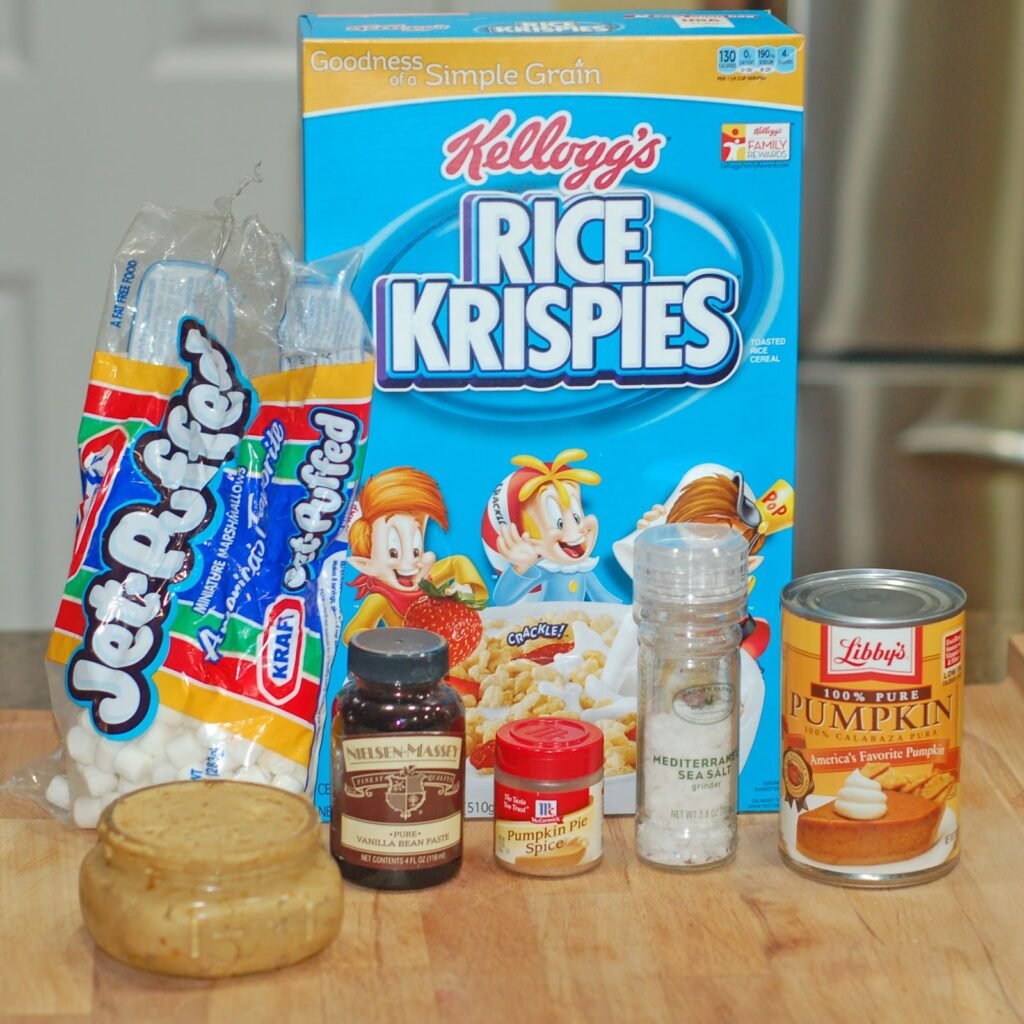
I also ended up throwing in some leftover dark chocolate chips at the last minute. That was a good call.
This is such a quick and easy recipe. And so far this is my favorite of all my Rice Krispie treats. It has all the wonderful flavors of pumpkin spice, maple, and dark chocolate with an added crunch factor. It doesn’t taste anything like your average Rice Krispie treat.
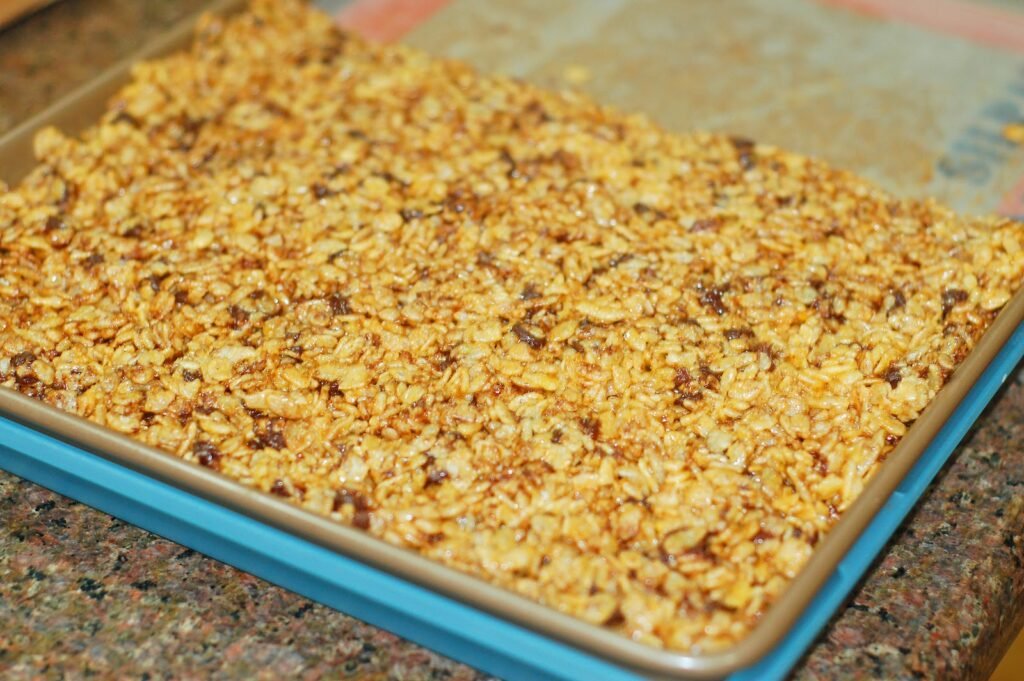
In fact, it almost tasted like a granola bar. It had a bit of a nutty flavor and was super moist and chewy.
I cut mine out in the shape of a pumpkin for fun, but you can certainly make yours into bars and drizzle with dark chocolate.

Maple Pumkin Rice Krispie Treats
by The Sweet Chick
Prep Time: 15 minutes
Cook Time: 5 minutes
Keywords: no bake dessert pumpkin maple butter dark chocolate chips rice krispies rice krispie treats fall
Ingredients (12 pumpkins or 24 squares)
For the treats
- 5 tablespoons maple butter (see recipe below)
- 1 package (16 oz.) marshmallows or 4 cups mini marshmallows
- 1/3 cup canned pumpkin puree
- 1/2 teaspoon pumpkin pie spice
- 1/4 teaspoon vanilla extract or paste
- 1/4 teaspoon salt
- 7 cups Rice Krispie cereal
- 1 cup dark chocolate chips
For the maple butter
- 3/4 cup butter, softened
- 1 cup pure maple syrup
For the decoration
- 2 cups orange candy melt
- 1/2 cup dark chocolate candy melt
- 1 cup green candy melt
Instructions
For the treats
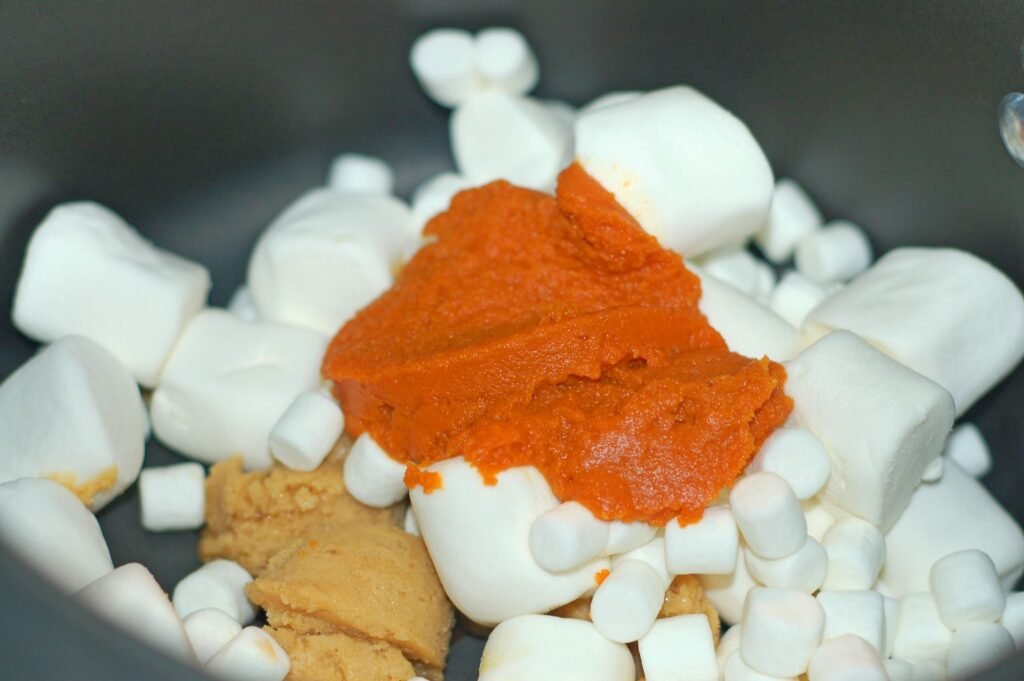
In a large sauce pan, melt butter, marshmallows, and pumpkin over low heat. Stir until completely melted.
Remove from heat and add pumpkin spice, vanilla, and salt. Let mixture cool for 5 to 10 minutes.
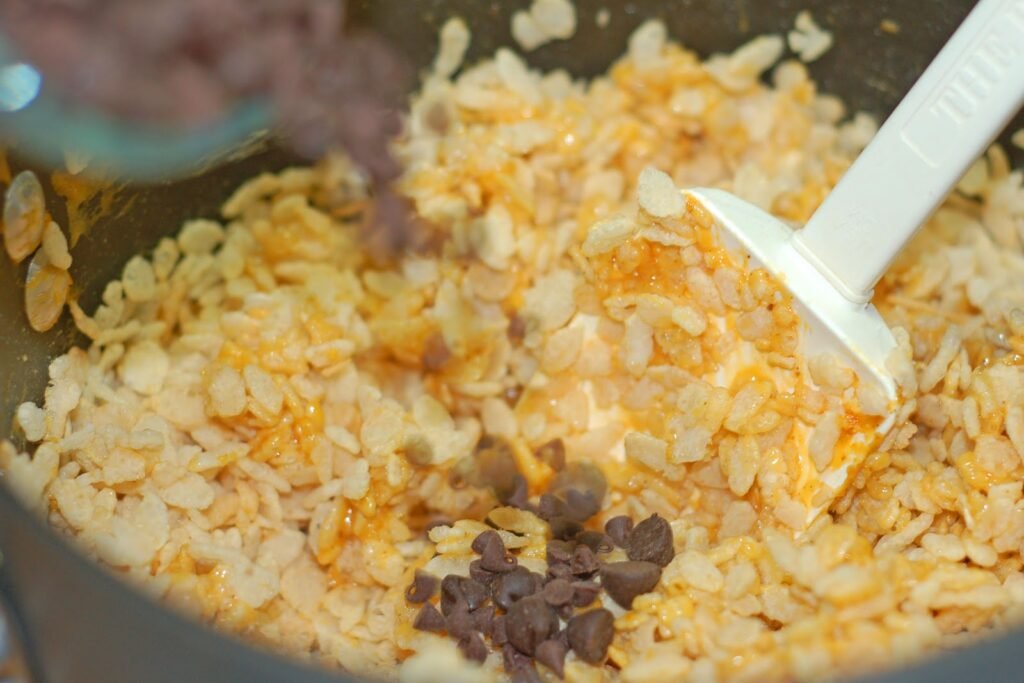
Once cooled, add Rice Krispies one cup at a time and stir until it is all well blended.
Then add the chocolate chips and stir gently. Some of the chocolate may melt. It’s ok.
Pour the mixture into a greased 9 x 13 pan or a cookie sheet and spread it evenly with a piece of waxed paper.
Place in fridge to cool.
For the maple butter
Place the butter in a small microwave safe bowl and heat in the microwave for 20 seconds, until softened.
Add maple syrup and mix together with hand mixer until smooth.
Place in fridge for 1 hour to set.
For the decoration
Place dark chocolate candy melt in a microwave safe bowl and melt for 30 seconds at a time until completely melted. Outline the shape of the stem with the candy melt and fill in.
Then melt the orange candy melt and place in another Ziplock bag with tip snipped off and carefully outline the pumpkin shape with the candy melt and fill in.
Last melt the green candy melt in the same fashion and place in a third Ziplock bag with tip snipped off and carefully draw a leaf and a curly vine.
Place the treats back in the fridge to cool.
Related Posts






Subscribe for New Racipies
Get mental health tips, updates, and resources delivered to your inbox.
Blood Orange Cinnamon Lassi

My college town was THE college town. I mean it. A lot of people owe Berkeley, California, for flinging them into a culturalpoliticalacademicculinary hodgepodge of straight-up bewilderingspectacularkaleidoscopic sights and sounds. It was and still is THE proverbial melting pot, a beacon calling in people of all patterns: stripes, spots, solids, Pollock-esque splatters. It was uniquely welcoming. Once you’d been asked for spare change by a homeless person, you were IN.
See, California’s incredibly diverse, yeah? But it’s also enormous, the size of a small country or thereabouts, and the thing about ethnic groups is that they like to stick together. A lot. Case in point: my high school was approximately 70% Asian. Like dark chocolate, except far less exceptional. (Well, technically, we were exceptional, but in that highest-SAT-scores-in-the-nation-blah-blah-bland-yawn kind of way.)
The reason I’m mentioning this is because it relates to my first experience eating Indian food, which coincided with the first month of being off to college. My friend picked out the restaurant, a mere five minute walk away from the dorms, on Telegraph Avenue.
For the uninitiated, Telegraph Avenue, even only a decade back (I swear I’m not as old as I sound!), was a veritable bazaar of hole-in-the-wall. It had this timeless quality to it: an ancient Rexall’s featured prominently across the street from campus, tourist shops still capitalizing off of Berkeley’s 60′s heyday (free speech anyone?), smoke dens, forgettable sports bars, and establishments like Blondie’s (pizza), Amoeba (records), and Moe’s (books!). Everything was a little scrummy, a little unsavory; you’d catch the occasional whiff of psychedelic substances all along its way. It was what I loved so much about Berkeley actually, the unpolished, the imperfect.
And the Indian restaurant was no exception. Not fine dining by any stretch of the word, the memory of that meal is still tinged with the rose-tinted gloss of Life-Changing Dining Experience. Why so important? From my vantage point now, the food would probably have been deemed mediocre at best.
Because there I was, still green around the collar, fresh out of the nest—a nest, mind you, where I’d dutifully eaten Chinese food nearly every single day of my life (rounded out with mostly fast food)—trying to make sense of a menu full of aloo this’s and vindaloo that’s. It was exhilarating.
Since then, I’ve had the pleasure of experiencing many echelons of south Asian food. But it all started with that meal. In the heart of Berkeley.

I actually didn’t try mango lassi until a few meals later, but it was a bit of an “oh my god, what the F is this?!” experience in its own right. Not life-altering, but a smaller explosion. I don’t order it very often, but it’s a treat I try not to deprive myself of too often.
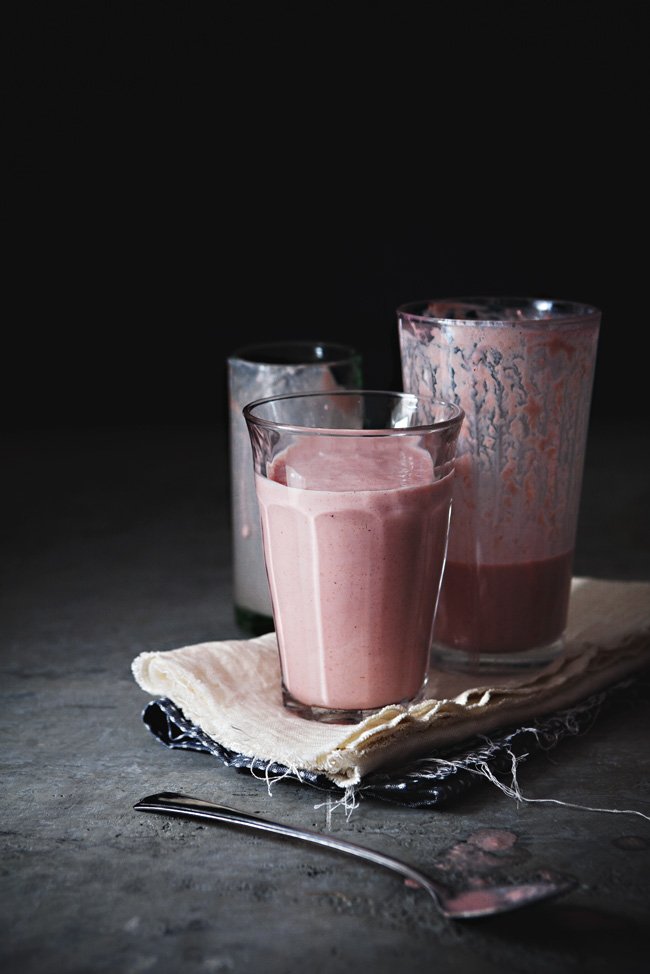
This blood orange cinnamon lassi is probably the best alternative I’ve ever tried to its more popular counterpart (although this sounds, well, absolutely stunning actually). It’s sexier, if you can imagine a sexy yogurt beverage. It’s understated. Mere suggestion, fathomless depths. I like it a lot, and I think the cinnamon and orange play very nicely off each other, a seamless union. But, just like Berkeley, you’ll have to try it for yourself to see what I mean.
BLOOD ORANGE CINNAMON LASSI
Makes 1 serving
Adapted from Martha Stewart
Ingredients:
- 1 blood orange
- 1 cup plain yogurt
- 1 Tbsp honey
- pinch cinnamon
Directions:
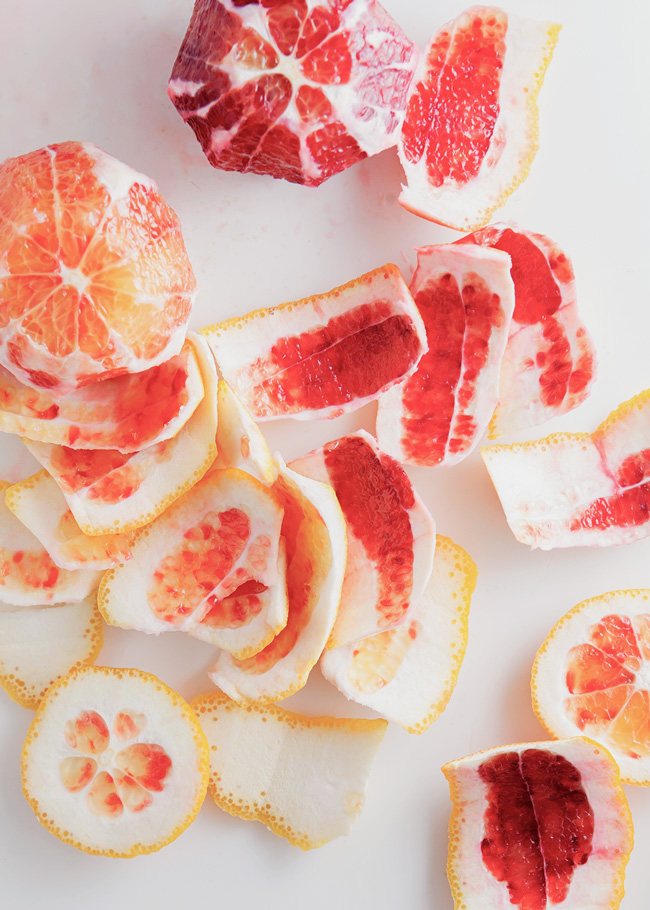
Peel blood oranges and separate segments from membranes, dropping segments in a blender (or cup, if using immersion blender). Blend with the rest of the ingredients and pour contents in a cup. Feel free to garnish with more cinnamon if desired. I am doing a public service by not enabling any breaking of weight loss resolutions (don’t want that on my shoulders!), so ENJOY!
Related Posts



Subscribe for New Racipies
Get mental health tips, updates, and resources delivered to your inbox.