
Grandma Old Fashioned Sweet Potato Pie Recipe

Medically reviewed by Christiana George Updated Date: June 10, 2023
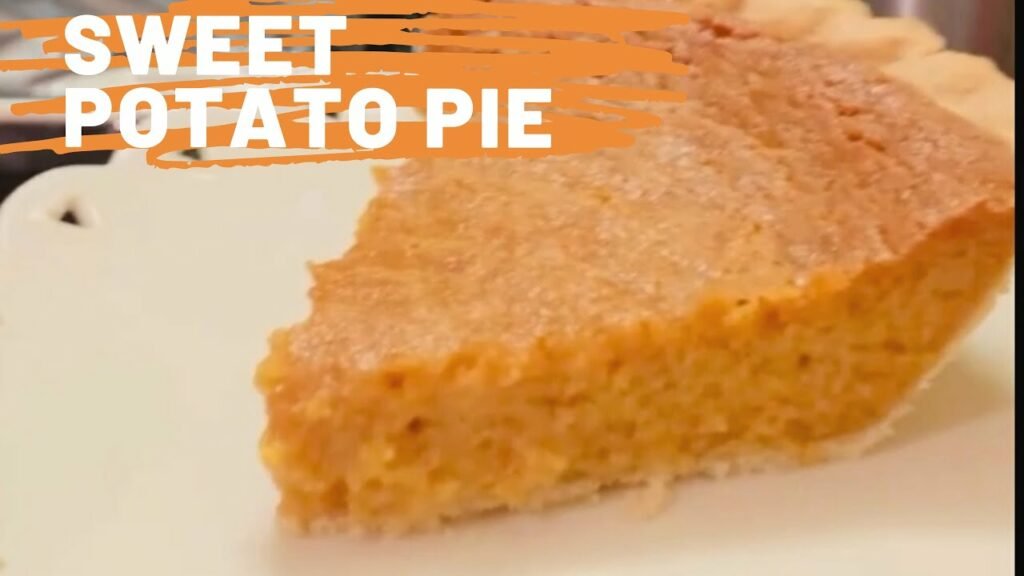
Few things conjure up feelings of warmth and nostalgia like an Old Fashioned Sweet Potato Pie, a classic favorite that has been cherished in family gatherings for generations. This delicious dessert often brings to mind cozy family dinners, laughter around the table, and stories from the past.
What if you could recreate this mouthwatering delight, just like grandma used to make? Today, we’re going to do just that! This article will introduce you to Grandma’s old-fashioned sweet potato pie recipe that will bring you back to those beautiful memories of yesteryears.
Grandma’s Recipe
A Culinary Journey into the Past: We know that the best recipes are those that have stood the test of time, and grandma’s old-fashioned sweet potato pie is a shining example. This delicacy is not just a pie; it’s a narrative of generations, woven with love, warmth, and of course, unbeatable flavors.
How Sweet Potato Pie Became a Classic?
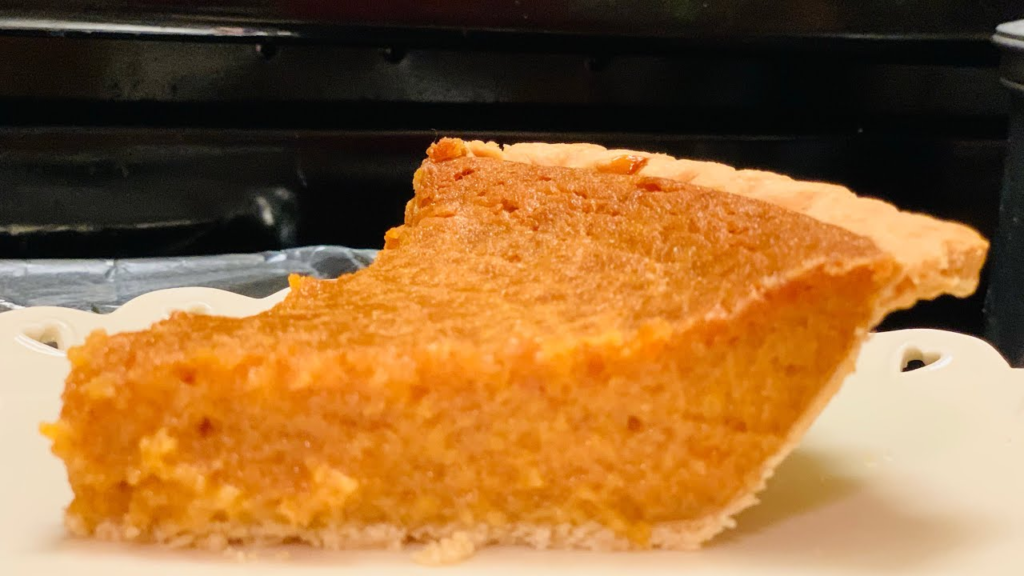
Sweet potato pie is a Southern delicacy that has been loved for centuries. It’s believed to have originated from African-American culture during the era of slavery, as an alternative to the European-style pumpkin pie. Over the years, it has become a favorite, especially during holidays like Thanksgiving and Christmas. Grandma’s old-fashioned sweet potato pie recipe is a testament to this culinary tradition.
How to Make Grandma’s Old Fashioned Sweet Potato Pie?
Creating this nostalgic treat is a labor of love, as it involves careful preparation and attention to detail. Here’s a step-by-step guide to making your own old-fashioned sweet potato pie, inspired by grandma’s recipe.
Ingredients:
- 2 cups mashed sweet potatoes (about 3-4 medium-sized sweet potatoes)
- 1 cup granulated sugar
- 1/2 cup unsalted butter, melted
- 1/2 cup milk
- 2 large eggs
- 1 teaspoon vanilla extract
- 1/2 teaspoon ground cinnamon
- 1/4 teaspoon ground nutmeg
- 1/4 teaspoon salt
- 1 unbaked 9-inch pie crust
For the whipped cream (optional):
- 1 cup heavy cream
- 2 tablespoons powdered sugar
- 1/2 teaspoon vanilla extract
Instructions:
- Preheat your oven to 350°F (175°C).
- Peel the sweet potatoes and cut them into chunks. Place them in a large pot of boiling water and cook until tender, about 15-20 minutes. Drain the sweet potatoes and mash them using a potato masher or fork until smooth. Let them cool for a few minutes.
- In a large mixing bowl, combine the mashed sweet potatoes, sugar, melted butter, milk, eggs, vanilla extract, cinnamon, nutmeg, and salt. Stir well until all the ingredients are fully combined and the mixture is smooth.
- Place the unbaked pie crust in a 9-inch pie dish. Pour the sweet potato mixture into the pie crust, smoothing the top with a spatula or the back of a spoon.
- Bake the pie in the preheated oven for about 55-60 minutes or until the center is set and the pie is golden brown. You can test for doneness by inserting a toothpick into the center of the pie – if it comes out clean, the pie is ready.
- Remove the pie from the oven and let it cool completely on a wire rack. Once cooled, refrigerate for a few hours or overnight to allow the flavors to meld together.
- If desired, prepare the whipped cream. In a chilled bowl, beat the heavy cream, powdered sugar, and vanilla extract together using an electric mixer on medium-high speed until soft peaks form.
- Serve the sweet potato pie chilled or at room temperature, topped with a dollop of whipped cream if desired. Enjoy your grandma’s old-fashioned sweet potato pie!
Note: This recipe is for a single 9-inch pie. If you want to make multiple pies, you can adjust the ingredient quantities accordingly.
Conclusion
There you have it, Grandma’s old-fashioned sweet potato pie recipe! This isn’t just any dessert—it’s a piece of history, a comforting treat that carries the flavors of love, tradition, and nostalgia. Whether you’re a novice baker or a seasoned chef, this recipe will help you create a timeless delicacy that is sure to impress. From the aroma that fills your kitchen to the sweet, rich taste in every bite, you’ll see why this pie has been a cherished dessert for generations.
Remember, like any traditional recipe, you can add your own touch to this old-fashioned sweet potato pie. Maybe you’ll even start a new family tradition. We’d love to hear about your experience and how you made this recipe your own. So, put on your apron and get ready to enjoy the taste of tradition—happy baking!
Related Posts






Subscribe for New Racipies
Get mental health tips, updates, and resources delivered to your inbox.
Red Velvet Cake Balls



I hope everyone had a lovely Christmas. I sure did, although it was quite hectic. I was planning on talking about cake balls before the holiday, but just didn’t have time. But now I have some time to share this great recipe.
I have been making Red Velvet Cake Balls for the past 2 years now, since I found them on Red Velvet Cake Balls. They are pretty simple to make and I always get compliments on them. Bakerella is a very talented woman. It is amazing what she can do with cake balls. Check out her site, if you haven’t already.
There are not many ingredients. A cake mix, pre-made frosting, and some candy melt. Easy peasy.


So far I have found that only Duncan Hines makes a Red Velvet Cake Mix and Cream Cheese Frosting and not all stores carry them. I always find mine at Price Chopper.

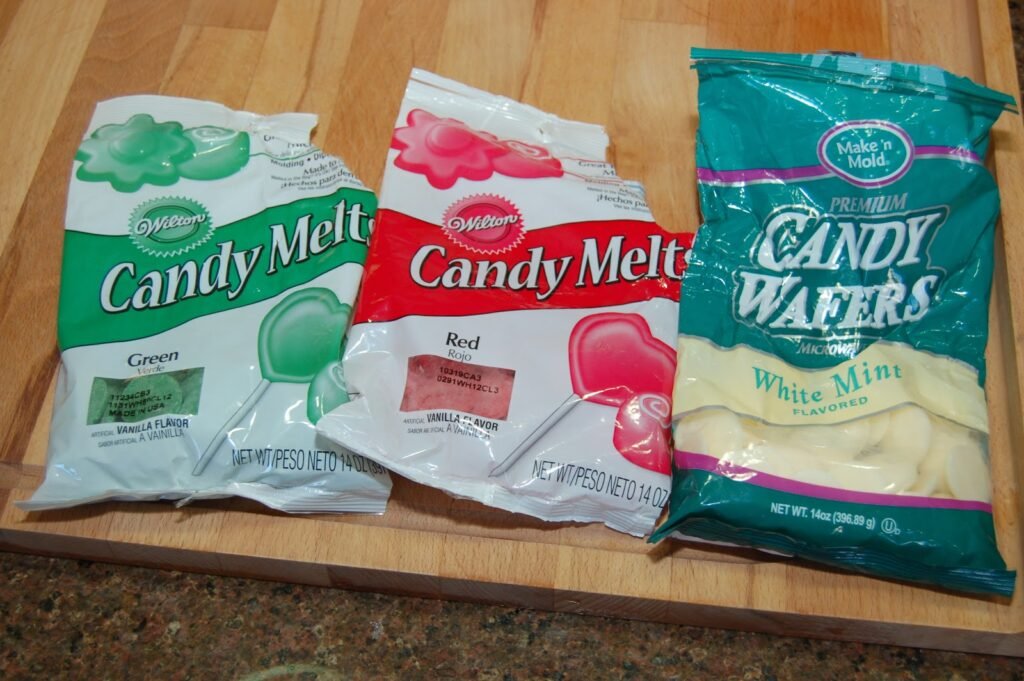
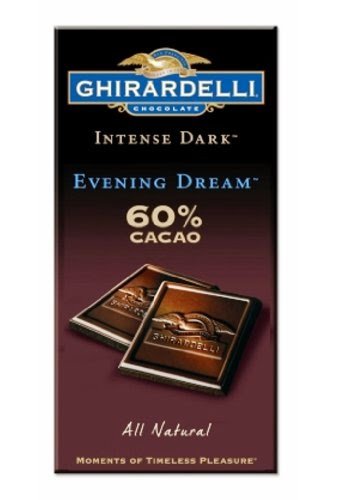
I usually dip the cake balls is a mix of dark cocoa candy melt and a bar of dark chocolate like Ghiradelli for a more intense chocolate taste, but a hard candy coating. And since I usually do mine around the holidays, I buy colored candy melts to decorate.
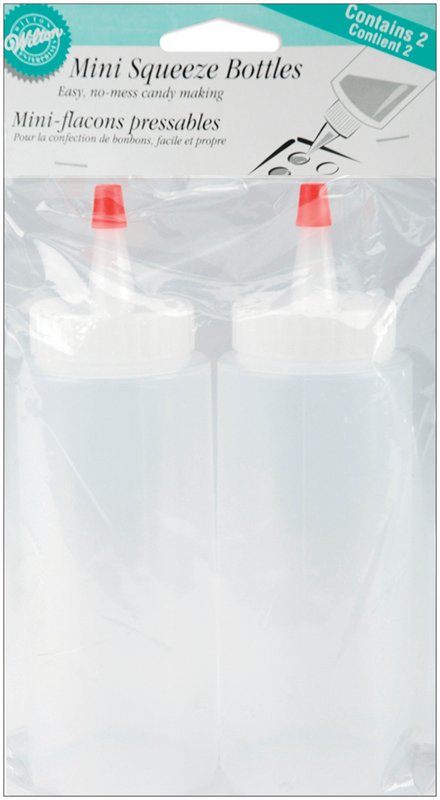
Last year for decorating, I used my cake decorating bags and tips, but this year I decided to try squeeze bottles. The squeeze bottle has more control, but I like the smaller holes on the cake decorating tips. Either way, everyone loves them. Adults and kids. The taste is incredible and they are so moist. I get compliments every year. I had to make a double batch this year to please everyone.

Red Velvet Cake Balls
Ingredients
- 1 pkg red velvet cake mix
- 1 container (16 oz) cream cheese frosting
- 1 pkg (14 oz) dark cocoa candy melt
- 1 large bar dark chocolate
- 1 pkg (14 oz) red candy melt
- 1 pkg (14 oz) green candy melt
- 1 pkg (14 oz) white candy melt
- optional sprinkles
Cooking Directions
- Bake the cake mix as per instructions on the box for a 9 x 13 cake.
- Once cake is completely cooled, crumble it by hand into a large bowl.
- Then add in the cream cheese frosting and mix well. This can be done by hand or throw the crumbled cake and the frosting into a large mixer and mix on low.
- Then take a scoop at a time of the mix and roll into small balls about the size of a quarter. This will be very messy and you may have to wash your hands several times. But please refrain from licking them!
- Place the balls in a freezer friendly container lined with parchment/wax paper.
- When all balls are complete, place them in the freezer overnight or until you have time to do the rest of the recipe.
- When you are ready to dip, melt the dark cocoa candy melt and the dark chocolate together in a deep bowl in the microwave 30 seconds at a time until all melted.
- Dip the cake balls in the chocolate mixture and place on parchment/wax paper until chocolate has hardened. ( I use a fork to dip, roll, and shake off any extra chocolate.) If you want you may add fun holiday sprinkle before the chocolate hardens.
- In separate bowls, melt the red, green, and white candy melt and place in the squeeze bottles. Then decorate with any patterns you like. Or if you want, dip some of the balls in the colored candy melt instead of the chocolate.
- Makes about 50 cake balls.

I did buy pretty boxes to place the cake balls in to give as gifts for my daughter’s teachers and a few other people, but I was so busyI forgot to take pictures of the boxes all tied up with a nice ribbon and tag. But here are what the balls looked like decorated.


Last year I put them in tins to give out as gifts. Here is what they looked like. I placed the cake balls in mini cupcake liners to they don’t stick together and they look pretty. There are so many ways to decorate the cake balls and many different varieties of cake mixes and frosting to use.

The best part of the recipe is that it can be done in stages. One night I bake the cake. Another night I crumble and mix with the frosting and make the balls. I freeze them until I have the time to finish. I had them in there for a week and no worries. I think I will make some again for Valentine’s day.
Related Posts

Subscribe for New Racipies
Get mental health tips, updates, and resources delivered to your inbox.