
Eggnog Cheesecake Truffles

Medically reviewed by Christiana George Updated Date: June 8, 2023
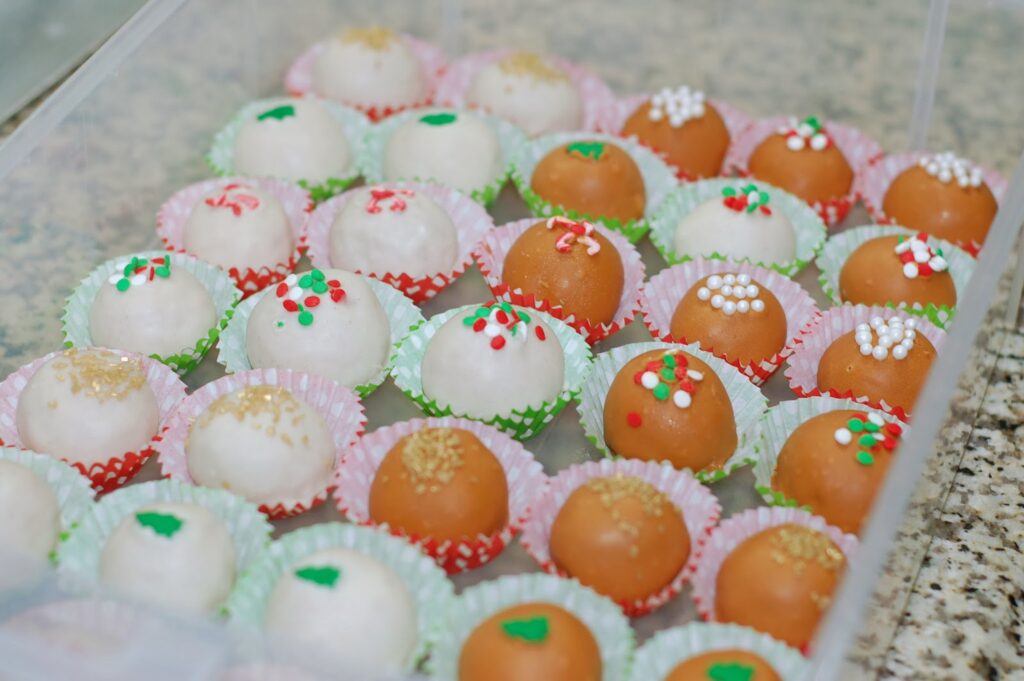

Yay! I finally started my Christmas shopping. Hopefully I finish on time. I had a busy weekend putting together a sampler of goodies for my neighbors’ gift baskets. These Eggnog Cheesecake Truffles were a part of the baskets. I was really excited about how well they came out, in taste and visual appeal. I would have kept them all to myself, but I thought it would be nicer to share in this season of giving. And I would probably have had to buy some new pants come January. I am so bad at eating just one.

This recipe does have several steps that take time, but the good news is that it can be made in stages.
I was doing a little here and a little there in between housework, laundry, taking care of my son, making meals, etc. I did use real rum in this recipe, but it’s really just a little for flavor. If you want you can leave it out.

Once you make the balls, and put them in the freezer, you can leave them overnight or until you have time to dip them in the candy melt.

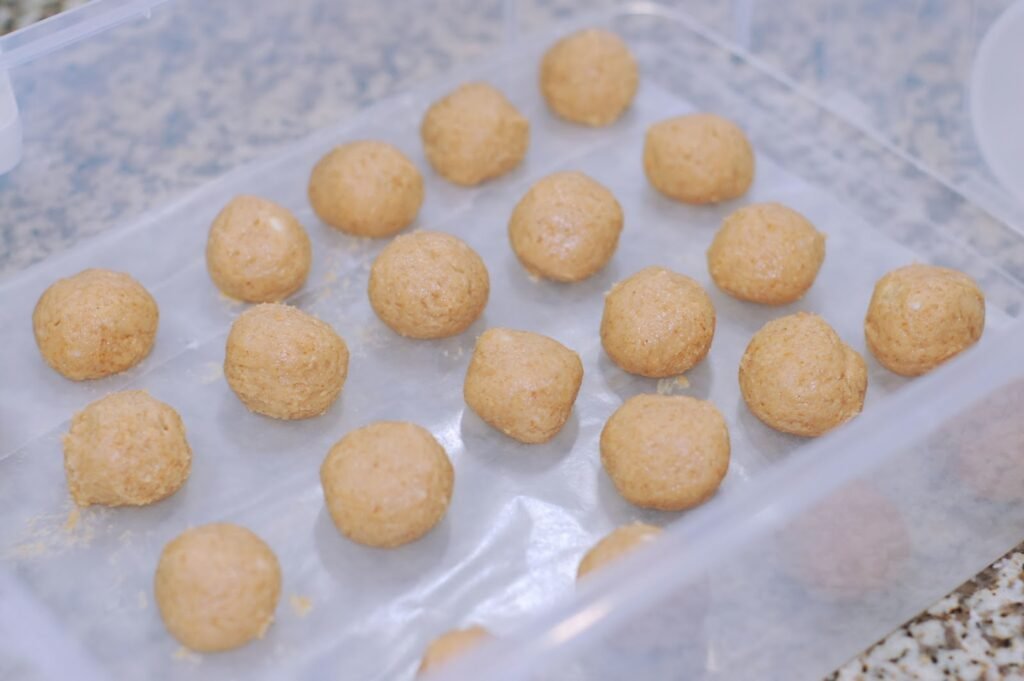
Rolling the balls, is a little messy, but not any worse than when I used to make cake balls. I found that rubbing my hands with leftover graham cracker crumbs reduced the stickiness. Although, you could try flour or powdered sugar also.
For the candy coating, I found Wilton’s Eggnog Candy Melt and Gingerbread Candy Melt. I had to try both. And by try, I do mean eat them straight out of the package. I couldn’t decide which I liked better, so I used both. I found both of these at Walmart.

I did find the melted consistency to be very thick, so I did add a generous amount of vegetable shortening to the melted candy to make it smoother, thinner, and easier to work with.
I just used a fork to sit the balls on top of to dip them in the candy melt and my cake tester to slide the balls off the fork onto the waxed paper. The candy melt did harden very fast, so I had to be quick with the sprinkles.
I used different sprinkles and placed them in some Wilton’s mini cupcakes wrappers to give them some character. These would look so pretty in a decorative box or tin given as a gift for the holidays.
Although the insides are the same, the different candy coatings give these Eggnog Cheesecake Truffles different flavors. The eggnog candy melt makes it more sweet, while the gingerbread candy melt makes it more spicy. Each are equally delicious. The cheesecake filling just melts in your mouth. You really can’t eat just one.
Eggnog Cheesecake Truffles
by The Sweet Chick
Prep Time: 2 1/2 hours
Keywords: no bake dessert egg nog egg nog candy melt cream cheese gingerbread candy melt Christmas truffles American winter
Ingredients (36 truffles)
For the filling
- 2 cups crushed graham crackers
- 1 package (8 oz.) cream cheese
- 1/2 cup vanilla eggnog
- 1/2 teaspoon vanilla extract
- 2 tablespoons sugar
- 1 1/2 teaspoons rum (optional)
- 1/4 teaspoon ground nutmeg
- 1/2 teaspoon ground cinnamon
- 1 cup white chocolate chips
For the coating
- 1 cup Wilton’s Eggnog candy melt wafers
- 1 cup Wilton’s Gingerbread candy melt wafers
- 2-4 tablespoons vegetable shortening
For the topping
- holiday sprinkles
Instructions
For the filling
In a stand mixer combine the graham cracker crumbs, cream cheese, eggnog, vanilla, sugar, rum, and spices and mix on low until completely blended.
Place white chocolate chips in a glass bowl over a pot of water so that the bowl does not touch the water. Bring water to a gentle boil and stir chocolate until all melted. (I find that white chocolate does not melt well in the microwave.)
Then add melted chocolate to the cream cheese mixer and mix on low until all incorporated. Mixture will be slightly soft.
Place mixture in the fridge for at least one hour to firm up.
Remove from fridge and roll mixture into balls. I measured out one tablespoon mixture for each ball. Place balls in airtight container lined with wax paper. Place the container in the freezer for at least one hour to set.
For the coating
After the balls are set, melt the candy wafers (one flavor at a time) in the microwave as per directions on package (30 second intervals , stirring in between). If melted candy is too thick add a tablespoon at a time of vegetable shortening until you get the right consistency.
Remove cream cheese balls from the freezer.
Dip the balls into candy coating mixture until all covered. I use a fork. Once covered, remove and softly tap until excess candy melt falls off. Then place pops on wax paper.
Carefully add the sprinkles to the top of the balls before the candy melt hardens.
When candy melt does harden, scrape off any excess candy melt on the bottom of the ball and place in mini cupcake wrapper.
Keep truffles refrigerated. Enjoy!
Related Posts

Subscribe for New Racipies
Get mental health tips, updates, and resources delivered to your inbox.
Mom’s Apple Cake


Growing up, my mom stayed home and raised four kids while my father worked two jobs to support us. My mom made sure we had a home cooked meal everynight and always made a dessert to eat after dinner. Sometimes it came from a mix and other times it was made from scratch.
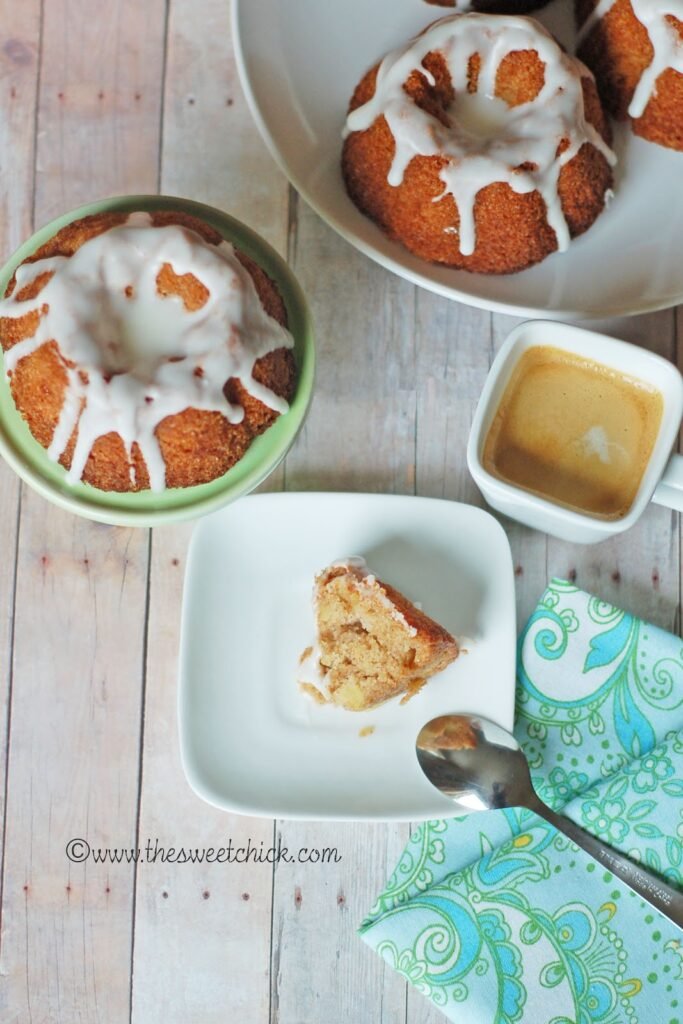
This apple cake is from her batch of recipes – her bits and pieces of yellowed paper with handwritten recipes that have been folded and unfolded many times over the years. Some papers even have fingerprints of food, others have splatters of oil. My mom never had a need for a fancy cookbook. She had recipes passed down to her by family members or passed along to her by friends.

I think she had the right idea. All her desserts were delicious and were made with ingredients you could find in any pantry. I am pretty sure I got my sweet tooth from her. I don’t know from whom this recipe originated, but mom has been making it for as long as I can remember.

The ingredients for this cake were very basic. I just used the apples I had in the fridge. They were a mix of two different kinds. I don’t think it really matters what kind of apples you use.
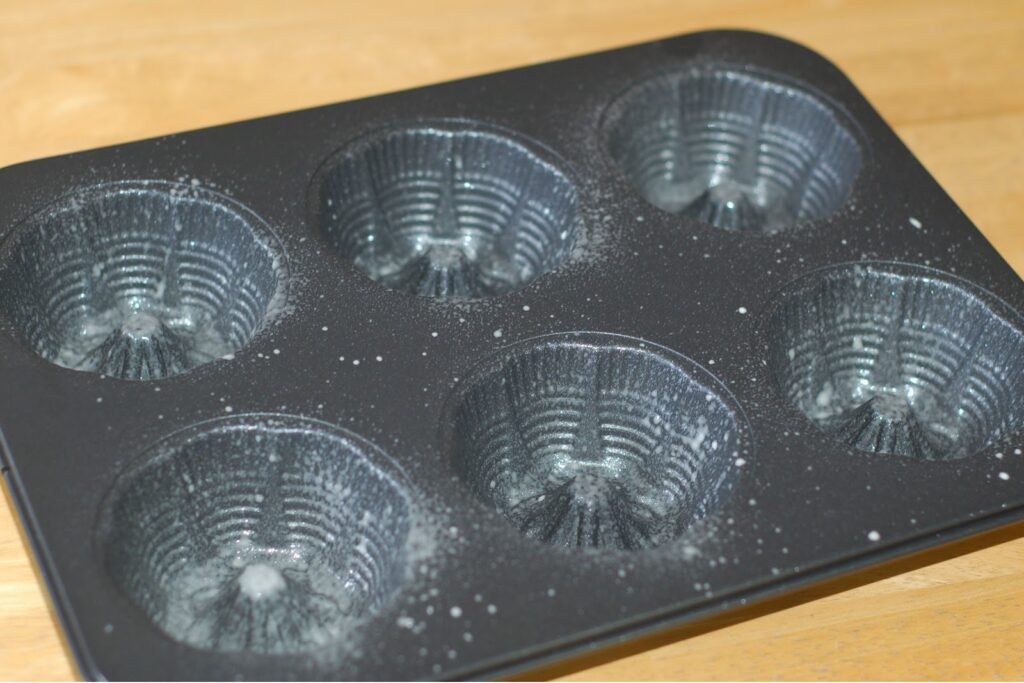
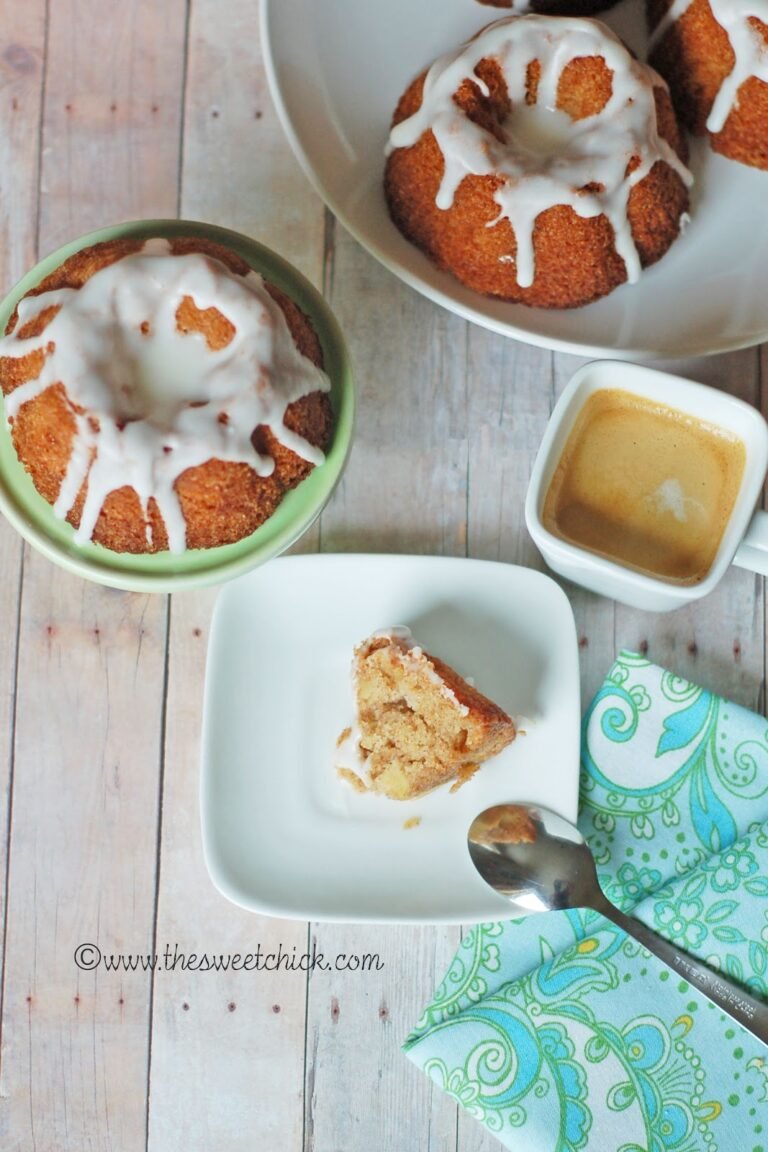
The original recipe is for one regular bundt pan cake, but my mom had given me this cute mini bundt cake pan, so I made twelve mini cakes. You can find similar pans on Amazon mini bundt pans. I have also used this recipe to make cupcakes before (see here). The cakes are very moist and very heavy in weight , but they just fall apart in your mouth. You can’t eat just one bite. The glaze is not overpowering. It’s just to add a little decoration. You don’t want to put too much.
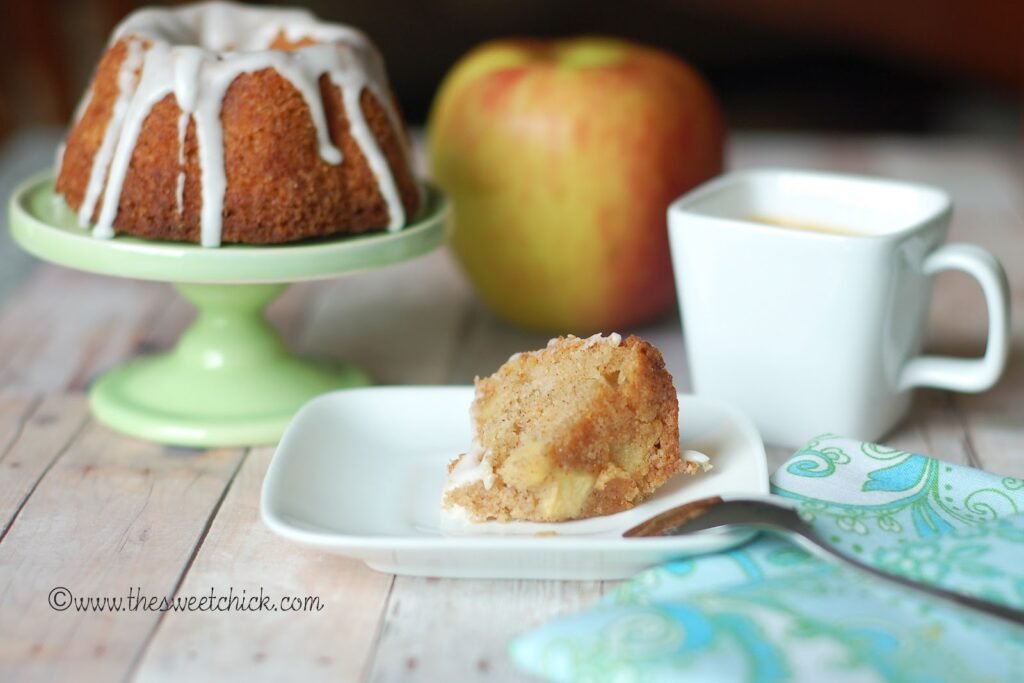
Just look at those chunks of apple..oh and the specks of cinnamon….mouthwatering! I have to go get myself another piece now after looking at all these pictures. Hope you enjoy it as much as I do.
Mom’s Apple Cake
by The Sweet Chick
Prep Time: 10-15 minutes
Cook Time: 20 minutes
Keywords: bake dessert cinnamon apple cake
Ingredients (12 mini bundt cakes)
For the cakes
- 2 cups all purpose flour
- 2 cups sugar
- 4 teaspoons baking powder
- 4 teaspoons cinnamon
- 1 cup vegetable oil
- 4 teaspoons vanilla extract
- 4 eggs
- 4 cups chopped apples (about 3-4 big apples)
- 1 teaspoon salt
For the glaze
- 1 cup powdered sugar
- 2 tablespoons milk
- 1 teaspoon Crisco vegetable shortening
Instructions For the cakes
Preheat oven to 350º F. Grease and flour your pan. I use Baker’s Joy spray.
In a large bowl or in a stand mixer, mix together flour, sugar, baking powder and cinnamon.
Then add the oil, vanilla, eggs and salt. Mix until smooth, then add apples and stir until all incorporated.
Bake for 20 minutes. (For cupcakes, bake 15-20 minutes. For one large bundt cake, bake for 1 hour)
Simply flip over the pan to remove the cakes and place on a rack to cool.For the glaze
In a small bowl mix together powdered sugar, milk and Crisco. Whisk until it becomes a liquid.
Using a large spoon, slowly pour the glaze around the tops of the cakes and let drizzle down the sides. Use immediately before glaze sets.
Related Posts
Subscribe for New Racipies
Get mental health tips, updates, and resources delivered to your inbox.