
Biscoff Caramel Pretzel Bon Bons

Medically reviewed by Christiana George Updated Date: December 17, 2022
OK, so this is how it all started. I had a bag of pretzel m&m’s that I wanted to use. I didn’t want to make cookies, I was thinking more along the lines of a ball. I know I wanted to use crushed pretzels. The pretzel/peanut butter combo has already been done, so I wanted to do something different. Biscoff and pretzels sounded good, but the combo had to be tested. Out came the jar of Biscoff and in I dipped the pretzel. Mmmm. We had a winner.

So I proceeded to crush the pretzels to tiny bits in the food processor. I measured out 2 cups and threw it in my stand mixer. I figured 1 cup of Biscoff would be enough to mix with the pretzels. Boy was I wrong. The consistency was too dry. I couldn’t form it into balls. I didn’t give up. Instead I walked over to the pantry to see what else I could use. Hmmm. Fluff! Yes, fluff works with almost anything. All right, I added 1 cup fluff. Nope not enough. 2 cups fluff? Still not enough. Darn it!
Think. That’s what I did. How about melted butter? OK, I added 3 tbsp melted butter. Although the batter was slightly stickier, it still didn’t hold well. Time to pull out the big guns. I went back to the pantry and found a jar of Granache caramel spread I brought back from Canada at Easter. I hadn’t even opened it yet. Well, I was getting desperate. Into the batter went 1 cup of caramel spread. Finally the batter was the right consistency. But did it have the right flavor? Better than I expected. I couldn’t wait to dip it in chocolate!

I also couldn’t wait to try out my new toy. A cake pop mold from My Little Cupcake. I already had the cupcake pop mold and loved it. This one is even easier to use. Here is where the m&m’s came into play. I filled half the mold with batter and pressed in the pretzel m&m and then packed on some more batter and closed the lid and squeezed out the extra.
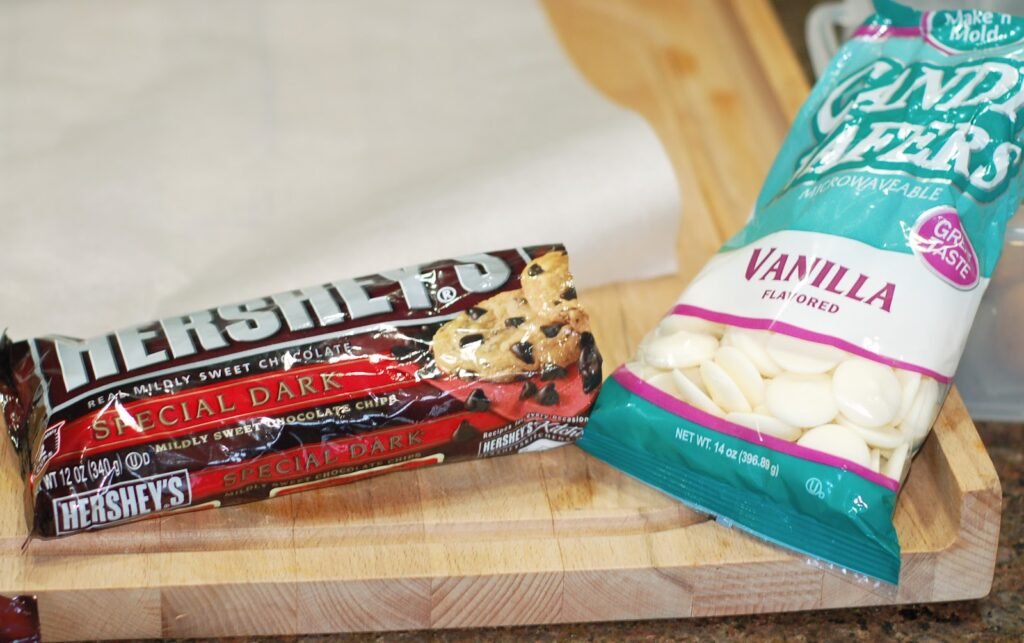
I did end up with a lot of little bon bons from this recipe even though I was eating the batter all along. Sorry, but it was really good. For the coating I didn’t have any dark chocolate candy melt on hand, so I used vanilla flavored and it worked out just fine.
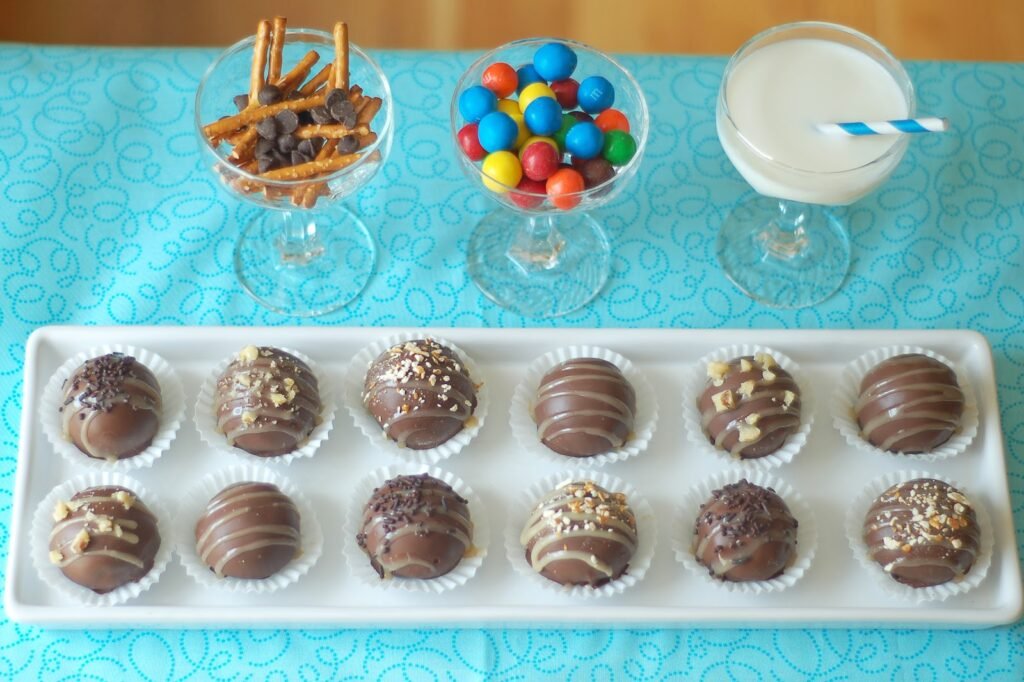
But I wasn’t done yet. These little beauties had to be decorated. I melted some of the caramel spread and vanilla candy melt together to drizzle over the tops. For toppings I used dark chocolate sprinkles, bits of left over pretzels, chopped walnuts and some I left with just the caramel drizzle. Don’t they look purty?
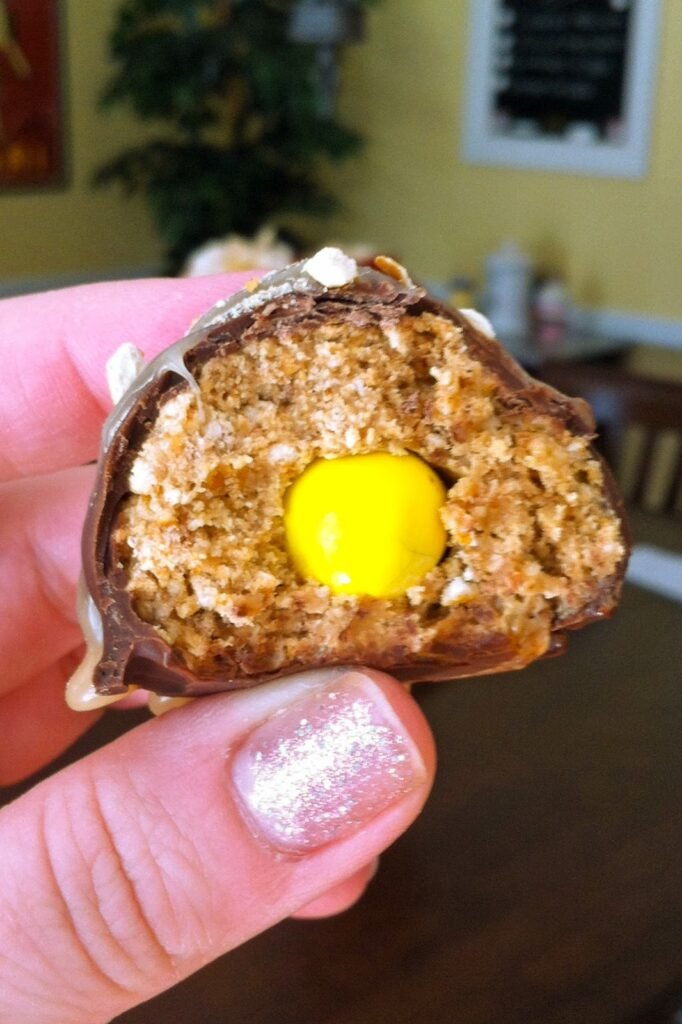
Now it was time for another taste test. Just look at that bite. Oh goodness! How do I describe it? Well, if a Twix bar and a pretzel got together and had a baby, then this would be it. The sweet Biscoff blended with the salty pretzel and a hint of caramel and covered in chocolate was pure bliss. Just look at this guy, he agrees with me.

Biscoff Caramel Prezel Bon Bons
by The Sweet Chick
Prep Time: 20-30 min
Keywords: no bake dessert biscoff pretzels caramel dark chocolate
Ingredients (about 36 bon bons)
For the Bon Bons
- 2 cups crushed pretzels
- 1 cup Biscoff spread
- 2 cups marshmallow fluff
- 3 tbsp melted butter
- 1 cup caramel spread
For the Coating
- 1 cup dark chocolate chips
- 1 cup vanilla flavored candy melt (or dark chocolate)
For the Drizzle
- 1/2 cup caramel spread
- 1/2 cup vanilla flavored candy melt
For the Toppings
- dark chocolate sprinkles
- chopped walnuts
- pretzel bits
Instructions
In a food processor chop up the pretzels until you have 2 cups crushed pretzels.
Place the crushed pretzels in a stand mixer and add the Biscoff, fluff, melted butter and caramel. Mix well, until batter becomes a dough like consistency and can be molded.
Using your hands or a cake pop mold, shape the batter into balls and place on wax paper. Place the balls in the fridge for 1-2 hours until they are firm.
In a deep bowl, melt the chocolate chips and the candy melt together in the microwave at 30 second intervals until melted. Stir well so there are no lumps.
Using a fork or a candy dipping tool, carefully dip the balls in the chocolate melt until well coated and then place on a clean wax paper until the chocolate hardens. If needed, place balls back in fridge for a few minutes.
Once chocolate is set, melt caramel and candy melt in microwave at 30 second intervals until melted and stir well until smooth. Place caramel in a frosting piping bag with tip or a ziplock bag snipped at the corner to drizzle the caramel over the balls. Sprinkle with toppings if desired.
Related Posts


Subscribe for New Racipies
Get mental health tips, updates, and resources delivered to your inbox.
Grandma Old Fashioned Sweet Potato Pie Recipe

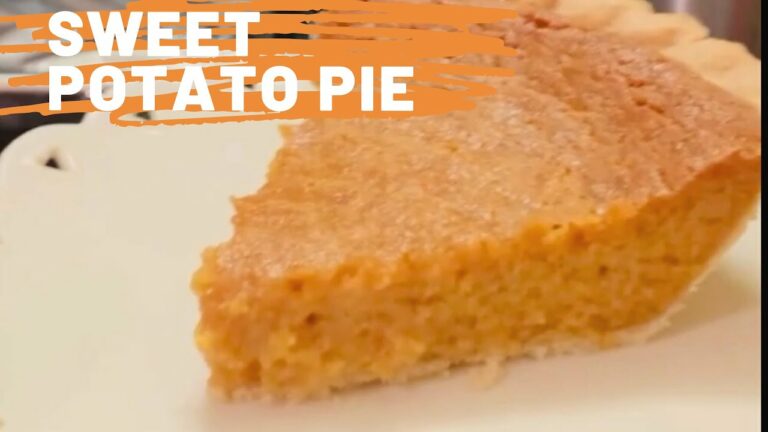
Few things conjure up feelings of warmth and nostalgia like an Old Fashioned Sweet Potato Pie, a classic favorite that has been cherished in family gatherings for generations. This delicious dessert often brings to mind cozy family dinners, laughter around the table, and stories from the past.
What if you could recreate this mouthwatering delight, just like grandma used to make? Today, we’re going to do just that! This article will introduce you to Grandma’s old-fashioned sweet potato pie recipe that will bring you back to those beautiful memories of yesteryears.
Grandma’s Recipe
A Culinary Journey into the Past: We know that the best recipes are those that have stood the test of time, and grandma’s old-fashioned sweet potato pie is a shining example. This delicacy is not just a pie; it’s a narrative of generations, woven with love, warmth, and of course, unbeatable flavors.
How Sweet Potato Pie Became a Classic?
Sweet potato pie is a Southern delicacy that has been loved for centuries. It’s believed to have originated from African-American culture during the era of slavery, as an alternative to the European-style pumpkin pie. Over the years, it has become a favorite, especially during holidays like Thanksgiving and Christmas. Grandma’s old-fashioned sweet potato pie recipe is a testament to this culinary tradition.
How to Make Grandma’s Old Fashioned Sweet Potato Pie?
Creating this nostalgic treat is a labor of love, as it involves careful preparation and attention to detail. Here’s a step-by-step guide to making your own old-fashioned sweet potato pie, inspired by grandma’s recipe.
Ingredients:
- 2 cups mashed sweet potatoes (about 3-4 medium-sized sweet potatoes)
- 1 cup granulated sugar
- 1/2 cup unsalted butter, melted
- 1/2 cup milk
- 2 large eggs
- 1 teaspoon vanilla extract
- 1/2 teaspoon ground cinnamon
- 1/4 teaspoon ground nutmeg
- 1/4 teaspoon salt
- 1 unbaked 9-inch pie crust
For the whipped cream (optional):
- 1 cup heavy cream
- 2 tablespoons powdered sugar
- 1/2 teaspoon vanilla extract
Instructions:
- Preheat your oven to 350°F (175°C).
- Peel the sweet potatoes and cut them into chunks. Place them in a large pot of boiling water and cook until tender, about 15-20 minutes. Drain the sweet potatoes and mash them using a potato masher or fork until smooth. Let them cool for a few minutes.
- In a large mixing bowl, combine the mashed sweet potatoes, sugar, melted butter, milk, eggs, vanilla extract, cinnamon, nutmeg, and salt. Stir well until all the ingredients are fully combined and the mixture is smooth.
- Place the unbaked pie crust in a 9-inch pie dish. Pour the sweet potato mixture into the pie crust, smoothing the top with a spatula or the back of a spoon.
- Bake the pie in the preheated oven for about 55-60 minutes or until the center is set and the pie is golden brown. You can test for doneness by inserting a toothpick into the center of the pie – if it comes out clean, the pie is ready.
- Remove the pie from the oven and let it cool completely on a wire rack. Once cooled, refrigerate for a few hours or overnight to allow the flavors to meld together.
- If desired, prepare the whipped cream. In a chilled bowl, beat the heavy cream, powdered sugar, and vanilla extract together using an electric mixer on medium-high speed until soft peaks form.
- Serve the sweet potato pie chilled or at room temperature, topped with a dollop of whipped cream if desired. Enjoy your grandma’s old-fashioned sweet potato pie!
Note: This recipe is for a single 9-inch pie. If you want to make multiple pies, you can adjust the ingredient quantities accordingly.
Conclusion
There you have it, Grandma’s old-fashioned sweet potato pie recipe! This isn’t just any dessert—it’s a piece of history, a comforting treat that carries the flavors of love, tradition, and nostalgia. Whether you’re a novice baker or a seasoned chef, this recipe will help you create a timeless delicacy that is sure to impress. From the aroma that fills your kitchen to the sweet, rich taste in every bite, you’ll see why this pie has been a cherished dessert for generations.
Remember, like any traditional recipe, you can add your own touch to this old-fashioned sweet potato pie. Maybe you’ll even start a new family tradition. We’d love to hear about your experience and how you made this recipe your own. So, put on your apron and get ready to enjoy the taste of tradition—happy baking!
Related Posts

Subscribe for New Racipies
Get mental health tips, updates, and resources delivered to your inbox.