
Cotton Candy Oreo Truffles

Medically reviewed by Christiana George Updated Date: December 18, 2022


Have you guys tried the Cotton Candy flavored Oreo cookies yet? They aren’t bad. My kids love them. The cream does taste like cotton candy, but not overly sweet. I thought I’d make them even better by turning them into truffles. I even made some cotton candy flavored candy melt to cover them in. These Cotton Candy Oreo Truffles could be a hit at your kid’s birthday party. Or you could just keep them all for yourself.

I don’t why the limited edition Oreos come in smaller packages than the regular Oreo cookies. You lose about 10 cookies, so not fair. I bought these at Target by the way.
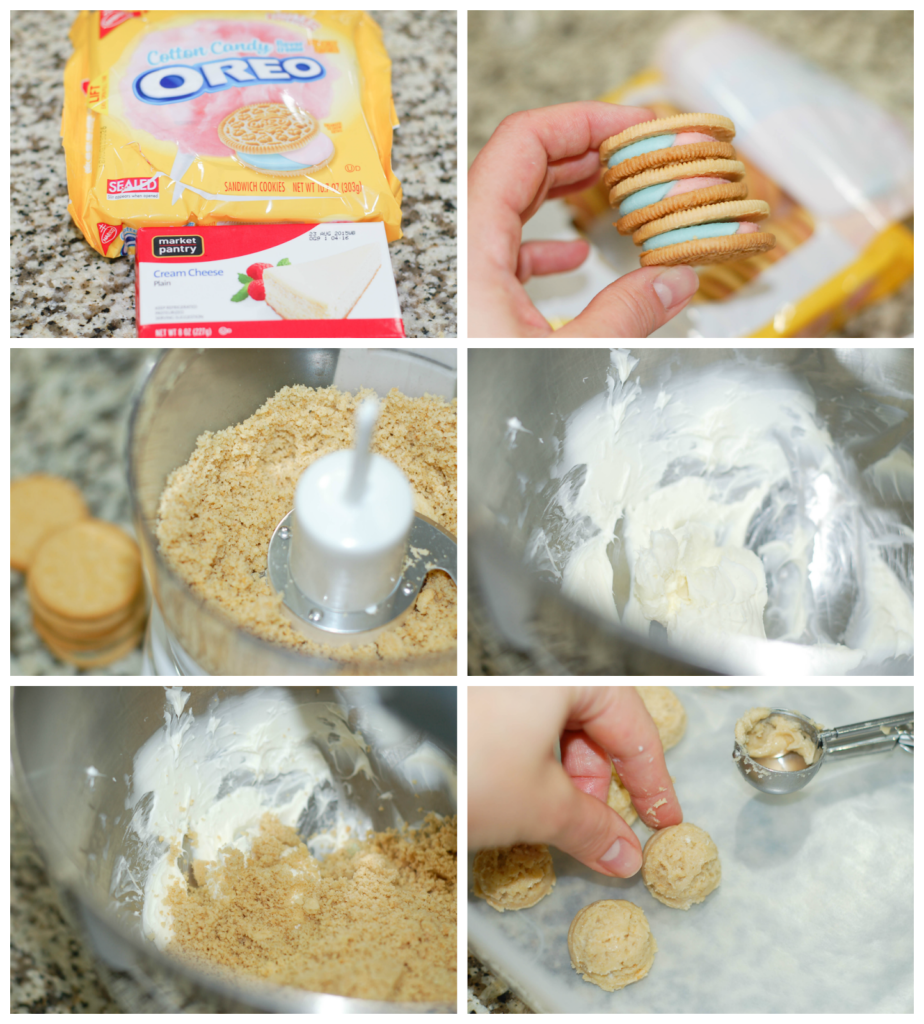
I did not use an entire package of these. I only used 15. You have plenty to taste test before you make the recipe. I used my mini cookie scoop to make the balls. I find it to be the best size for a sweet truffle. I don’t even bother rolling it into balls, I just scoop and drop. Then I pop them in the freezer for a few hours or overnight.
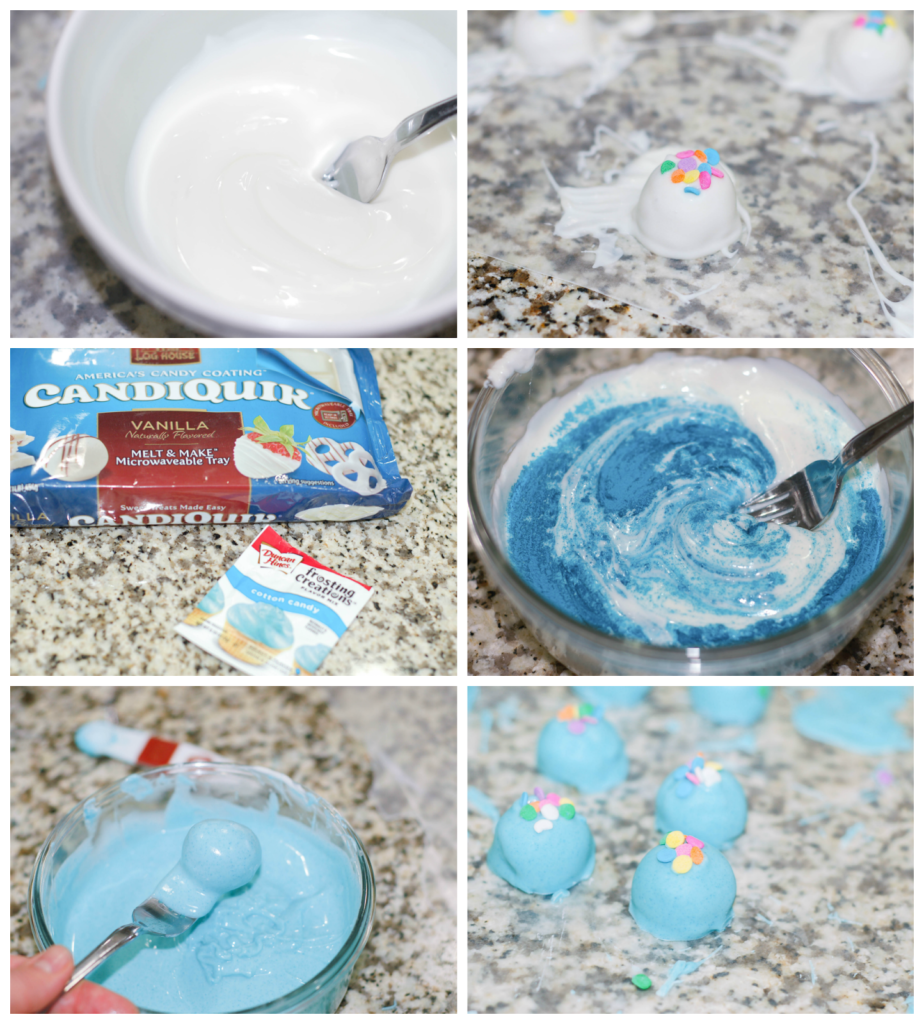
For the coating, I used the vanilla flavored Candiquik candy melt. I dipped half of the Oreo truffles in the regular vanilla flavor. Then I mixed the remaining candy melt with the Cotton Candy flavor of Duncan Hines Frosting Creations mix and dipped the other half of the truffles in it. They came out a pretty blue color.

Both flavors of candy melt work well for these truffles, but I think my favorite is the cotton candy flavored one. It just enhances the flavor of the Cotton Candy Oreos.
I took these to the bus stop as usual and handed them out to the kids on my daughter’s bus. They were all excited to try them and there were smiles all around. My son was ready to devour them all himself if I let him.
Cotton Candy Oreo Truffles
by The Sweet Chick
Prep Time: 1.5h w/freezer time
Keywords: no bake freeze snack dessert Cotton Candy Oreos cream cheese candy melt candy coating truffles American spring summer
Ingredients (30 truffles)
For the truffles
- 15 Cotton Candy flavored Oreo cookies
- 4 oz. cream cheese, softened
For the coating
- 1 package (16 oz.) Candiquik candy coating (vanilla/white)
- 1 packet Duncan Hines Frosting Creations Cotton Candy flavor mix
Optional toppings
- sprinkles
Instructions
For the truffles
Crush the Oreo cookies in a food processor until they are a dirt like consistency.
In a medium bowl, mix the crushed Oreos and cream cheese until completely combined.
With a mini scoop, measure out 30 mounds and place them on a wax paper lined air-tight container.
Place the container in the freezer for at least 1 hour to set. (I left mine overnight.)
For the coating
After the balls are set, melt candy coating in the microwave as per directions on package.
Pour in the packet of flavor mix and stir until completely dissolved and combined.
Remove Oreo balls from the freezer. Do a small batch at a time so they don’t fall apart. If you need to, just place them back in the freezer for a few minutes.
Feel free to reshape any balls that are not to your liking by rolling them around in your hand. Just do it quickly not to warm up the dough too much.
Dip the Oreo balls into candy coating mixture until all covered. (I use a fork.) Once covered, remove and softly tap until excess candy melt falls off. Then place the balls on wax paper until the candy melt hardens.
Keep truffles refrigerated until ready to serve.
Optional Toppings
If you are adding sprinkles, add them before the candy coating hardens.
Notes
If you are doing all the truffles with the cotton candy flavor, then use 1 packet of Frosting Creations for all 16 oz. of the candy coating. If you want to do half vanilla and half cotton candy, split the candy coating into two containers before melting and use only half (about 3/4 teaspoon) of the flavor mix powder.
It is best to have the dough as frozen as possible when dipping, so that it doesn’t come apart.
If the bottoms of the truffles don’t get fully covered with candy melt, you can always dip them again.
These truffles can be made ahead of time and refrigerated for 3-4 days.
Related Posts






Subscribe for New Racipies
Get mental health tips, updates, and resources delivered to your inbox.
Fava Bean Salad With Mint And Ricotta Cheese

Alright folks, I’m calling a temporary hiatus on the sweet and the sugary, buttery and just plain fattening. I’m on a diet! It’s not one of those diets where I want to gradually lose weight by crafting a healthy, sustainable lifestyle. No no no, I need to drop pounds quickly because I’m getting married in exactly two months!!! (The invitations went out last week; we’ve officially mobilized the troops. Gulp.)
For the record, because I know there are those of you reading this who know me in real life (hi Jeannie!), I am not overweight. But the food bloggers among you might be a little more understanding. After all, we make food, and lots of it. And unless your will is made of steel, you’re bound to eat more than you’d like. (My will is made primarily of marshmallows.) I tried on a few shirts the other day, shirts that fit me perfectly fine last summer, and realized that they’d grown a little snug. Not good, not good at all.
So that’s the story behind this recipe. As I’ve never seriously undergone a diet before, I’m not sure how to approach this new way of eating. It’s not like I eat unhealthily most of the time, ya know? So I’ll rely on common sense rather than the dictates of an official Diet, that is, lots of vegetables, lots of fruit, smaller portions, etc. etc. Nothing revolutionary or dramatic. We don’t even own a scale.


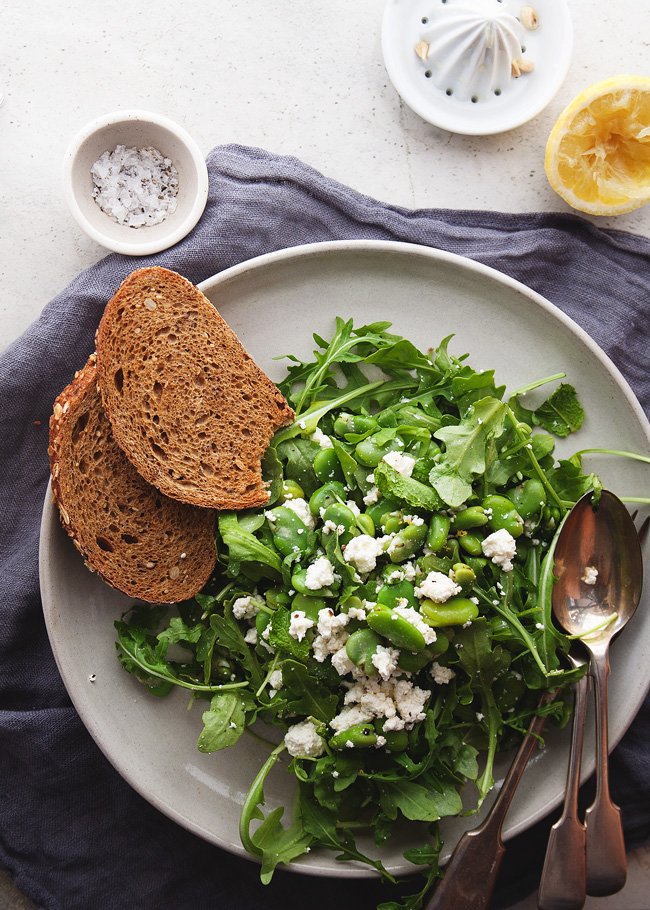
I absolutely love fava beans. After receiving my copy of Polpo awhile back, I’d made a note to myself to make a certain broad bean, mint, & ricotta bruschette as soon as broad beans (also known as fava beans) were in season. The time has come. But instead of serving the bruschette on toasted bread, I decided to toss it on a bed of arugula instead, thereby turning it into a vegetable-packed and therefore very wholesome meal.
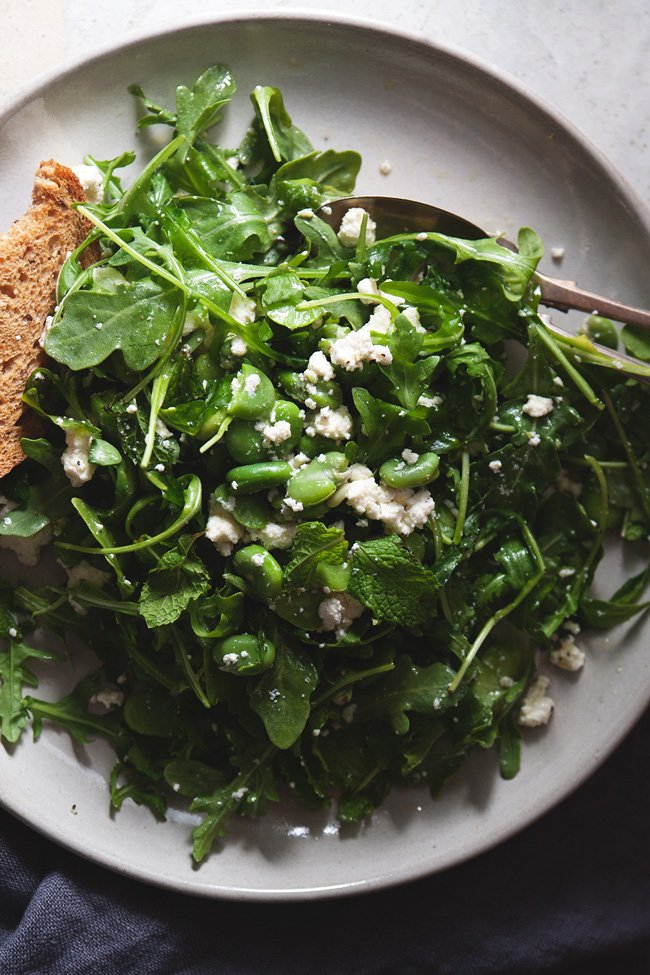
It’s the trinity of fava beans, mint, and lemon zest that serve as the backbone to this salad’s flavor. Or rather, the mint and lemon zest do wonders to the flavor of the fava bean, brightening its somewhat stodgy taste. (You know what I mean, right? It’s part of the reason why I love fava beans.) With the roundness of ricotta cheese and the sharpness of arugula, I think this recipe came out really well-balanced and flavorful. (Although, and I’m realizing this only now, I do believe fava beans might be out of season… are they? They came exceptionally late to our farmer’s markets this year, and I held onto this recipe for a bit longer than I should have. Sorry!)

So if everything goes as planned, in two months’ time, I’ll be ready to face the people. (Yes, some part of me realizes how melodramatic I sound. But please don’t get me started on how ridiculous the societal pressures on the bride-to-be are. A wedding is supposed to be about the witnessing of a spiritual union between two people who’ve made a committment to spend the rest of their lives together. So why do I feel like I’m supposed to present myself at my most beautiful and blushing? How have I lose sight of the whole point? Why do I care so much?! … I’ll have all the answers when this is all over.)
FAVA BEAN SALAD WITH MINT AND RICOTTA CHEESE
Adapted from Polpo
Serves 2 pretty hefty portions
Ingredients:
- 2 cups podded fava beans
- 1/2 cup ricotta cheese (preferably homemade—easy as pie, promise!)
- 30 mint leaves
- 3 handfuls arugula
- 2 Tbsp olive oil
- Zest of one lemon and a good squirt of lemon juice
- Salt and fresh pepper to taste
Directions:
Place the fava beans in boiling water for a couple minutes, then plunge into cold water, drain, and remove their skin. Toss the beans carefully with the cheese, and mint leaves, and arugula. Then mix in the olive oil and lemon zest/juice until combined.
Serve with salt and pepper, and any kind of bread.
Related Posts




Subscribe for New Racipies
Get mental health tips, updates, and resources delivered to your inbox.