
No Bake Butternut Squash Cheesecakes

Medically reviewed by Christiana George Updated Date: December 19, 2022
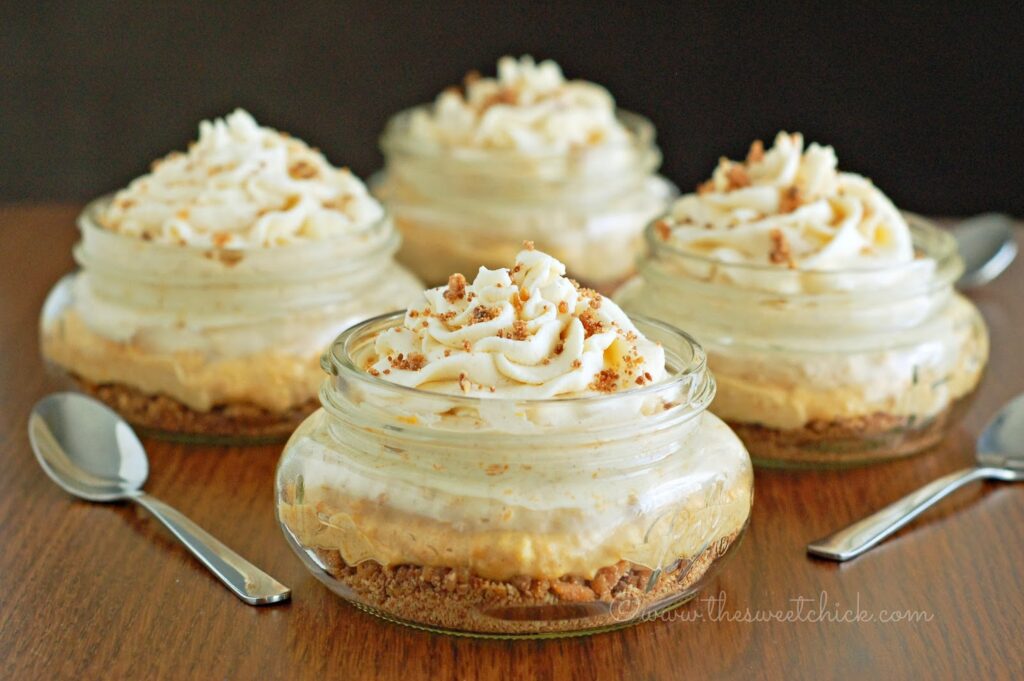

Well, after two recipe fails in two weeks, it feels good when one works out. Ok, so it almost didn’t, but I saved it. Thank goodness because it really is dreamy. I am still on a butternut squash kick. I just really like the taste of it. I did try spaghetti squash for the first time this week, but I was not a fan and neither was the rest of the family. I think I will stick to butternut squash. I like seeing how many different flavors I could pair it with. This time I pair it with Gingerbread Twix. Yep, those are them crushed at the bottom of this dessert. Have I intrigued you yet?
So this cheesecake has four layers. The lighter flavors at the top and the more intense flavors at the bottom. The bottom is made up of crushed Gingerbread Twix bars. I found mine at Walmart. I have heard some people find them at Target.
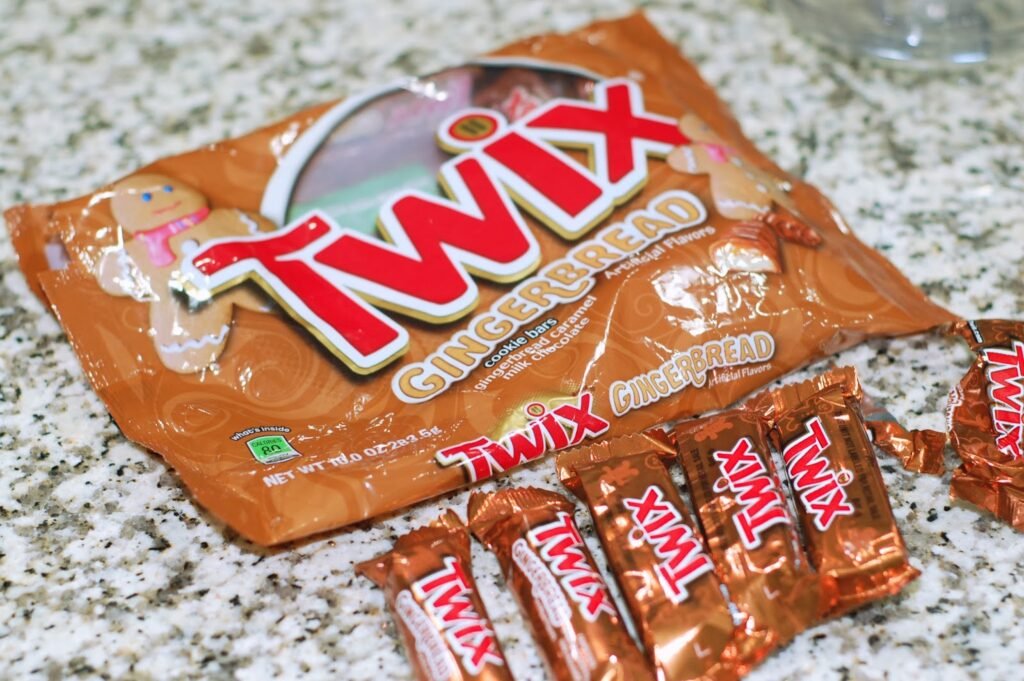
They are like regular Twix, except with a bit of a gingerbread flavor. I ate a few out of the bag for quality assurance purposes. Thank goodness I bought two bags.
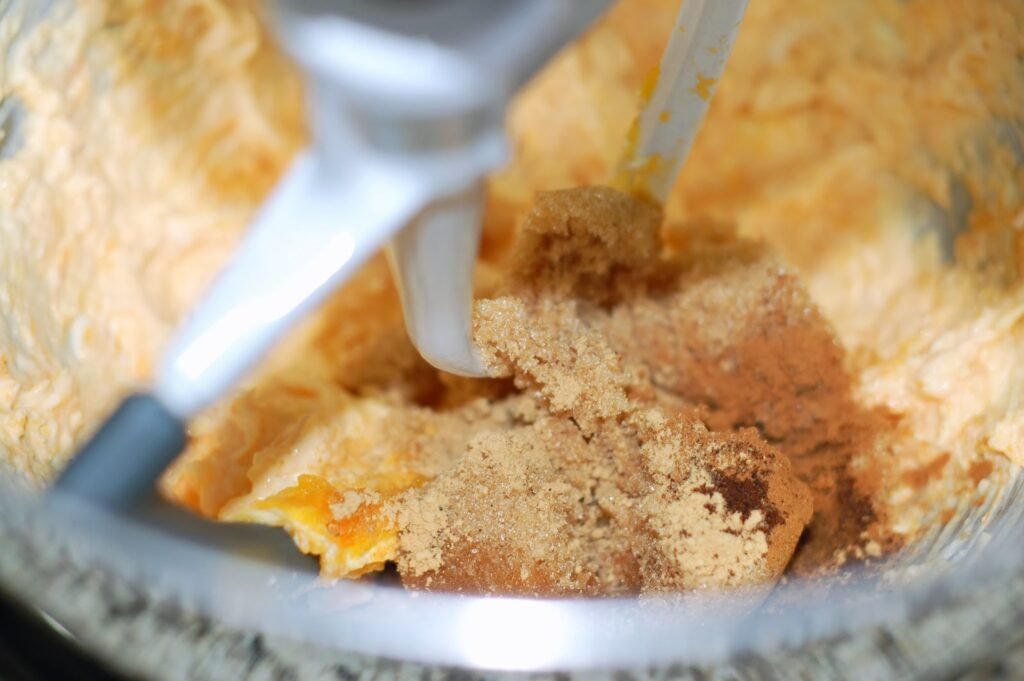
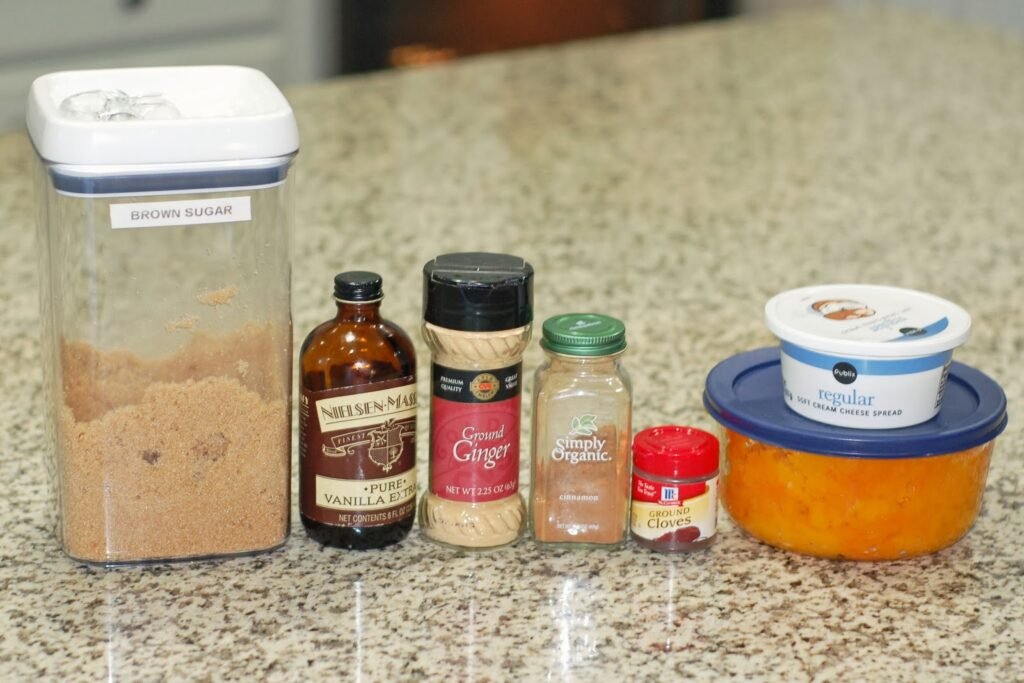
On top of the Twix bars sits the spiced butternut squash and cream cheese mixture. I had to stop myself from eating it all with a spoon. The spices with the squash and cream cheese were better than expected.
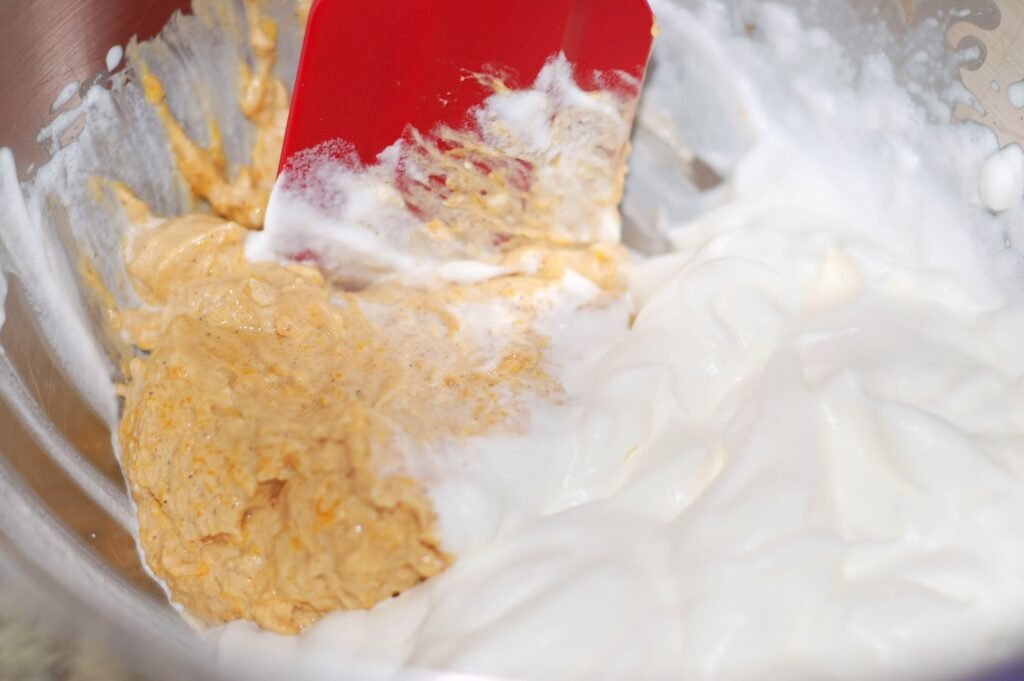
On top of that sits a similar mixture except with the addition of freshly whipped cream. This was my almost failure. This dessert was originally going to be only three layers, with this layer as the shining star, but once I added the whipped cream, I found it to be too mild. Don’t get me wrong, is is delicious, but I wanted a stronger cheese flavor. So I put this mix aside in the fridge and kept the previous mixture. But when I was putting the together the final product, I chose to add it in. I knew if I didn’t I would just eat the whole thing myself anyway. It would make a great cookie dip!
The top layer is my all time favorite mascarpone frosting. I’ve used it on my Churro Cupcakes, Churro Puff Pastry, Cinnamon Chocolate Cake, and even in my Pumpkin Spice Crepes.
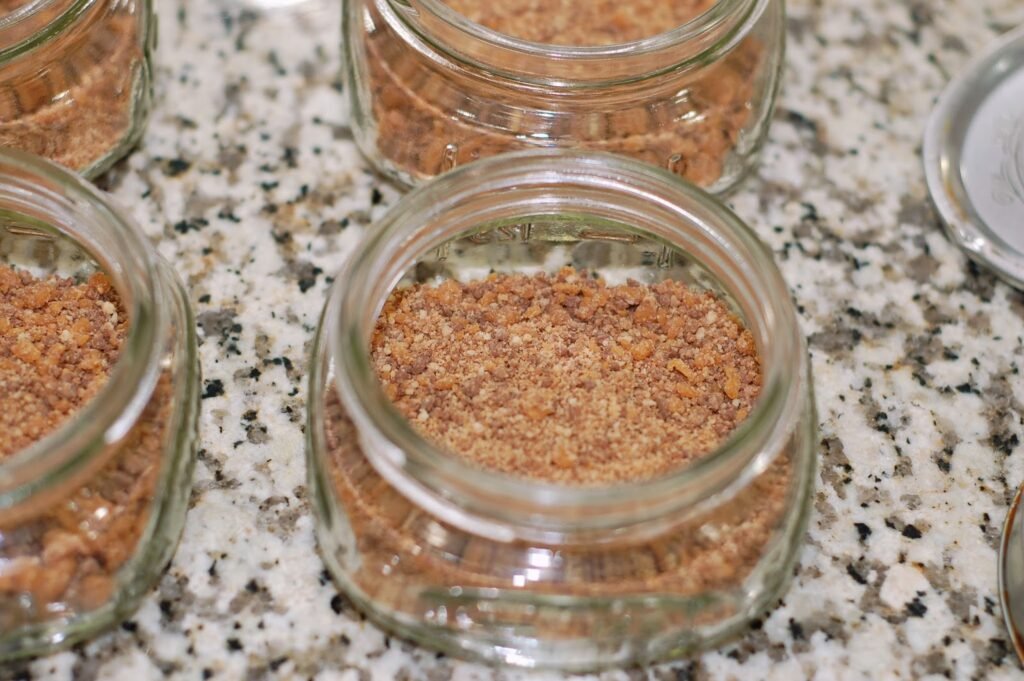
So there you go, you have a slightly crunchy bottom layer, with bits of caramel and gingerbread flavor.
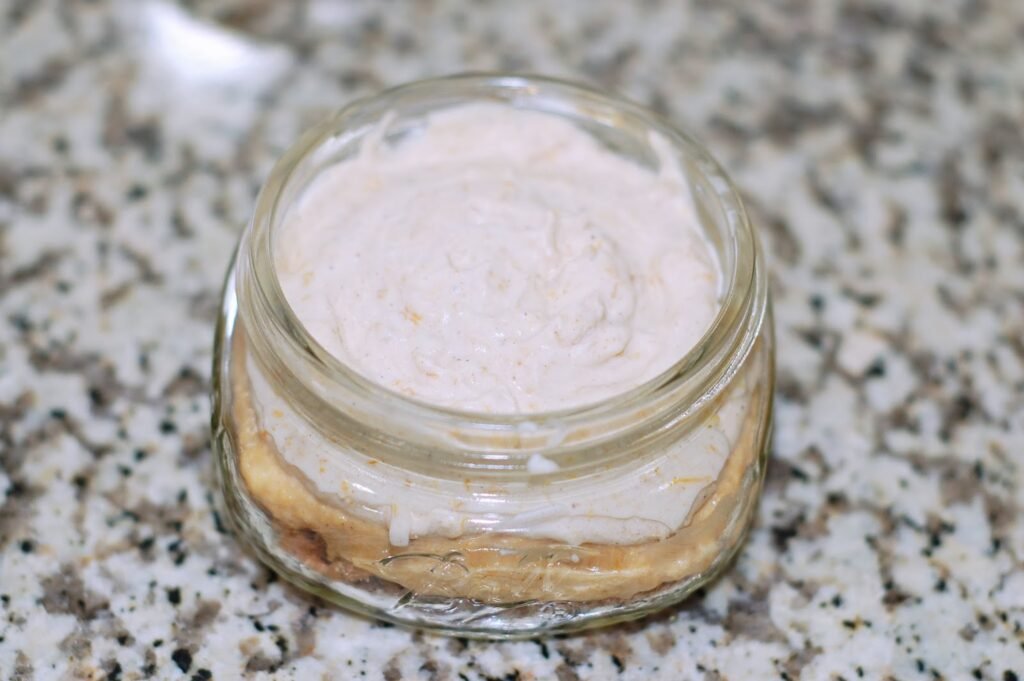
Then a dense, spicy, sweet cheese/squash layer, followed by a lighter, fluffy version. And to top it off, an even lighter whipped marscarpone frosting with a hint of cinnamon. When you dig in and taste the progression of layers, it’s like heaven. They just flow smoothly into one another. I am so happy I added my “mistake” layer. It totally makes the whole dessert experience that much more flavorful.
This was another dessert approved by my picker eating son. He kept opening his mouth and asking for more. Even my daughter who claims she has a dislike for cream cheese, devoured half a jar. These Ball mason jar are 250ml. An avid dessert eater like me can eat the whole thing no problem, but others may want to share their portion, or you can make these in small glasses. Either way you will want to try them.
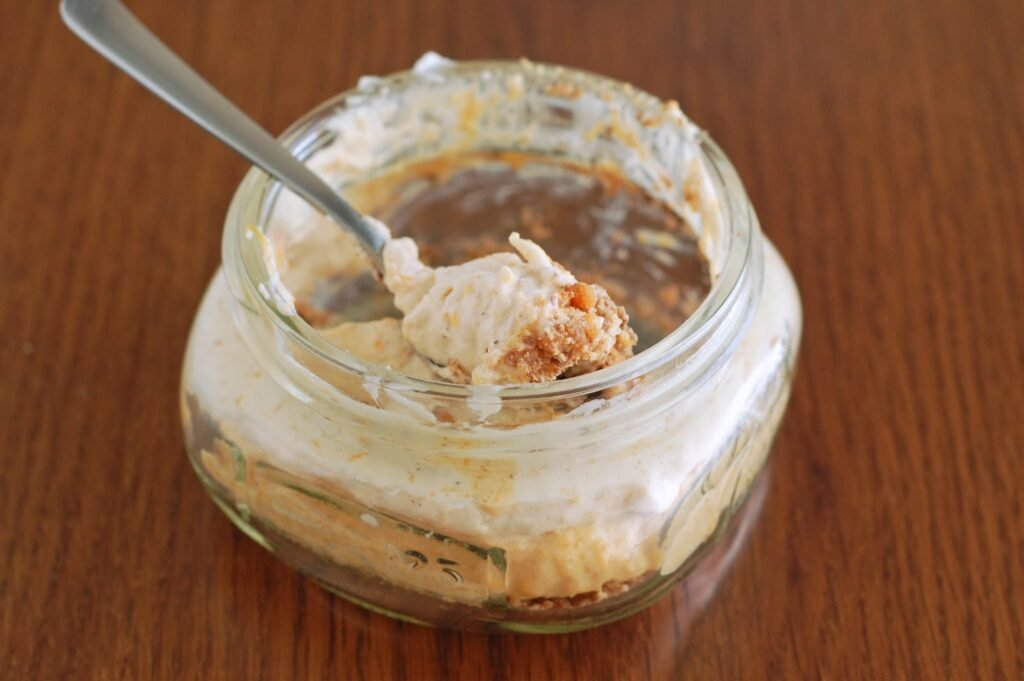
It’s good till the last spoonful! Just look at that luscious cream and those bits of caramel in the crushed Twix mix.
No Bake Butternut Squash Cheesecakes
by The Sweet Chick
Prep Time: 45 minutes
Keywords: no bake dessert cream cheese butternut squash mascarpone cheese Gingerbread Twix Thanksgiving cheese cake trifle American fall
Ingredients (4 servings)
For the cheese cake
- 8 oz. cream cheese
- 1 cup butternut squash puree
- 1 teaspoon vanilla extract
- 1/2 cup brown sugar
- 1/2 teaspoon ground cinnamon
- 1/4 teaspoon ground ginger
- 1/4 teaspoon ground cloves
- 1/2 cup heavy cream
For the frosting
- 1/2 cup heavy cream
- 4 oz. mascarpone cheese, room temperature
- 1/4 cup confectioner’s sugar, sifted
- 1/8 teaspoon ground cinnamon
For the crust
- 8 Gingerbread Twix bars
Optional toppings
- crushed Twix bars, sprinkles
Instructions
For the cheesecake
In a medium bowl, mix together cream cheese and squash until well blended.
Then add the vanilla, sugar, and spices and continue to mix until all incorporated.
Place mixture in the fridge for about 15 minutes to set, while you finish the other tasks.
Place heavy cream in a stand mixer with whisk attachment and whisk on medium speed until stiff peaks form (be careful not to over beat, or cream will be grainy).
When set, take half the cream cheese/squash mixture and gently fold it into the freshly whipped cream until fully incorporated. Keep in fridge while you make the frosting.
For the frosting
With an electric mixer on medium speed, whisk heavy cream until stiff peaks form (be careful not to overbeat, or cream will be grainy).
In another bowl, mix together mascarpone, cinnamon and confectioners’ sugar until smooth. Gently fold whipped cream into mascarpone mixture until completely incorporated.
For the crust
Place Twix bars in food processor and chop/grind until they are a crumb consistency with no large chunks.
For the assembly
Place about 3 tablespoons of crushed Twix at the bottom of four 250ml jars.
Next spoon about 1/4 cup cream cheese/squash mixture over the Twix and spread evenly with the back of the spoon.
Then spoon about 1/4 cup plus 2 tablespoons of the lighter cream cheese/squash mixture into each jar and spread evenly also.
Finally, pipe on the mascarpone frosting with your favorite piping tip. I used a Wilton 2D tip.
Finish off with some sprinkles are crushed Twix bars and grab a spoon!
Note
If you want you can whip all the heavy cream at once and divide it in half.
Keep these treats refrigerated until ready to serve.
You can make the cheesecake part ahead of time and seal the jars with covers and add the frosting right before serving.
Recipe adapted from Simple Pumpkin Cheesecake Trifle by My Baking Addiction
Related Posts






Subscribe for New Racipies
Get mental health tips, updates, and resources delivered to your inbox.
9 Boozy St. Paddy’s Day Treats

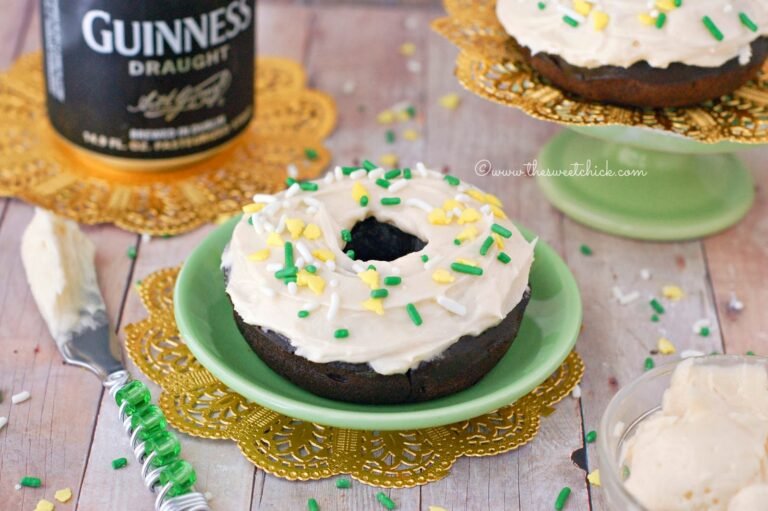

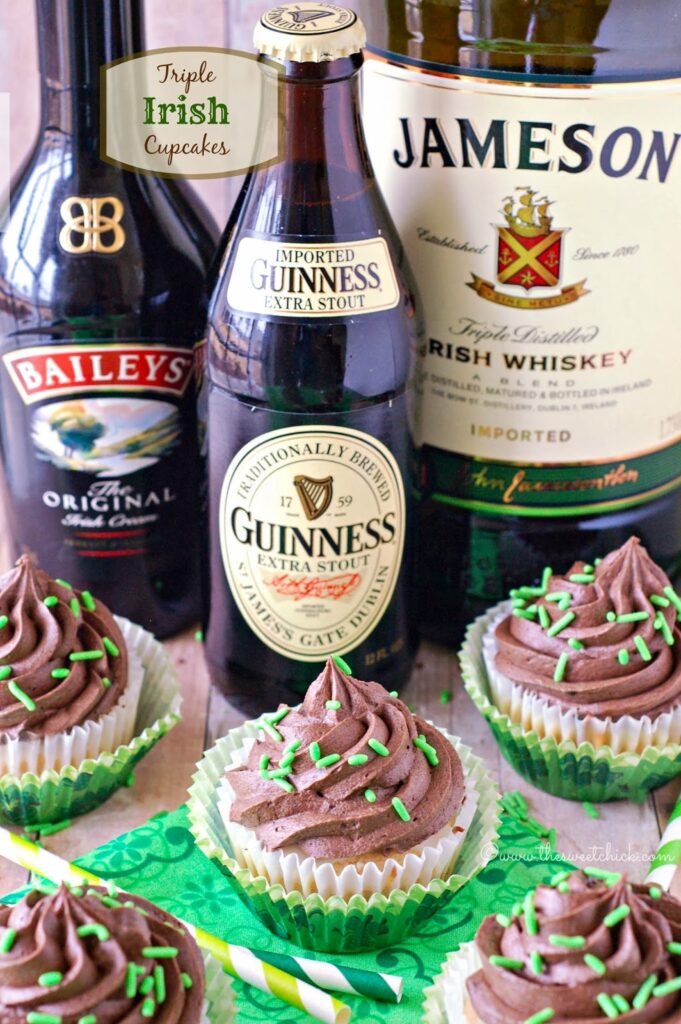
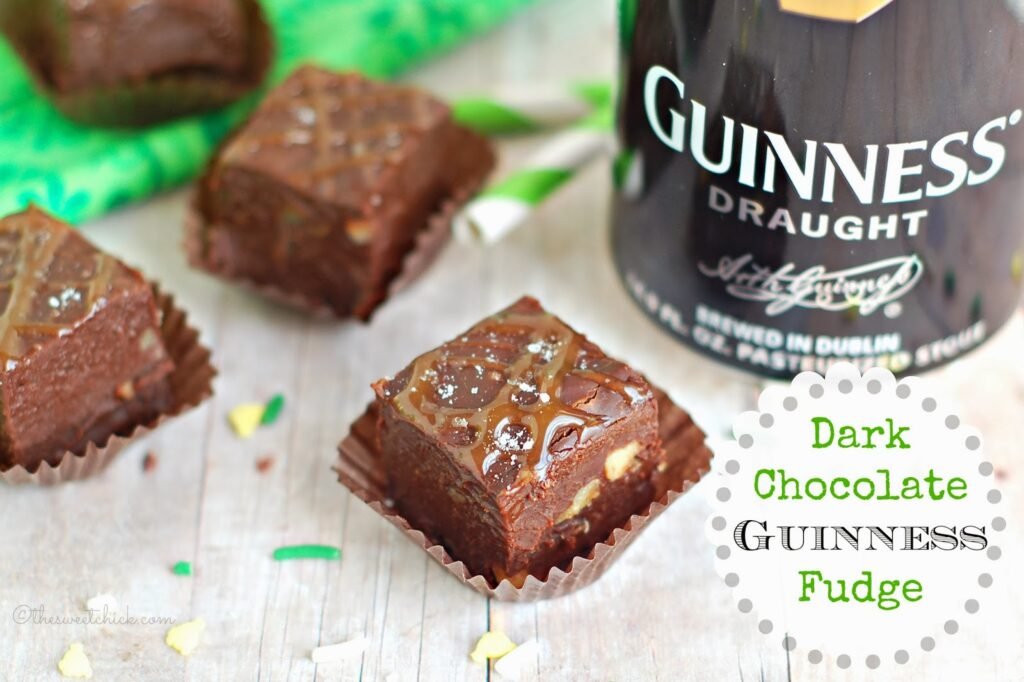
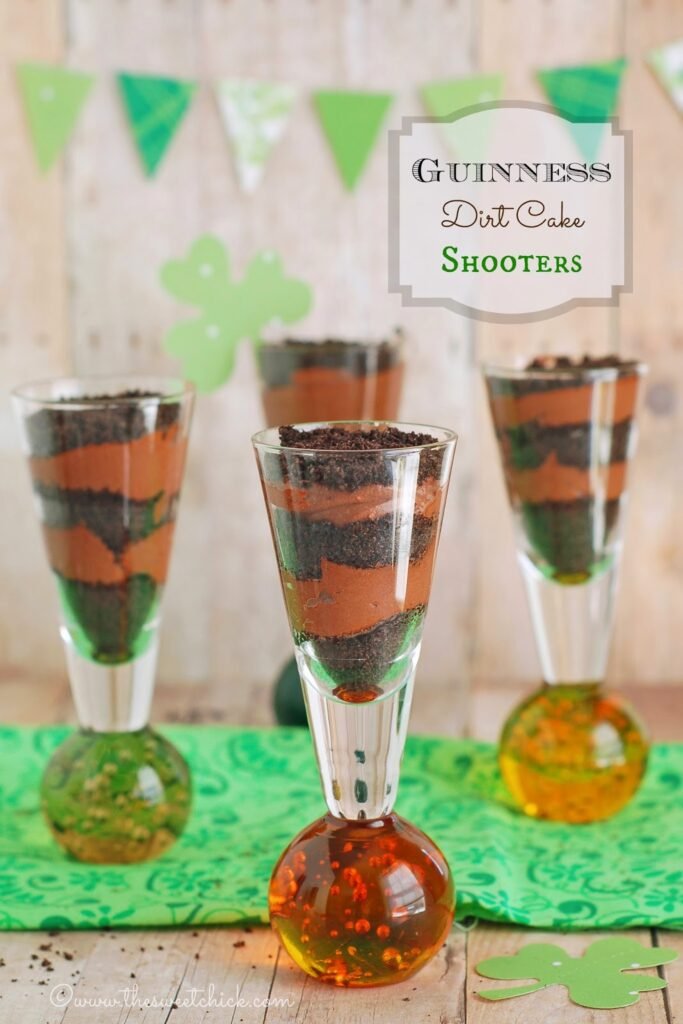
Looking for some St. Patrick’s Day treats with a little bit of spunk? Well, you’ve come to the right place. I love enhancing my treats with a little bit of beer or liquor now and then. St. Patrick’s Day give me an excuse to do just that. Guinness and dark chocolate was my favorite combo until I tried Baileys with white chocolate. Oh it’s heaven. Even if you don’t drink Guinness beer or Bailey’s Irish Cream you made just like it in your sweets. The ingredients all blend well together creating a smooth overall flavor. Everyone is a little bit Irish on St. Patrick’s Day.
I’ve rounded up some of my boozy treats from the past couple of years. I did a lot of Guinness recipes in the past, but this year I ventured out into trying Baileys and even a bit of Jameson Whiskey. Just click on the links below for the recipes. Bake responsibly, these are for adults, not kids. Enjoy!

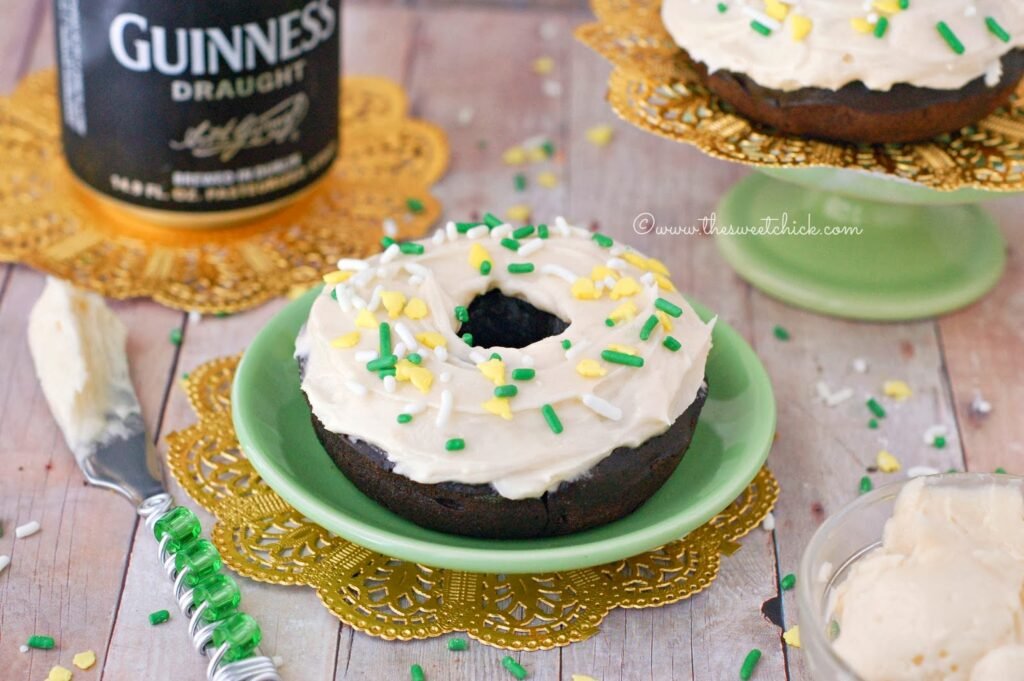
Dark Chocolate Guinness Donuts with Baileys Buttercream frosting
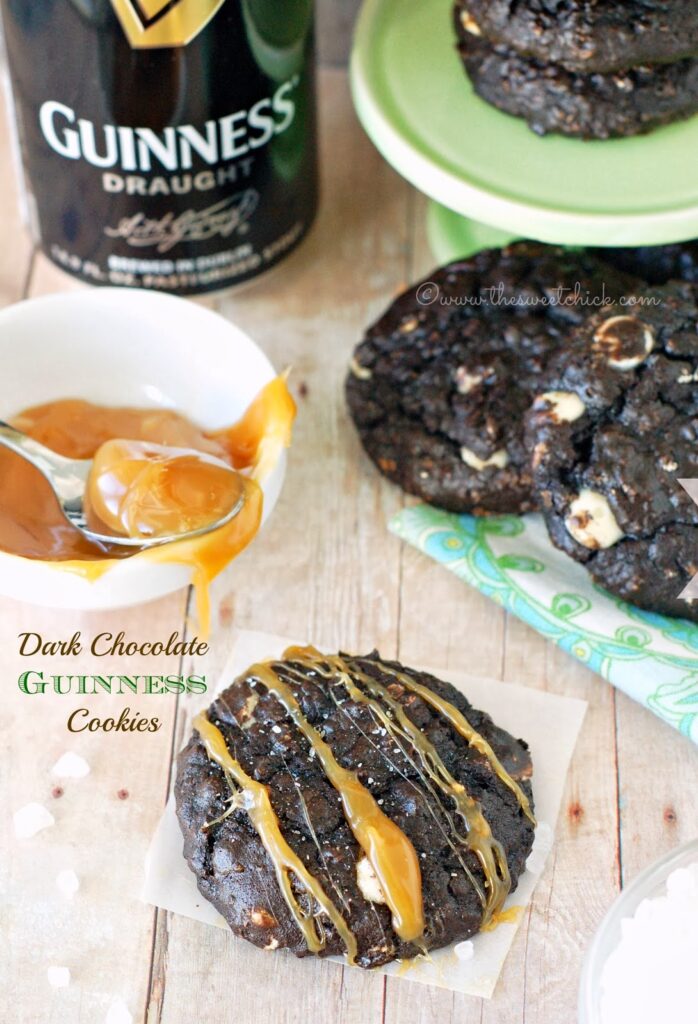
Dark Chocolate Guinness Cookies

Guinness Chocolate Cupcakes with Peanut Butter Fluff Frosting

Dark Chocolate Guinness Rice Krispie Treats
What are your plans for St. Patrick’s Day this year? Do you have any special treats that you bake for the occasion?
Related Posts
Subscribe for New Racipies
Get mental health tips, updates, and resources delivered to your inbox.