
Raspberry Jam, Without A Recipe

Medically reviewed by Christiana George Updated Date: June 8, 2023
I admit I don’t have a real recipe today. Because I didn’t exactly have any directions to follow, just some general guidelines put forth in this article.
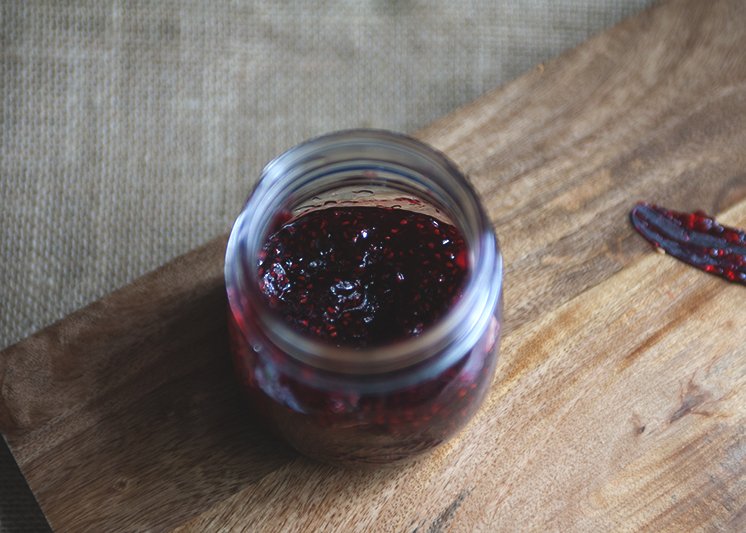
In short, I made raspberry jam. Winged it. And it was overwhelmingly easy.

People approach jam making with trepidation because they associate with it Herculean levels of labor. I certainly did, enough that I never really figured out what exactly this labor involved; in my mind, it was a Cinderella-type effort, consisting of hovering over steaming vats of boiling jam and stirring, stirring, stirring. (Except Cinderella probably doesn’t sweat, does she?)
And then—and this is what really deterred me from the process—there’s the bit about canning, which requires doing something complicated-sounding to a line of jars. I don’t trust myself with avoiding botulism. In the first month that we were dating, I gave Chris food poisoning in the form of a tomato which I didn’t realize was moldy at the time.
So here’s the gist of Mr. Parsons’s article: when you make jam in tiny little batches at a time, say, with a couple pounds of fruit or less, the process is actually incredibly easy. Like, seriously easy. You could do it right before going to bed and right after getting up. Waiting for the jam to cool takes longer.
Other advantages: not having to deal with the pesky safety proceedings. After all, you’re not making jam to last you through the winter, just through next week.
Also, being able to be spontaneous—not only with deciding to make jam in the first place, but also with the creative license that comes from making small enough batches so that screwing up is not a big deal.
I discovered two 6-ounce containers of raspberries in the fridge, slightly moldy, some of the berries covered in dark spots (what are the spots by the way?). Those I tossed, the rest I decided to use in testing out this nouveau style of jam making. I think raspberries are absolutely adorable as jam, by the way. Their jewel-like seeds remind me of rubies.
So, I estimated that I started out with 12 ounces of raspberries, but tossed roughly 3 to 4 ounces. This left me with roughly 8 to 9 ounces. 8 ounces of sugar is roughly a cup, so I decided to reduce the amount to roughly 3/4 of a cup because I didn’t want too-sweet jam. I also threw in a handful of basil leaves.
Do you see where I’m going with this? I kind of sort of guestimated every step of the way and still ended up with a tiny jarful of bona fide raspberry jam. Note however that Parsons does caution that anything less than 35% by weight of sugar results in runny, concentrated fruit juice.
Have fun! And let me know what kinds of results you get. I’m eager to try making apricot jam next.

JAM
From the LA Times article California Cook: Making jam in small batches
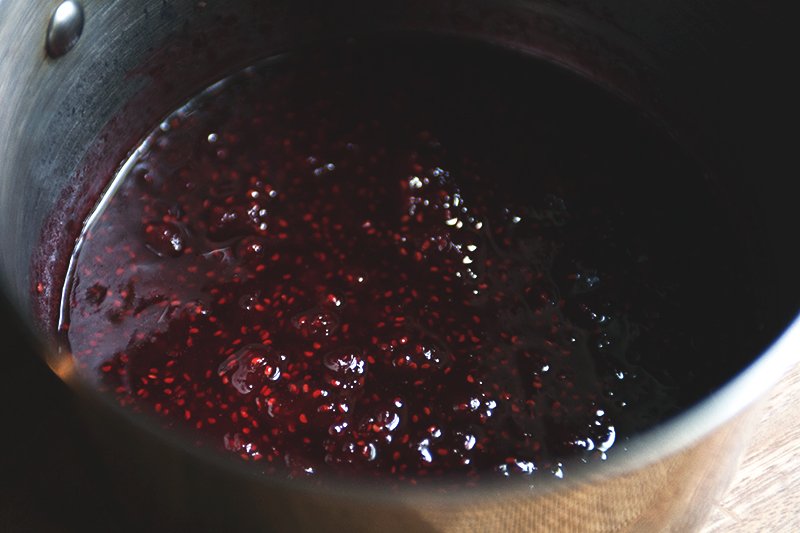
Cut up and weigh your fruit (with stone fruit, weigh after removing the pits). Pour it into a pot along with an equal weight in sugar. With the heat on medium, let the mixture come to a boil, all the while stirring. Remove from heat, let it sit overnight. Covered, if you’d like.
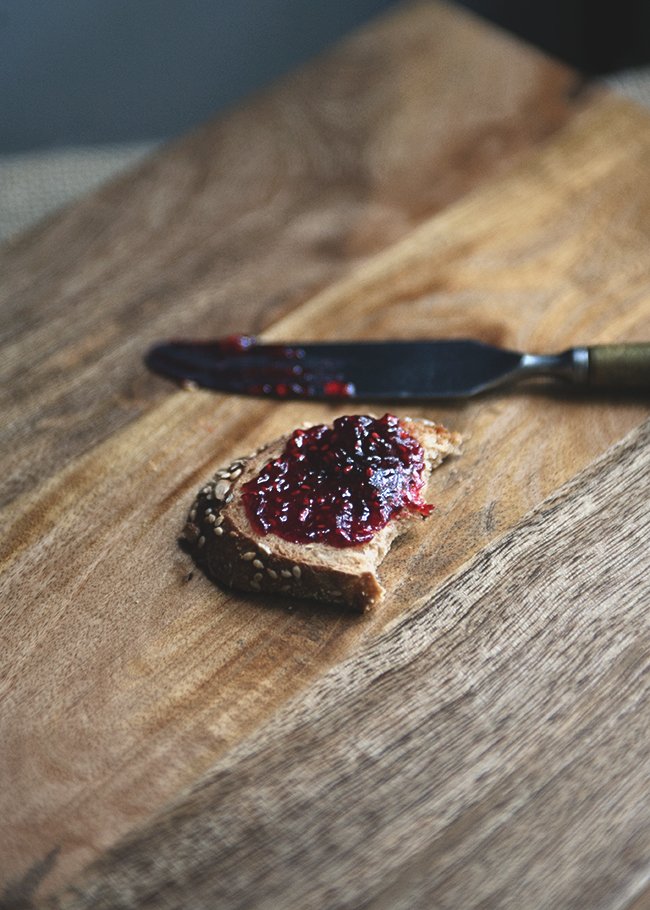
Pour a cup or two of the mixture into a saucepan (preferably non-stick, but my regular saucepan worked fine). Turn your stove to medium-high and begin stirring. The jam should set within 5 minutes. Immediately remove it from the heat and pour it into a prepared container. And that’s it!
How do you know when the jam has set? First, you’ll feel it. While stirring the jam, you’ll feel the texture change from light and liquid to heavier and smoother.
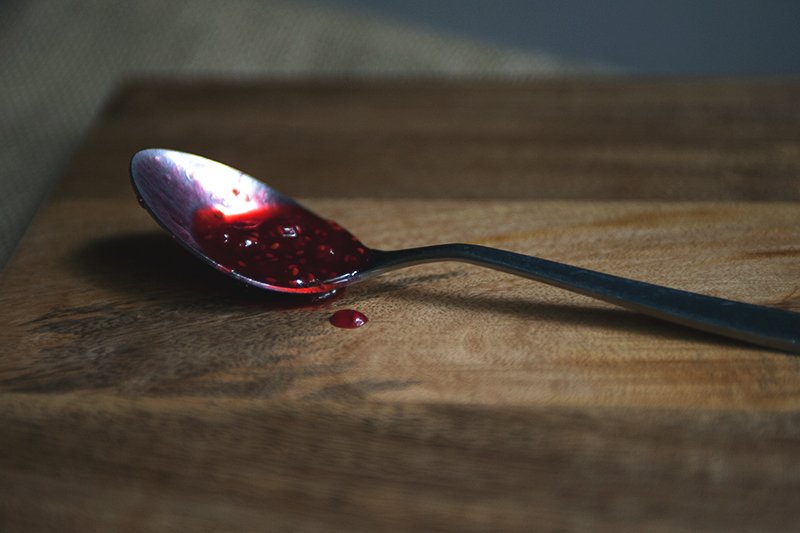
But the surest way is by watching the way the jam falls from the stirring spoon. When you first start cooking the jam, it will come off in one stream, like water. When it’s almost ready, it’ll fall off in multiple streams, but still slightly liquid. Cook it 30 seconds or so more and you’ll notice that a sheet begins to form at the base of the spoon. That’s the moment.
According to Russ
Got it?
Related Posts


Subscribe for New Racipies
Get mental health tips, updates, and resources delivered to your inbox.
Candy Coated Oreo M&M;’s

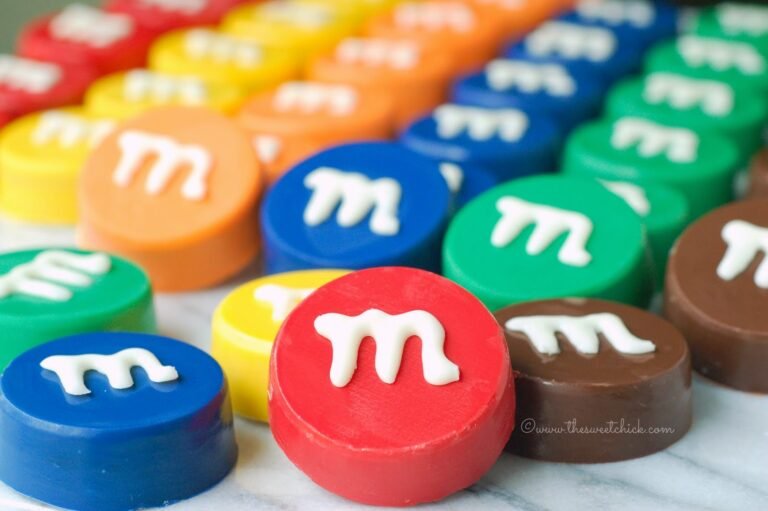
Summer is coming to a close. Kids are going back to school in two weeks. Yay! I love my kids, but I need a break. The past couple of weeks have been busy. We drove up north for a week to see family and friends. It’s was nice to see everyone, but man, that drive is killer. Then last week I was occupied with making treats and decorations for my son’s birthday. He loves M&M’s, so I scoured Pinterest for ideas on doing an m&m party. I found a few things, but these Candy Coated Oreo M&M’s were my idea. I’ve been wanting to make them for a while, so I thought this was the perfect opportunity. They came out pretty cute.

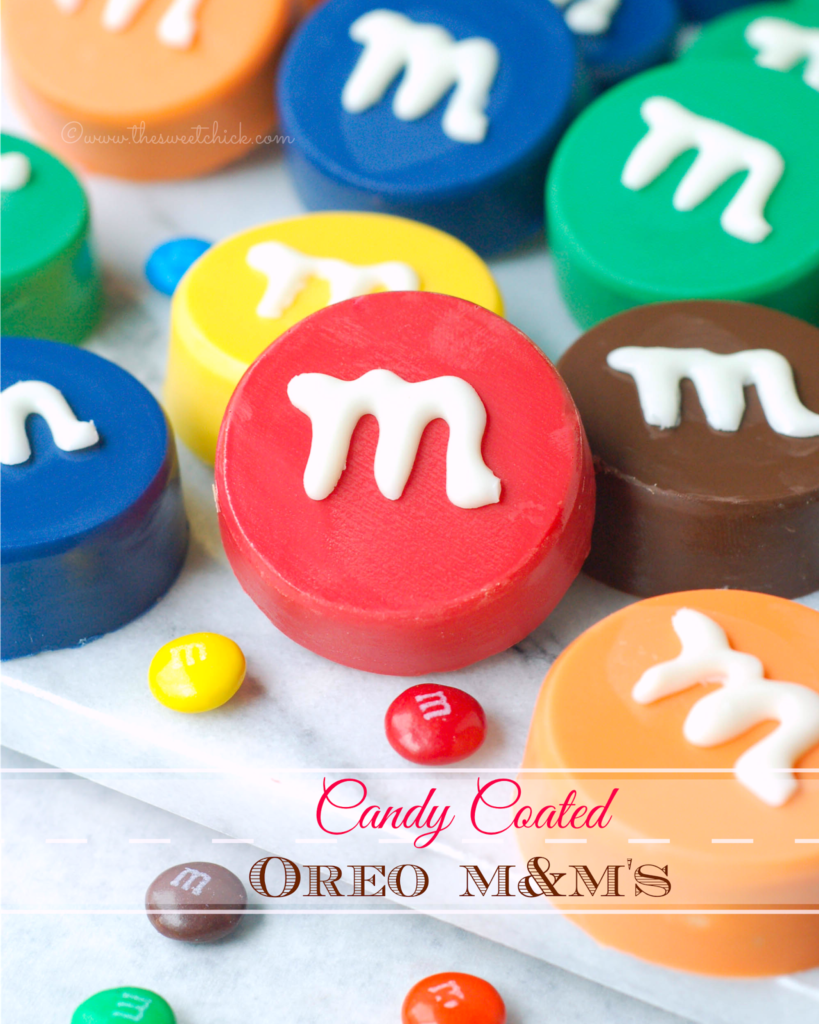
I was able to find all the color candy coating I needed at Walmart. They carry the Wilton, Chocomaker, and Candiquik brands. I used Birthday Cake Oreos for the center, but you can use regular Oreos. If you choose to do Double Stuf Oreos, you will need a different mold.

I bought these candy molds at a small culinary shop while I was up north, but they also sell similar ones on Amazon. They are made for candy coating Oreo shaped cookies. I bought four sets of molds so by the time I finished the last cookies, the first ones were ready to pop out and I could continue using the mold.
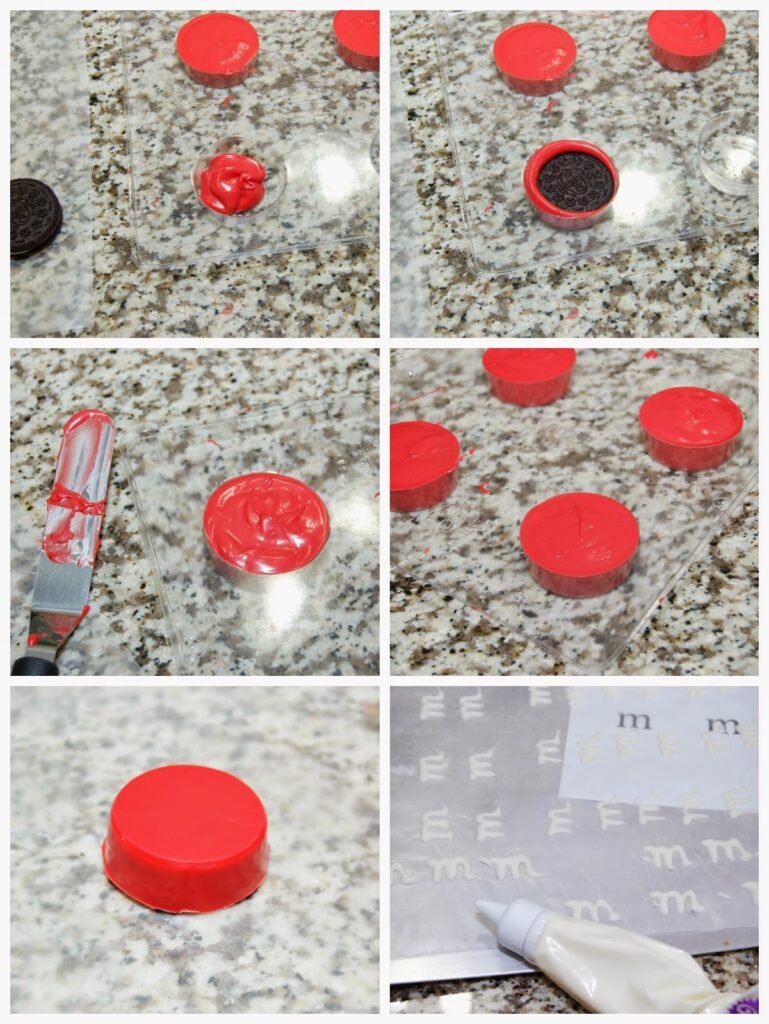
This was my first time trying this. It was a learn as you go process. I poured about a tablespoon or so of candy melt into the mold, then pressed an Oreo cookie into the middle and twirled it around to cover the sides. Then I added candy melt to the top and flattened it out with a spatula. By the second tray I had figured out not to overfill the cavities. You have to tap the mold a few times against the counter to get the air pockets out and that also levels out the candy melt. I placed them in the fridge to harden quickly. You have to work a little to loosen the hardened candy from the mold, but it didn’t take too long.
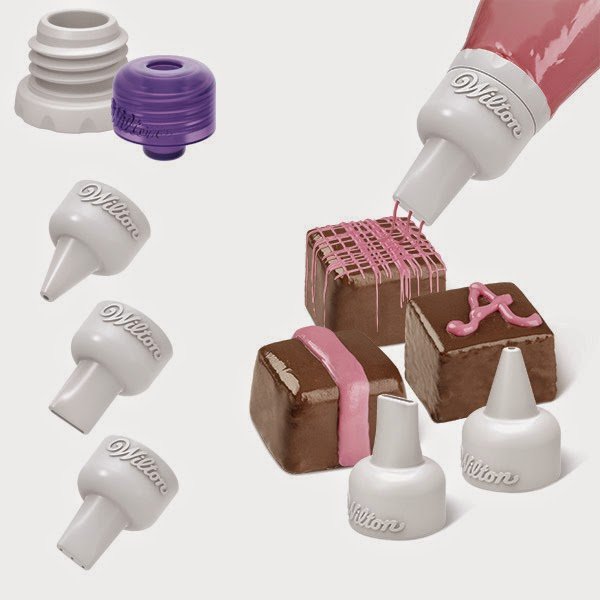
For the “M’s”, I bought the Wilton Candy Melts Decorating Tip Set at Walmart. The writing tip worked perfect. I printed some “M’s” on my computer and placed the printer paper under a piece of wax paper and traced them the best I could. You could write directly on the candy coated M&M’s, but I was too scared to mess them up. When the candy “M’s” had hardened, I attached them to the Oreos with a few dabs of candy coating.

I made these as treats for the party, but they make great party favors also. You can place them in little bags or boxes and make some cute tags to attach to them. All the party guests loved them.
Candy Coated Oreo M&M’s
by The Sweet Chick
Prep Time: 1-1.5 hours
Cook Time: 10-12 minutes
Keywords: microwave dessert snack candy melt birthday cake oreos birthday cookie candy American
Ingredients (48 treats)
For the cookies
- 2 Packages (15.25 oz. each) Birthday Cake Oreos
- 1 package (12 oz.) Wilton’s Candy Melt, green
- 1 package (12 oz.) Wilton’s Candy Melt, red
- 1 package (12 oz.) Wilton’s Candy Melt, yellow
- 1 package (12 oz.) Wilton’s Candy Melt, orange
- 1 package (16 oz.) Chocomaker candy wafers, dark blue
- 1 package (16 oz.) Candiquik candy coating, chocolate
For the “M’s”
- 1 package (16 oz.) Candiquik candy coating, vanilla
Additional items needed
- 2-4 candy molds for plain cookies
- Wilton’s Candy Melt Decorating Tips
- 1 box (12) Wilton’s Disposable Candy Decorating Bags.
Instructions
For the cookies
Using one color at a time, melt candy coating according to instructions on the back of the package. (Usually it’s 30 seconds at a time in the microwave.) I melted a 1 cup at a time. You can always add more if needed. You will not use the entire bag of candy melt. Make sure you candy melt is warm, but not hot before pouring into the mold.
Pour about 1- 1 1/2 tablespoons of candy melt into each cavity of the mold. ( I worked with one mold of 4 at a time). Place one Oreo cookie in the center of each cavity on top of the candy coating. Gently press the cookie down and spin is slowly to coat the sides.
Add a bit more of candy coating on top of the Oreo, careful not to overfill. Spread the candy melt out with a spatula. Then gently tap the mold a few times on a hard surface to release any air bubbles.
Place finished mold(s) in the fridge for 5-10 minutes to speed up the hardening of the candy melt. I continued the same process with another color while the first color was setting. I used 2 molds per color, so it worked out great.
When the candy coating has hardened, remove from fridge and gently wiggle the mold to release the cookie. The flat surface will be the top of the “M&M”.
For the “M’s”
Once all the colors are done, it’s time for the “M’s”. If you are confident about your writing skills, you can write directly on the candy coated cookies. I wasn’t, so I made a template on my computer and printed it out. I placed the template under a piece of wax paper to write my “M’s”. My “M’s” were about an inch tall.
Melt the vanilla candy coating according to the package instructions and pour into a disposable candy decorating bag with writing tip attached.
Trace the “M’s” onto the wax paper over your template. Practice makes perfect.
I placed my template and wax paper on a cookie tray so I could pop it in the fridge for a quick set. I also used a sharp knife to cut off any “tails” that occurred due to run-off candy coating.
Once the “M’s” have set, carefully remove from the wax paper, add a couple of dabs of vanilla candy coating to the backs and place them on your candy coated cookies. Let dry and you are done!
Related Posts


Subscribe for New Racipies
Get mental health tips, updates, and resources delivered to your inbox.