
Carnitas And Tacos

Medically reviewed by Christiana George Updated Date: June 8, 2023
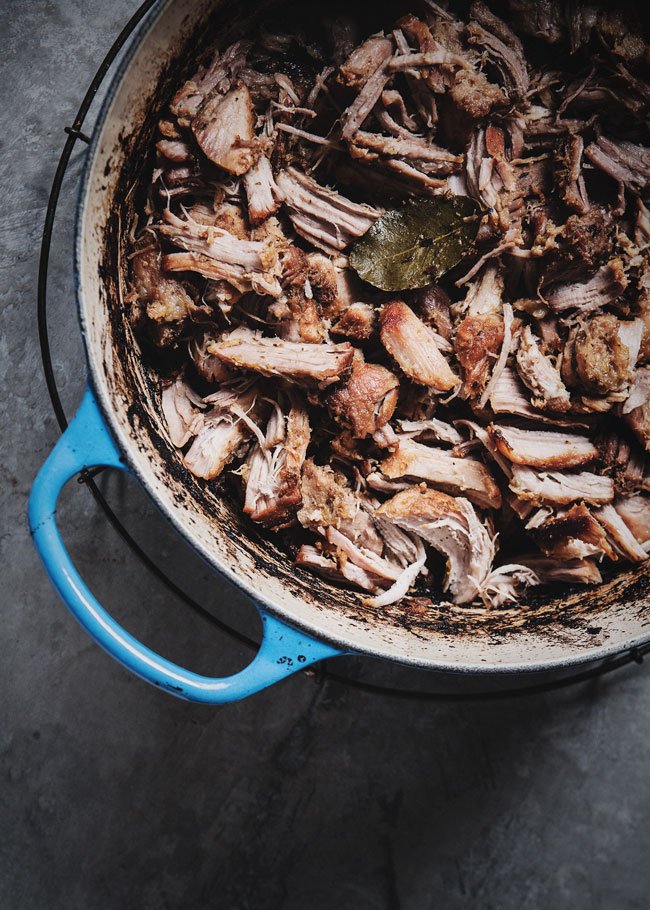
I love meat unabashedly. This isn’t to say I’m eating steak every night of the week. Like a lot of people, my diet is vegetarian for the greater part of the day, at least up until dinner. That’s when my inner carnivore comes out and craves the wholeness that meat provides. Call it my ultimate comfort food? (My mom used to joke that my love for meat was due to the fact that I was born in the year of the tiger—a Chinese zodiac thing) Chris and I like to consume it in slivers and bits, shredded sometimes, ground other times. Which is why tacos are my ideal food.
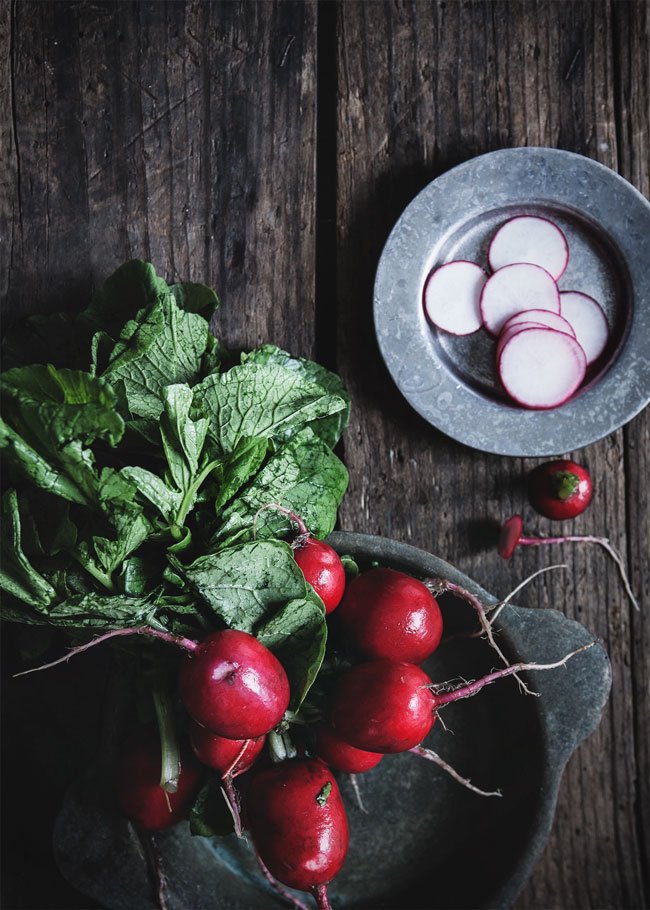
The best tacos I’ve ever had were, predictably, in Mexico. We’re so accustomed to loading them down with all kinds of goodies, but at base, they’re all about the meat (or vegetarian substitute), along with a few choice toppings: a smathering of cilantro, onions, salsa, a squirt of lime juice, and some radishes maybe. There’s something so well-rounded yet pure about the authentic taco. When we lived in San Francisco, our favorite taco truck dispensed tacos in very much the same way. I’d always dip into the tub of communal pickled jalapeno and carrots, but otherwise, the major decision revolved around choice of filling. My favorites: carnitas, al pastor, and lengua.
With such simplicity comes much responsibility. After all, when a food boils down to so few ingredients, all the elements have to shine. And in the case of these carnitas tacos, it’s all about the meat. My friend Vanessa, who’s three quarters Mexican, used to tell me about her dad’s famed carnitas, which he’d make every Christmas in a huge copper pot. “The key ingredient… is lard,” she’d say, with the flourish that the ellipsis is meant to convey. At the time, this sounded quite intimidating, much too daunting for the average home cook. I mean, who’s got lard sitting around on their counters?
Well, I will have you know that no lard was involved in the making of this recipe. And it is delicious. I made it about a year ago, choosing the non-lard route, and loved it. It’s a cinch to put together, yields a ton, and tastes pretty damn authentic (and I’ve had enough carnitas to know when I’ve nailed it). And when placed in a corn tortilla, all sorts of memories come rushing back to me. Just goes to show the conjuring powers of food—nostalgia in the best of ways.

I also wanted to take this opportunity to do something I’ve been meaning to do for some time: share wedding photos! I know I promised I would a long (long long) time ago, and since our wedding was recently featured on Wedding Chicks, I thought it’d be a good opportunity to also create a Flickr set to share more favorites. Check it out if you’re interested! (And Sarah, if you’re reading this, thank you so so so much again for documenting our wedding so beautifully!)
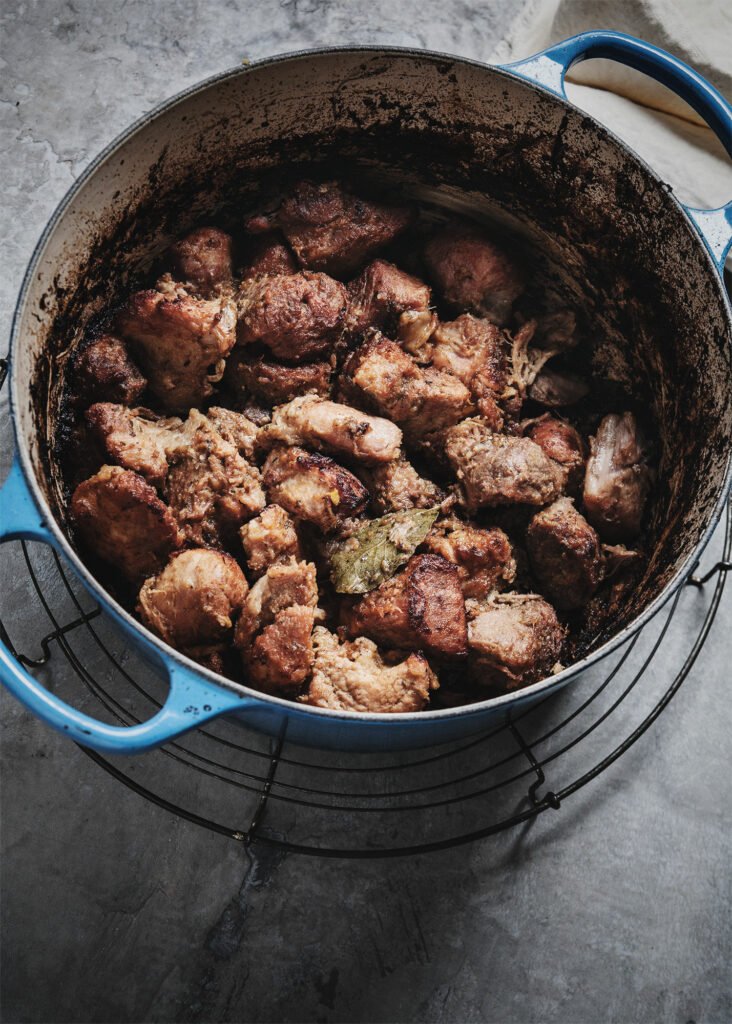
CARNITAS
Adapted from Leite’s Culinaria
Makes… a lot. Enough for 2 dozen tacos maybe?
Ingredients
- 4 pounds pork shoulder, cut into 2″ pieces
- 3 cups cold water
- 1 medium white onion, thinly sliced
- 1/2 orange, preferably seedless, cut into 2 wedges
- 1/4 cup vegetable oil (or lard, if you’re so inclined)
- 8 garlic cloves, peeled
- 3 bay leaves
- 1 Tbsp sweetened condensed milk
- 3 to 4 tsp kosher salt
- 2 tsp dried oregano
For the tacos:
- Small corn tortillas
- Salsa
- Chopped onion
- Chopped cilantro
- Lime wedges
- Sliced radishes
- Pickled jalapenos/carrots
Directions
Combine all the ingredients in a large pot (oven-proof preferably), and bring to a boil. Reduce the heat so that the contents is simmering vigorously (medium to medium-low), and skim the scum that floats to the surface. Continue simmering for 1.5 to 2 hours, until the meat is tender and the liquid has evaporated. Stir occasionally, especially towards the end. If the meat’s sticking, you might need to reduce the heat to low to cook off the rest the liquid. About half an hour before the liquid has evaporated, preheat the oven to 450 degrees.
If you’re using an oven-proof pot, slide it into the oven. Otherwise, transfer the meat to an ovenproof dish before placing it in the oven. Bake for about 20 to 30 minutes, uncovered, until the meat has browned.
Before serving, shred the meat with a couple forks.
Related Posts






Subscribe for New Racipies
Get mental health tips, updates, and resources delivered to your inbox.
Candy Cane Hot Chocolate Rice Krispie Treats (#Bloggers for Sandy Hook)



I am participating in Cookie and Crafts for Sandy Hook, a tribute to Sandy Hook Elementary School. Though this recipe is not technically a cookie, it is something fun to make with your kids and remember how precious they are.
For more information on how to help support the victims of the Sandy Hook shooting, click on the buttons to the right of my page, or see Dorothy at Crazy For Crust.
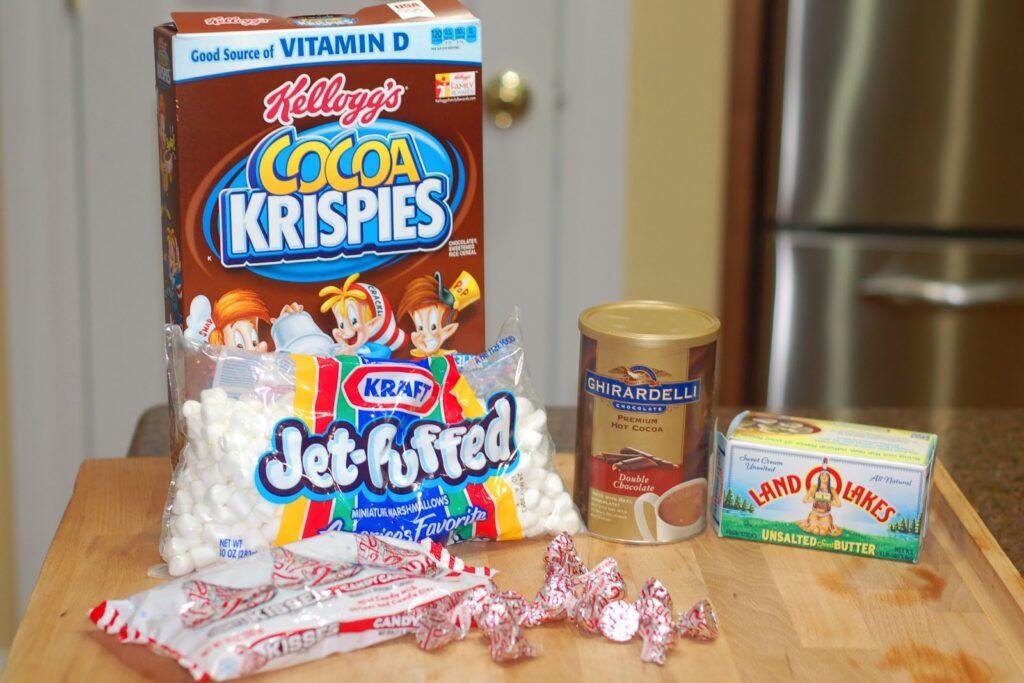
Most kids I know love candy canes and hot chocolate, so I thought it would be fun to combine the two tastes. If you haven’t tried Hershey’s Candy Cane Kisses, you have to go out and get some. They are really addictive. I may have had a few while making this treat.

Your kids can help you unwrap all the kisses and get them ready for you to chop up into itty bitty pieces.
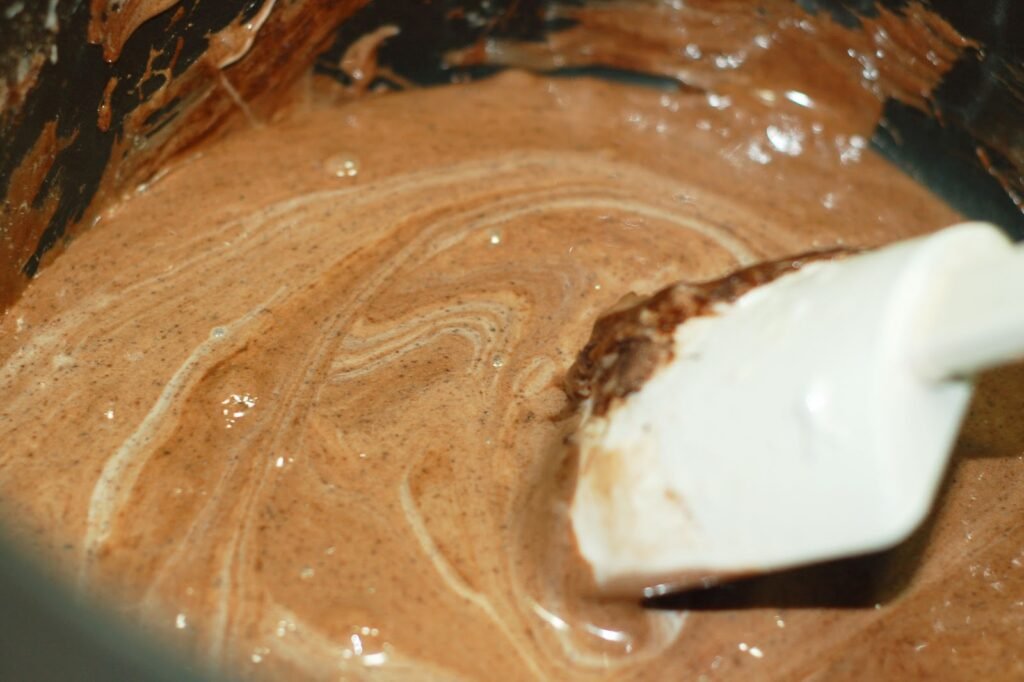
For the hot chocolate, I used Ghirardelli Double Chocolate, but you can use any hot chocolate mix you like.

You can see all the bits of candy cane that were inside the Hershey’s Candy Cane Kisses.
I made these treats two ways. First, I made them into bars and topped them with a marshmallow fluff and Cool Whip topping and sprinkled them with Marshmallow Bits and candy cane sprinkles, to get the whole hot chocolate vibe going.


But if you want to have a more candy cane vibe going, you can pull out your candy cane cookie cutter and have the kids cut out the treats into candy cane shapes.
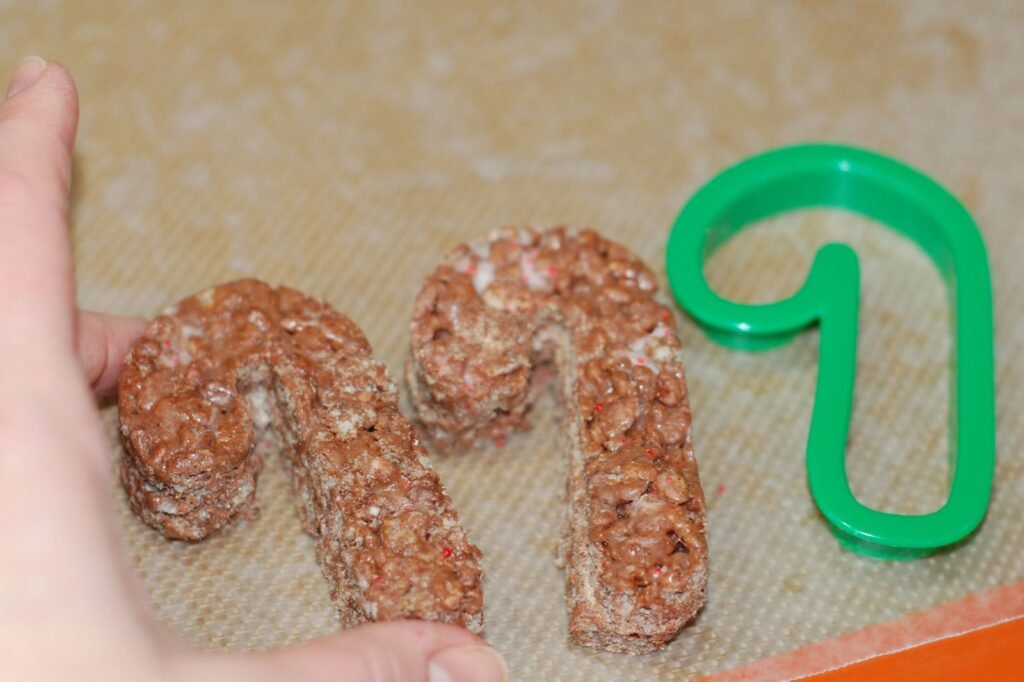
Then with some Wilton’s white and red candy melt, and some red sugar crystals, you can decorate the tops.

Wouldn’t this be great to go with a nice mug of hot chocolate on Christmas Day?
Candy Cane Hot Chocolate Rice Krispie Treats
by The Sweet Chick
Prep Time: 10-15 minutes
Cook Time: 5 minutes
Keywords: no bake snack dessert rice krispies marshmallows marshmallow bits Cool Whip
Ingredients (25 bars)
For the treats
- 4 tablespoons butter
- 1 bag (10 oz.) mini marshmallows
- 1/2 cup hot chocolate mix
- 6 cups Cocoa Krispie Cereal
- 1 cup chopped, Hershey’s Candy Cane Kisses
For the topping
- 1 cup marshmallow fluff
- 2 cups Cool Whip
Optional Toppings
- Jet Puffed Mallow Bits in chocolate and vanilla
- candy cane sprinkles
Instructions
For the treats
In a large sauce pan, melt butter and marshmallows over low heat. Stir until completely melted.
Remove from heat and add hot chocolate mix. Stir until completely mixed.
Then add the Cocoa Krispie cereal and chopped kisses. Mix until all is well incorporated.
Then pour the mixture into a greased 9 x 13 pan or a cookie sheet and spread it evenly with a piece of waxed paper.
Place in fridge to cool.
For the topping
With a hand mixer mix the fluff and cool whip together until smooth.
Then spread evenly over the Cocoa Krispies and sprinkle with the Mallow Bits and/or candy cane sprinkles and place back in fridge.
Related Posts





Subscribe for New Racipies
Get mental health tips, updates, and resources delivered to your inbox.