
Carnitas And Tacos

Medically reviewed by Christiana George Updated Date: June 8, 2023
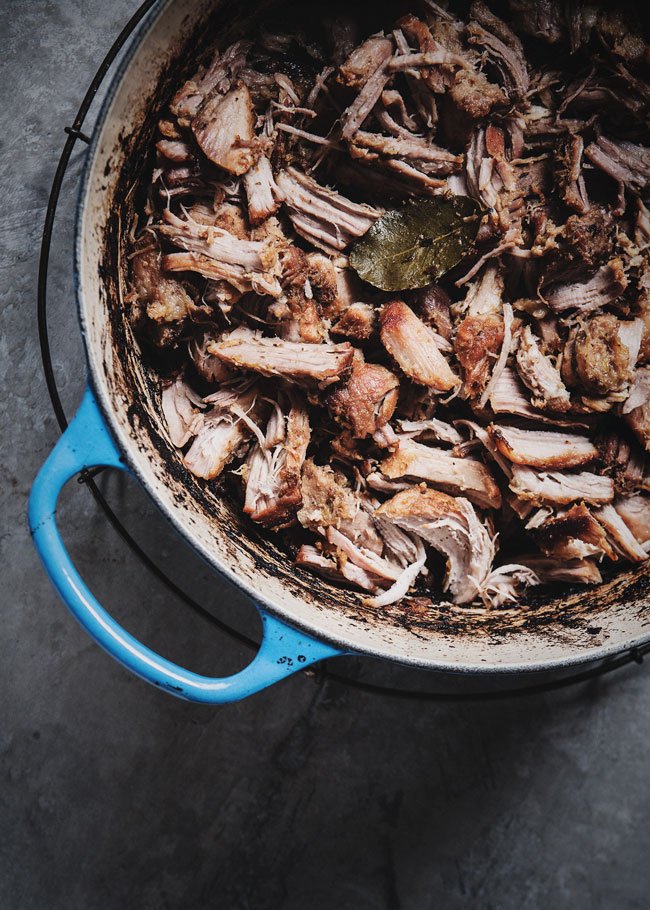
I love meat unabashedly. This isn’t to say I’m eating steak every night of the week. Like a lot of people, my diet is vegetarian for the greater part of the day, at least up until dinner. That’s when my inner carnivore comes out and craves the wholeness that meat provides. Call it my ultimate comfort food? (My mom used to joke that my love for meat was due to the fact that I was born in the year of the tiger—a Chinese zodiac thing) Chris and I like to consume it in slivers and bits, shredded sometimes, ground other times. Which is why tacos are my ideal food.
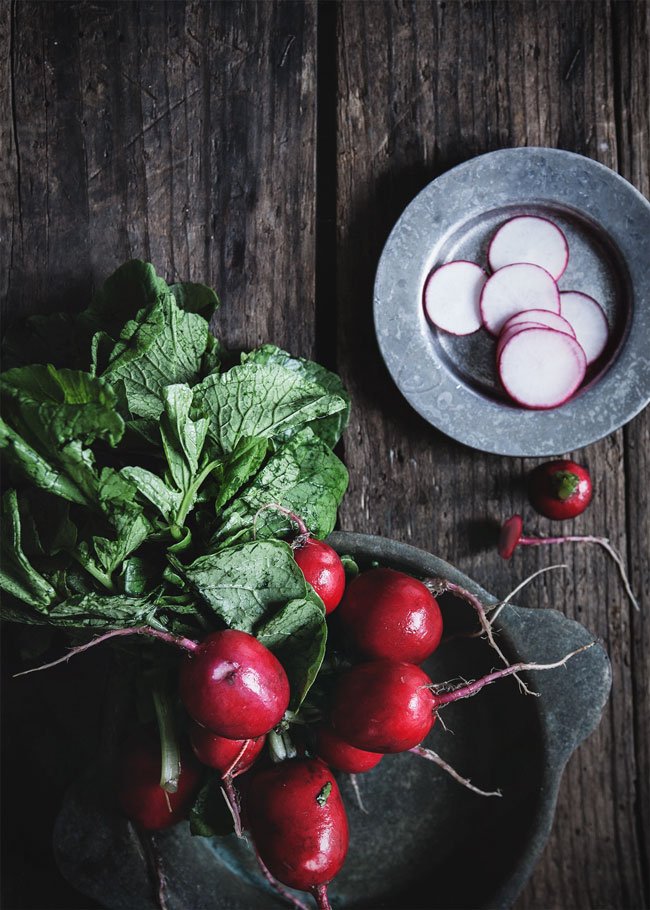
The best tacos I’ve ever had were, predictably, in Mexico. We’re so accustomed to loading them down with all kinds of goodies, but at base, they’re all about the meat (or vegetarian substitute), along with a few choice toppings: a smathering of cilantro, onions, salsa, a squirt of lime juice, and some radishes maybe. There’s something so well-rounded yet pure about the authentic taco. When we lived in San Francisco, our favorite taco truck dispensed tacos in very much the same way. I’d always dip into the tub of communal pickled jalapeno and carrots, but otherwise, the major decision revolved around choice of filling. My favorites: carnitas, al pastor, and lengua.
With such simplicity comes much responsibility. After all, when a food boils down to so few ingredients, all the elements have to shine. And in the case of these carnitas tacos, it’s all about the meat. My friend Vanessa, who’s three quarters Mexican, used to tell me about her dad’s famed carnitas, which he’d make every Christmas in a huge copper pot. “The key ingredient… is lard,” she’d say, with the flourish that the ellipsis is meant to convey. At the time, this sounded quite intimidating, much too daunting for the average home cook. I mean, who’s got lard sitting around on their counters?
Well, I will have you know that no lard was involved in the making of this recipe. And it is delicious. I made it about a year ago, choosing the non-lard route, and loved it. It’s a cinch to put together, yields a ton, and tastes pretty damn authentic (and I’ve had enough carnitas to know when I’ve nailed it). And when placed in a corn tortilla, all sorts of memories come rushing back to me. Just goes to show the conjuring powers of food—nostalgia in the best of ways.

I also wanted to take this opportunity to do something I’ve been meaning to do for some time: share wedding photos! I know I promised I would a long (long long) time ago, and since our wedding was recently featured on Wedding Chicks, I thought it’d be a good opportunity to also create a Flickr set to share more favorites. Check it out if you’re interested! (And Sarah, if you’re reading this, thank you so so so much again for documenting our wedding so beautifully!)
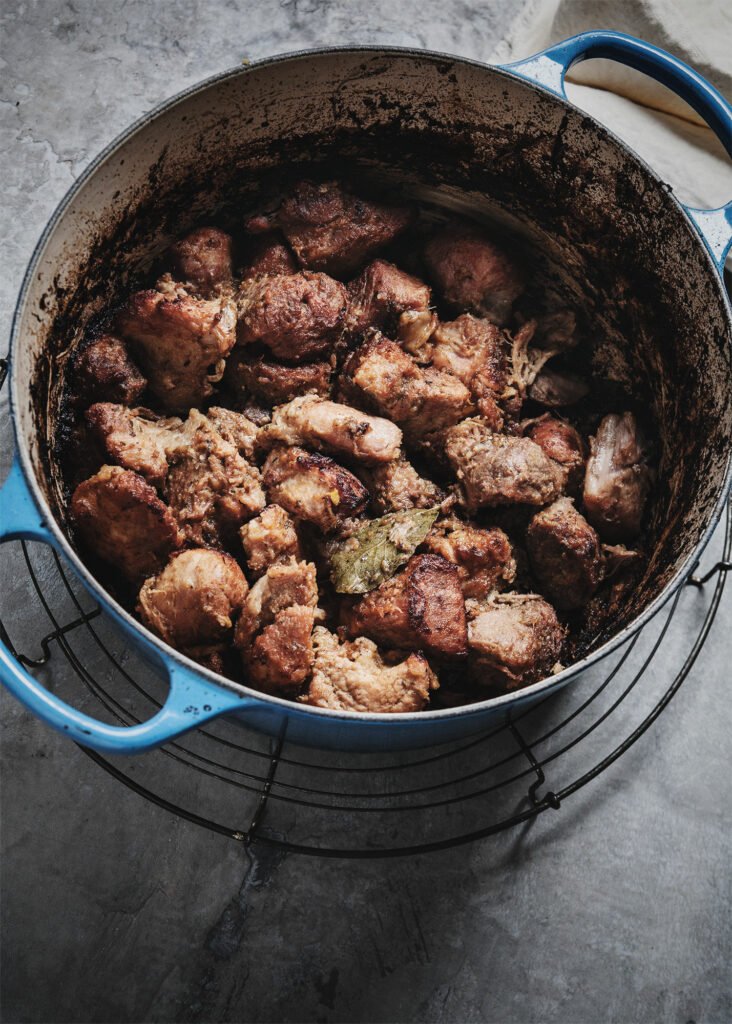
CARNITAS
Adapted from Leite’s Culinaria
Makes… a lot. Enough for 2 dozen tacos maybe?
Ingredients
- 4 pounds pork shoulder, cut into 2″ pieces
- 3 cups cold water
- 1 medium white onion, thinly sliced
- 1/2 orange, preferably seedless, cut into 2 wedges
- 1/4 cup vegetable oil (or lard, if you’re so inclined)
- 8 garlic cloves, peeled
- 3 bay leaves
- 1 Tbsp sweetened condensed milk
- 3 to 4 tsp kosher salt
- 2 tsp dried oregano
For the tacos:
- Small corn tortillas
- Salsa
- Chopped onion
- Chopped cilantro
- Lime wedges
- Sliced radishes
- Pickled jalapenos/carrots
Directions
Combine all the ingredients in a large pot (oven-proof preferably), and bring to a boil. Reduce the heat so that the contents is simmering vigorously (medium to medium-low), and skim the scum that floats to the surface. Continue simmering for 1.5 to 2 hours, until the meat is tender and the liquid has evaporated. Stir occasionally, especially towards the end. If the meat’s sticking, you might need to reduce the heat to low to cook off the rest the liquid. About half an hour before the liquid has evaporated, preheat the oven to 450 degrees.
If you’re using an oven-proof pot, slide it into the oven. Otherwise, transfer the meat to an ovenproof dish before placing it in the oven. Bake for about 20 to 30 minutes, uncovered, until the meat has browned.
Before serving, shred the meat with a couple forks.
Related Posts


Subscribe for New Racipies
Get mental health tips, updates, and resources delivered to your inbox.
Lemon Ginger Scones


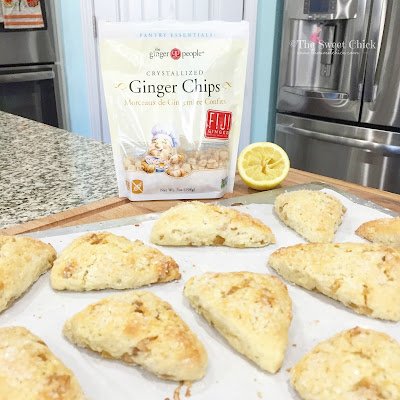
Well, it’s been quite a while since I posted. The lovely folks at The Ginger People wanted to share my recent recipe for Lemon Ginger Scones, so I thought I’d make it available for everyone to share. It’s just another version of a basic scones recipe that I used for my Orange Basil Scones , Cranberry Ginger Scones , and Lemon Cranberry Scones. I hope you enjoy them!
I usually find the crystallized ginger chips at World Market. They also carry The Ginger People Organic Ginger Syrup which is fabulous on waffles, salads, and in a tea. I have also found the chips at T. J. Maxx. But if all else fails, you can always find them on good old Amazon. I have used the chips in my Maple Ginger Banana Muffins , Cranberry Ginger Scones , and Pumpkin Gingerbread Cupcakes. I love the extra ginger kick they give to baked goods.

Instead of topping the scones with a sweet glaze, I chose to just sprinkle them with Bob’s Red Mill Decorative Sparkling Sugar before placing them in the oven. It gave the scones a bit of sweetness, but didn’t over power the lemon and ginger flavors. If you like you scones extra sweet, then by all means you can add a simple lemon glaze like the one I drizzled on my Lemon Blueberry Scones.

Although I love to bake and do so every week, I became a bit disenchanted with the whole blogging business. What started as a fun, creative outlet, became more of a headache over the years. There is a lot more to blogging than baking and taking pretty pictures. For now, I prefer to stick to just the baking part. That’s what makes me happy! I will try to share when I have a chance.
Lemon Ginger Scones
by The Sweet Chick
Prep Time: 15 mins
Cook Time: 15 mins
Keywords: bake bread breakfast dessert snack scones American
Ingredients (8-12 scones)
For the scones
- 2 cups flour
- 1/3 cup sugar
- 2 teaspoons baking powder
- 6 tablespoons cold butter
- 1/2 cup milk
- 1 egg
- zest of one lemon
- 2 tablespoons freshly squeezed lemon juice
- 1/2 cup crystallized ginger chips (I used The Ginger People brand)
For the topping
- 2 tablespoons milk
- 1/4 cup sparkling sugar (coarse sugar)
Instructions
For scones
Preheat oven to 425 degrees.
Mix flour, sugar, and baking powder. Cut up butter and add to flour mixture. In a separate bowl mix egg and milk until blended and add to the flour mixture. Add lemon rind and lemon juice, mix well.
Next mix in the crystallized ginger chips until well distributed. The batter will be a dough like consistency.
Take the dough and roll it into one big ball. Place the ball onto a lightly floured surface and flatten out to about an inch thick. With a knife or pizza cutter, divide the dough circle into equal triangles. I made eight big scones, but you can make yours a little smaller if you like by dividing the dough into two balls before rolling out and cutting triangles.
Separate the triangles and place on a cookie sheet lined with parchment paper.
For the topping
Brush the tops of each scone with a little bit of milk and sprinkle with the sparkling sugar.
Bake at 425°F for 13-15 minutes or until toothpick inserted in middle comes out clean and tops are a golden color.
Related Posts




Subscribe for New Racipies
Get mental health tips, updates, and resources delivered to your inbox.