
Chocolate Chip Cookies, The Cooks Illustrated Way

Medically reviewed by Christiana George Updated Date: January 4, 2026
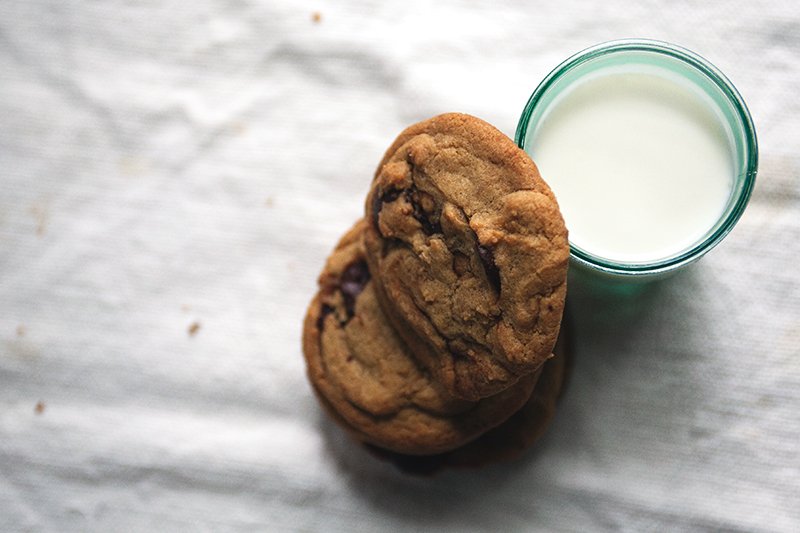
This weekend, I gorged on chocolate chip cookies. I mean who wouldn’t? Look at these things. Just look at ‘em. Seductive, no, served alongside a cool glass of milk?
I totally thought I’d settled the question of world’s best chocolate chip cookie recipe for good. But I find I may have to re-open the topic (it’s of the utmost importance, you know) and thrown in another contendor.
First, let’s figure out if we’re in agreement here. Do you like your cookies chewy? And soft? With that characteristic give when you first bite into them? Do you like them bronzed and flat and ripply on top, ready to dunk into cold milk?
That’s how I like my chocolate chip cookies. And my long-time standby has been Kim Boyce’s whole wheat chocolate chip cookies—yeah, the ones that spread like wildfire in the blogosphere. They’re ridiculously good, with the whole wheat flour stealing the show.
But for times when I want a slightly lighter cookie, one that’s not quite as… bold, let’s say, I think I’ll be reaching for this recipe.
It’s plain old comfort food, albeit comfort food I could eat at any time. It’s the classic chocolate chip cookie, no frills, no fancy ingredients, and I’m having a hard time keeping my hands off them.
My solution is usually to shove a bunch in a bag and hand them off to friends, but I find myself oddly protective of these.
In my heart, there’s room for two favorites.
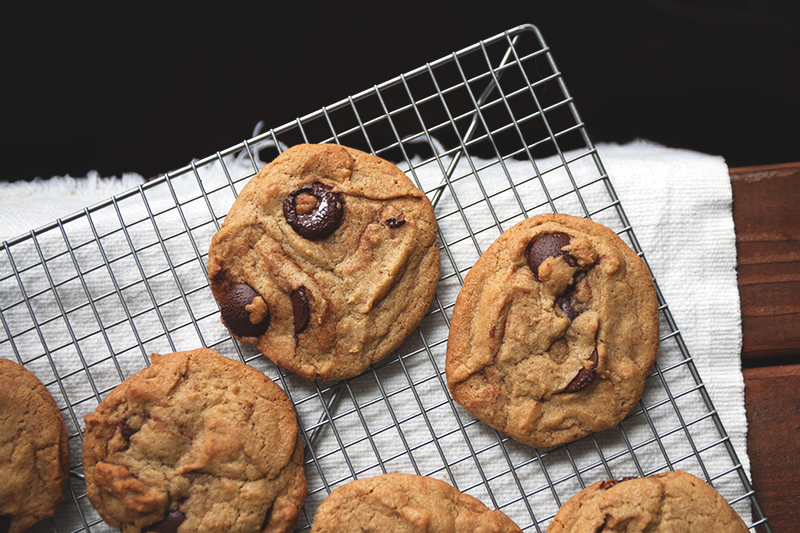
I’ve had The New Best Recipe sitting on my bookshelf for a while. Bless those giant, comprehensive compendiums. I put a lot of confidence in America’s Test Kitchen for its reliability and rigorous kitchen methods.
In the book, you can read about the entire trial and error process—the countless alterations tried—before a recipe was deemed perfect. It’s really informational.
For instance, did you know that “when melted butter is added to a dough, the proteins in the flour immediately grab onto the freed water molecules to form elastic strands of gluten?” I didn’t know that.
In the case of these chocolate chip cookies, their focus was on chewiness. Which is why melted butter and an extra egg yolk are called for. And they invented an elegantly simple way of shaping the cookies so they come out with that classic rippled top (instructions in the recipe).
Chocolate Chip Cookies
Recipe from Thick and Chewy Chocolate Chip Cookies in The New Best Recipe
Makes about 18 large cookies (I ended with 14)
Ingredients:
- 2 cups plus 2 Tbsp all-purpose flour
- 1/2 tsp baking soda
- 1/2 tsp salt
- 12 Tbsp (1-1/2 sticks) unsalted butter, melted and cooled until just warm
- 1 cup packed brown sugar
- 1/2 cup granulated sugar
- 1 large egg, plus 1 large egg yolk
- 2 tsp vanilla extract
- 1 to 1-1/2 cups semisweet chocolate chips
Update 8/22/12:I made these with half whole wheat flour and they turned out a success.
Directions:
Line 2 large baking sheets with parchment paper (or bake the cookies in batches like I did). Preheat oven to 325 degrees F.
Whisk together flour, baking soda, and salt in a medium bowl. Set aside.
Mix the butter and sugars until thoroughly blended. Beat in the egg, yolk, and vanilla until combined. Add the dry ingredients and beat at low speed until just combined. Stir in the chips to taste.
Roll a scant 1/4 cup of dough into a ball. Holding onto it with the fingertips of both hands, pull the ball apart into two equal pieces. Rotate both pieces so that the jagged, ripped edge is facing upwards, then push both halves together again with the jagged edges still facing upwards. Place the dough on the baking sheet, spaced about 2-1/2 inches apart.
Bake 15 to 18 minutes, until the cookies are light golden brown. Rotate the baking sheet about halfway through for even baking. Don’t overbake! The cookies will harden when cooled and the centers will set.
Related Posts



Subscribe for New Racipies
Get mental health tips, updates, and resources delivered to your inbox.
Red Velvet Cake Balls


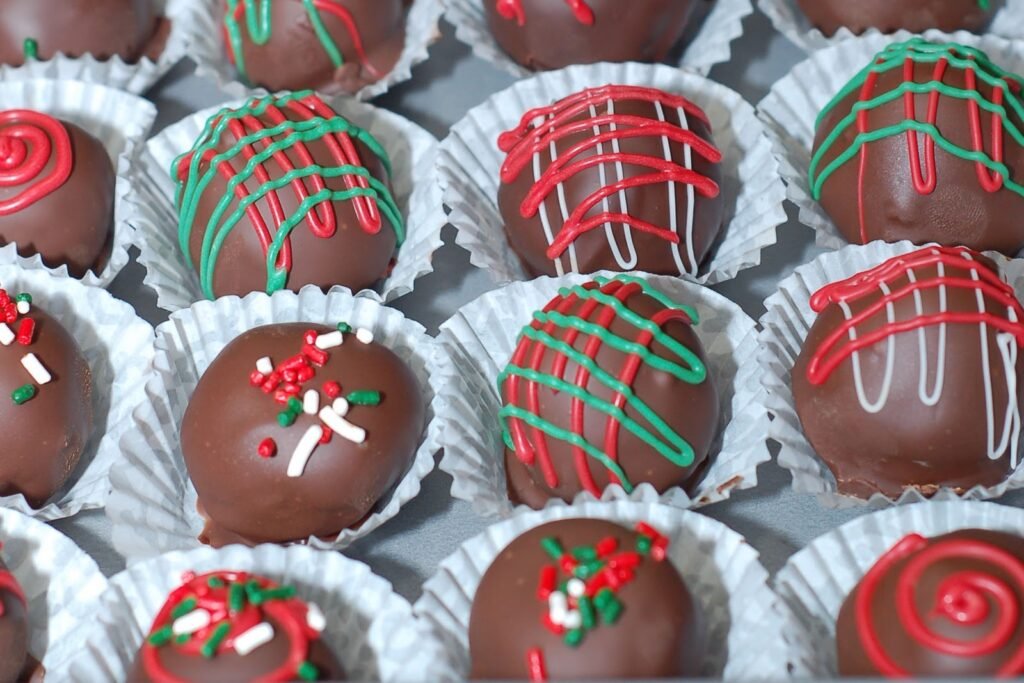
I hope everyone had a lovely Christmas. I sure did, although it was quite hectic. I was planning on talking about cake balls before the holiday, but just didn’t have time. But now I have some time to share this great recipe.
I have been making Red Velvet Cake Balls for the past 2 years now, since I found them on Red Velvet Cake Balls. They are pretty simple to make and I always get compliments on them. Bakerella is a very talented woman. It is amazing what she can do with cake balls. Check out her site, if you haven’t already.
There are not many ingredients. A cake mix, pre-made frosting, and some candy melt. Easy peasy.


So far I have found that only Duncan Hines makes a Red Velvet Cake Mix and Cream Cheese Frosting and not all stores carry them. I always find mine at Price Chopper.

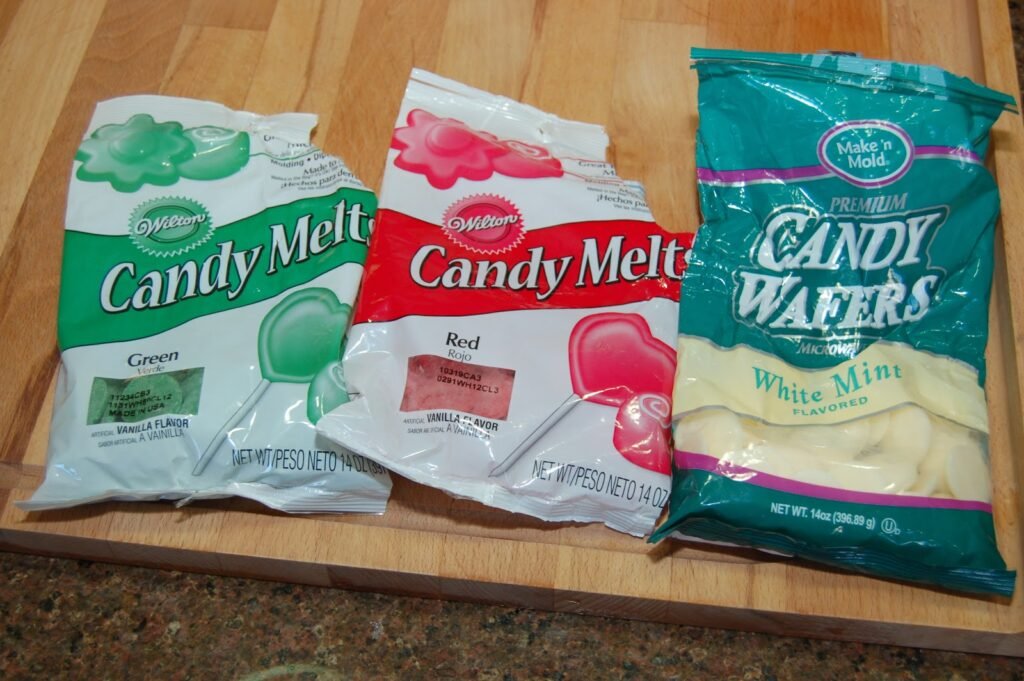
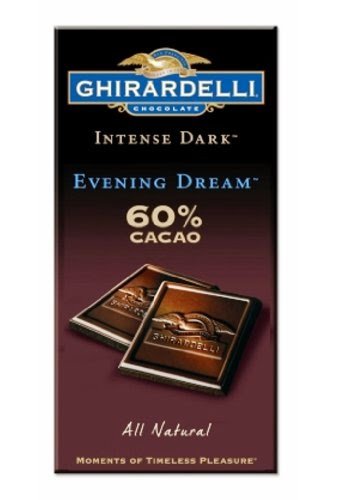
I usually dip the cake balls is a mix of dark cocoa candy melt and a bar of dark chocolate like Ghiradelli for a more intense chocolate taste, but a hard candy coating. And since I usually do mine around the holidays, I buy colored candy melts to decorate.
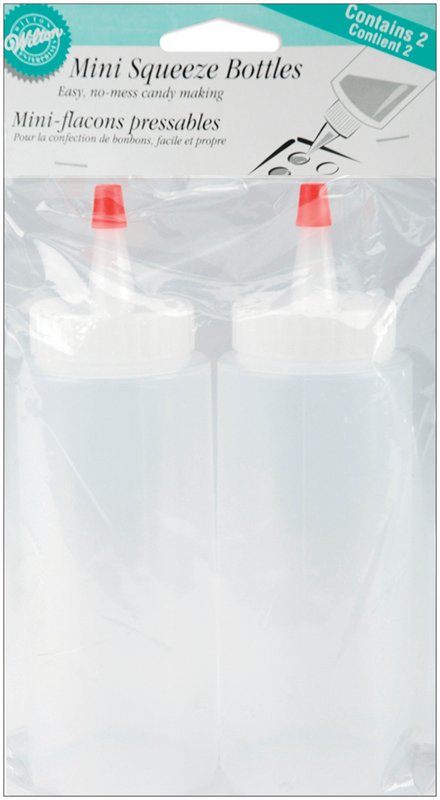
Last year for decorating, I used my cake decorating bags and tips, but this year I decided to try squeeze bottles. The squeeze bottle has more control, but I like the smaller holes on the cake decorating tips. Either way, everyone loves them. Adults and kids. The taste is incredible and they are so moist. I get compliments every year. I had to make a double batch this year to please everyone.

Red Velvet Cake Balls
Ingredients
- 1 pkg red velvet cake mix
- 1 container (16 oz) cream cheese frosting
- 1 pkg (14 oz) dark cocoa candy melt
- 1 large bar dark chocolate
- 1 pkg (14 oz) red candy melt
- 1 pkg (14 oz) green candy melt
- 1 pkg (14 oz) white candy melt
- optional sprinkles
Cooking Directions
- Bake the cake mix as per instructions on the box for a 9 x 13 cake.
- Once cake is completely cooled, crumble it by hand into a large bowl.
- Then add in the cream cheese frosting and mix well. This can be done by hand or throw the crumbled cake and the frosting into a large mixer and mix on low.
- Then take a scoop at a time of the mix and roll into small balls about the size of a quarter. This will be very messy and you may have to wash your hands several times. But please refrain from licking them!
- Place the balls in a freezer friendly container lined with parchment/wax paper.
- When all balls are complete, place them in the freezer overnight or until you have time to do the rest of the recipe.
- When you are ready to dip, melt the dark cocoa candy melt and the dark chocolate together in a deep bowl in the microwave 30 seconds at a time until all melted.
- Dip the cake balls in the chocolate mixture and place on parchment/wax paper until chocolate has hardened. ( I use a fork to dip, roll, and shake off any extra chocolate.) If you want you may add fun holiday sprinkle before the chocolate hardens.
- In separate bowls, melt the red, green, and white candy melt and place in the squeeze bottles. Then decorate with any patterns you like. Or if you want, dip some of the balls in the colored candy melt instead of the chocolate.
- Makes about 50 cake balls.

I did buy pretty boxes to place the cake balls in to give as gifts for my daughter’s teachers and a few other people, but I was so busyI forgot to take pictures of the boxes all tied up with a nice ribbon and tag. But here are what the balls looked like decorated.

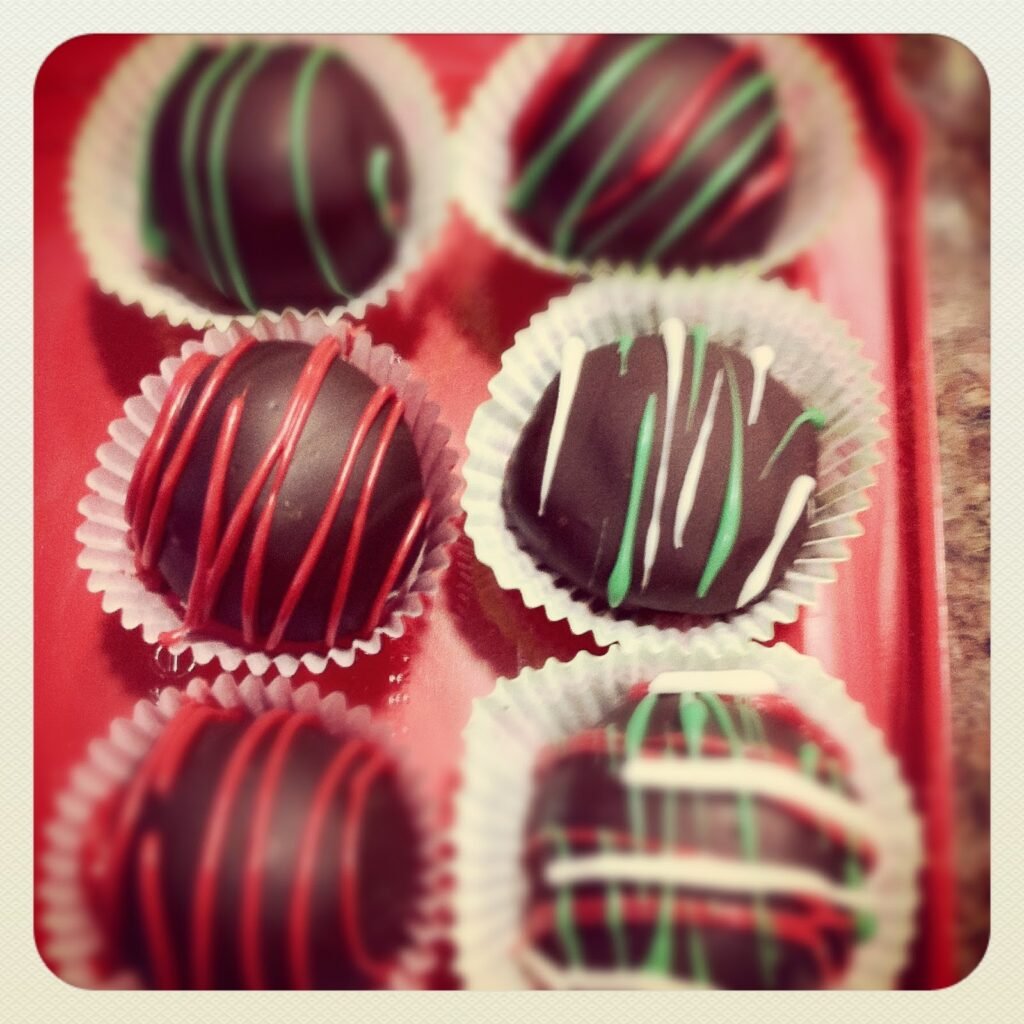
Last year I put them in tins to give out as gifts. Here is what they looked like. I placed the cake balls in mini cupcake liners to they don’t stick together and they look pretty. There are so many ways to decorate the cake balls and many different varieties of cake mixes and frosting to use.

The best part of the recipe is that it can be done in stages. One night I bake the cake. Another night I crumble and mix with the frosting and make the balls. I freeze them until I have the time to finish. I had them in there for a week and no worries. I think I will make some again for Valentine’s day.
Related Posts





Subscribe for New Racipies
Get mental health tips, updates, and resources delivered to your inbox.