
Tropical Dream Rice Krispie Treats

Medically reviewed by Christiana George Updated Date: December 17, 2022


And the craziness continues. We finally found a buyer for our house, that meant we had to go look for a new home. Last weekend, my mom watched the kids as my husband and I drove fourteen hours down south to look at houses. We must have looked at about thirty houses the first day and that was all in six hours. After already owning two houses, we know what we want and what we don’t. Our realtor was awesome, he was patient and understanding. We were supposed to spend two days looking at house, but since we saw most of our list the first day, we ended up finding “the one” that day. Now it’s time to start packing!
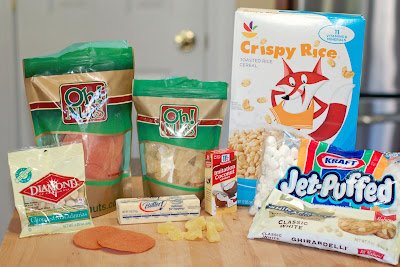
In the meantime, Oh! Nuts sent me an email asking if I wanted samples of their product to try in my recipes. Who am I to say no to dried fruits and nuts. They had so many options to choose from. Just check it out for yourselves here. I ended up choosing dried guava slices and dried pineapple tidbits. I was in a tropical mood.

Of course, we had to do some taste testing first. I had no doubt my daughter would like them, she eats anything. Her brother, Mister Picky, is finicky about what goes in his mouth. I was surprised that he even wanted to try the guava and pineapple. And I was even more surprised when he asked for more. I don’t blame him, they are pretty good.
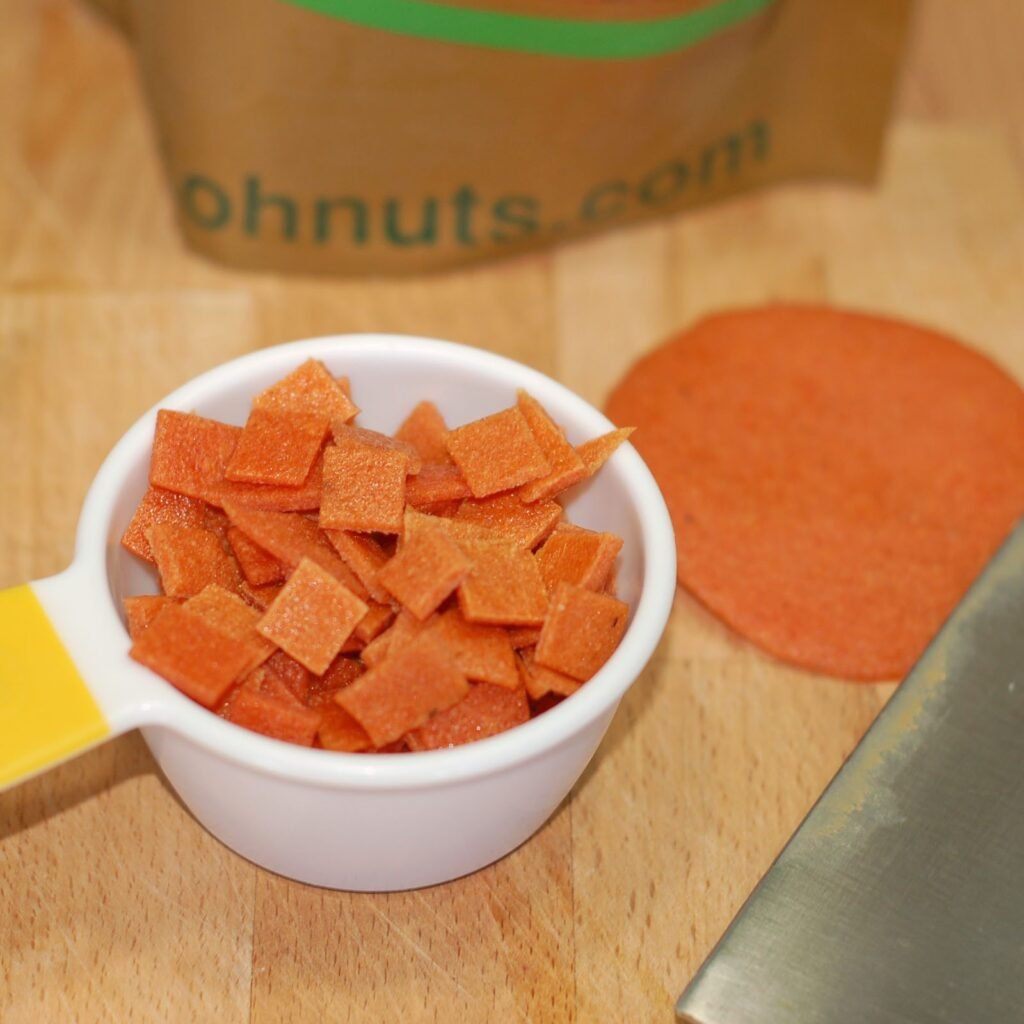
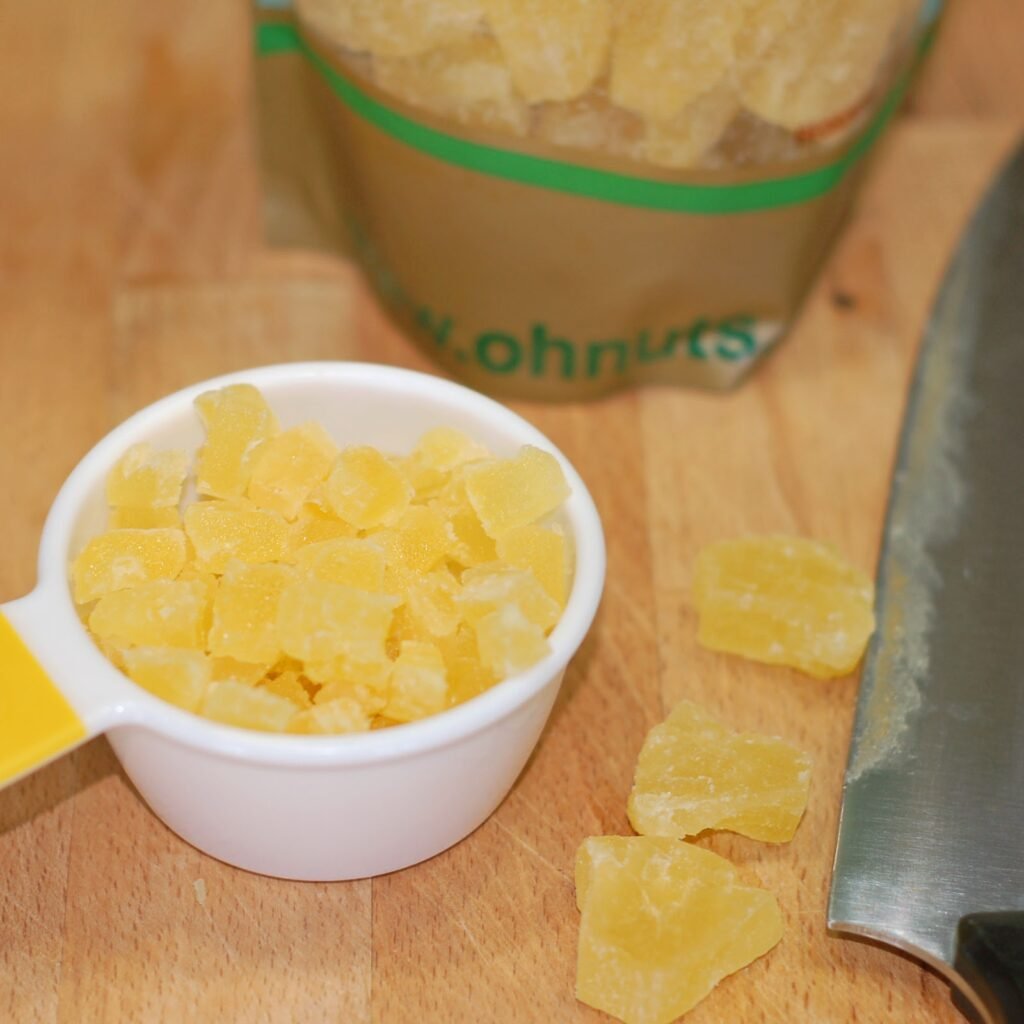
Since I was in a tropical mood, I thought some tropical Rice Krispie treats were in order. I chopped up the quava slice and the pineapple tidbits into smaller pieces and added them to the treats along with some macadamia nuts, white chocolate and a little coconut flavor to round it out.
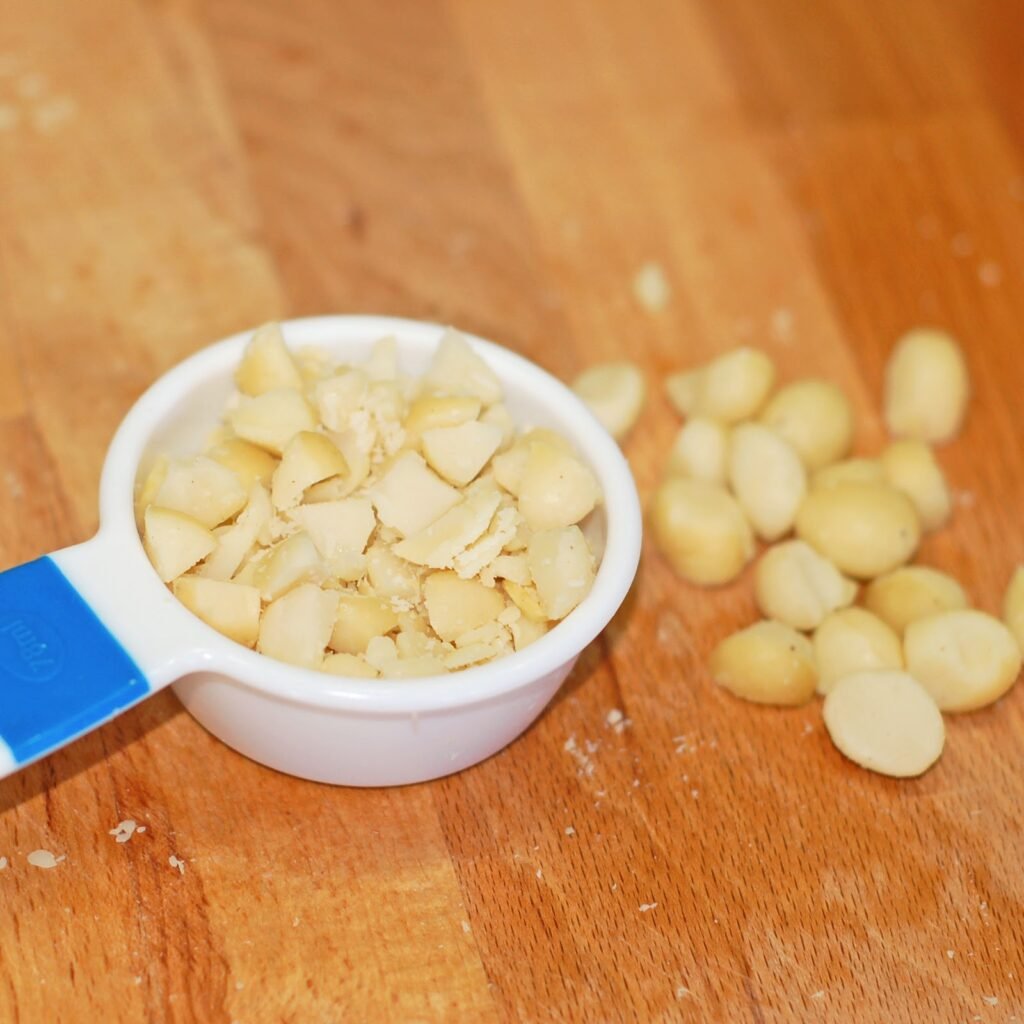
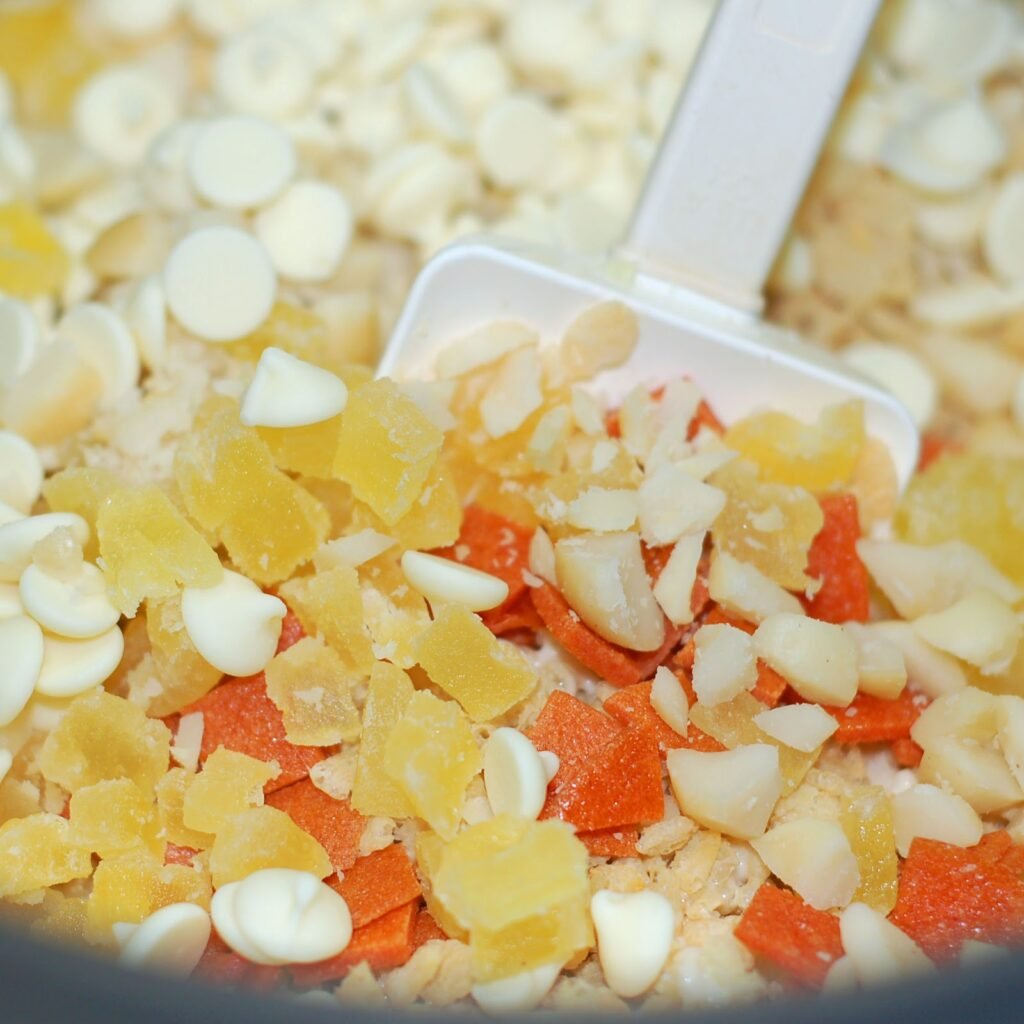
I had never thought to buy coconut extract before, but boy does it smell delightful. Most of the dried fruit I cut up did end up in the recipe. I may have lost a piece or two when I turned my back on the minions. They sure are sneaky.

Now comes the topping. I wanted something light, fluffy, and coco-nutty. On my Lime Coconut Rice Krispie Treats with Tequila, I just used shredded coconut and marshmallow fluff, but this time I wanted to use to coconut cream and some toasted coconut.

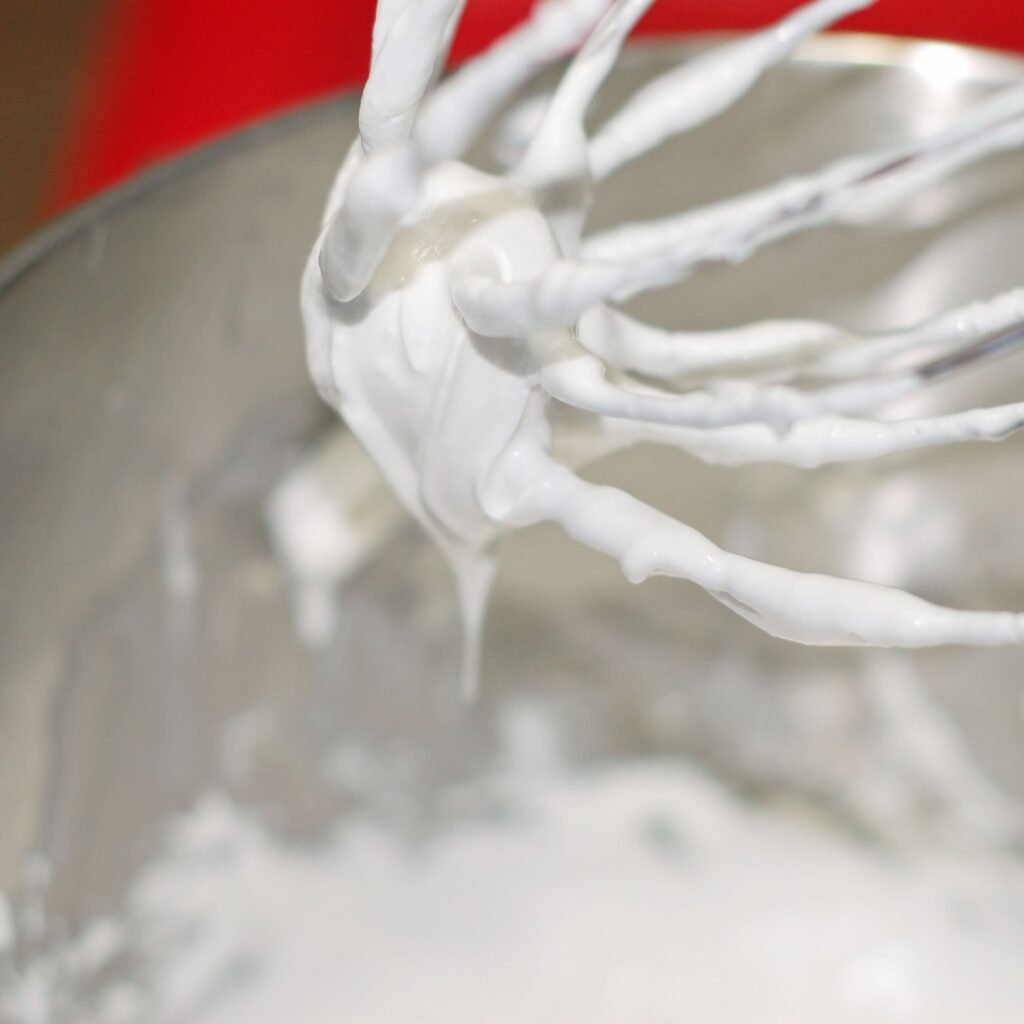
I toasted up some sweetened coconut flakes in a pan until it was to my liking. Then I whipped up some marshmallow fluff, cream of coconut, and vegetable shortening together to make the fluffy frosting.
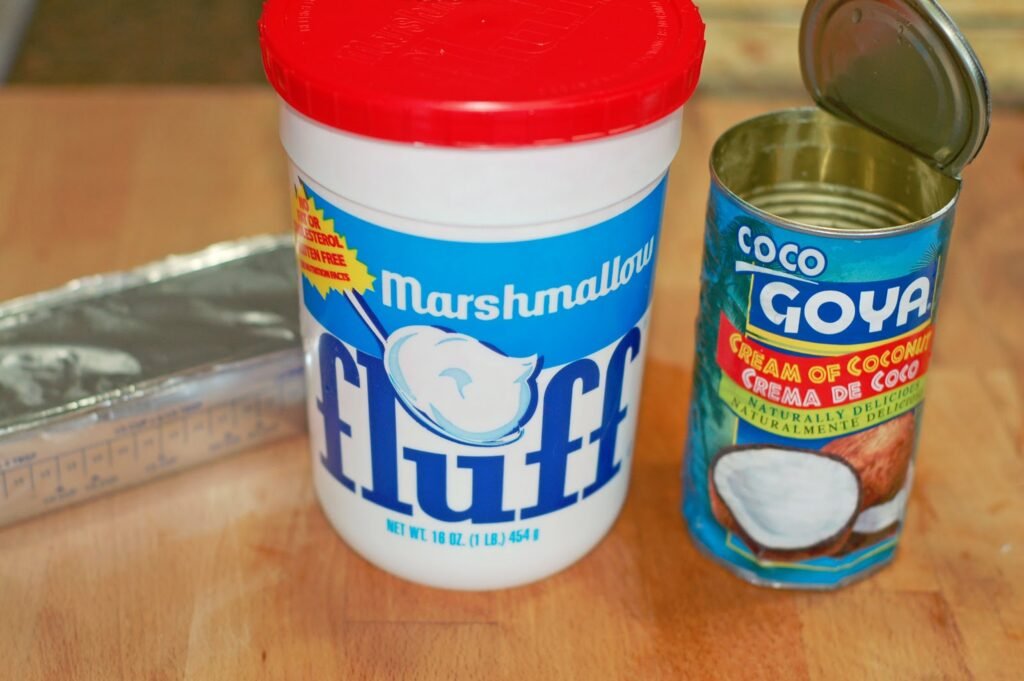
I was really looking for coconut cream, but didn’t find it. I was grocery shopping with the two little minions and they didn’t have the patience to look up and down every aisle. So cream of coconut it was. It is already sweetened and it is used mostly for drinks, but it works in a pinch. The cream of coconut still has a lot of liquid, but if you put the can overnight in the fridge, the fat will come to the top and you just scoop out what you need for the frosting. Or you can throw it in the freezer for a bit. Just try to get as much of the thick fatty part into the frosting as possible, so you have a fluffier frosting.
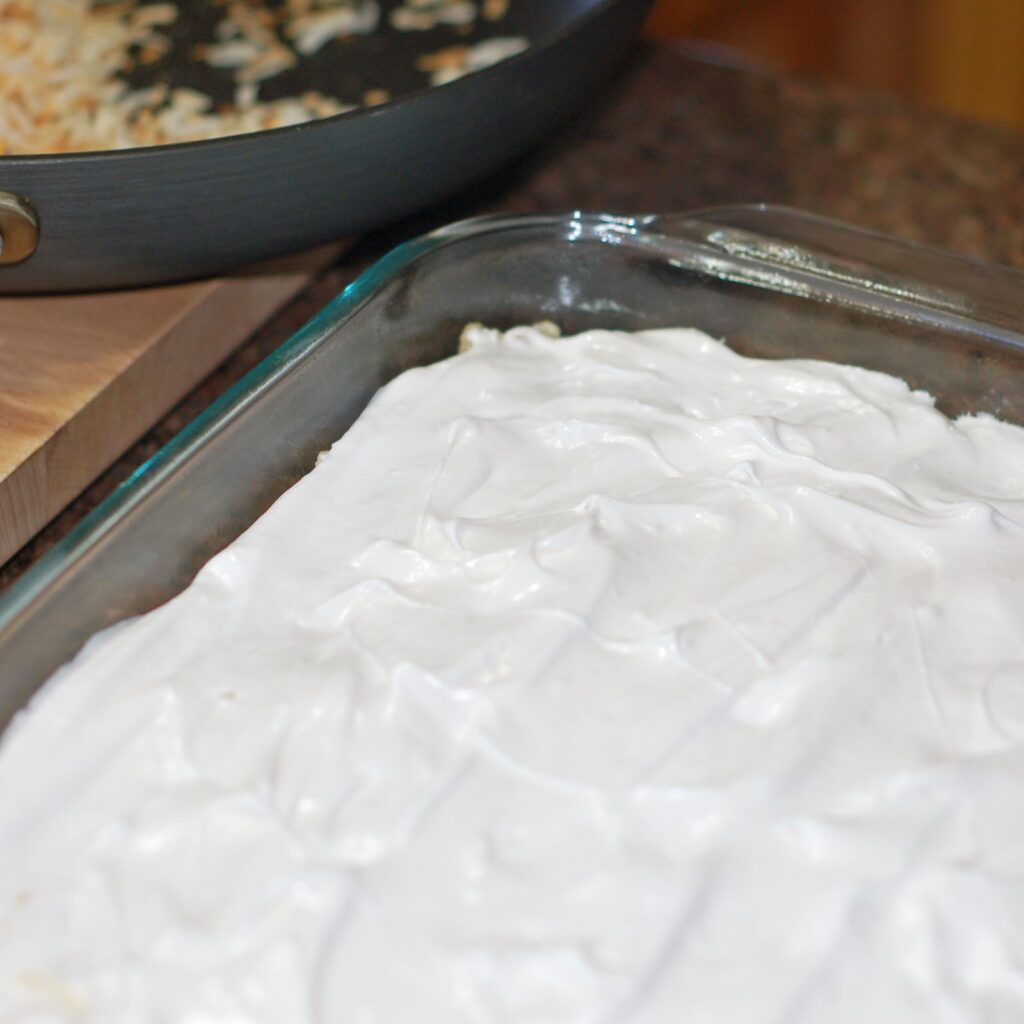
Then just spread on the coconut frosting and sprinkle it with the toasted coconut. Pop the whole thing in the fridge for an hour or two and it is ready to be sliced and eaten.
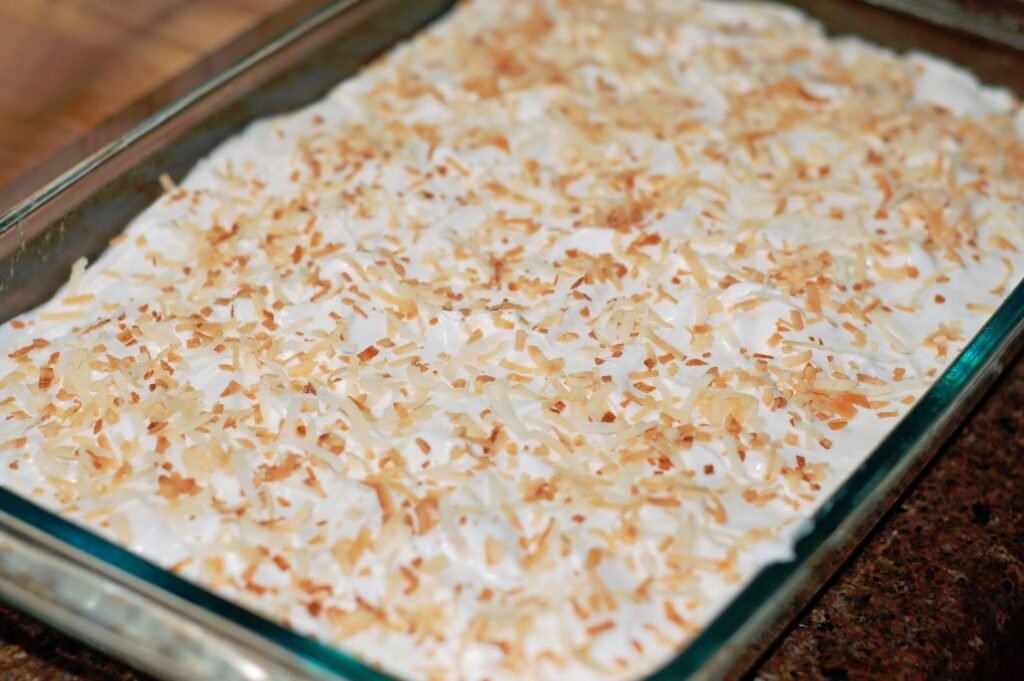
It really does taste like a tropical dream. Lots of coconut, pineapple, and guava flavor. Thanks Oh! Nuts for the inspiration. Now I need to get back to packing. I guess all that free time that I thought I was going to have after becoming a stay at home mom at the beginning of this month is not going to be so free anymore. But it is all for the better. I can’t wait to bake in my new kitchen!
Tropical Dream Rice Krispie Treats
by The Sweet Chick
Prep Time: 20 minutes
Cook Time: 5 minutes
Keywords: no bake dessert snack coconut pineapple guava marshmallow fluff bars rice krispie treats American summer
Ingredients (24 bars)
For the treats
- 4 tablespoons butter
- 5 cups mini marshmallows
- 1 teaspoon coconut extract
- 6 cups Rice Krispie (or generic) cereal
- 1/2 cup chopped, Oh! Nuts dried guava slices (about 4 slices)
- 1/2 cup chopped, Oh! Nuts dried pineapple tidbits
- 1/2 cup white chocolate chips
- 1/3 cup chopped, macadamia nuts
For the frosting
- 1/2 cup vegetable shortening
- 1 cup marshmallow fluff
- 1 1/4 cup cream of coconut
For the topping
- 1/2 cup sweetened coconut flakes
Instructions
For the treats
In a large sauce pan, melt butter and marshmallows over low heat. Stir until completely melted.
Remove from heat and add coconut extract. Stir until completely mixed.
Then add the cereal, pineapple, guava, chocolate chips, and nuts. Mix until all is well incorporated.
Then pour the mixture into a greased 9 x 13 pan or a cookie sheet and spread it evenly with a piece of waxed paper.
Place in fridge to cool and set.
For the frosting
In a stand mixer with a whisk attachment, whisk together the shortening, fluff and cream of coconut on medium speed, slowly increasing to fast speed until frosting is light and fluffy like a meringue.
Spread frosting evenly over the treats.
For the topping
Place coconut flakes in a medium frying pan and cook over medium heat on the stove top until flakes are a golden brown. About five minutes. Stir occasionally so that the flakes don’t burn.
Sprinkle the toasted flakes over the frosting and place the treats back in the fridge for an hour or two for the frosting to set.
Then cut into squares and take a bite!
Disclaimer: Oh! Nuts did provide me with some of the products used to make this recipe, but I was under no obligation to develop a recipe for them nor provide a favorable review. All thoughts and opinions are my own.
Related Posts






Subscribe for New Racipies
Get mental health tips, updates, and resources delivered to your inbox.
Roasted Acorn Squash With Chile Vinaigrette

I feel like I’ve fallen out of grace. Your good graces, at least. You see, I’d prepared a whole bunch of posts that I was planning on featuring during my time in California, and then I went and had such a flippin’ busy time that almost three weeks went by with hardly a peep. In fact, just about the only thing I did online was add heavily to my secret wedding board on Pinterest, secret because I don’t want to embarrass myself by unleashing the full extent of my wedding mania on you all.
Speaking of which, how the hell am I going to pull off a wedding this year? Last week, I caught a whiff of what the planning process was going to be like: an uphill battle, against the strictures of the industry, the expectations of parents and future in-laws, my own indecision. Too many ideas (and not only my own) and too short on time and money, that is my plight. Don’t worry, I won’t bombard you with the wedding planning details as the year goes on, but I just need to lean on a figurative shoulder for a moment and take a deep breath.
Alright then.
I made this recipe about a month ago, on one of the rare occasions in which I snapped out of my ‘anything goes during the holiday season’ mentality and decided to try a healthy recipe. Is acorn squash even still in season? (It is.) I guess it’s just as pertinent now as it was then.
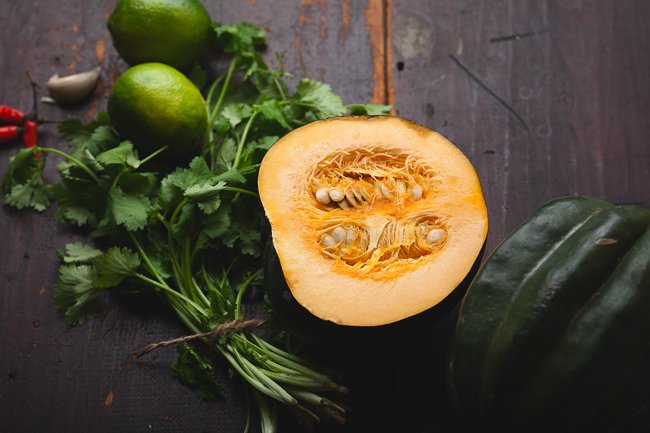
Acorn squash has a wonderful heft to it, making it a satisfying substitute for meat, but I find it kind of heavy. I tend to fall for anything with lime juice and chile peppers, and figured that in this case, they would lighten the squash considerably. They did.
I suspect the same vinaigrette would taste great on just about anything. It’s tangy and bright, really perfect this drab time of year when a good kick in the butt is exactly what a person needs. (And I don’t mean intensive cycling classes.)


ROASTED ACORN SQUASH WITH CHILE VINAIGRETTE
Adapted from Gourmet
Serves 4
Ingredients:
- 2 (1 1/2- to 1 3/4-lb) acorn squash
- 1/2 teaspoon black pepper
- 1 1/2 tsp salt
- 5 Tbsp olive oil
- 2 garlic cloves
- 3 Tbsp fresh lime juice, or to taste
- 3 to 4 tsp finely chopped fresh hot red chile, including seeds
- 1/4 cup chopped fresh cilantro
Directions:
Put oven racks in upper and lower thirds of oven and preheat oven to 450 degrees F. Halve squash lengthwise, then cut off and discard stem ends. Scoop out seeds and cut squash lengthwise into 3/4-inch-wide wedges.
Toss with black pepper, 1 tsp salt, and 2 Tbsp oil in a bowl, then arrange, cut sides down, in 2 large shallow baking pans. Roast squash, switching position of pans halfway through roasting, until squash is tender and undersides of wedges are golden brown, 25 to 35 minutes.
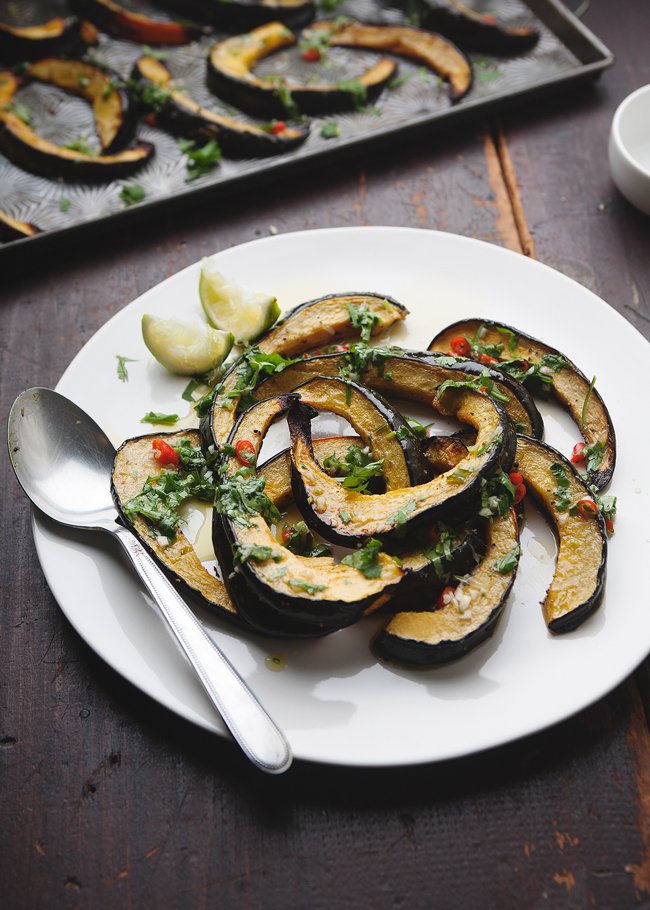
While squash roasts, mince garlic and mash to a paste with remaining 1/2 tsp salt. Transfer paste to a small bowl and whisk in lime juice, chile (to taste), cilantro, and remaining 3 Tbsp oil until combined. Transfer squash, browned sides up, to a platter and drizzle with vinaigrette.
Related Posts


Subscribe for New Racipies
Get mental health tips, updates, and resources delivered to your inbox.