
Upside-Down Pear Cake and Second Chances

Medically reviewed by Christiana George Updated Date: June 8, 2023
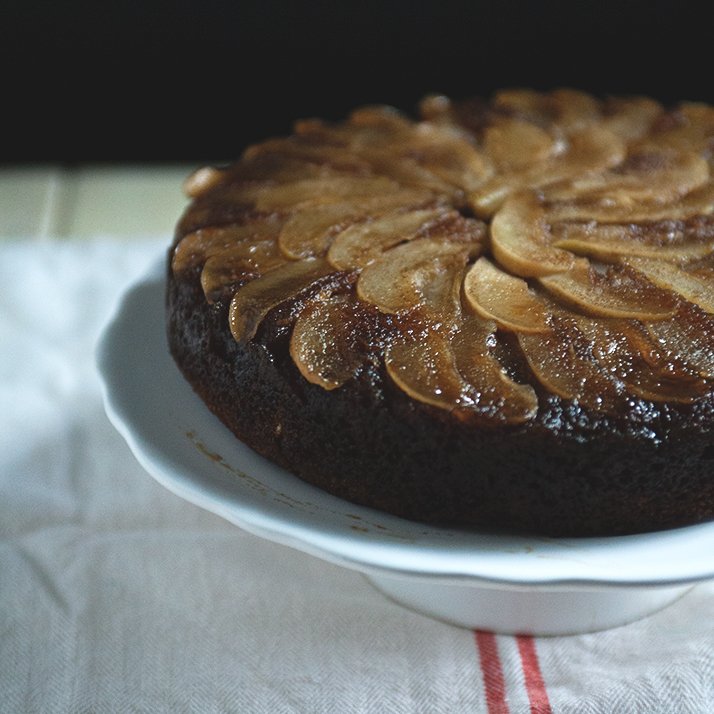
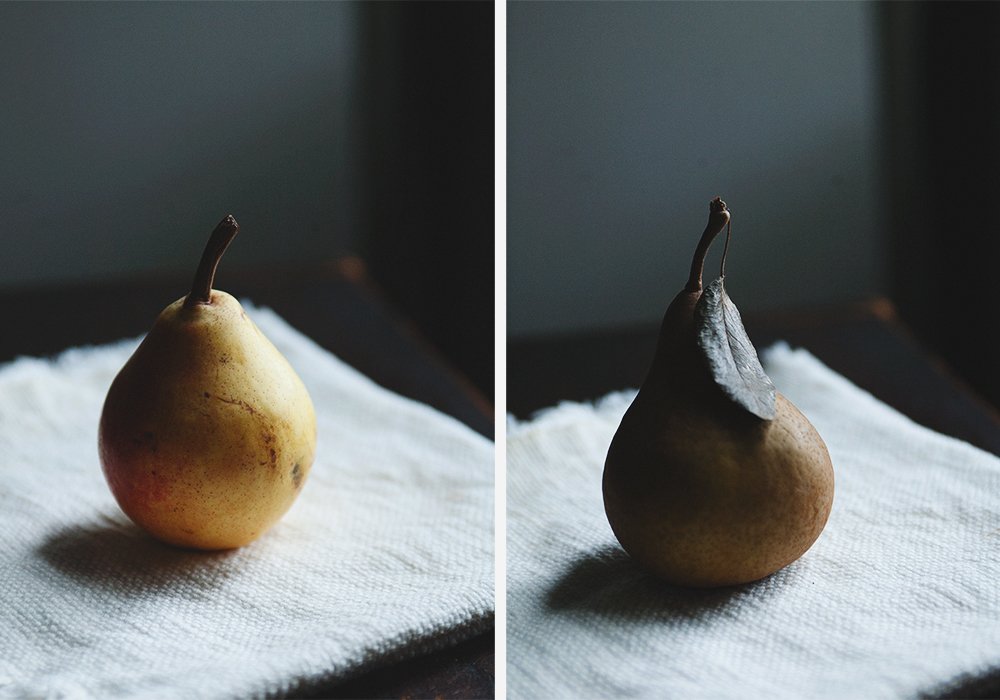
Maybe it was because I felt like jumping ahead into fall when I picked up a couple pounds of Clapp and Bosc pears at the farmer’s market last weekend. Or maybe I found myself suddenly taken by their ladylike curves and freckled complexions. Charming and modest, and so delicately scented, pears are a graceful fruit, are they not?
Of course, once I got home, I realized I had absolutely no idea what to do with them. The thing is, I’ve never actually liked pears. I’ve never really even eaten one except for Asian pears which, as I understand, are completely different from all other varieties. My one encounter with a non-Asian pear was in college and it turned me off from eating them ever again. It had been a Bartlett—they were always available in the cafeteria—and its texture was strange and mushy and so different from the crispness and juiciness I was used to.
This recipe has restored my belief in pears. And apparently all I had to do was bake the fruit into a cake as beautiful-tasting as it smells. Also, I think I’ve found a variety that I like! For all of you who feel the same about pears as me, try a Bosc, which is pleasingly crisp. They’re the slender and tall ones the color of… well, autumn.
This cake is moist and tender, so moist and tender that parts of it melt in the mouth. I kind of love it. And I keep cutting off slices, teeny slices sure, but slices nonetheless. (I’m worried that unless some higher power intervenes, I’m going to eat most of it by myself.) And as my first upside-down cake, there was a certain giddiness that overcame me when it plopped out, perfectly.
I see this cake as a precursor for what’s to come in the next few months: lots of cinnamon-y ginger-y baked goods greedily consumed piping hot from the oven. And chai tea, and the pleasant crunching of leaves, and the crispness to the air. I am looking forward to the upcoming season.
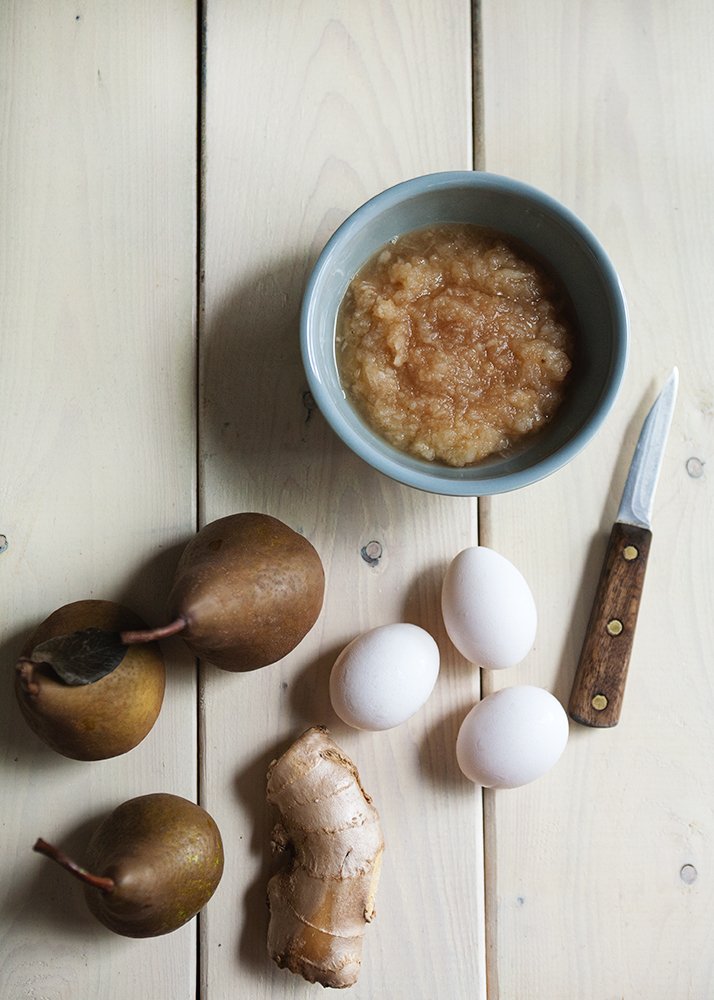
As far as what varieties of pears to use, the recipe recommends Bosc all the way, but I thought the very ripe Clapp pears I used worked really well for the cake batter, mostly because they were so ripe and soft and juicy.
The recipe actually also called for baking the cake in an oven-proof skillet, but I opted for a regular 9″ cake pan and it was spectacular! I also ended up using only about 1-2/3 pounds of pears, I omitted the orange zest, and finally, I made my own crystallized ginger by cooking fresh minced ginger and sugar together for a couple minutes. The process caramelizes the sugar, which tastes wonderful, but hardens quickly, so you either need to mix the stuff into the batter quickly or, like me, pull out your mortar and pestle and grind up the hardened mixture.
Enjoy! I promise it makes a fantastic breakfast as well (if eating sugary baked goods first thing in the morning is your kind of thing, which it is for me!).

UPSIDE-DOWN PEAR CAKE
Adapted from Bi-Rite Market
Makes one 9-inch cake
Ingredients:
6 tablespoons (3/4 stick) unsalted butter
3/4 cup (packed) golden brown sugar
2 Bosc pears, peeled, cored, and thinly sliced
2/3 cup sugar + 1/4 cup for making crystallized ginger
1 1/3 cups all purpose flour
1 1/2 teaspoons ground cinnamon
1 teaspoon baking soda
1/2 teaspoon salt
3 large eggs
1/2 cup vegetable oil
1 teaspoon vanilla extract
1/4 cup fresh ginger, minced
1 T water
1 cup grated peeled pears, about 2 medium (I used Clapp pears)
Directions:
Preheat oven to 350°F. Melt butter and pour evenly into pan. Sprinkle with brown sugar. Arrange pear slices in flower design atop sugar.
Whisk flour, 2/3 cup sugar, cinnamon, baking soda, and salt in medium bowl to blend. Whisk eggs, oil, vanilla and ginger mixture in large bowl to blend. In a small saucepan, combine the ginger, sugar, and water. Turn heat onto medium-low and begin stirring the mixture. It should start bubbling and reducing, and after about 2 minutes, turn the heat off and immediately pour the mixture into the egg mixture. Mix in grated pears. Mix dry ingredients into egg mixture.
Carefully pour batter over pears in pan. Bake cake until tester inserted into center comes out clean, about 40 minutes. Cool cake still in pan on rack 20 minutes (very important! The top of cake needs to set). Run knife around pan to loosen. Place plate on pan over cake. Invert cake onto plate. Serve warm, with vanilla ice cream if it pleases you.
Related Posts



Subscribe for New Racipies
Get mental health tips, updates, and resources delivered to your inbox.
Biscoff Bourbon Rice Krispie Treats



OK, so I’ve been playing around with Biscoff and Bourbon a little too much lately. However, I did come up with some good results. This week I made you some Biscoff Bourbon Rice Krispie Treats. ‘Cause you know sometimes, you just have to add a little booze to your Rice Krispies. You don’t always have to make sweets for the kids. My kids get enough sweets as it is. These crispy, crunchy treats that combine the sweetness of Biscoff with the oaky flavor of Bourbon and are topped of with a chocolate bourbon drizzle are for adults only.
Now, I am not the kind of person to drink bourbon straight up, but I do love it in my desserts. It enhances the other flavors. I think alcohol and sweets go well together.

These treats are just as easy to make as regular Rice Krispie treats. Just two extra ingredients. Mmmm, look at that. Don’t ya want a bite?

I couldn’t put a whole lot of bourbon in the marshmallow treats without them being too soft, so I added more bourbon to the chocolate drizzle. I just adapted the recipe for the chocolate whiskey sauce I used on my Triple Irish Krispie Pie. Both sauces are delicious. I kinda got lazy at this point and just used my measuring cup to pour on the chocolate sauce instead of using a piping bag. It still worked. I also sprinkled a bit of sea salt on top of the chocolate before it set. You don’t have to, but it does taste good.
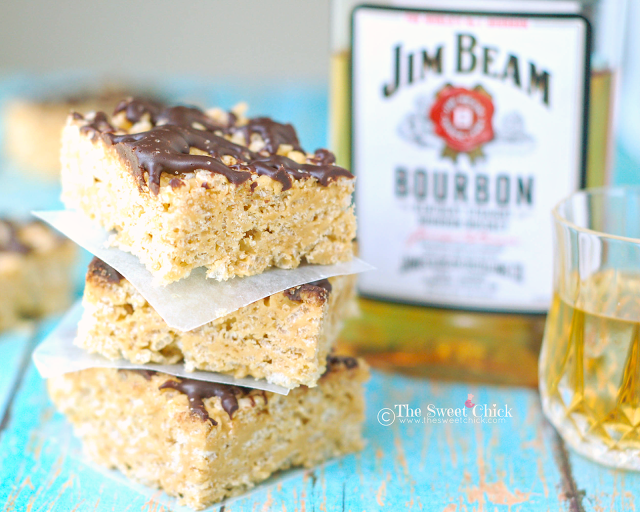
You are going to love the flavors and textures in these Biscoff Bourbon Rice Krispie Treats. They are soft, but crunchy, sweet and salty, with a little bit of alcohol. They would be perfect to bring to your Father’s Day gathering. Just keep them away from the kids. They can eat the plain boring Rice Krispie Treats.
Biscoff Bourbon Rice Krispie Treats
by The Sweet Chick
Prep Time: 15-20 minutes
Cook Time: 5 minutes
Keywords: no bake stove top dessert snack bourbon whiskey biscoff marshmallows rice krispies Father’s Day bars rice krispie treats American
Ingredients (24 squares)
For the treats
- 3 tablespoons butter
- 4 cups mini marshmallows
- 1/2 cup Biscoff spread
- 1 tablespoon bourbon
- 6 cups Rice Krispies cereal (or generic brand)
For the topping
- 1/2 cup semi-sweet chocolate chips
- 1/4 cup heavy cream
- 2 teaspoons bourbon
Optional toppings
- sea salt
- sprinkles
Instructions
For the treats
In a large sauce pan, melt butter and marshmallows over low heat. Stir until completely melted.
Remove from heat and add Biscoff and bourbon. Stir until completely mixed.
Then add the Rice Krispie cereal. Mix until all is well incorporated.
Then pour the mixture into a greased 9 x 13 pan or a cookie sheet and spread it evenly with a piece of waxed paper.
Place in fridge to cool and set.
For the topping
Place the chocolate chips in a glass measuring cup with a spout. Set aside.
In a small sauce pan, bring cream to a boil over medium heat.
Pour cream over the chocolate and let it sit for about two minutes, then stir with a small spatula or fork until mixture becomes smooth and glossy.
Add bourbon and mix well.
Remove the cooled treats from the fridge and drizzle the sauce over the treats. I just poured it with the measuring cup, but you can use a fork or spoon.
I put the treats back in the fridge to set the chocolate before cutting them into squares.
Once they are cut, you don’t need to keep them in the fridge.
Optional toppings
If you want to add a little sea salt or sprinkles, do so before the chocolate sets.
Related Posts





Subscribe for New Racipies
Get mental health tips, updates, and resources delivered to your inbox.