
Maple Chocolate Chip Rice Krispie Treats

Medically reviewed by Christiana George Updated Date: January 6, 2026
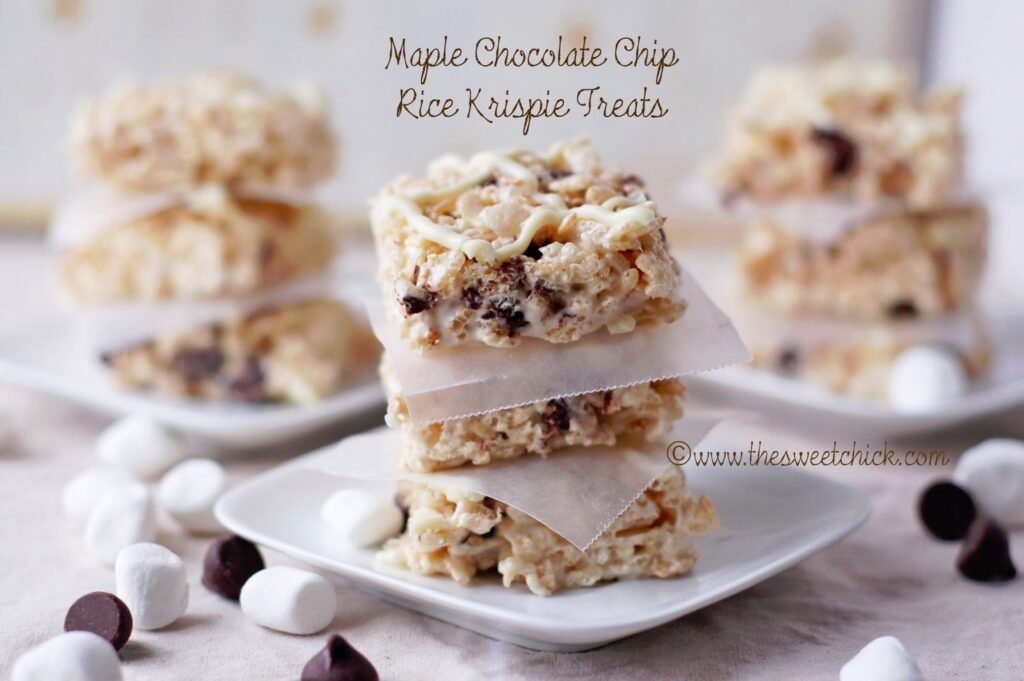
It’s Maple Syrup time in New England right now. This is one of my favorite times of the year, so I was inspired to make a special treat. I have used my dad’s maple syrup in different desserts and dishes this past year, but never in a Rice Krispie Treat. Let me tell you, they sure were a treat and they were gone fast when I brought them to a party at the sugar house.
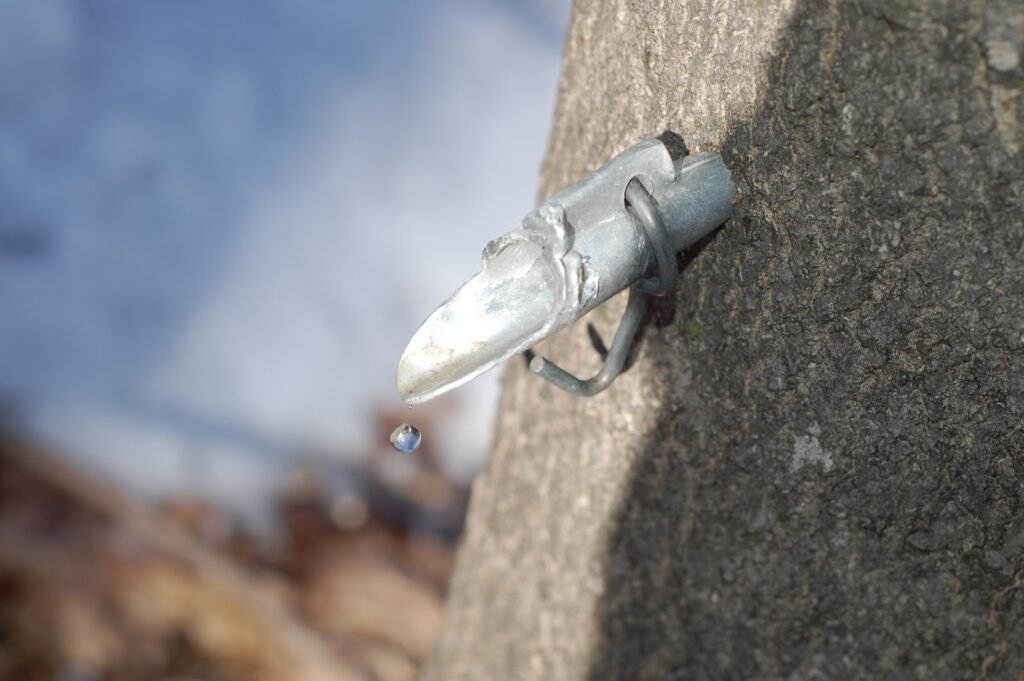

Since my dad makes his own maple syrup, my kids get to experience the whole process from start to finish. First my dad goes around and taps all the maple trees. That means drilling a hole and inserting a tap. Then he hangs all the buckets to collect the maple water. He even taught my daughter how to drink maple water straight from the tap. It has a slightly sweet taste. Here she is a few years ago.


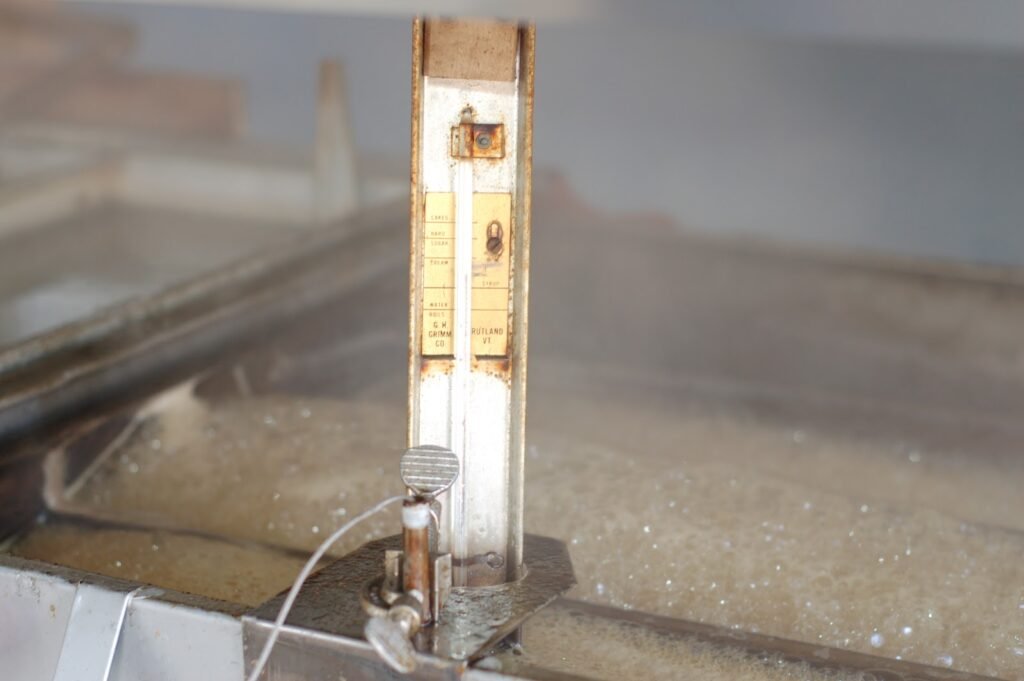
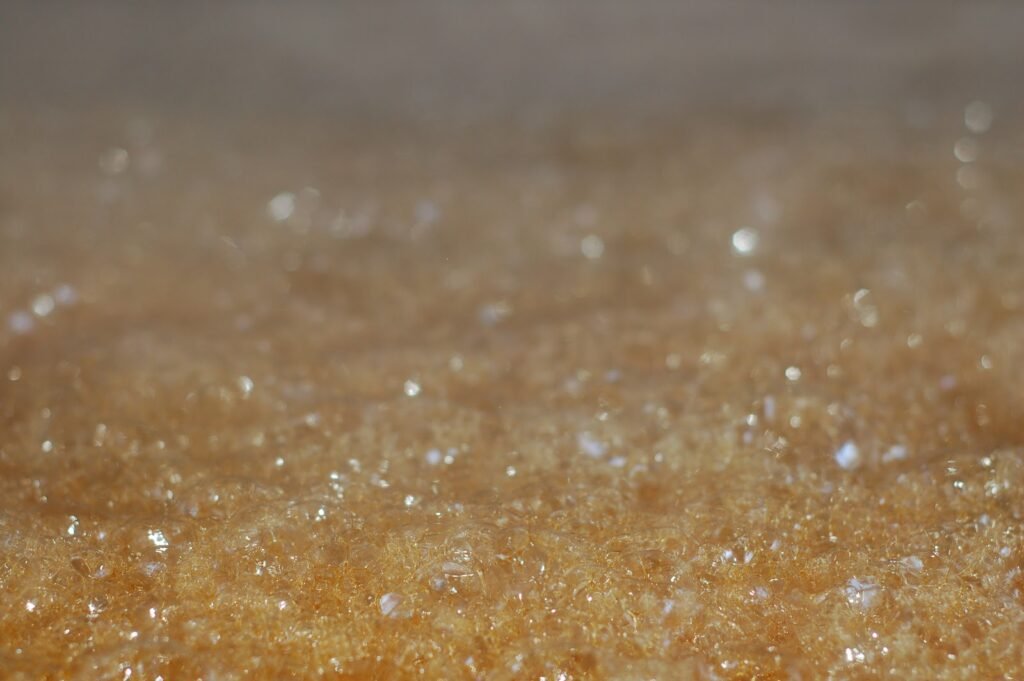
After the water is collected, comes the real fun. We take the water to the sugar house and place it in a big boiler to boil the water down to its syrup form. The syrup is a beautiful golden color. And the smell in the sugar house is amazing. The syrup is then canned and stored, ready to be used for crepes, desserts, whatever you wish. There is nothing like real maple syrup.


Maple Chocolate Chip Rice Krispie Treats
by The Sweet Chick
Prep Time: 15-20 min.
Cook Time: 5-10 min.
Keywords: no bake rice krispies maple syrup chocolate chips
Ingredients (about 12 servings)
- 3 tbsp butter or margarine
- 1pkg (10.5 oz.) mini marshmallows
- 1/4 cup maple syrup
- 6 cups Rice Krispies cereal
- 6 oz. dark or semi-sweet chocolate chips
- 1 bar (4 oz) Ghiradelli white chocolate
Instructions
In a large sauce pan, melt butter and marshmallows over low heat. Stir until completely melted.
Remove from heat. Add maple syrup and stir until all incorporated.
Add chocolate chips and carefully blend into the Rice Krispies mixture. Some of the chocolate may melt.
Pour the mixture into a greased 9 x 13 pan or a cookie sheet and spread it evenly with a piece of waxed paper.
Place in fridge to cool.
When cooled, melt white chocolate bar per directions on package and place in a piping bag or Ziplock bag with tip snipped off. Drizzle the melted chocolate in diagonal pattern across the Rice Krispie treats.
Place the treats back in the fridge to cool.
These treats are so light and with just of hint of sweet that you don’t realize you have eaten the whole batch till it’s too late. And you still don’t feel guilty afterwards. Of course, the other people around you may be a little upset. But hey that just means you will have to whip up another batch.
Related Posts


Subscribe for New Racipies
Get mental health tips, updates, and resources delivered to your inbox.
Brooklyn Blackout Cake

A proper celebratory cake should consist of at LEAST three layers, am I right? Unless the two layers are really thick, or the one layer is a flourless chocolate cake, or an olive oil cake, or something else rustic (and probably foreign). That being said, this cake features three teeny-tiny layers, so maybe it’s only technically a one-and-a-half layers tall. But that’s neither here nor there. The official story is, I made a three-layer cake, and that’s that.
The occasion? My birthday! (I know, I know, who makes their own birthday cake? Hello, a food blogger, duh!) We celebrated on Saturday, therefore the cake was consumed that day. I had to hustle to complete it because my original idea for a twenty-something-layer crepe cake flopped (also, I discovered that Trader Joes’s powdered sugar is slightly gray-colored. Ever seen a gray glaze on a cake? Probably not, because it’s gross-looking.)
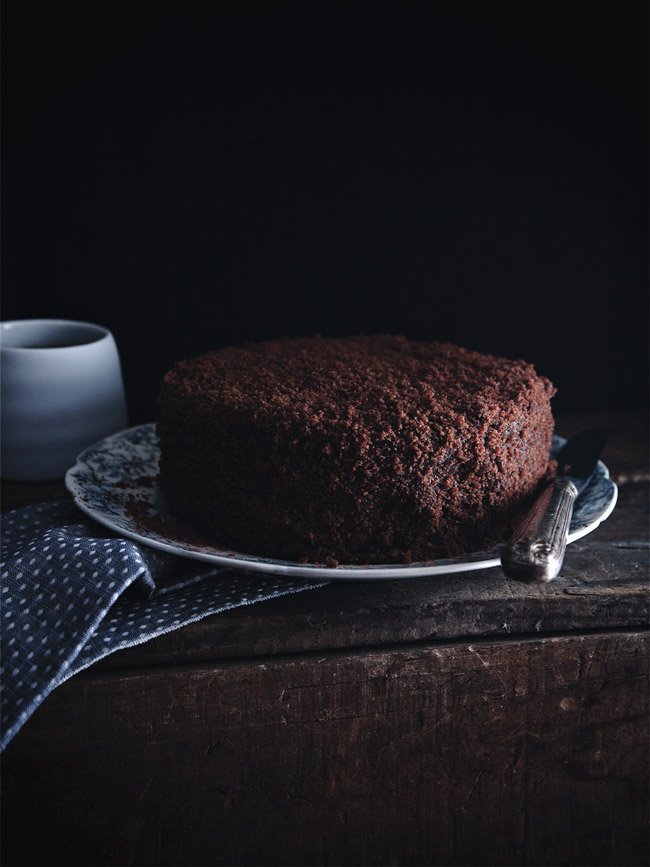
For those unfamiliar with the Brooklyn blackout cake, it’s Americana at its finest. Its name was coined during World War II—the most patriotic name possible for a chocolate cake with chocolate pudding frosting and a chocolate crumb exterior, right?—and for a few decades, it reigned as one of the most delicious, iconic food items in the New York area. Unfortunately, the bakery that invented the cake went out of business, and it vanished. Well, not quite. It’s still plenty nostalgia- and saliva-inducing, but the original recipe is, like all good things, cloaked in secrecy.
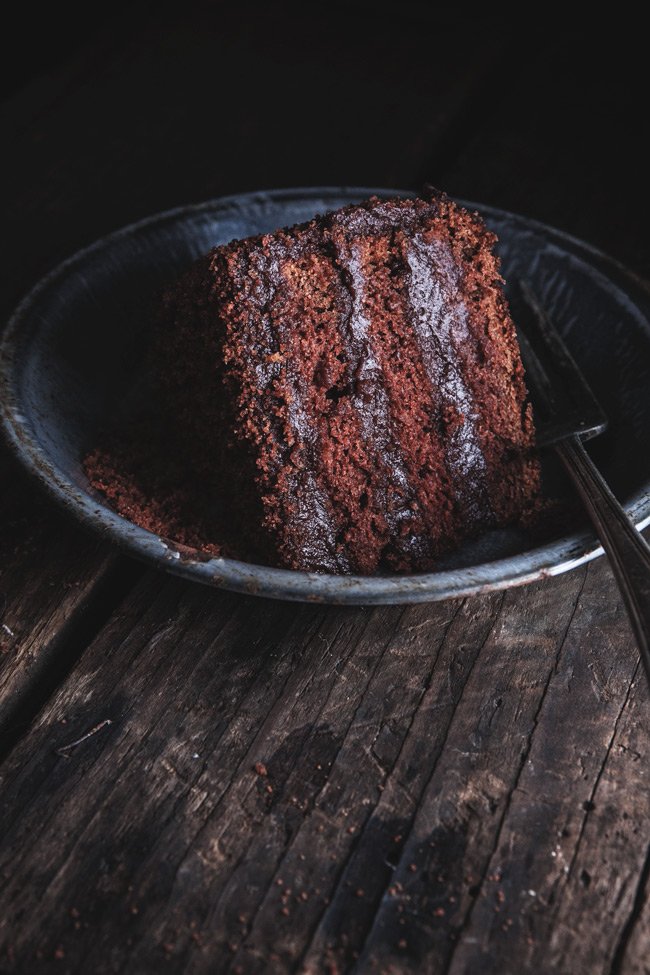
You’ll find versions of it here and there, back-engineered attempts at recapturing the chocolate on chocolate on chocolate magic. Strangely, my favorite rendition isn’t from a bakery in the borough in which its name was clinched, but rather, from a tiny Upper East Side bakery called Two Little Red Hens, which turns out such a DENSE and MOIST slice, that I can only eat half of it (granted, Chris and I always order a slice of cheesecake along with it).
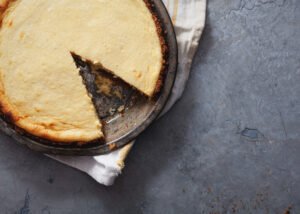
While the cake was consumed in its entirety, I did manage to save a slice so you could see the layers within. For what it’s worth, I found it a bit flat-tasting, lacking in depth, the frosting especially. I was surprised, since it’s from the Hummingbird Bakery cookbook, but then again, I did learn recently that there is such thing as too much chocolate. If you make it, let me know what you think. I may have to adjust my chocolate expectations.

BROOKLYN BLACKOUT CAKE
Makes one 3-layer 6-inch cake
Adapted from the Hummingbird Bakery Cookbook, via Hummingbird High
Note: This recipe was created by Hummingbird Bakery, a London bakery. Michelle wrote that she found the chocolate pudding difficult to make, but I used an immersion blender to mix the corn starch with the water and had no problems with the pudding coming together whatsoever. (A lot of Chinese dishes involve slurries, corn starch with water mixes used to thicken sauces, so maybe I’m just used to the weird properties of corn starch.)
Ingredients:
- For the frosting:
- 1-3/4 cups water plus 1/4 cup water, separated
- 1-3/4 cups granulated sugar
- 1/2 Tbsp light corn syrup
- 1/2 cup unsweetened cocoa powder
- scant 1/3 cup cornstarch
- 3 Tbsp unsalted butter, cold and cut into 1-inch cubes
- 1/4 tsp pure vanilla extract
For the cake:
- 3-1/2 Tbsp unsalted butter, at room temperature
- 10 Tbsp granulated sugar
- 1 egg, room temperature
- 1/4 tsp vanilla extract
- 1/6 cup unsweetened cocoa powder
- scant 1/2 tsp baking powder
- scant 1/2 tsp baking soda
- a pinch of salt
- 1 1/3 cups all-purpose flour
- 2/3 cup whole milk
Directions:
For the frosting: Ideally start on this the day before to give it time to cool fully. Combine 1-3/4 cups water, sugar, light corn syrup, and cocoa powder into a small sauce pan and bring to a boil over medium heat, whisking occasionally. In the meantime, combine the remaining 1/4 cup water with corn starch in a cup and mix with an immersion blender until dissolved. It’ll be relatively thin and uniformly opaque.
Slowly pour the corn starch mix into the sauce pan, whisking vigorously. Let the mix come back to a boil, whisking still. Continue whisking as the pudding thickens. It shouldn’t take more than a few minutes for it to reach a thick chocolate pudding-like consistency. Turn off the heat and stir in the butter, incorporating it completely. The pudding should be shiny and thick.

Pour the pudding into a receptacle, cover the surface with plastic wrap, and place it in the fridge until completely cool.
For the cake: Preheat the oven to 325 degrees F. Butter a 6-inch round pan, and lay a circular parchment paper round on the bottom.
In a stand mixer bowl, cream the butter and sugar until light and fluffy, about 5 minutes. On low speed, mix in the egg until it’s completely incorporated. Scrape down the sides of the bowl, then, on low speed, beat in the vanilla extract, cocoa powder, baking powder, baking soda, and salt. Continue mixing until just combined, then add about half the flour as well as the milk. When just combined, add the remainder of the flour, mixing until just combined.
Pour the batter into the prepared pan, and place it in the oven. Bake for about 30 minutes, until a skewer inserted in the middle comes out clean and the top bounces back a little when you push it. Let the pan cool for a minutes, then empty the cake onto a cooling rack to completely cool. Remove the parchment paper round.
Assembling: Slice off the domed top of the cake. Save it for the crumb topping. Carefully, slice the cake into three even-sized layers (they’ll be quite thin, so be careful). Proceed the way you’d normally assemble a layer cake, adding about 1/4 of the chocolate pudding frosting between layers. (When you take the pudding out of the fridge, it’ll be kind of hard to work with initially, but will become more malleable once it’s been worked with a spatula for a bit.) Cover the exterior of the cake with the rest of the chocolate pudding.
Finally, take that saved dome and process it in a food processor until it turns into fine crumbs. Using a sieve, spread the crumbs evenly across the top of the cake. With the remaining crumbs, cover the sides. I found this easiest to do by taking a handful and patting them onto the sides, first covering the bottom, then moving onto the top.
Related Posts


Subscribe for New Racipies
Get mental health tips, updates, and resources delivered to your inbox.