
Swirls And Chocolate Peanut Butter Tarts

Medically reviewed by Christiana George Updated Date: June 8, 2023

The same laws of nature that cause the half and half to swish through my iced coffee preside over the universe, and hence the universe resides in a cup. The swishes and swirls, on a macro level, remind me of photos I’ve seen of nebulae, frozen moments of a frenetic, cosmic dance. They’re gossamer and ghostly and seem to encompass all that is mysterious, ephemeral, and otherworldly. I like the juxtaposition of the two ideas as I prepare my morning cup.

I’ve been enamored with culinary swirls lately, the ones that happen effortlessly through the process of mixing and folding and pouring. I’m not sure anything manmade can emulate the unintended complexity that such acts bloom into being, though I’m sure the masters at Pixar are certainly trying.
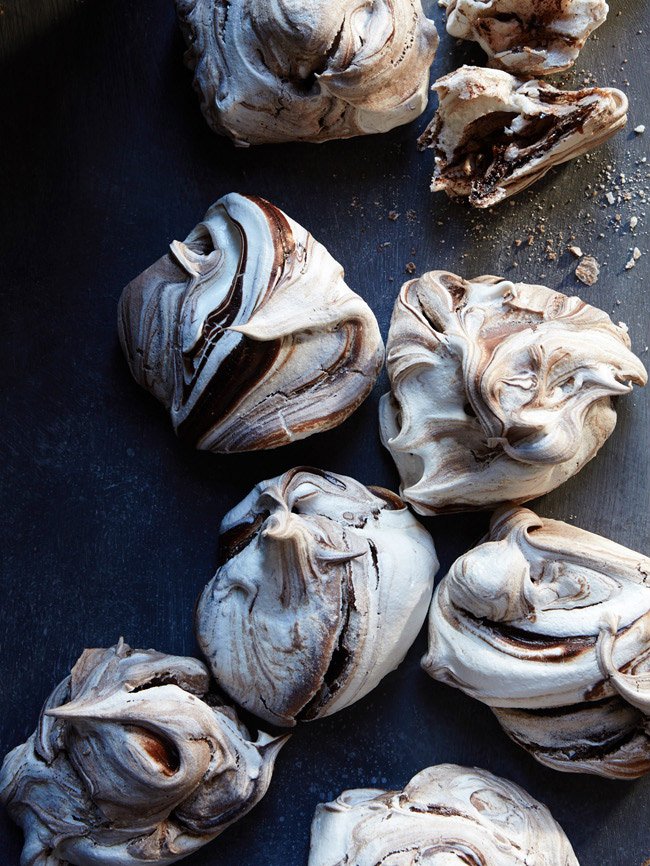
I especially love the streaks that occur when chocolate is folded into meringues.

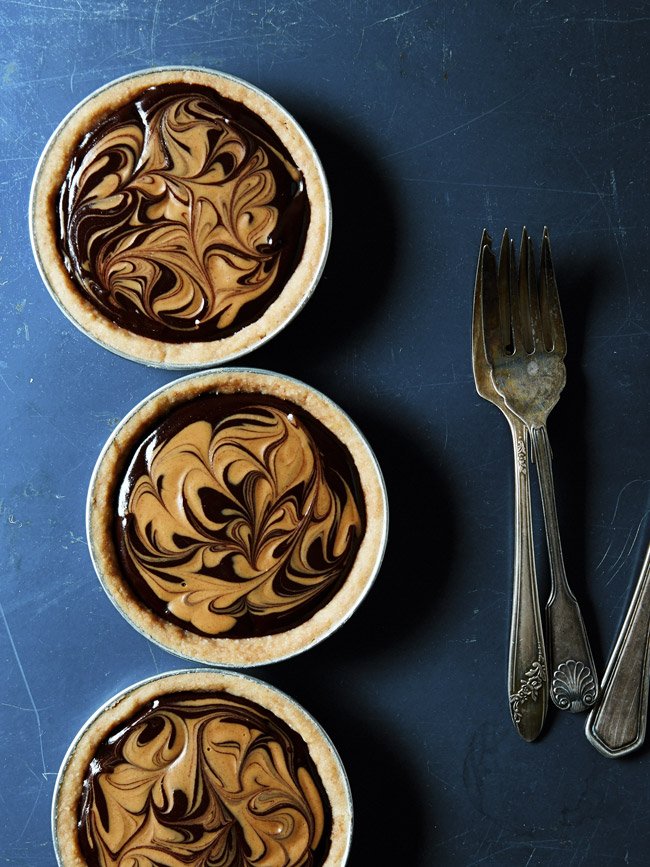
And when peanut butter is folded into a chocolate tart.

Onto other topics. I’ve been nominated for a Saveur Best Food Blogs award in the Best Photography category! What an honor! And I’m really kind of flabbergasted. I mean, I’m sure that among the minimum requirements that must be met in order to be considered a food blog, consistency is one of them? Did I mention this news is weeks-old? But, cool beans anyway! Thank you to whoever nominated me!
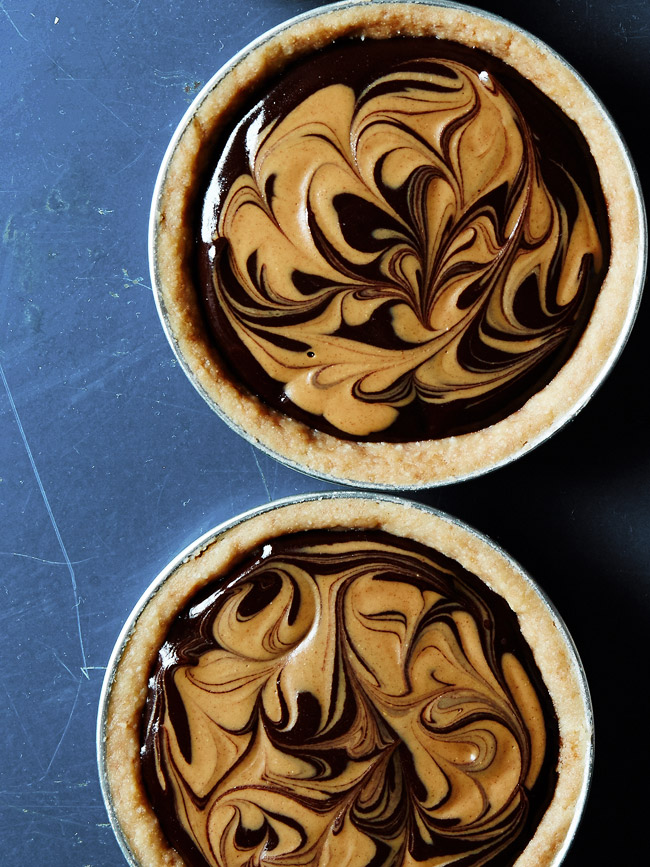
Finally, because this IS a food blog, I’m going to leave you with the recipe for the chocolate peanut butter tarts shown above. I’ve made them four times in the last couple weeks—for two birthdays and twice just because—and think I’ve got the recipe down. While the original recipe is intended for a 9″ tart pan, individual tarts trump giant tarts, period. The crust to filling ratio is just about perfect, and they look damn cute too. The swirls are formed simply by dropping warmed-up peanut butter in teaspoonfuls onto the chocolate, then swirling them around with a skewer. There’s no way to mess up—nature will take care of all the intricacies.
CHOCOLATE PEANUT BUTTER TARTS
Adapted from Chow Makes 4 3.5″-tarts
Ingredients:
For the crust:
1/4 cup (half a stick) unsalted butter, melted
2 T granulated sugar
pinch salt
1/2 cup + 2 T all-purpose flour
For the filling:
6 oz. semi-sweet chocolate
2 T unsalted butter
1/2 cup heavy cream
2 T granulated sugar
pinch salt
2 to 3 T smooth peanut putter for swirling
Directions:
For the crust: In a small bowl, mix the butter, sugar, and salt. Add the flour and gently mix until just combined. Divide the dough into four equal pieces and press each piece evenly into 3.5″ tart pans, including up the sides. Trim the tops and place the tart pans in the fridge until firm, 15 – 30 minutes. Preheat oven to 350 degrees F.
When firm, remove the crusts from the fridge and prick evenly with a fork. Bake about 20 minutes until golden brown. Remove from oven and let cool.
For the filling: While the crusts are cooling, melt the chocolate and butter in a double-broiler. In a small saucepan, heat the heavy cream, sugar, and salt until boiling, then reduce heat to low and simmer for 1 minute. Pour the cream mixture over the chocolate and stir until evenly combined. Pour the chocolate mixture evenly into the tart pans and let cool for about 10 minutes.
Heat up the peanut butter (the microwave works best) so that it’s runny, about 20 seconds. Using a teaspoon, drop mounds of peanut butter onto the chocolate ganache. Use as much or as little as you want; you’ll have to experiment to discover your preferences. Using a skewer or a chopstick, gently swirl through peanut butter in swoops. Don’t overdo it or the pattern will dilute.
Let set for another hour or so until the tarts aren’t quite as jiggly. You can also refrigerate the tarts at this point, but they taste better at room temperature, so remove them from the fridge about an hour before serving.
Related Posts



Subscribe for New Racipies
Get mental health tips, updates, and resources delivered to your inbox.
Caponata, And the Rainstorm of Rainstorms


Remember how I said that I’d rekindled my love for eggplant? Well, part of that was helped along by some amazing caponata—an Italian eggplant appetizer—I had one tempestuous evening at a little Italian restaurant close to Lincoln Center.
There’s something so glamorous about dining al fresco during a storm. While many restaurant patrons made for drier parts, namely indoors, our table staunchly remained, seated at the threshold of getting absolutely drenched. Lightning streaked spectacularly across the sky, sideways(!), followed by the low rumbling of thunder. And the light of passing cars, refracted by the rain, shimmered like mirages, except their honking sounded all too real. I will never tire of these dramatic shows.
But back to that caponata. There we were, seated outside during a thrilling thunderstorm, sheets of rain spraying at us at oblique angles, and I was downing eggplant like there was no tomorrow. It was so flavorful, so moist! I forgot my manners. I was the only un-glamorous element of the whole setup. At least everyone was distracted by the lightning around us and a leak above one of our heads.
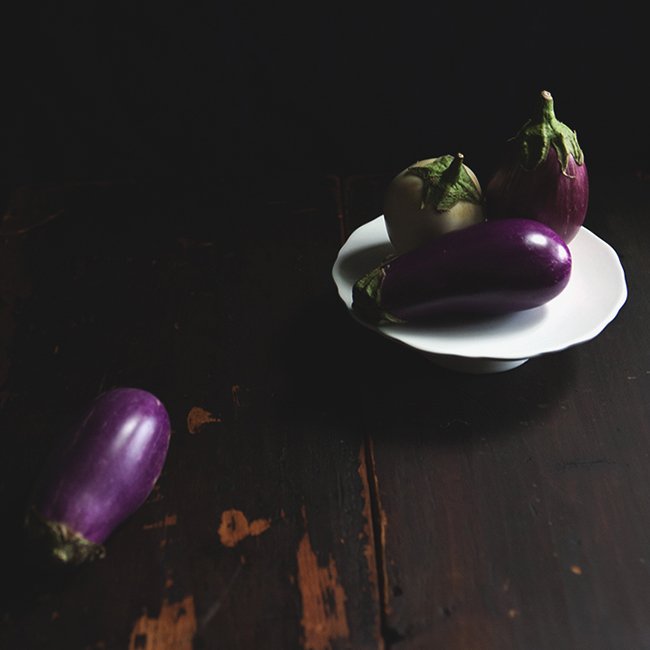
Back at home, I tried to replicate the dish, starting with choice eggplant from the Union Square Greenmarket. I will never tire of the Greenmarket. (But I can’t wait for the damn F train to get fixed so I’m not trudging 12 blocks back to the subway with quickly-wilting plant matter.)

It turns out, there’s no one recipe for caponata. At its base, it’s eggplant cooked until it’s really soft, in a tomato-y sauce. But beyond that, well, just as there are thousands of regional cuisines in Italy, there are endless variations of this classic antipasto.
I stuck with good old pantry staples.

I realize it doesn’t appear wholly appetizing, but please try not to judge it harshly. It does its best. Eggplant just sort of, well, does that wilting thing, where it turns grayish-brown and flaccid, but that doesn’t make it any less lovable. Not to me at least.
And its taste? Well, it’s not the same as what I remember. This caponata didn’t turn out as flavorful or as moist. It’s kind of a different food altogether. Less tang, more… something. I wasn’t sure what to think. But then my friend came over the other night, and we shoveled most of it down. As if there was no tomorrow. I forgot my manners. And I must’ve looked so un-glamorous. But I looked up and saw that she wasn’t noticing, because she was doing the same.

CAPONATA
Serves 6 to 8
From Bon Appetit
Ingredients:
5 Tbsp olive oil
1-1/2 pound eggplant, unpeeled, cut into 1/2 inch cubes
1 medium onion, cubed
4 large garlic cloves, chopped
1 14-1/2 ounce can diced tomatoes with Italian seasonings in juice
3 Tbsp red wine vinegar
2 Tbsp drained capers
1/3 cup chopped fresh basil
Toasted pine nuts
Directions:
Heat oil in heavy large pot over medium heat. Add eggplant, onion, and garlic cloves. Saute until eggplant is soft and brown, about 15 minutes. Add diced tomatoes with juice, then red wine vinegar and capers. Cover and simmer until eggplant and onion are very tender, stirring occasionally, about 12 minutes. Season caponata to taste with salt and pepper. Mix in fresh basil. Transfer caponata to serving bowl. Sprinkle with toasted pine nuts.
Related Posts


Subscribe for New Racipies
Get mental health tips, updates, and resources delivered to your inbox.