
Are Broccoli Acidic? Broccoli and Acid Reflux

Medically reviewed by Aneeza Pervez Updated Date: January 2, 2026
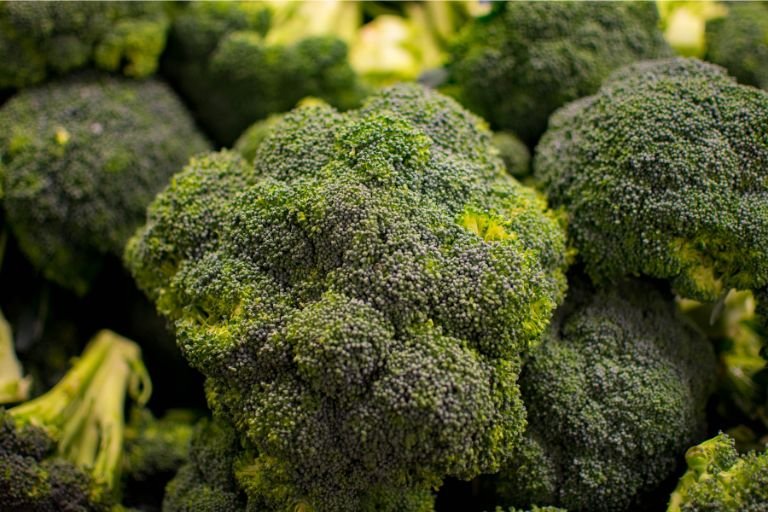
Broccoli is widely regarded as one of the healthiest vegetables, offering an abundance of vitamins, minerals, and antioxidants. However, for individuals dealing with acid reflux or GERD, questions arise about its acidity and whether it’s a safe food to consume. Does broccoli trigger acid reflux? Or could it actually help manage symptoms?
In this article, we’ll break down the acidity of broccoli, its effects on acid reflux, and practical tips for incorporating this superfood into your diet safely. Read on to discover everything you need to know about broccoli and its role in managing acid reflux.
Exploring Broccoli’s Acidity: Is Broccoli Acidic or Alkaline?
Broccoli has long been celebrated as a highly nutritious vegetable, but understanding its pH level is crucial for those managing acid reflux.
1. The pH Level of Broccoli
Broccoli is classified as a mildly alkaline food, with a pH level ranging between 6.5 and 7.5. This makes it slightly above neutral on the pH scale. Unlike acidic foods, broccoli is less likely to aggravate acid reflux and may even help balance stomach acidity.
2. Why Broccoli Is Alkaline
- Low Natural Acidity: Unlike citrus fruits or tomatoes, broccoli contains minimal natural acids.
- Rich in Minerals: Minerals like magnesium and calcium contribute to broccoli’s alkalizing effect in the body, helping neutralize stomach acid.
In summary, broccoli is an alkaline vegetable, making it a favorable option for individuals seeking reflux-friendly foods.
The Nutritional Benefits of Broccoli for Acid Reflux
Broccoli’s nutritional profile offers significant health benefits, including its ability to support digestive health. Here’s why broccoli can be a great addition to your diet:
1. High Fiber Content
Broccoli is an excellent source of dietary fiber, which helps promote smooth digestion. Fiber prevents constipation and reduces the risk of bloating, both of which can exacerbate acid reflux symptoms.
2. Anti-Inflammatory Properties
This green vegetable is packed with antioxidants like sulforaphane, which reduce inflammation in the digestive tract. A less inflamed esophagus can lead to fewer acid reflux episodes.
3. Vitamins and Minerals
Broccoli is rich in essential nutrients, including:
- Vitamin C: Helps heal damaged tissues in the esophagus caused by acid reflux.
- Vitamin K: Plays a role in maintaining healthy digestion.
- Magnesium: Known to help balance stomach acid levels.
4. Low Fat and Calories
Unlike fatty foods, broccoli is low in fat and calories, making it a safe and light choice for those prone to reflux.
Can Broccoli Cause Acid Reflux? Debunking Common Myths
Although broccoli is generally considered safe for acid reflux, there are instances where it may cause discomfort. Let’s explore the circumstances under which broccoli could potentially lead to acid reflux.
1. Overeating Broccoli
Consuming large quantities of broccoli in one sitting can cause bloating and gas, putting pressure on the lower esophageal sphincter (LES) and triggering reflux symptoms.
2. Raw Broccoli vs. Cooked Broccoli
- Raw Broccoli: The high fiber content in raw broccoli can be harder to digest for some individuals, leading to bloating or gas.
- Cooked Broccoli: Steamed or boiled broccoli is easier to digest and less likely to cause discomfort.
3. Individual Sensitivities
Some people may be sensitive to cruciferous vegetables like broccoli, which can lead to mild digestive discomfort. However, this varies from person to person and is not indicative of the vegetable being acidic.
How to Incorporate Broccoli into a Reflux-Friendly Diet?
To enjoy broccoli without triggering acid reflux, it’s essential to prepare and pair it appropriately. Follow these tips for a reflux-safe experience:
1. Opt for Gentle Cooking Methods
- Steaming: Steamed broccoli retains most of its nutrients while being easier on the stomach.
- Boiling: Lightly boiled broccoli is soft and gentle on the digestive system.
- Roasting: Roasting broccoli with a drizzle of olive oil and mild spices can add flavor without increasing acidity.
2. Avoid Over-Seasoning
Spicy or acidic seasonings like chili powder, garlic, or vinegar should be avoided, as they can irritate the stomach and trigger reflux. Instead, use reflux-friendly seasonings like dill, parsley, or turmeric.
3. Pair with Alkaline Foods
Combine broccoli with other reflux-friendly, alkaline foods such as:
- Quinoa or brown rice
- Sweet potatoes
- Leafy greens like spinach or kale
4. Control Portion Sizes
Stick to moderate portions to avoid overeating, which can put pressure on the LES and worsen reflux symptoms.
Related To Read: Are Salads Healthy?
Broccoli Recipes for Acid Reflux Sufferers
1. Steamed Broccoli with Olive Oil and Lemon-Free Dressing
- Ingredients: Fresh broccoli, olive oil, salt, and pepper.
- Instructions: Steam broccoli for 5-7 minutes, drizzle with olive oil, and season lightly with salt and pepper for a quick, reflux-friendly side dish.
2. Broccoli and Quinoa Bowl
- Ingredients: Steamed broccoli, cooked quinoa, cucumber slices, and a light yogurt dressing.
- Instructions: Mix all ingredients in a bowl and top with a yogurt-based dressing for a healthy, acid reflux-friendly meal.
3. Broccoli and Sweet Potato Mash
- Ingredients: Boiled broccoli, steamed sweet potatoes, and a pinch of salt.
- Instructions: Blend the ingredients into a smooth mash for a hearty, alkaline-rich dish.
Recipe: Broccoli Rabe & Egg Pizza
Tips for Managing Acid Reflux When Eating Broccoli
Even reflux-friendly foods like broccoli should be consumed mindfully. Here are some additional tips to ensure comfort while eating broccoli:
1. Chew Thoroughly
Properly chewing your food aids digestion and reduces the likelihood of gas or bloating.
2. Avoid Eating Late at Night
Finish meals at least 2-3 hours before bedtime to minimize nighttime reflux.
3. Maintain an Upright Position After Meals
Sitting or standing after eating helps keep stomach acid from flowing back into the esophagus.
4. Listen to Your Body
If you notice that broccoli consistently causes discomfort, try smaller portions or switch to alternative vegetables like zucchini or carrots.
FAQs About Broccoli and Acid Reflux
1. Is broccoli acidic or alkaline?
Broccoli is alkaline, with a pH level between 6.5 and 7.5.
2. Can broccoli trigger acid reflux?
While broccoli is generally safe, overeating or consuming it raw may cause bloating or gas, which can indirectly trigger reflux.
3. Is steamed broccoli good for acid reflux?
Yes, steamed broccoli is a gentle and reflux-friendly preparation method.
4. Are other cruciferous vegetables safe for acid reflux?
Most cruciferous vegetables like cauliflower and Brussels sprouts are safe when cooked but may cause gas or bloating in sensitive individuals.
5. Can broccoli help reduce acid reflux symptoms?
Broccoli’s alkaline nature and anti-inflammatory properties can help reduce reflux symptoms for many individuals.
Conclusion
Broccoli is a mildly alkaline, nutrient-rich vegetable that can be safely enjoyed by most individuals with acid reflux. By preparing it with gentle cooking methods, avoiding acidic or spicy seasonings, and pairing it with alkaline foods, you can incorporate broccoli into a reflux-friendly diet without discomfort.
As with any food, portion control and individual sensitivities are key. If you’ve been avoiding broccoli due to acid reflux concerns, this guide offers you practical tips and recipes to enjoy its numerous health benefits worry-free.
Feel free to share this article with others and explore more of our acid reflux-friendly content for tips on maintaining a healthy and comfortable diet!
Related Posts


Subscribe for New Racipies
Get mental health tips, updates, and resources delivered to your inbox.
32 Foods That Burn Belly Fat Fast and Get a Flat Tummy

You want to lose your belly fat and get a flat tummy just by eating food. Are you insane? Do you really believe that only eating can help you achieve your desired body?
Indeed, yes! Some foods are exceptionally high in antioxidants, anti-inflammatory, and anti-obesity compounds which help dramatically to burn stubborn belly fat and contour your figure.
Here we come up with 32 foods that burn belly fat fast that have been scientifically proven to burn belly fat. Let’s look at each food item – keep reading until the end because we have a bonus for you: a 7-day meal plan for fat loss!
Before we get to the 32 foods that burn belly fat fast and how they operate, let’s look at the 32 foods that help belly fat burn t in general:
List of 32 Foods That Burn Belly Fat Fast
The food rich in protein and low in calories while having good antioxidant and anti-inflammatory properties are best for burning belly fat and leaning stomach muscles.
| Foods | Category | Benefits |
| Orange | Fruit | Boosts metabolism, rich in antioxidants, helps reduce bloating |
| Watermelon | Fruit | Hydrating, low in calories, helps reduce water retention |
| Apples | Fruit | High in fiber, rich in antioxidants, helps reduce bloating |
| Strawberries | Fruit | Low in calories, rich in antioxidants, helps reduce bloating |
| Kiwi | Fruit | Boosts metabolism, rich in fiber, helps reduce bloating |
| Spinach | Vegetable | Low in calories, high in nutrients, helps reduce bloating |
| Red bell pepper | Vegetable | Low in calories, rich in antioxidants, helps reduce bloating |
| Carrot | Vegetable | Low in calories, rich in antioxidants, helps reduce bloating |
| Mushrooms | Vegetable | Low in calories, high in nutrients, helps reduce bloating |
| Lettuce | Vegetable | Low in calories, high in nutrients, helps reduce bloating |
| Beets | Vegetable | Low in calories, rich in nutrients, helps reduce bloating |
| Chicken breast | Lean Meat | High in protein, low in fat, helps build lean muscle mass |
| White-fleshed fish | Lean Meat | High in protein, low in fat, helps build lean muscle mass |
| Lean beef | Lean Meat | High in protein, low in fat, helps build lean muscle mass |
| Salmon | Lean Meat | High in protein, rich in omega-3 fatty acids, helps reduce inflammation |
| Yogurt | Dairy | High in protein, rich in calcium, helps build lean muscle mass |
| Cottage cheese | Dairy | High in protein, low in fat, helps build lean muscle mass |
| Eggs | Dairy | High in protein, rich in nutrients, helps build lean muscle mass |
| Reduced-fat and skim milk | Dairy | High in protein, low in fat, helps build lean muscle mass |
| Kefir | Dairy | High in protein, rich in probiotics, helps improve digestion |
| Protein water | Beverage | High in protein, hydrating, helps build lean muscle mass |
| Green smoothies | Beverage | High in nutrients, rich in antioxidants, helps reduce bloating |
| Green tea | Beverage | Boosts metabolism, rich in antioxidants, helps reduce bloating |
| Coffee | Beverage | Boosts metabolism, rich in antioxidants, helps reduce bloating |
| Apple cider vinegar | Beverage | Supports weight loss, improves digestion, helps reduce bloating |
| Low-carb bread | Bread | Low in carbs, high in fiber, helps reduce bloating |
| Sourdough bread | Bread | Low in carbs, high in fiber, helps reduce bloating |
| Whole grain bread | Bread | High in fiber, rich in nutrients, helps reduce bloating |
| Oat bread | Bread | High in fiber, rich in nutrients, helps reduce bloating |
| Almonds | Nuts | High in protein, rich in healthy fats, helps reduce bloating |
| Pistachios | Nuts | High in protein, rich in healthy fats, helps reduce bloating |
| Walnuts | Nuts | High in protein, rich in healthy fats, helps reduce bloating |
👉Related Article: 11 Effective Homemade Drinks That Burn Fat While Sleeping
Here is the list of foods you can add to your fat-burn diet plan:
Fruits That Burns Belly Fat Fast
Fruits are naturally rich in fiber, protein, carbohydrates, antioxidants, and water while low in calories and fats.
Adding fruits to your diet helps to lower calorie intake, ensure adequate nutritional intake, reduce obesity-related inflammation, and support weight loss, particularly from the abdominal region.
Let’s take a quick look at the best fruits for weight loss and their nutritional profiles.
| Fruit Name | Calories | Fats | Carbohydrates | Protein |
| Orange | 69 | 0.2 g | 18 g | 1.3 g |
| Watermelon | 86 | 0.4 g | 22 g | 1.7 g |
| Apples | 95 | 0.3 g | 25 g | 0.5 g |
| Strawberries (5 large servings) | 29 | 0.3 g | 6.9 g | 0.6 g |
| Kiwi | 42 | 0.4 g | 10 g | 0.8 g |
#1 Orange
Oranges are low in calories, high in fiber, and highly filling. It aids in calorie reduction and promotes stomach health.
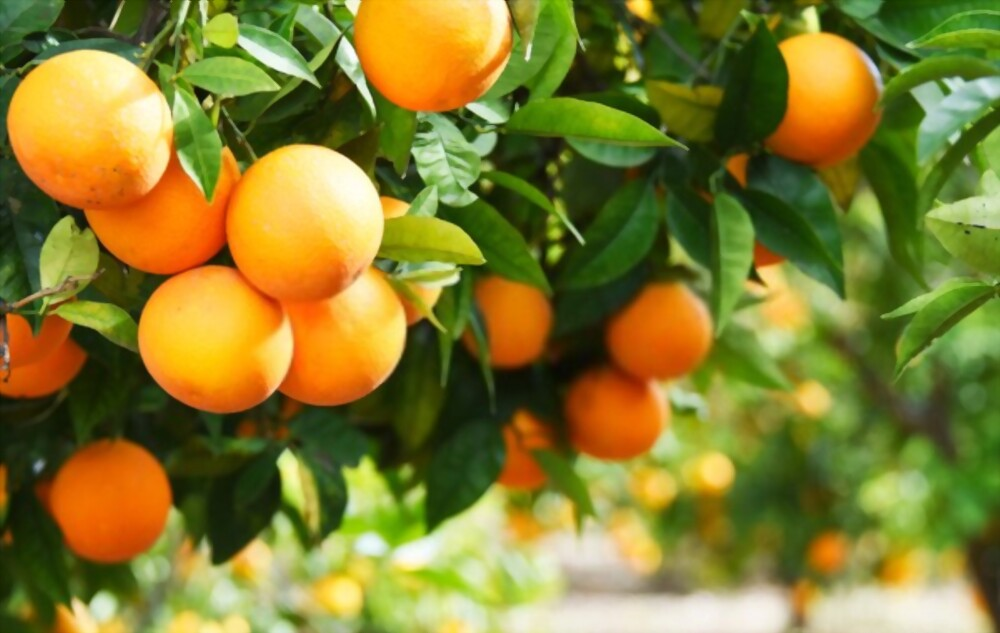
Furthermore, it is a natural source of vitamin C and potent antioxidants (including vitamins, carotenoids, flavonoids, and minerals), which aids in immunity and metabolism, resulting in healthy weight loss.
It contains bioactive ingredients which accelerate lipid metabolism, which promotes weight loss and losing fat from the waist, hip, and other problematic areas in overweight people. (1)
There are many types of oranges, including blood, naval, java, Cara cara, etc. However, research indicates that Moro Oranges have potent anti-obesity and fat-melting properties. (2)
#2 Watermelon
Watermelon is a hydrating, refreshing, and nourishing fruit.
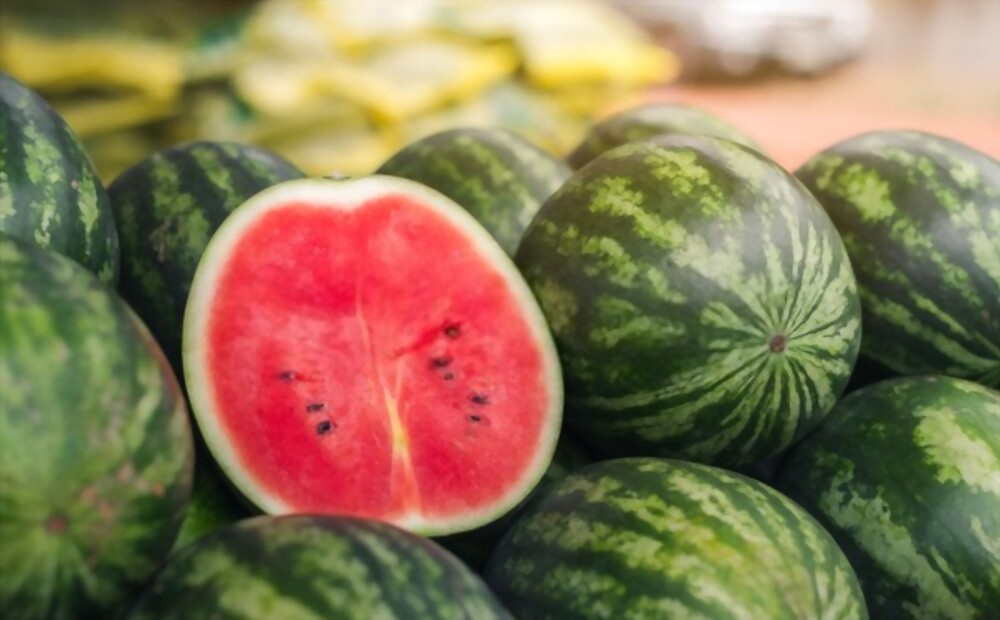
It contains up to 92% water, a good dose of potassium, amino acids, and some vitamins while low in calories and having natural sweets. It helps to hydrate, detox, and support metabolism.
Moreover, it contains a good amount of arginine protein which is linked with waist fat burn and moderate weight loss. (3)
#3 Apples
You’ve probably heard this phrase almost every time you eat an apple, “an apple a day keeps the doctor away.”
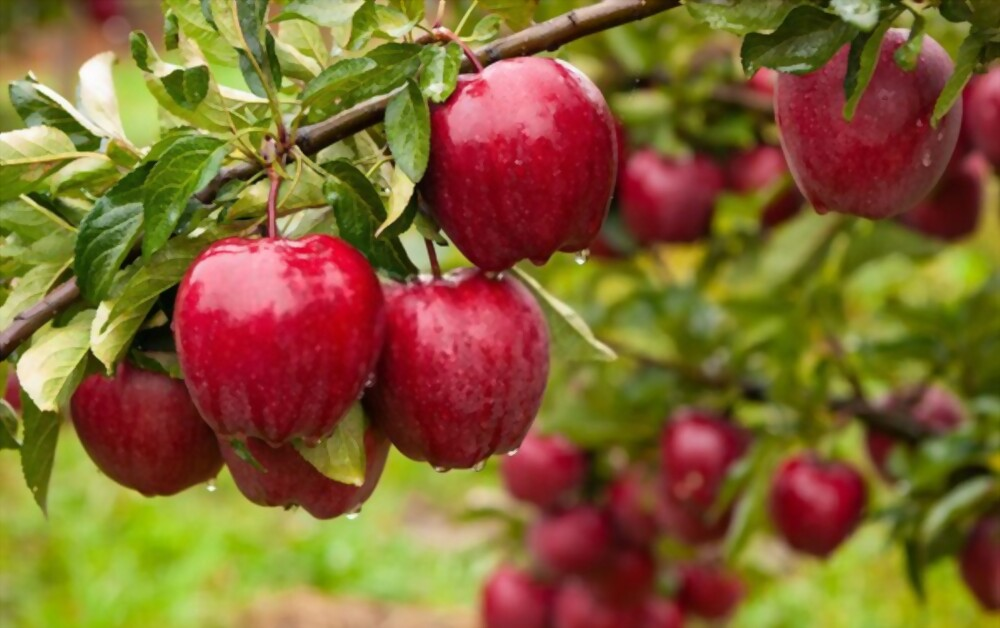
This adage is true because apples are naturally high in life-promoting nutrients, water, and minerals. In addition, it contains polyphenols, gut-friendly fiber, carotenoids, and other important nutrients.
Experimentation on human and animal trials shows that it has a significant fat-burning and weight-loss effect from the problematic areas, in addition to being nutritionally beneficial.
However, additional research is being conducted. (4)
#4 Strawberries
Strawberries are another very beneficial fruit for losing weight from the midsection.
This fruit contains soluble fibers (beta-glucan and glucomannan), which speed up digestion and reduce fat absorption.
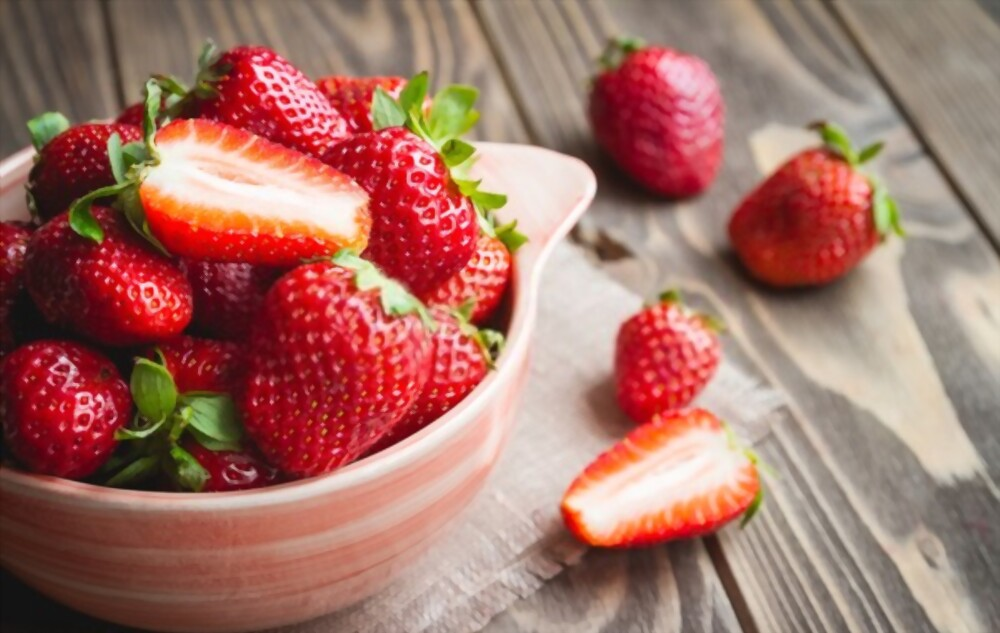
Moreover, it stimulates the production of appetite-suppressing hormones such as leptin, and adiponectin, which in turn reduce calorie intake, hunger pangs, and, ultimately weight loss. (5)
#5 Kiwi
Studies suggest that eating kiwi fruits daily helps to reduce inflammation, body fat mass, insulin resistance, and improves blood pressure in obese and overweight people. (6)
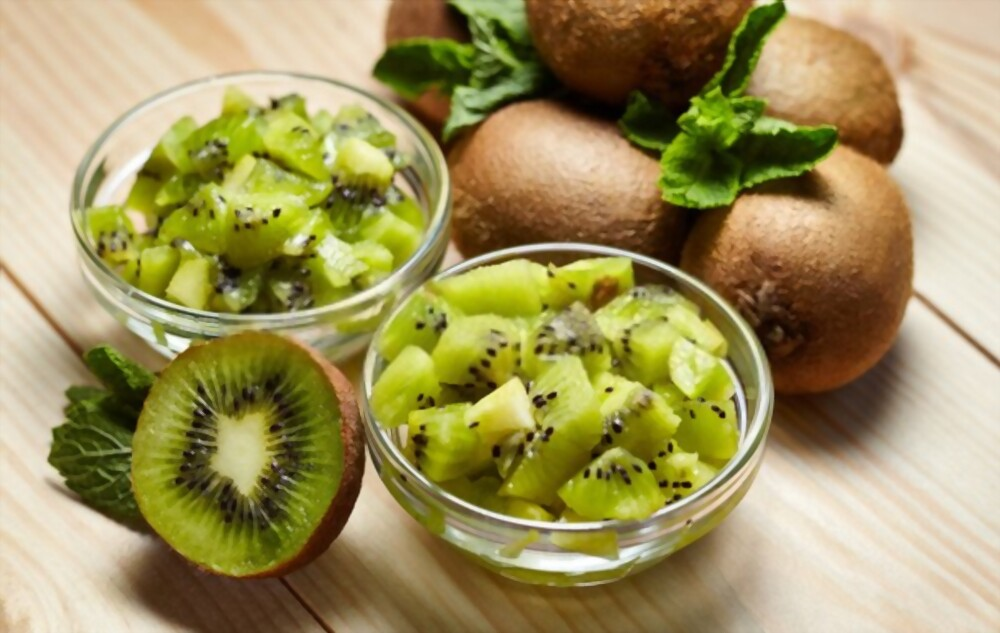
Kiwi fruits are naturally rich in vitamin C, potent antioxidants, and dietary fiber, which helps to support immunity, heart health, weight loss, and stomach health.
Vegetables For Trimming the Waistline
Eating vegetables, whether cooked, boiled, raw or in a salad, helps greatly in trimming the waistline. Natural veggies, particularly leafy green vegetables, are high in dietary fiber, antioxidants, and amino acids. Moreover, veggies are low in calories and highly satiating.
Following is the list of vegetables that helps to burn fat from the abdominal region:
| Name | Calories | Fats | Carbohydrates | Fibers |
|---|---|---|---|---|
| Spinach | 41 | 0.5 g | 6.8 g | 4.3 g |
| Red Bell Pepper | 32 | 0.2 g | 7.6 g | 1.4 g |
| Carrots | 16 | 0.1 g | 3.8 g | 1.4 g |
| Mushrooms | 3.4 | 0.1 g | 0. 6 g | 0. 3 g |
#6 Spinach
Spinach is a leafy green vegetable rich in iron, potassium, fiber, water, antioxidants, vitamins A, C, E, and K.
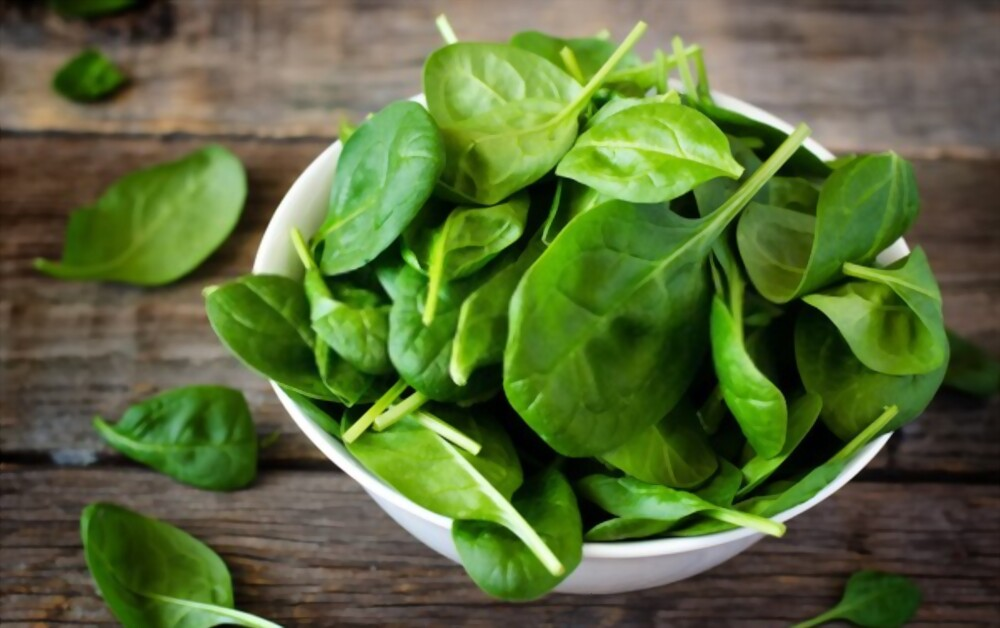
Moreover, it is rich in green leaf membrane thylakoids, which help to reduce hunger by up to 95% and boost fat burn from the stomach, liver, and nearby organs. (7) (8)
#7 Red Bell Pepper
Red bell pepper helps manage fat burn and weight.
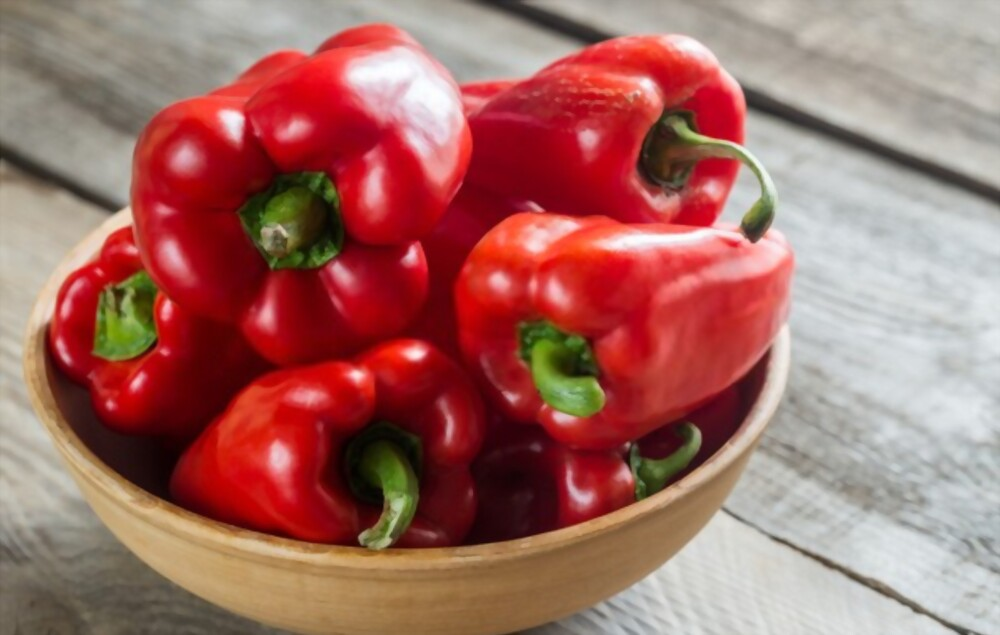
Research suggests that red bell pepper contains a significant amount of capsaicin which assists in reducing fat mass, boosting metabolism, and supporting weight loss. (9) (10)
Moreover, it is incredibly rich in antioxidants, fiber, and vitamins A & C.
#8 Carrots
You may know carrots are the best source of beta-carotene. But, you may need to learn beta-carotenes break readily into vitamin A, which targets fat burn, particularly visceral fat.

Moreover, it is low in calories and high in dietary fiber, which aids in weight loss.
However, moderation in eating is the key when trying to lose weight; it is generally recommended to eat 1 cup of raw carrots per day when trying to lose weight. (11)
#9 Mushrooms
Mushrooms are another best food to suppress fat accumulation in the tummy.
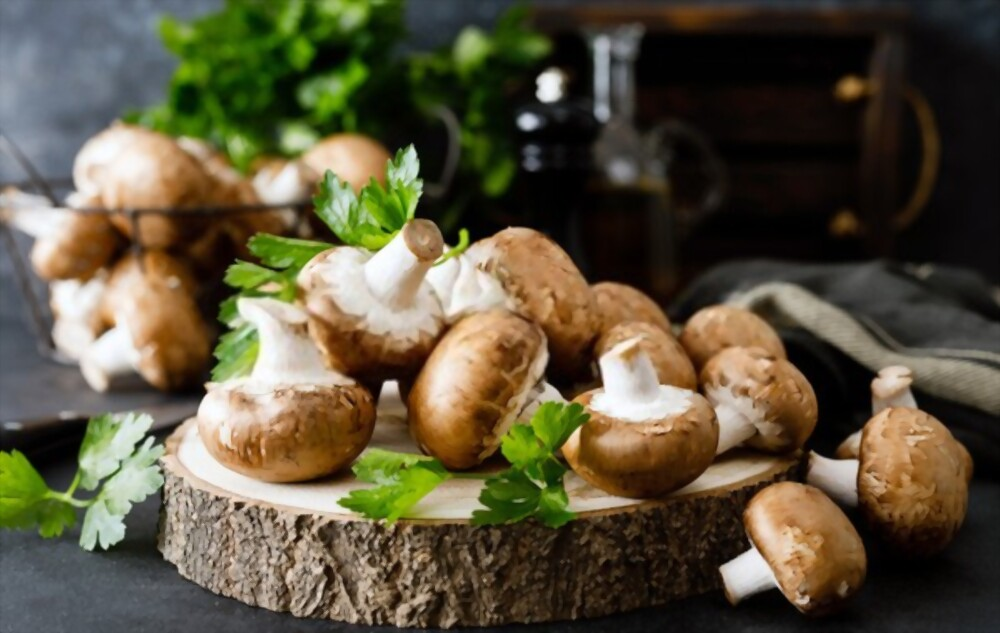
It boosts anti-inflammatory actions, which help to control dyslipidemia and obesity-related hypertension.
Moreover, it has a strong antioxidant effect which helps significantly in treating metabolic syndromes, including obesity. (12) (13)
2 Veggies That Destroy Stomach Fat Overnight
| Veggie Name | Calories | Fats | Carbohydrates | Fiber |
| Lettuce | 16 | 0.3 g | 3.1 g | 2 g |
| Beets | 22 | 0.1 g | 5 g | 1 g |
#10 Lettuce
Lettuce is not a fat-burning food, but it helps greatly in burning fat and weight management.
Since 100 grams of lettuce merely contains 16 or 15 calories, it allows you to reduce your calorie intake to a great extent.
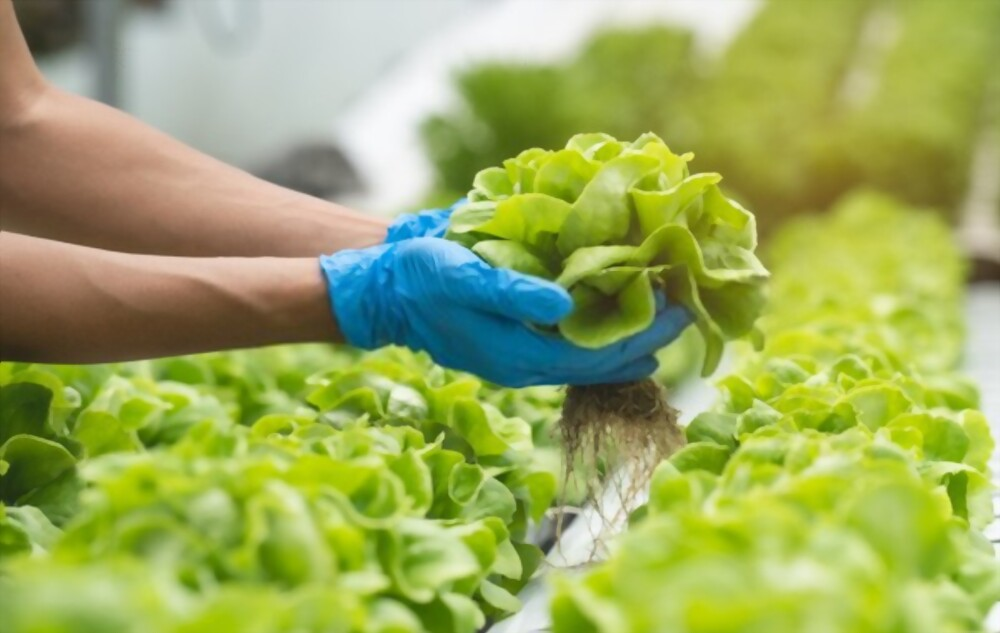
If you eat only lettuce salad in your lunch or snacks instead of a 150 or 200 calories diet, it helps you greatly in weight management. As losing fat is all about less taking and more expending of calories.
Moreover, lettuce induces an antioxidant effect in the body, which helps to reduce obesity-related inflammation and oxidative stress. However, human studies are still in progress (14)
#11 Beets (Preferably Beetroot Juice)
Beetroot juice is extensively rich in antioxidants, phytonutrients, and dietary fiber while also low in calories and fats.
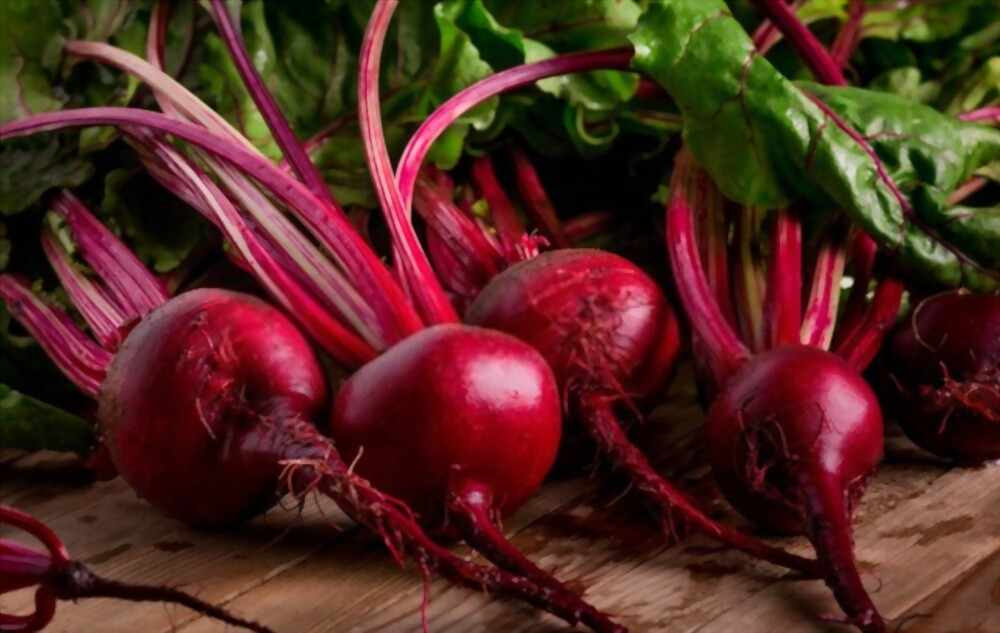
Research suggests that taking a single serving of beetroot juice daily can help to improve blood lipid profile, reduce inflammation, and combat obesity in obese and slightly overweight people. (15) (16)
Besides, beets are generous in magnesium content, which helps reduce the abdominal region’s fat and improve muscle mass. (17)
Lean Meat: What Are The Best Lean Meats For Weight Loss?
Lean meat is generally low in fats and high in protein than regular meat. As a result, it helps substantially in weight management. Here is a short comparison list of different lean meats’ nutrient content:
| Name | Calories | Fats | Carbohydrates | Protein |
| Chicken breasts | 198 | 4.3 g | 0 g | 37 g |
| White-fleshed fish | 208 | 4 g | 0 g | 40 g |
| Lean beef | 196 | 10 g | 0 g | 24 g |
| Salmon | 468 | 28 g | 0 g | 50 g |
#12 Chicken Breasts
Chicken breast is a flavorful and rich source of dietary protein, which helps significantly in reducing the fat mass and getting lean muscles. (18)
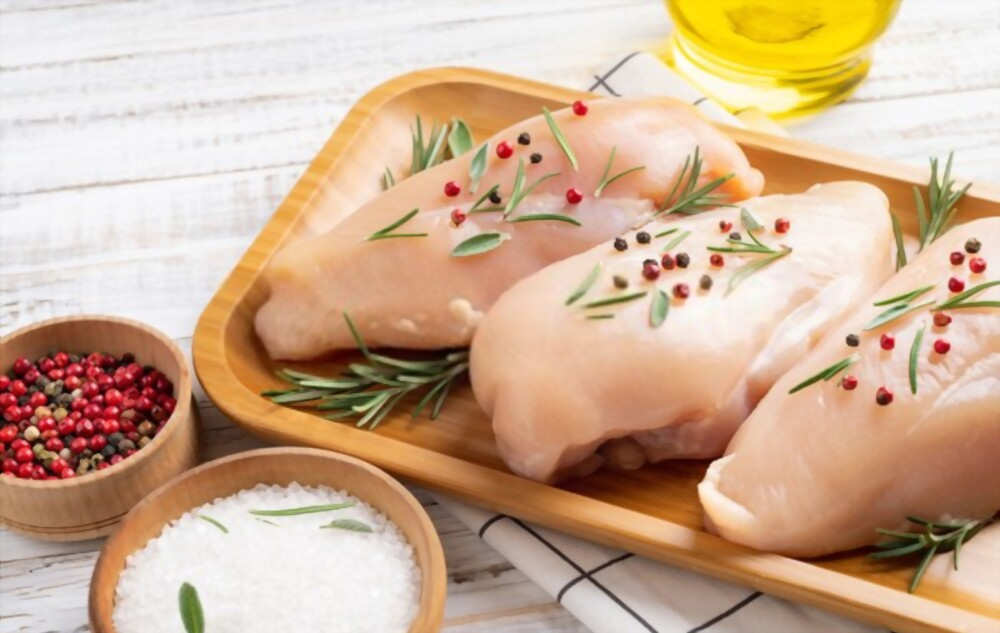
Eating chicken breast is low-calorie while satiating. Moreover, it helps to boost metabolic rate, increase energy levels, and support weight loss.
Moreover, it also contains a good deal of daily nutrients that keep you nourished and improve your BMI.
#13 White-Fleshed Fish
White-fleshed fish is also a good source of healthy fats (omega 3 and 6 fatty acids), which trigger the fat burn from the stomach region and support weight loss.
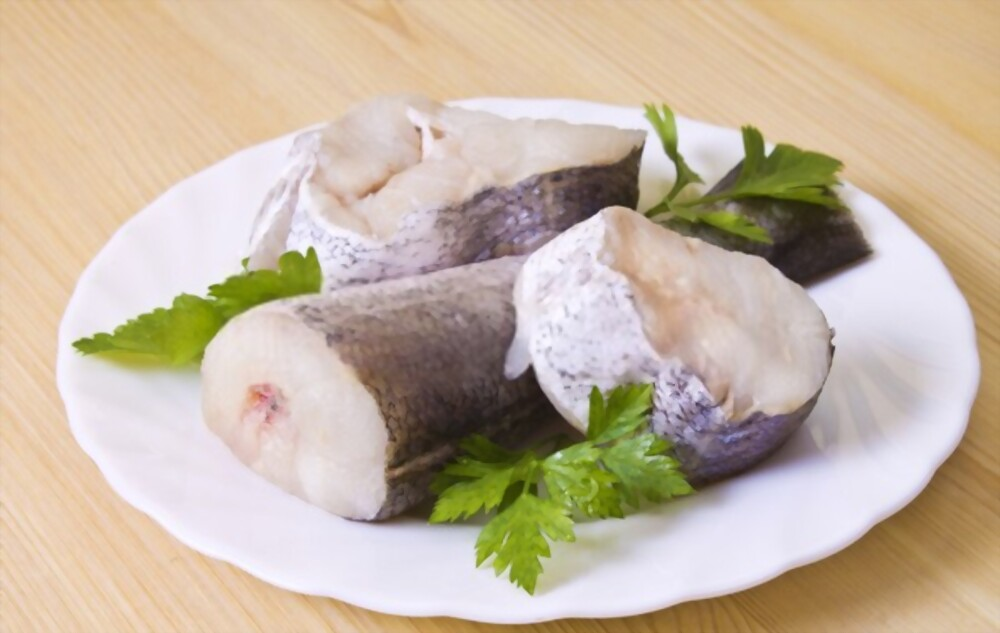
White-fleshed fish (including cod, haddock, snapper, and flounder) is relatively low in calories while higher in protein content than fatty fish. (19)
#14 Lean Beef
Lean beef contains almost half of regular beef meat fats. Moreover, it is relatively high in lean protein and healthier than regular meat. (20)

Eating lean beef can help people lose belly fat while keeping muscle mass. (21)
Besides high protein content and reduced fats, lean beef is also a good source of essential nutrients and antioxidants, which helps to nourish the body while keeping off the excess fat.
#15 Salmon
Salmon is a good source of healthy fats (omega-3 fatty acids), which helps greatly in reducing the risk of fat gain (22).
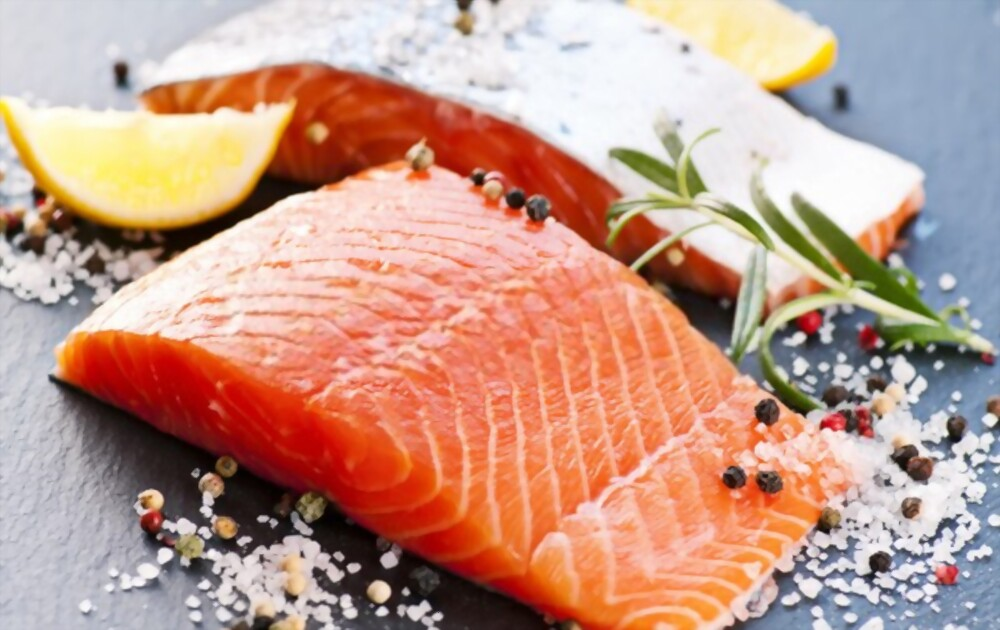
Moreover, it is a good source of selenium, vitamin B12, niacin, thiamin, vitamin A, and phosphorus which helps to reduce obesity-related inflammation and promote weight loss.
You should include seafood (if you don’t like salmon, go for shrimp, cod, tuna, etc.) in your 32 foods that burn belly fat fast because it is essentially a good source of healthy fats, protein, and essential minerals which prevent weight gain in young adults (23).
Best Dairy Products for Weight Loss
You probably think dairy products are the only major culprit of fat buildup, but you’re not true!
Dairy products are generally a good source of calcium and healthy fats, which supports fat burn, specifically from the stomach. (24)
Some dairy products are very beneficial for weight management; for instance, yogurt, which is naturally rich in unique gut-healthy bacteria, and eggs which are an exceptionally good source of lean protein.
Let’s have a quick look at dairy nutrient profiles and how they help you lose belly fat:
| Name | Calories | Fats | Carbohydrates | Protein |
| Yogurt | 107 | 2.6 g | 12 g | 8.9 g |
| Cottage cheese | 107 | 4.7 g | 3.7 g | 12 g |
| Eggs | 72 | 4.8 g | 0.4 g | 6.3 g |
| Reduced-fat milk | 122 | 4.8 | 12 g | 8.1 g |
| Kefir | 112 | 2.2 g | 12 g | 11 g |
#16 Yogurt
Research suggests that taking yogurt daily helps to burn years-old stomach fat. (25) (26)
Yogurt contains a significant amount of calcium and protein, which helps to melt the central fat. (27)
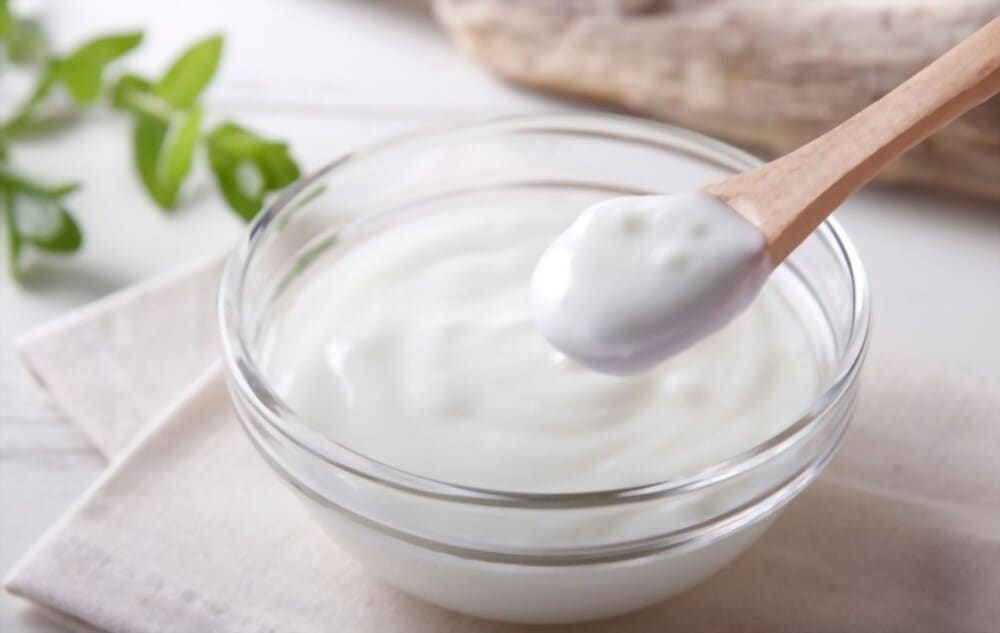
Moreover, it is also one of the best foods with a considerably good amount of probiotics and prebiotics, such as Lactobacillus fermentum or Lactobacillus amylovorus helps to support weight loss and stomach health. (28)
#17 Cottage Cheese
Cottage cheese is generally a good source of protein and calcium, linked with lean muscles and weight management.
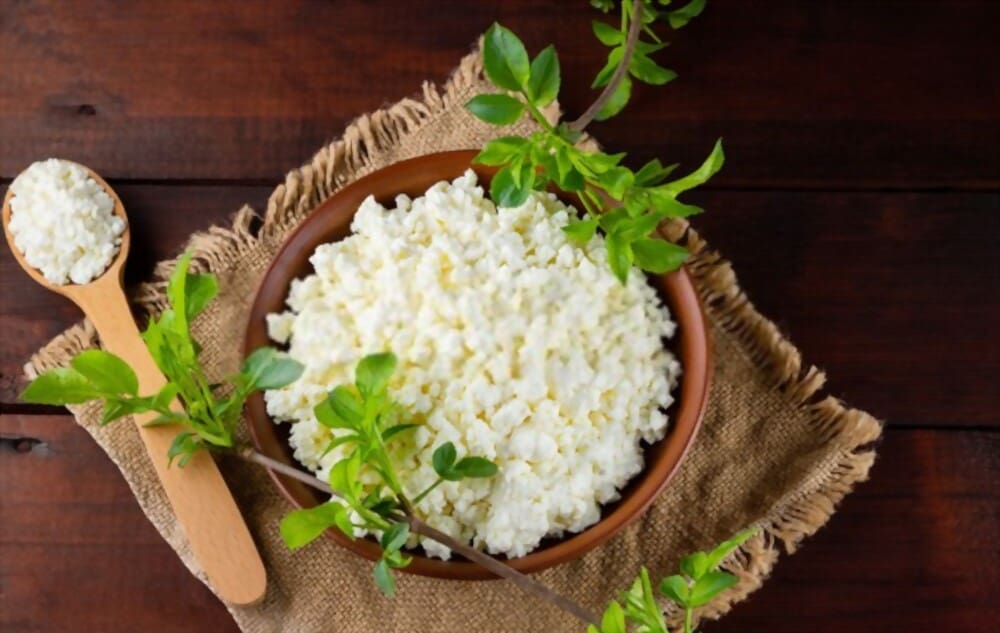
However, you should take it in moderation because it has high sodium, which can cause heart disease.
#18 Eggs
Eggs are low-caloric, protein-rich, and a good source of vitamins and minerals. When combined with the calorie-deficit diet, it helps to boost metabolic activity and accelerate fat burn from the body.

It is best to take eggs for breakfast because it is highly satiating and energy-boosting. (29)
#19 Reduced-Fat or Skim Milk
Reduced-fat or skim milk is relatively low in fats, calories, and some nutrients than whole milk.
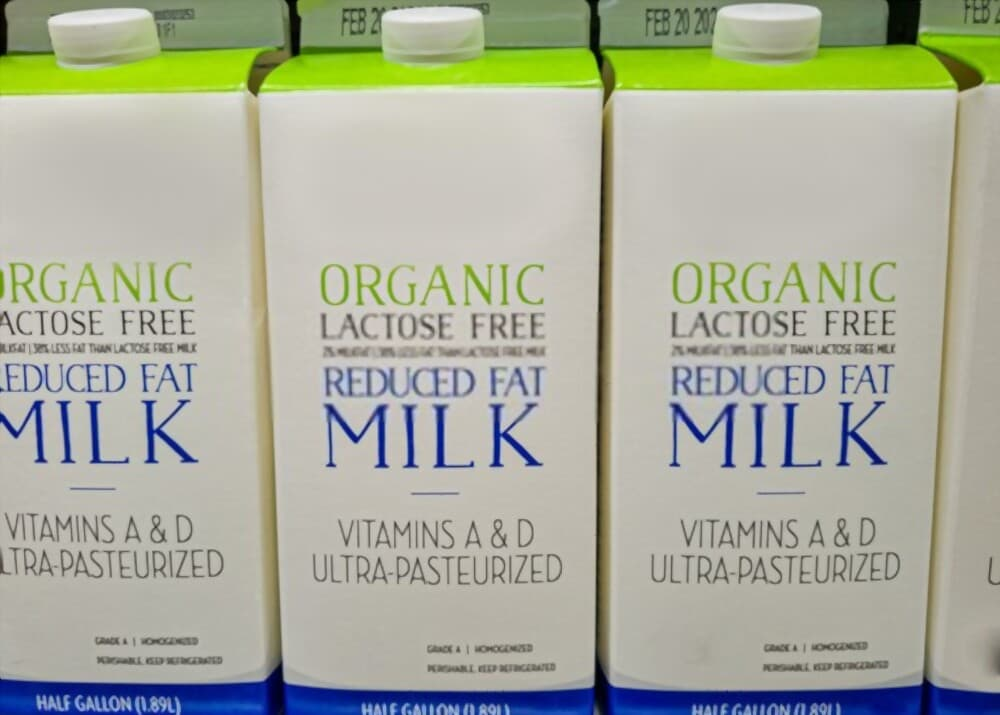
Low-fat milk has a wide range of health benefits, including weight loss.
Although it is deficient in calories and fats, it contains almost the same amount of calcium, vitamins, and protein as in whole milk, which helps in fat burn and weight loss. (30)
#20 Kefir
Kefir (fermented milk similar to yogurt) is a good source of probiotics, protein, and calcium while low in calories than yogurt and whole milk.
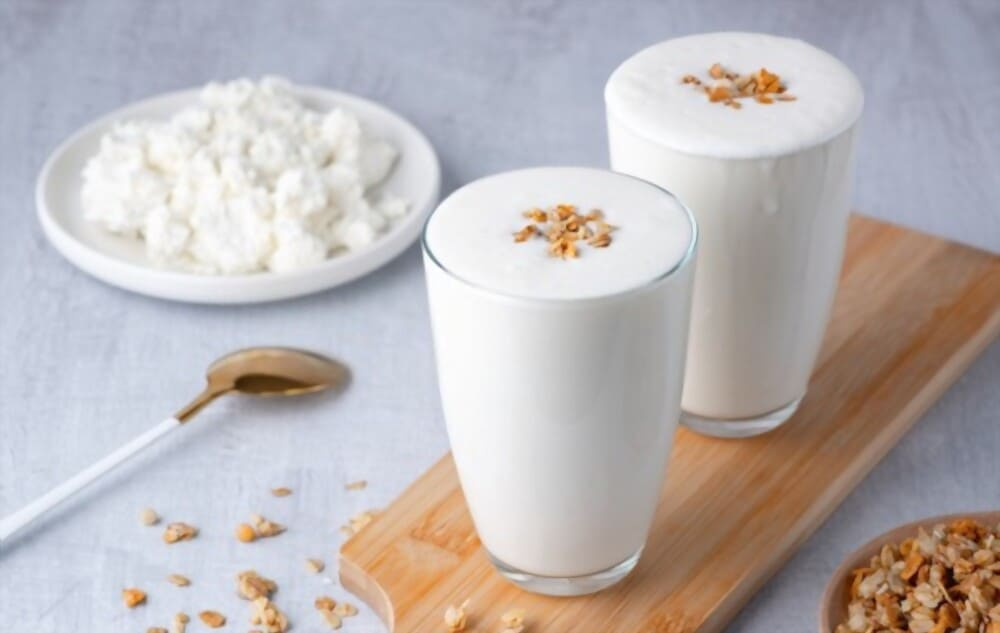
Kefir taking helps to reduce the fat accumulation in the liver tissue, which induces obesity in the abdomen region, also, it supports weight loss (31).
Beverages To Lose Extra Pounds
Drinks do not directly contribute to weight loss, but some anti-inflammatory beverages help to support fat burn.
However, combined with a calorie-restricted diet and exercise regimen, it helps to accelerate weight loss results.
| Beverage Name | Calories | Fats | Carbohydrates | Protein |
| Protein water | 71 | 0 g | 1 g | 15 g |
| Green smoothies | 120 | 0 g | 30 g | 3 g |
| Green tea | 2.5 | 0 g | 0 g | 0.5 g |
| Coffee | 2.4 | 0.1 g | 0 g | 0.3 g |
| Apple cider vinegar | 3.1 | 0 g | 0.1 g | 0 g |
#21 Protein Water
Protein water is highly efficient at leaning stomach muscles and trimming excess fat.

In particular, adding whey protein in simple water and drinking it regularly along with a calorie-restricted diet helps to shed extra pounds very rapidly (32).
#22 Green Smoothies
Green smoothies are a blend of fiber-rich and fresh vegetables and fruits (primarily green), which helps to provide you with an instant dose of nutrients and can be used as a meal replacement.
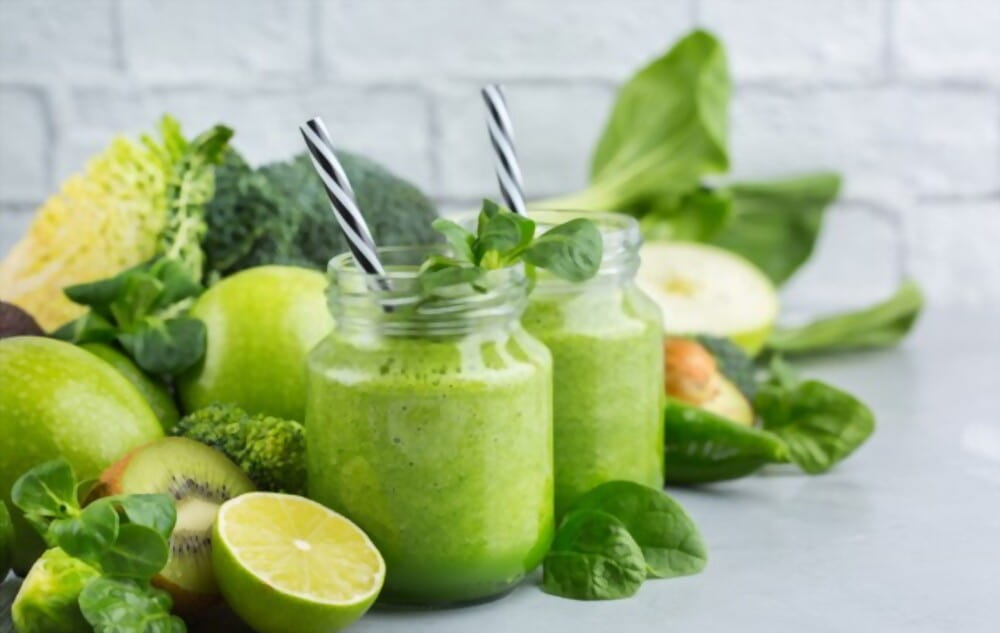
Green smoothie with avocado, cucumber, spinach, green apples, ginger, lemon juice, chia seeds, and plenty of water is generally low in calories, high in fiber, highly satiating, and energy boosting.
Drinking green smoothies instead of taking high-calorie lunch help to reduce calorie intake and could help to support weight loss from the stomach.
Related Article: Does Ikaria Lean Belly Juice Work for Weight Loss?
#23 Green Tea
Green tea and its compounds are traditionally used in weight loss supplements due to its high antioxidant, anti-inflammatory, and anti-obesity properties. (33)
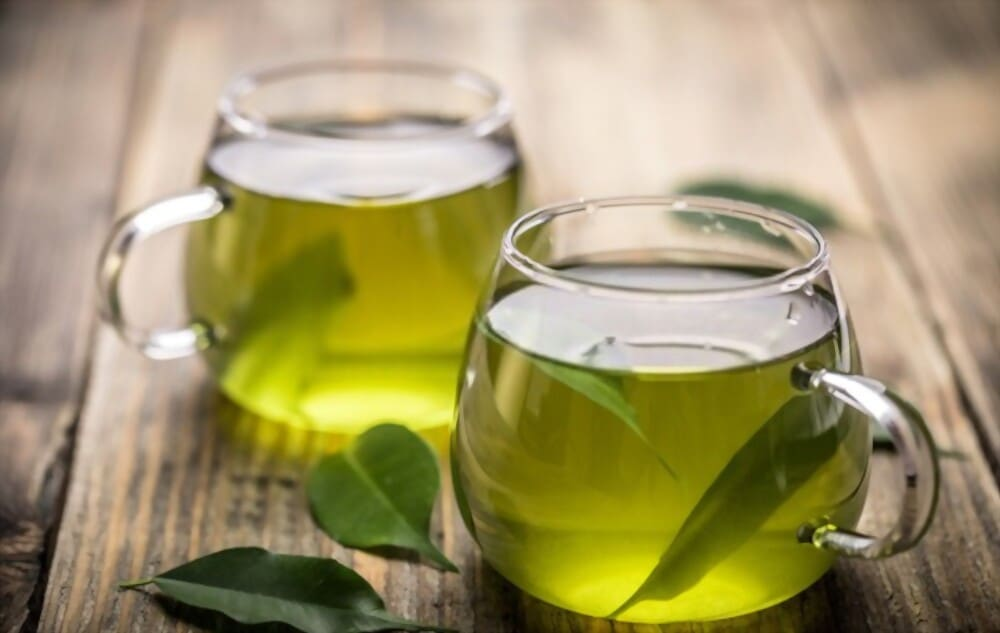
If you drink green tea every day at night, it could help to burn fat and keep it off for a long time.
#24 Coffee
Coffee contains caffeine which helps reduce BMI, burn fat, and promote weight loss. However, the weight loss effect of coffee is moderate.
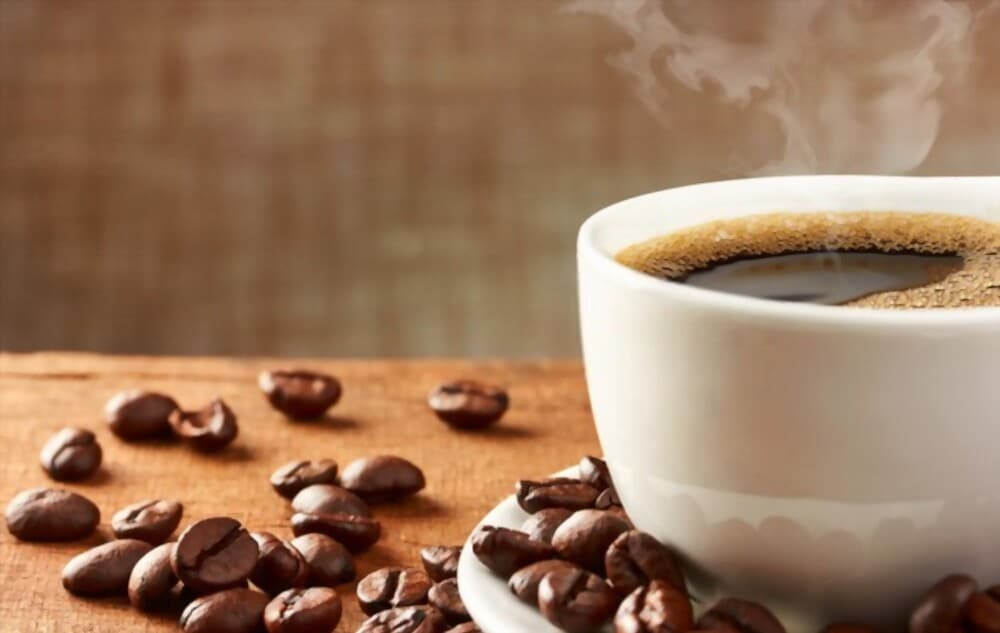
Moreover, you should not over-drink coffee for weight loss because it can cause addiction, anxiety, irritability, and jitter.
It is generally safe to drink 4 cups of coffee daily for safe and modest fat burn. (34)
#25 Apple Cider Vinegar
Apple cider vinegar is widely used in weight loss supplements and remedies. ACV contains acetic acid, which helps suppress body fat accumulation, regulate lipid metabolism, and support weight loss (35).

Undoubtedly, it has potent antioxidant and anti-inflammatory effects, but it does not have strong scientific evidence to prove its effectiveness on weight loss (36) (37).
Which Bread is Best For Weight Loss?
When you are losing weight, low-calorie and whole-grain bread are best because of its balanced nutrient content.
Here is a closer look at different bread variants’ nutritional profiles and how they help burn stomach fat.
| Name | Calories | Fats | Carbohydrates | Protein |
| Low-carb bread | 48 | 0.6 g | 10 g | 2 g |
| Sourdough bread | 174 | 1.5 g | 33 g | 6.9 g |
| Whole grain bread | 81 | 1.1 g | 14 g | 4 g |
| Oat bread | 73 | 1.2 g | 13 g | 2.3 g |
#26 Low-Carb Bread
Low-carb bread contributes to a more percentage of fat loss than regular refined bread. (38)
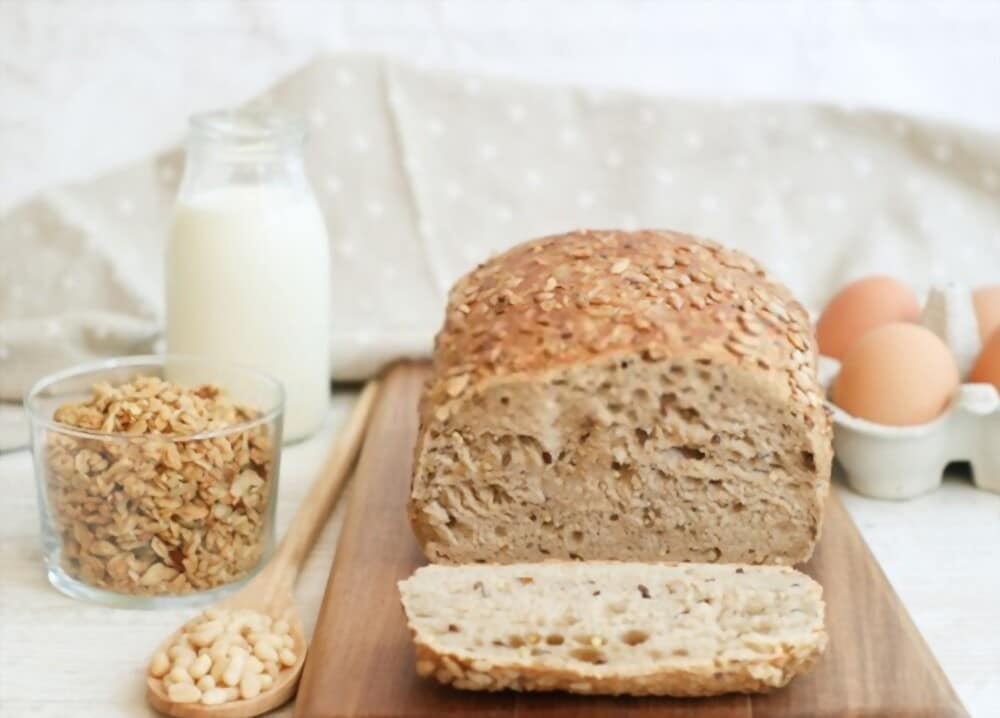
It has a low glycemic index, which aids in blood sugar control and weight loss. (39)
#27 Sourdough Bread
Sourdough bread is relatively easy-to-digest and gentle on the stomach. Moreover, it has low glycemic loads (the amount of carbs from the food interacts with blood sugar levels) and is low in calories which helps to maintain the weight.
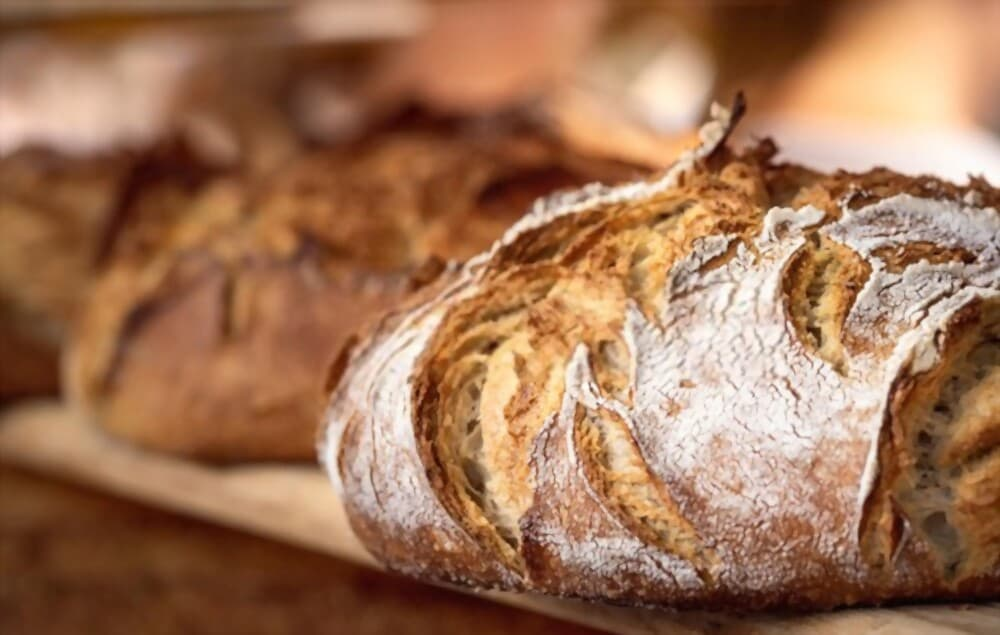
Unlike regular bread, sourdough bread could help in the fat burn and metabolism rates because it has a good ratio of phytonutrients and reduces phytate (compounds that inhibit or suppress the absorption of other nutrients).
However, scientific evidence does not support it. (40) (41)
#28 Whole Grain Bread
Research suggests that a higher intake of whole-grain bread puts a lower risk of weight gain and helps to decrease visceral fat. (42)(43)
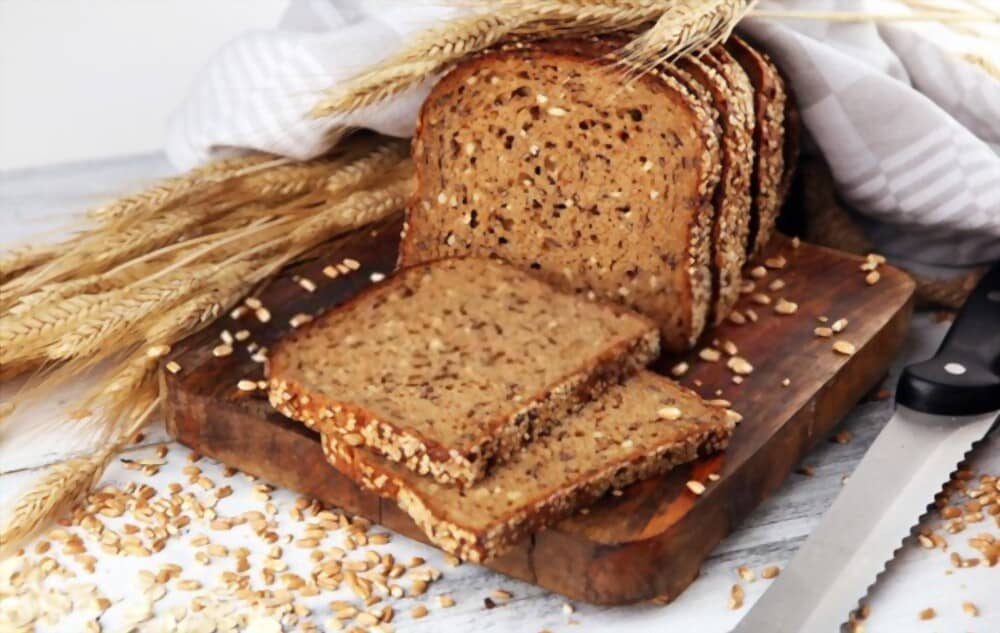
However, moderation is the key; you should consider your calorie intake while eating whole-grain bread instead of regular white bread.
#29 Oat Bread
Oat bread is relatively high in essential minerals such as manganese, phosphorus, copper, iron, magnesium, vitamins, and soluble fiber, which helps to strengthen immunity and boost metabolism.
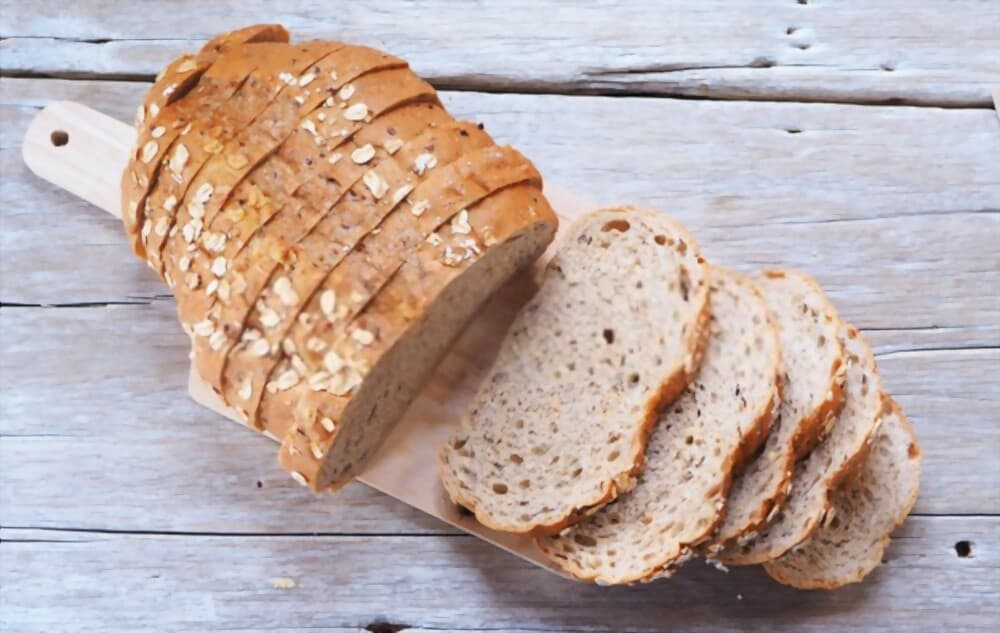
It helps to improve bodily functioning, including fat burn from the stomach area. (44)
Regular oat bread intake helps improve insulin resistance, lipid metabolism, and weight reduction. (45)
Nuts For Healthy Weight Loss
At the end of our 32 foods that burn belly fat fast, here we are with the best nuts for stomach fat loss.
Nuts are typically an excellent source of healthy fats, which are beneficial for fat reduction from the stomach.
Following is a quick introduction and details of nuts good for healthy weight loss:
| Name | Calories | Fats | Carbohydrates | Protein |
| Almonds | 8 | 0.7 g | 0.3 g | 0.3 g |
| Pistachios | 4 | 0.3 g | 0.2 g | 0.2 g |
| Walnuts | 13 | 1.3 g | 0.3 g | 0.3 g |
#30 Almonds
Almonds are surprisingly healthy foods that can be taken as snacks or to satisfy your midnight cravings.
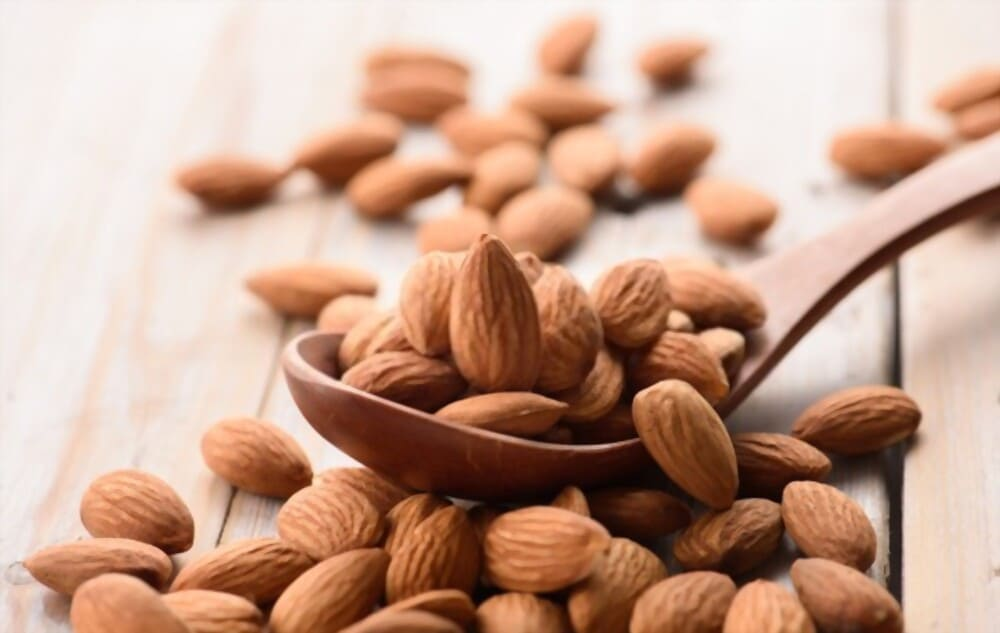
It is low in calories but high in health-promoting nutrients. Particularly it is a good source of monounsaturated fats. (46)
It helps to reduce LDL cholesterol (bad cholesterol), improve lipid profile, shed unwanted pounds from the stomach, and support weight loss. (47)
#31 Pistachios
Like almonds, pistachios are also a good source of unsaturated fatty acids, but they are relatively lower in calories than almonds; therefore, they make a perfect snacking when you are on a weight loss diet.

Moreover, it is also rich in potassium, protein, vitamin B6, fiber, antioxidants, and other essential minerals.
Research suggests that taking pistachios helps to reduce waist circumference and improve body mass index.
Including pistachios in your 32 foods that burn belly fat fast will help speed up the fat burning.
#32 Walnuts
Walnuts are another excellent source of healthy fats; they are particularly rich in polyunsaturated fats and plant-based omega-3 fatty acids. It helps to stimulate fat burn and healthy weight loss.

Moreover, it is also a good source of copper, folic acid, vitamin B6, vitamin E, manganese, and plant sterols which have amazing appetite-controlling power and weight management. (48)
Foods to Avoid When Trying to Lose Belly Fat
There are certain foods that may contribute to belly fat and should be limited or avoided when trying to lose weight and reduce belly fat. These include:
- Processed and packaged foods: These often contain added sugars, unhealthy fats, and a high amount of calories, which can contribute to weight gain and increased belly fat.
- Sugary drinks: Beverages like soda, energy drinks, and sweetened teas and coffees can contribute to weight gain and increased belly fat.
- Alcohol: Excess alcohol consumption can lead to weight gain, especially around the midsection.
- High-fat meats: Choosing high-fat cuts of meat can add excess calories and unhealthy fats to the diet, which can contribute to belly fat.
- Refined grains: Foods like white bread, pasta, and pastries made with refined flour can cause blood sugar spikes and contribute to weight gain and increased belly fat.
- Fried foods: Deep-fried foods are high in unhealthy fats and calories, which can contribute to weight gain and increased belly fat.
- Highly processed snack foods: Chips, crackers, and other snack foods that are high in calories and added sugars can contribute to weight gain and increased belly fat.
👉Related Article: 10 best foods to eat to lose belly fat
7-Day Diet Plan To Burn Belly Fat
When it comes to losing fat, it’s all about taking and expanding calories.
If you want to burn fat from problem areas such as the stomach, hips, chest, groin, and bulging thighs, you should consume 1500-1800 calories or a maximum of 2000, and you should exert more energy than you consume (calories lower than 1500 can make you malnourished).
With a 1500-1800 calorie intake, you can lose up to 1 to 2 pounds in a week.
But, how you can track the calorie intake from the above 32 foods that burn belly fat fast, here we have customized a special 7-day diet plan to plan your stomach fat-burn diet.
| Day | Meal | Foods | Calories |
| 1 | Breakfast | Overnight oats (1/2 cup rolled oats, 1/2 cup unsweetened almond milk, 1/2 cup blueberries, 1 tbsp chia seeds) | 300 |
| 1 | Snack | 1 small apple, 2 tbsp almond butter | 180 |
| 1 | Lunch | Grilled chicken salad (mixed greens, cherry tomatoes, cucumber, red onion, 1/4 cup crumbled feta cheese, 1 tbsp olive oil and vinegar dressing) | 300 |
| 1 | Snack | 1/2 cup baby carrots, 2 tbsp hummus | 150 |
| 1 | Dinner | Baked salmon, roasted vegetables (asparagus, broccoli, bell peppers), quinoa | 400 |
| 2 | Breakfast | Scrambled eggs (1/2 cup diced bell peppers and onions, 1 small whole grain English muffin) | 250 |
| 2 | Snack | 1/2 cup grapes, 1/4 cup almonds | 150 |
| 2 | Lunch | Turkey and avocado wrap (lettuce, tomato, mustard in a whole grain tortilla) | 300 |
| 2 | Snack | 1 small banana, 1 tbsp peanut butter | 150 |
| 2 | Dinner | Grilled chicken, sweet potato, steamed broccoli | 400 |
| 3 | Breakfast | Banana and peanut butter smoothie (1 small banana, 1/2 cup unsweetened almond milk, 1 tbsp peanut butter, 1/2 cup spinach) | 300 |
| 3 | Snack | 1/4 cup roasted chickpeas | 100 |
| 3 | Lunch | Whole grain pasta (marinara sauce, sautéed veggies (zucchini, mushrooms), 1/4 cup grated parmesan cheese) | 400 |
| 3 | Snack | 1 small apple, 1/4 cup sliced turkey | 150 |
| 3 | Dinner | Baked tofu, roasted Brussels sprouts, brown rice | 400 |
| 4 | Breakfast | Greek yogurt (1/2 cup mixed berries, 1 tbsp chopped walnuts) | 250 |
| 4 | Snack | 1 small pear, 1 oz cheddar cheese | 150 |
| 4 | Lunch | Grilled chicken and quinoa bowl (mixed veggies (bell peppers, onions, cherry tomatoes), 1 tbsp avocado dressing) | 400 |
| 4 | Snack | 1/4 cup hummus, 1/2 cup sliced bell peppers | 150 |
| 4 | Dinner | Baked salmon, roasted asparagus, sweet potato | 400 |
| 5 | Breakfast | Avocado and egg toast (1/2 sliced avocado, 1 hard-boiled egg on 1 slice whole grain bread) | 250 |
| 5 | Snack | 1/4 cup roasted almonds | 150 |
| 5 | Lunch | Turkey, lettuce, and tomato wrap (1 tbsp hummus in a whole grain tortilla) | 300 |
| 5 | Snack | 1 small apple, 1 tbsp peanut butter | 150 |
| 5 | Dinner | Grilled chicken, roasted broccoli, quinoa | 400 |
| 6 | Breakfast | Smoothie bowl (1/2 banana, 1/2 cup unsweetened almond milk, 1/2 cup mixed frozen berries, 1 tbsp chia seeds topped with 1 tbsp chopped nuts, 1 tbsp unsweetened coconut flakes) | 300 |
| 6 | Snack | 1/4 cup roasted chickpeas | 100 |
| 6 | Lunch | Whole grain pasta (marinara sauce, sautéed veggies (zucchini, mushrooms), 1/4 cup grated parmesan cheese) | 400 |
| 6 | Snack | 1 small pear, 1 oz cheddar cheese | 150 |
| 6 | Dinner | Baked tofu, roasted asparagus, brown rice | 400 |
| 7 | Breakfast | Overnight oats made with 1/2 cup rolled oats, 1/2 cup unsweetened almond milk, 1/2 cup mixed berries, and 1 tablespoon chia seeds | 335 |
| 7 | Snack | 1/2 cup baby carrots with 2 tablespoons hummus. | 95 |
| 7 | Lunch | Grilled chicken salad with mixed greens, cherry tomatoes, cucumber, red onion, 1/4 cup crumbled feta cheese, and 1 tablespoon olive oil and vinegar dressing. | 345 |
| 7 | Snack | 1 small banana with 1 tablespoon peanut butter. | 128 |
| 7 | Dinner | Baked salmon with roasted vegetables (such as asparagus, broccoli, and bell peppers) and quinoa. | 615 |
Note: Overall, the 7-day diet plan has an estimated calorie range of 1250-1518 calories per day. Please note that these numbers may vary slightly depending on the exact portion sizes and ingredients used. It’s always important to pay attention to portion sizes and to listen to your body’s hunger and fullness cues to ensure that you are fueling your body properly.
FAQs
What Are the 5 Foods That Burn Belly Fat?
Here are five foods that may help burn belly fat:
- Avocado: Avocado is rich in monounsaturated fat, which may help reduce belly fat.
- Nuts: Nuts, such as almonds and walnuts, are high in protein and fiber, which may help reduce belly fat.
- Whole grains: Whole grains, such as oats and quinoa, are high in fiber, which may help reduce belly fat.
- Berries: Berries, such as blueberries and raspberries, are high in antioxidants and may help reduce belly fat.
- Green tea: Green tea is high in catechins, which may help reduce belly fat.
What Foods Burn Belly Fat Overnight?
There is no scientific evidence to suggest that any specific food can help you burn belly fat overnight. However, some foods may help you feel full and satisfied, which can lead to a reduced overall calorie intake and weight loss over time.
Some examples of foods that may help you feel full and satisfied include protein-rich foods such as eggs, lean meats, and beans, as well as fiber-rich foods such as fruits, vegetables, and whole grains.
It’s also important to maintain a healthy and balanced diet, engage in regular physical activity, and get enough sleep to support overall health and weight loss efforts.
Is Veg Burger Good for Weight Loss?
A single serving of veg burger typically contains 250-400 calories (depending on the ingredients used) which is okay in a balanced diet, but it is not directly involved in weight loss.
Which Pasta Can Help to Lose Weight?
Whole grain and legume-based pastas, such as those made from lentils or chickpeas, can potentially help with weight loss due to their higher fiber and protein content. Pasta alternatives made from vegetables or legumes may also be lower in calories and higher in nutrients. However, pasta should still be consumed in moderation as part of a balanced diet.
When is the best time to exercise to lose weight?
The best time to exercise for weight loss depends on personal preference and schedule. Women may have more fat-burning potential in the morning, while men may burn more fat at night. It’s important to choose a time that works for you and an enjoyable exercise routine to increase long-term adherence.
What Super Foods Burn Belly Fat?
There are many foods that are considered “superfoods” due to their high nutrient content and potential health benefits. Here are five foods that may help burn belly fat:
- Avocados: These contain healthy fats that may help reduce belly fat.
- Blueberries: These contain antioxidants that may help reduce inflammation and improve insulin sensitivity.
- Nuts: These contain healthy fats and protein, which may help reduce appetite and promote weight loss.
- Green tea: It contains catechins, which may help boost metabolism and promote fat loss.
- Chili peppers: These contain capsaicin, which may help boost metabolism and reduce appetite.
It’s important to note that no single food is a magic bullet for weight loss, and including these foods in a healthy, balanced diet is the best way to promote overall health and burn belly fat.
What Foods Flatten Your Stomach Fast?
It is not possible to flatten your stomach or target fat loss in a specific area of the body. However, there are certain foods that may help to reduce overall body fat and improve overall health, which could lead to a flatter stomach over time. These foods include:
- Leafy green vegetables: These are low in calories and high in fiber, which can help to fill you up and keep you feeling satisfied.
- Lean proteins: Foods like chicken, turkey, fish, and tofu are high in protein and can help to increase metabolism and reduce appetite.
- Avocado: This fruit is high in healthy fats, which can help to reduce cravings for unhealthy foods.
- Berries: These are high in fiber and antioxidants, which can help to improve digestion and reduce inflammation in the body.
Nuts: Nuts are a good source of healthy fats and protein, which can help to keep you feeling full and satisfied. Just be sure to watch your portion sizes, as they are also high in calories.
Conclusion
Adding the above 32 foods that burn belly fat fast to your diet can help you lose weight, boost metabolism, improve immunity, and improve overall health since they are all high in nutrients, anti-inflammatory, and antioxidant compounds.
Nevertheless, to get better and longer-lasting results, you should combine diet and exercise.
However, you can consult a dietician or nutritionist for specific recommendations if you need help maintaining a low-calorie diet.
Related Posts
Subscribe for New Racipies
Get mental health tips, updates, and resources delivered to your inbox.