
Lavender Macarons With Honey Buttercream

Medically reviewed by Christiana George Updated Date: June 8, 2023
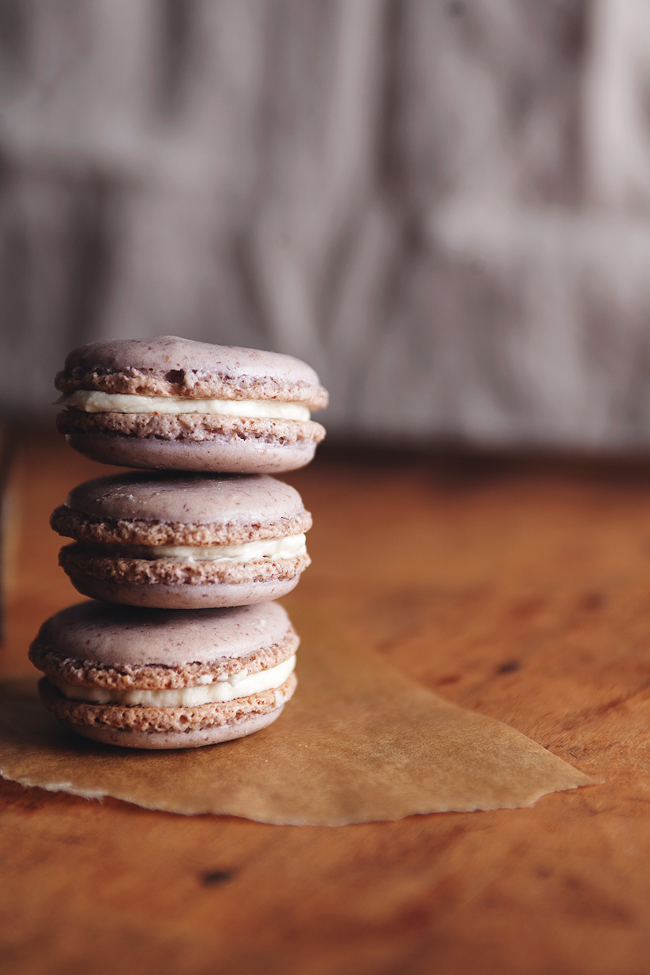
Girls are… sugar and spice and everything nice. Lavender would fall into the latter category, and coincidentally, it makes me feel so so girly. While girly is not my natural state, my friend, who also happens to be an appreciator of the finer things in life, is, and it was for her that these macarons, which combine both sophistication (like all things French, no?) with femininity, were originally intended. Lavender is her favorite flavor.
These are celebratory macarons, job-well-done macarons, pat-on-the-back macarons, because she just finished her second year of law school (congratulations M!) and only has one year left to go.
Of course, I didn’t bother coordinating her schedule with her, and found out later that she flew home, to California. It’s probably a good thing she’s not around to be a recipient, because my latest batch came out, for the most part, cracked, oozed over, and unkempt in all the ways imaginable.
I’ve rationalized this disappointment by telling myself that I’m just honing my skills until she returns, which is when I will present her a box of perfect macarons, all tied up with a shiny pink ribbon. (First though, I need to get over this spring cold that makes me drowsy and achey and bleary-eyed.)
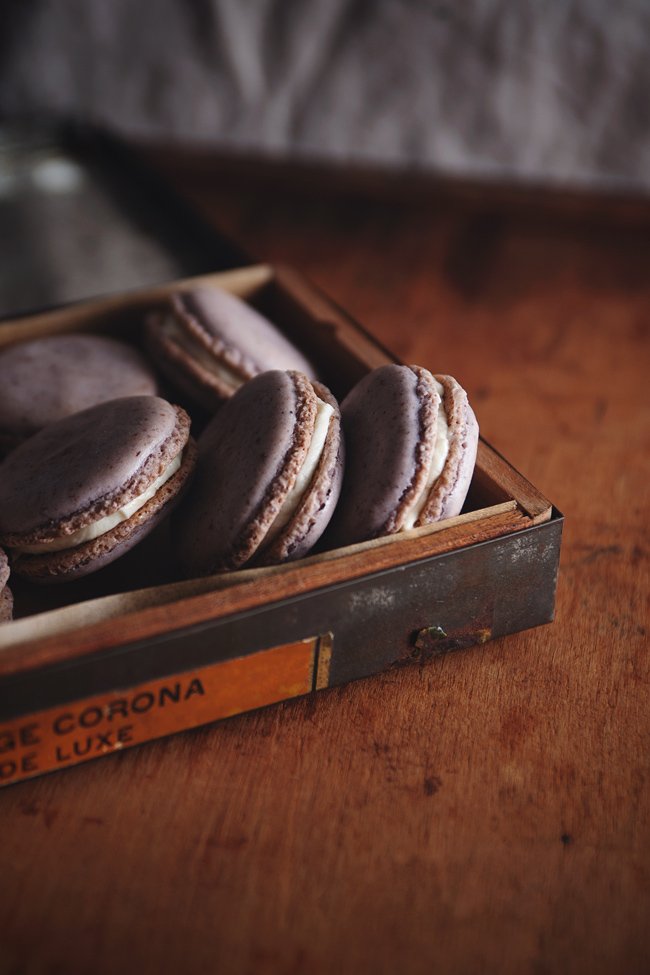
What frustrates me the most about the outcome of this recipe is that I didn’t deviate far from my recipe for plain almond shells. There was the addition of one tablespoon (tablespoon!) of dried lavender, and two drops (drops!!) of violet gel food coloring. And yet, what a difference they made. My yield from the two batches I baked: about 20 mediocre shells (only mediocre), and 60 that could’ve filled a textbook with examples of Failed Macarons. Is the batter so sensitive that the tiniest addition of liquid completely changed its chemistry? I have no definitive answer, but it does seem the case. Or maybe I overmixed the batter, or undermixed it, or should’ve used aged egg whites, or failed to let the shells sit out long enough before sliding them into the oven. But I refuse to believe they are that fussy!


LAVENDER MACARONS WITH HONEY BUTTERCREAM
Makes about 40 shells, or 20 macarons
Adapted from Brave Tart
For the macarons:
Ingredients:
- 1 cup confectioners sugar
- 1 Tbsp dried lavender buds
- 3/4 cup almond meal
- 2 egg whites
- 3 Tbsp sugar
Directions:
Preheat your oven to 300 degrees F. Line two baking sheets with parchment paper.
Blend the confectioners sugar, lavender, and almond meal in a food processor until fine, then whisk everything into a large bowl.
In the bowl of a stand mixer with the whisk attachment affixed, add the egg whites and sugar. Turn the mixer on to power level 4 and whisk the mixture together for 3 minutes. Next, turn the power up to 7 and whisk an additional 3 minutes. Turn the power up to 8 and whisk an additional minute or two. By now, there should be a stiff meringue in the bowl. Feel free to mix in the food coloring at this point and whisk at 8 speed for an additional minute to incorportae the color. Knock the meringue that’s trapped in the whisk back into the bowl.
Now, add the almond meal mixture into the bowl all at once. Stella’s instructions:
Use both a folding motion (to incorporate the dry ingredients) and a rubbing/smearing motion, to deflate the meringue against the side of the bowl.
The dry ingredients/meringue will look hopelessly incompatible at first. After about 25 turns (or folds or however you want to call “a single stroke of mixing”) the mixture will still have a quite lumpy and stiff texture. Another 15 strokes will see you to “just about right.” Keep in mind that macaronage is about deflating the whites, so don’t feel like you have to treat them oh-so-carefully. You want to knock the air out of them.
You don’t need to be too gentle with the batter. By the time it’s ready, its consistency will be runnier than you’d think, closer to pancake batter than cake batter. Check out 5:10 in this video to see how it should look.

Fill a pastry bag with the batter. You can use a pastry bag with just a coupler, or with a tip. I used an Ateco 806 tip, which resulted in shells on the larger side. Pipe your shells onto the parchment-paper lined baking sheets, a little more than a quarter (US currency) in size (about 2 cm. or 1 inch), spacing them about 1 inch apart.
When you’re done piping, pick up the pan and whack it down hard against your counter. Do this another time, then rotate the pan 90 degrees and do the same thing twice. You might see tiny air bubbles appear on the top of the rounds, a good sign because they could be potentially damaging if buried within the batter. Repeat with the other pan.
Slide the pans into the oven and bake for about 15 minutes, at which point the shells should be able to be cleanly picked off the parchment paper.
Let the shells come to room temperature, then fill your macarons with the honey buttercream (recipe below). I used a pastry bag, but a spoon should work as well.
For the honey buttercream:
Makes enough to fill about 40 macarons (feel free to halve this recipe—my mixer doesn’t handle small quantities well)
Ingredients:
- 1/2 cup butter (1 stick)
- 1 cup confectioner’s sugar
- 2 Tbsp honey
Directions:
In the bowl of a stand mixer, beat the butter using the whisk attachment for about 2 minutes. Slowly add the confectioner’s sugar, and whisk until everything is incorporated. Do the same with the honey. Beat another minute or so to get everything well incorporated.
Related Posts
Subscribe for New Racipies
Get mental health tips, updates, and resources delivered to your inbox.
Pie Pops

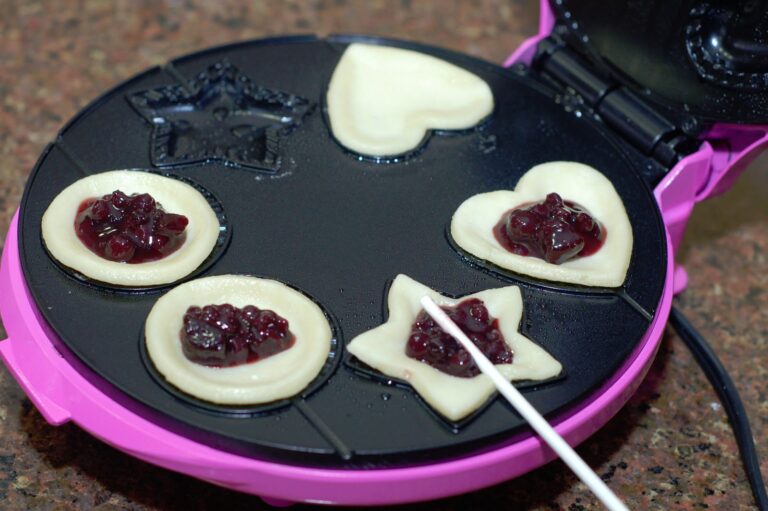
I bought a new toy the other day. A pie pop maker. Because of course my mini donut maker, mini whoopie pie maker, and cake pop maker were not enough to fill up my pantry. I found the Bella Pie Pop maker on clearance at Target and couldn’t resist. I only went in to get some cute striped paper straws and came out with a hand cart full of stuff. I guess I should be happy it wasn’t a shopping cart full of stuff. Target just has too much cute stuff. They get me every time.

Come on, tell me this isn’t the cutest thing. I was going to get the Babycakes one, but this one has three different shapes. Perfect to make treats for holidays and parties.

I couldn’t wait to try it. I didn’t have any refrigerated ready made pie crust, but I had a box of pie crust mix my mother had given me. Then I pulled all the jams/jellies I had in the cabinet.

Here is my assistant cutting out the pie dough with the cutter included with the machine. Then I had to carefully place all the pieces in the machines, add the filling and the stick.

And then top it off with the other piece of dough. I will have to say it take a little more work than my other machine and you have to be quick to assemble everything and close the machine to let it bake.

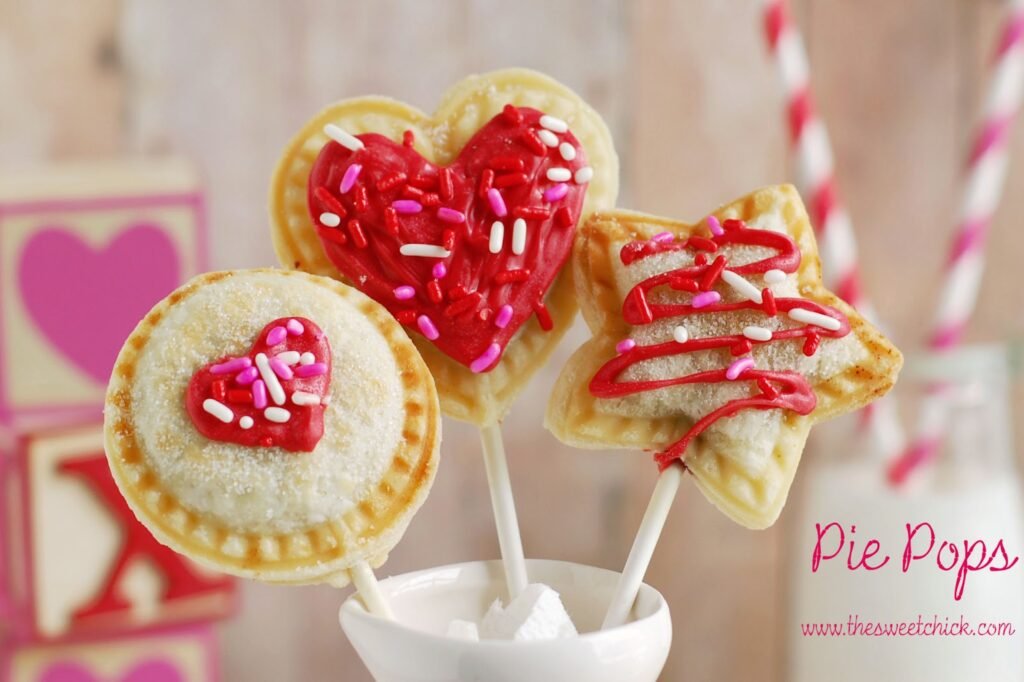
However, in 5 minutes, you get these lovely mini pies on a stick. I dipped some in sugar and other I decorated with candy melt and sprinkles once they cooled. Overall, not a bad project. I will have to practice a bit more to get the hang of it. I also have to test different fillings. The guava jelly and raspberry preserves tended to leak out of some of the pies. The blueberry chutney worked better because is had chunks of fruit in it. There are recipes in the booklet that comes with the machine. I will have to give those a try.
Related Posts






Subscribe for New Racipies
Get mental health tips, updates, and resources delivered to your inbox.