
Pumpkin Ice Cream Sandwiches

Medically reviewed by Christiana George Updated Date: January 4, 2026
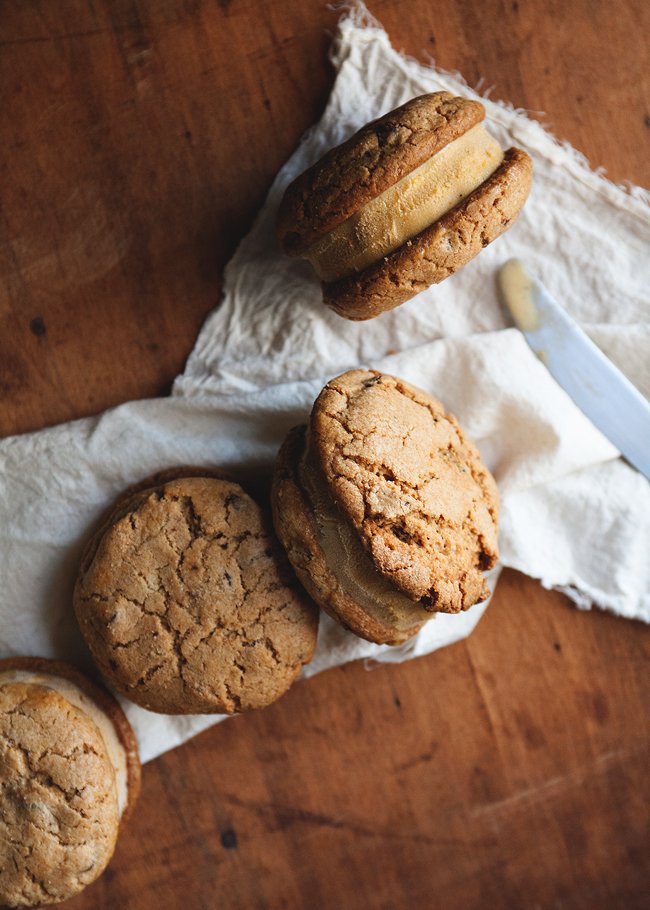
So, the afternoon before the hurricane struck (sorry, no more talk of hurricanes after this post), I decided to make chocolate chip cookies. I imagined spending a cozy evening nestled on the couch reading by candlelight, drinking tea and nibbling on cookies.
But of course, we ended up not losing our power at all. So there was no need to pull out the candles, we didn’t end up boiling water for tea, and the cookies were ultimately forgotten. (Who forgets about freshly-baked chocolate chip cookies, you might be wondering? Not us, usually.)
The next day, I had the bright idea of making ice cream sandwiches from the cookies, which meant the cookies were off-limits until the pumpkin ice cream had been made. And ice cream-making always turns into a multi-day process, what with the making of the custard, and cooling it, and churning it, and finally freezing it.
All the while, the cookies sat on the counter tempting Chris, whose sweet tooth, though not as legendary as his dad’s (the man has been known to douse his Swedish pancakes with powdered sugar so that the pancake all but disappears), is quite acute. Every time he reached for one, I swatted his hand away. “Stay back,” I snarled.
Before you feel too bad for him, remember that I was making pumpkin ice cream sandwiches. He was going to be rewarded for his patience! I didn’t feel too cruel.
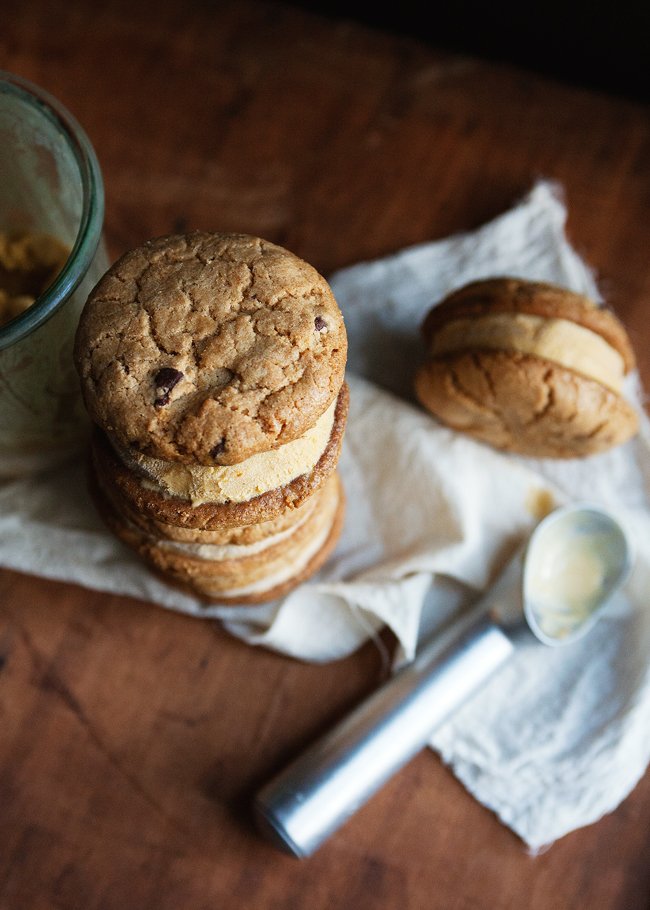
Let me tell you a little bit about the cookies, because they’re actually my favorite chocolate chip cookie recipe ever (no, not the Cook’s Illustrated version I made earlier this year).
The recipe is actually from Kim Boyce’s Good to the Grain, a book I like very much. The cookies are made completely with whole wheat flour, so their texture is much richer and nuttier than cookies made with all-purpose.
They’ve got so much dimensionality and… dare I say it…complexity. I could eat the dough without the chocolate, and it would only be slightly less delicious. That’s saying a lot, since chocolate is usually integral to my enjoyment of any dessert.
I quickly became hooked on baking with whole-grain flours after this cookie (although this pound cake helped a lot, too).
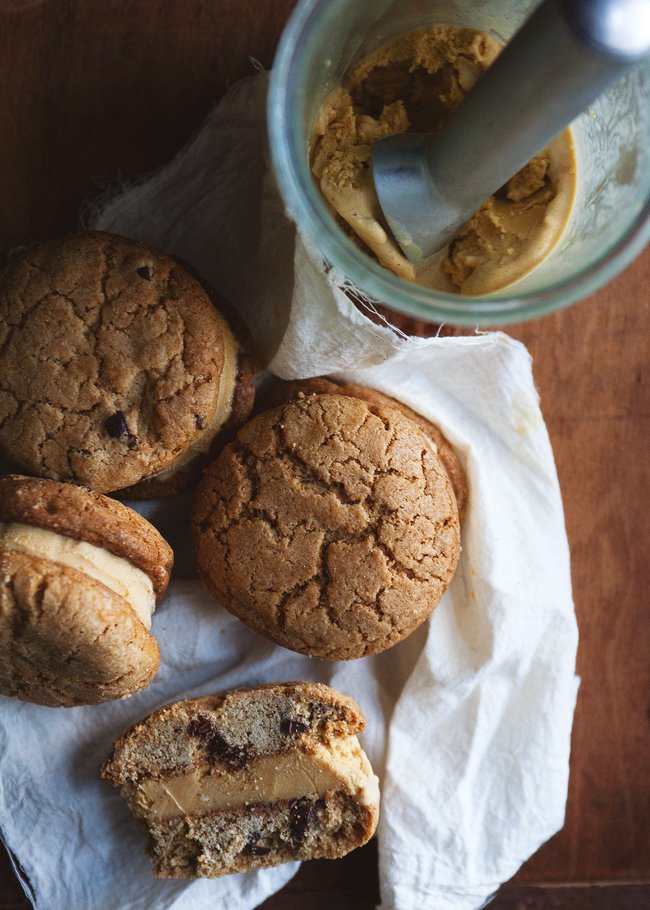
The pumpkin ice cream recipe, on the other hand, I’m not particularly attached to. It does make a decent-tasting batch, however. Not too rich, very pumpkin-y, no complaints at all. But of course, my mind was salivating at the idea of pairing it with the chocolate chip cookies. The two together fulfill some sort of dessert fantasy of mine.
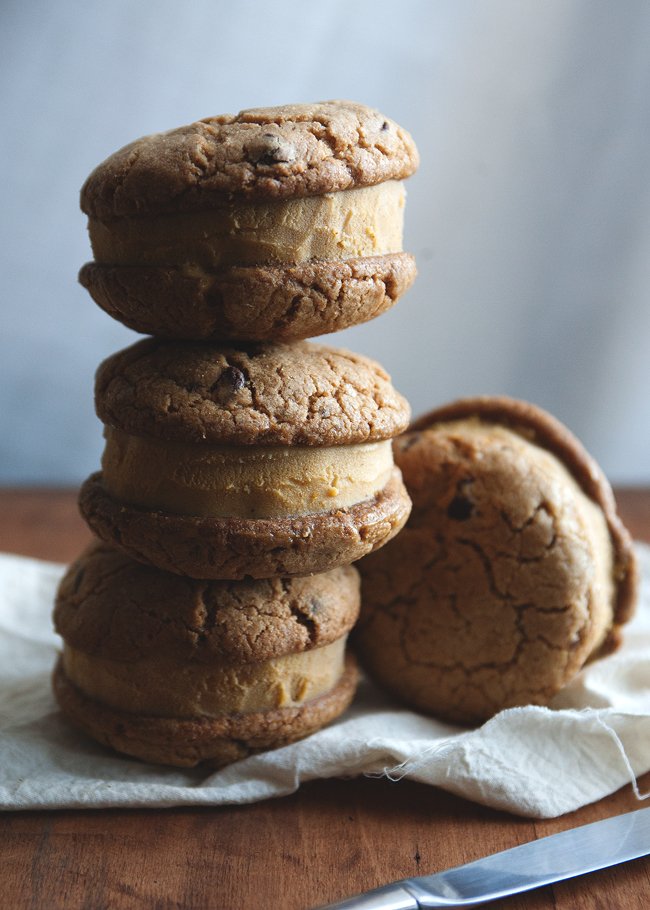
And after the ice cream sandwiches were made, I told Chris to have at them. But of course, he’s barely touched them. I guess his anticipation must’ve soured. Or maybe they’re just too much dessert (he commented that each one was the size of a small burger, haha).
WHOLE WHEAT CHOCOLATE CHIP COOKIES
From Good to the Grain Makes about 12 cookies:
Ingredients:
1-1/2 cups whole wheat flour
3/4 tsp baking powder
1/2 tsp baking soda
3/4 tsp kosher salt
1 stick cold unsalted butter, cut into 1/2″ pieces
1/2 cup dark brown sugar
1/2 cup sugar
1 egg
1 tsp vanilla extract
4 oz. (2/3 cups) bittersweet chocolate chips
Directions:
Preheat oven to 350 degrees. Line a baking sheet with parchment paper.
Sift the whole wheat flour, baking powder, baking soda, and salt into a medium bowl. Add the butter and sugars to the bowl of a standing mixer with a paddle attachment. On low speed, mix just until the butter and sugars are blended, about 2 minutes.
Scrape down the sides of the bowl. Add the egg and mix until combined. Mix in the vanilla. Add the flour mixture and blend on low until barely combined, about 30 seconds. Scrape down the sides and bottom of the bowl.
Add the chocolate all at once and mix on low until evenly distributed. You can also use your hands to incorporate the chips.
Scoop mounds of dough about 2 Tbsp onto the baking sheet. You might want to flatten the dough a bit for a flatter cookie. Bake 16 to 20 minutes, rotating the sheet halfway through, until the cookies are evenly dark brown. Transfer the cookies onto a cooling rack.
PUMPKIN ICE CREAM
Adapted from Williams-Sonoma Ice Cream
Makes 1 quart
Ingredients:
1 cup canned unsweetened pumpkin puree
1 tsp. vanilla extract
1 cup heavy cream
1 cup whole milk
3/4 cup firmly packed dark brown sugar
5 egg yolks
1/2 tsp. ground cinnamon
1/2 tsp. ground ginger
1/4 tsp. salt
Pinch of freshly grated nutmeg
Directions:
In a bowl, whisk together the pumpkin puree and vanilla. Refrigerate.
In a heavy saucepan over medium heat, combine cream, 1/2 cup of the milk, and 1/2 cup of the brown sugar. Cook until bubbles form around the edges of the pan, about 5 minutes. Meanwhile, in a medium bowl, combine the egg yolks, cinnamon, ginger, salt, nutmeg, the remaining 1/2 cup milk, and the remaining 1/4 cup brown sugar. Whisk until smooth, and the sugar begins to dissolve.
Remove the cream mixture from the heat. Temper the egg mixture: gradually pour some of the hot cream mixture, about 1 cup, into the egg mixture, whisking the whole time. Pour the egg mixture back into the pan.
Cook over low heat, stirring constantly with a wooden spoon, until it is thick enough to coat the back of the spoon and leaves a clear trail when a finger is drawn through it, 4 to 6 minutes. Strain through a fine-mesh sieve into a large bowl and let cool for about 10 minutes.
Remove the pumpkin mixture from the fridge and whisk it into the cooled custard until it is smooth. Cover and put the bowl into the fridge to cool, for 4 hours to overnight.
Transfer the custard to an ice cream maker and freeze according to the manufacturer’s instructions. Once done churning, transfer the ice cream into a container and freeze until it is your desired consistency.
To assemble the sandwiches, let the ice cream soften a little. I tried spreading it about 1″ thick on a baking pan so I could cut the ice cream into circles with a round cookie cutter. You can also use an ice cream scoop and scoop it directly onto a cookie, then flatten the ball with the other cookie.
Makes about 6 (enormous) ice cream sandwiches.
Related Posts



Subscribe for New Racipies
Get mental health tips, updates, and resources delivered to your inbox.
Vegas – Last Day – Part Two


We couldn’t leave Vegas without getting a little some for our daughter, Sweet Pea. She loves jelly beans, so we stopped at the Sugar Factory to check out what they had. I had never been in one before.

They had lots of jelly bean flavors to choose from and they were Jelly Belly, her favorite kind. Don’t mind the spider, he was just hanging around.
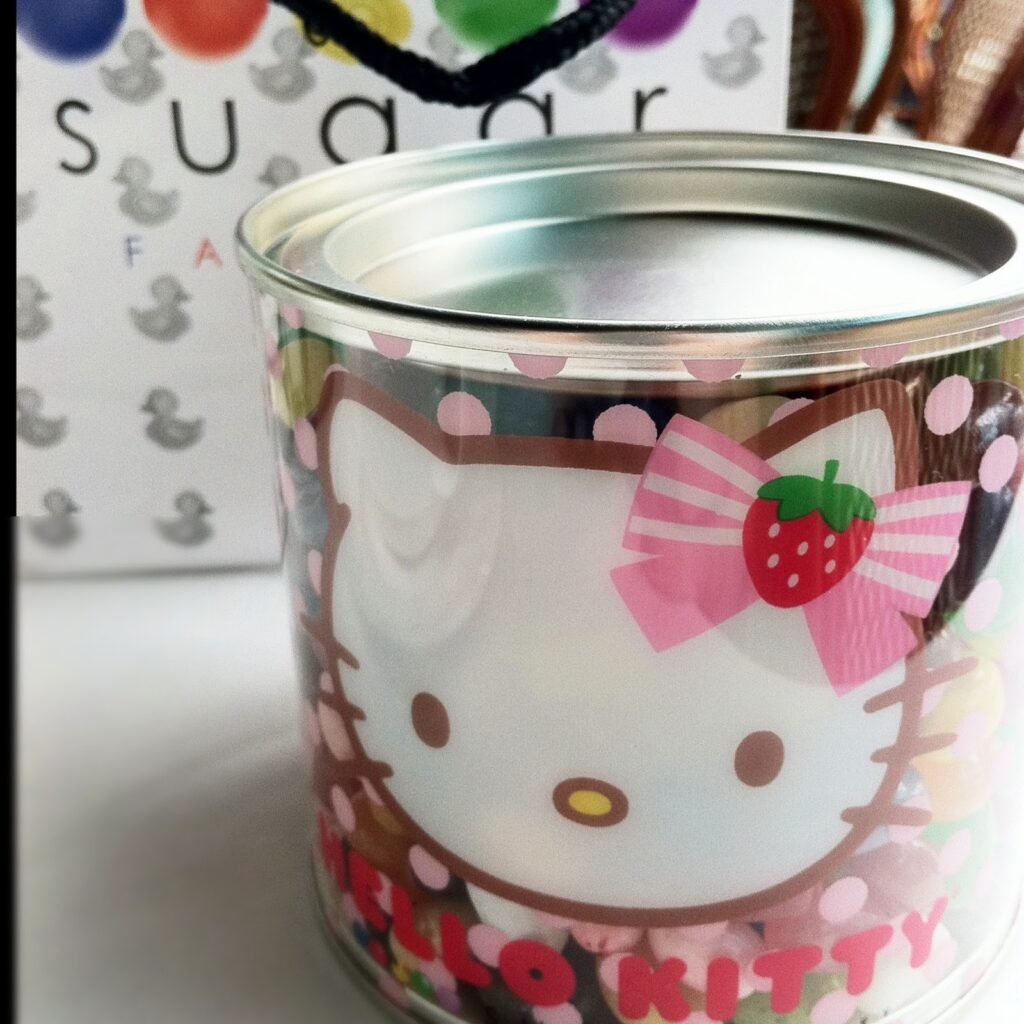
We found a cute Hello Kitty bucket and filled it up with jelly beans. It weighed a ton. I knew her face would light up when she saw it. Sometimes you have forget about the dentist bills and just let your kids be kids. As we know, that time in your life lasts such a short time. Enjoy it while you can!

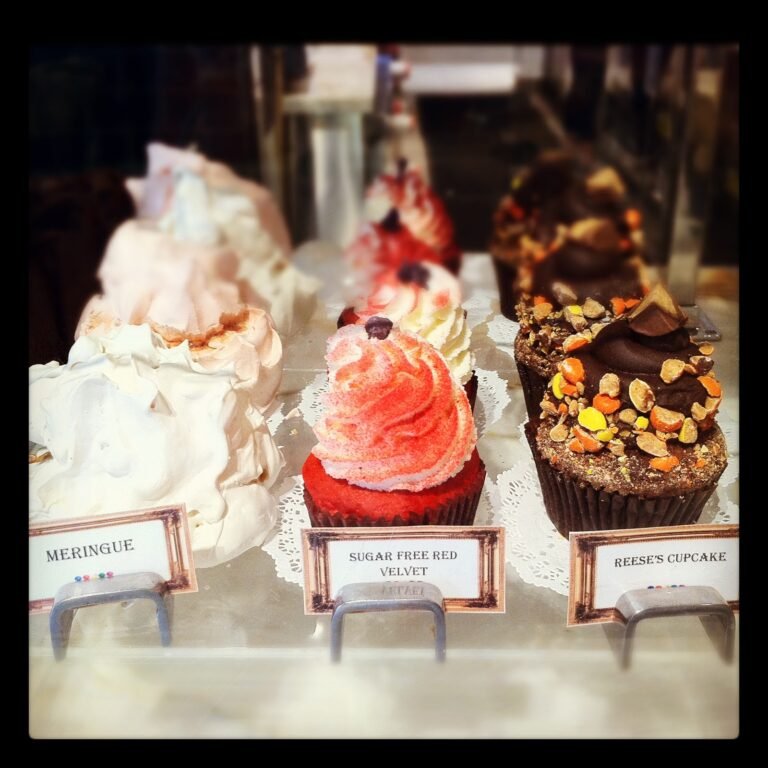
Mommy found a treat of her own that day. There were all these cute cupcakes, I just had to take one with me. I chose the Reese’s Cupcake because I love Reese’s Pieces. It looked like a winner.

I took it back to the hotel to eat while I was packing. The overall flavor of the cupcake was spot on with a Reese’s Pieces, however I was a little disappointed in the dryness of the cake itself. I like moist cupcake and this just didn’t do it for me. Oh well, I will have to try to create my own version one day.
Related Posts





Subscribe for New Racipies
Get mental health tips, updates, and resources delivered to your inbox.