
Black Sesame Bread

Medically reviewed by Christiana George Updated Date: June 8, 2023
Guys, I’ve been meaning announce this for almost two weeks now: my blog just celebrated its first anniversary! For the occasion, I’d actually made a cake, four layers of chocolate wedged with peanut butter mousse in between, but it turned out to be an absolute dud, so I made another one. Again, I was not impressed. While third time’s usually the charm, I’d lost patience with cake-making (which happened to coincide perfectly with the fact that the weather started heating up) so I gave up and racked my brain for other ways to commemorate the occasion.
…And then two weeks passed.
Whoops. But the fact still remains the same: this blog is now over a year old. Whoa.
Thinking back on last summer, I still remember how hellish it felt at times with the combination of the weather and the oven/stove on and the lack of air conditioner/ventilation and our tight living quarters, but those are memories I prefer to repress most of the time because they’re painful to think back on. I guess I was just a woman possessed, taken over with such a fervor towards my new pasttime that all hardships could be ignored, or at least, soothed over with the discovery of how beautifully food could be photographed. In short, I’d never felt so passionate about anything in my life. I was completely smitten.
A year later, and that enthusiasm has settled to more manageable levels. From my perspective now, I prefer this more balanced lifestyle—hell, I finally have time to hang out with friends and get out into the city more, which is totally healthy, right? It seems unimaginable now to willingly choose that boot camp all over again. But it was pretty crucial, those months, kind of like nursing a young one past infancy (in a small, small way). I’m still in love, but it’s a more sustainable kind of love, one that’s not going to take over my life or burn me (literally).
I wanted to tell you how thankful I am for this little web space of mine, and all the wonderful people I’ve met over the year and had the chance to work with. I’ve also really appreciated all the kind comments I’ve received. You’ve all been tremendously encouraging. Thank you. I can’t wait to see where I am a year from now.
Now let’s talk about this bread. Have you ever heard of the tangzhong method? I ate a lot of Chinese bakery bread growing up, and all the rolls and loaves we bought, a), always gave off a really distinctive smell I couldn’t explain, and b), were always soft, moist, and incredibly tender, and pulled apart in silky, glutinous strands. You could basically gorge on the stuff because it was light and fluffy and completely addicting.
The tangzhong method produces that kind of bread. What? You want me to explain? Okay, basically, you make a paste, called the tangzhong, that consists of water and flour that’s been heated over a stove until the flour does its thickening thing and turns the whole mixture pudding-like. This is because the flour has trapped the moisture from the water (I imagine amoeboid action going on here), thereby producing the moistness and softness and all the aforementioned attributes I described. It’s pretty scientific, isn’t it? But seemingly foolproof, and so much easier than I’d imagined.
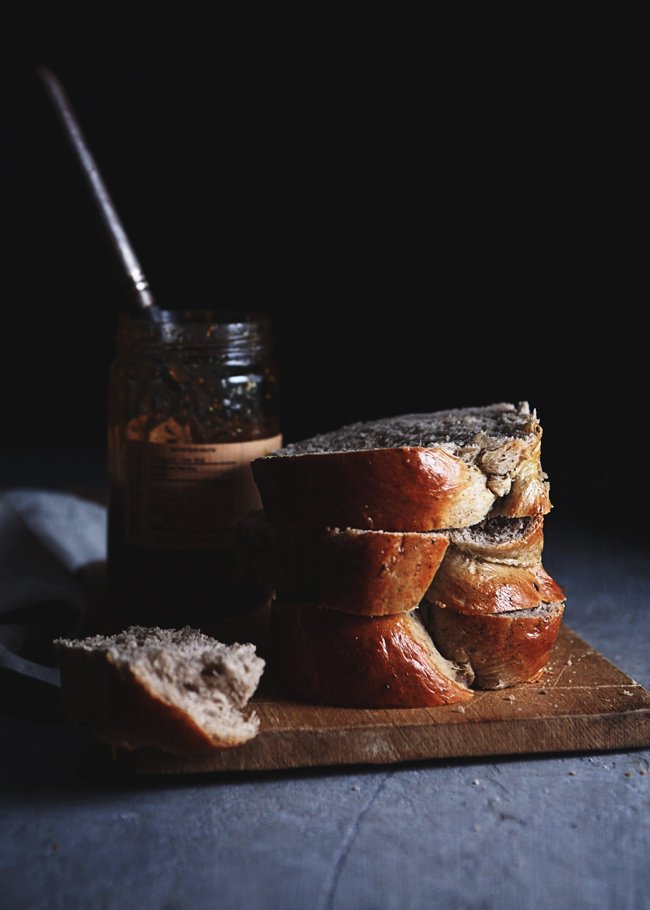
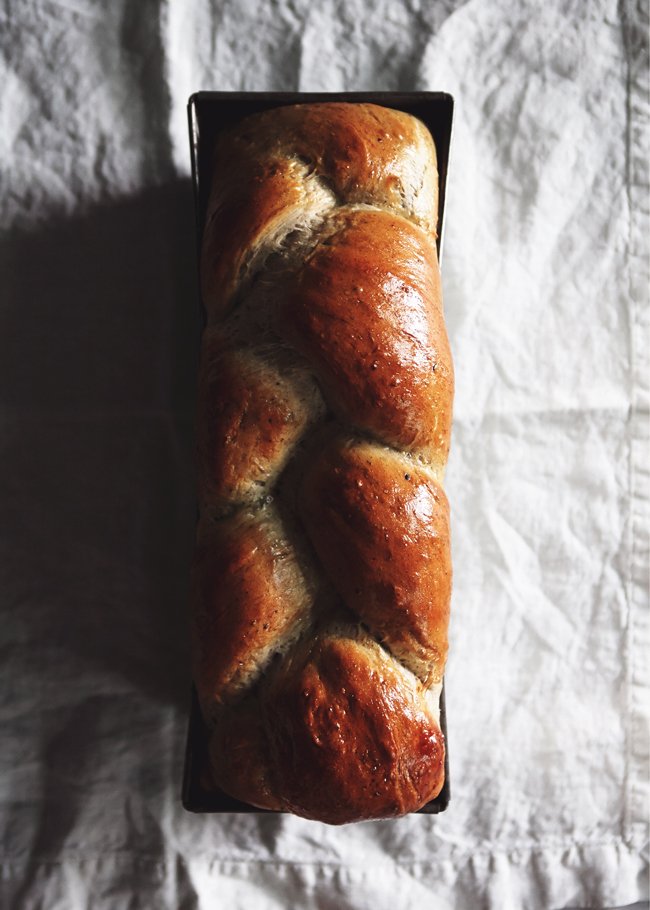
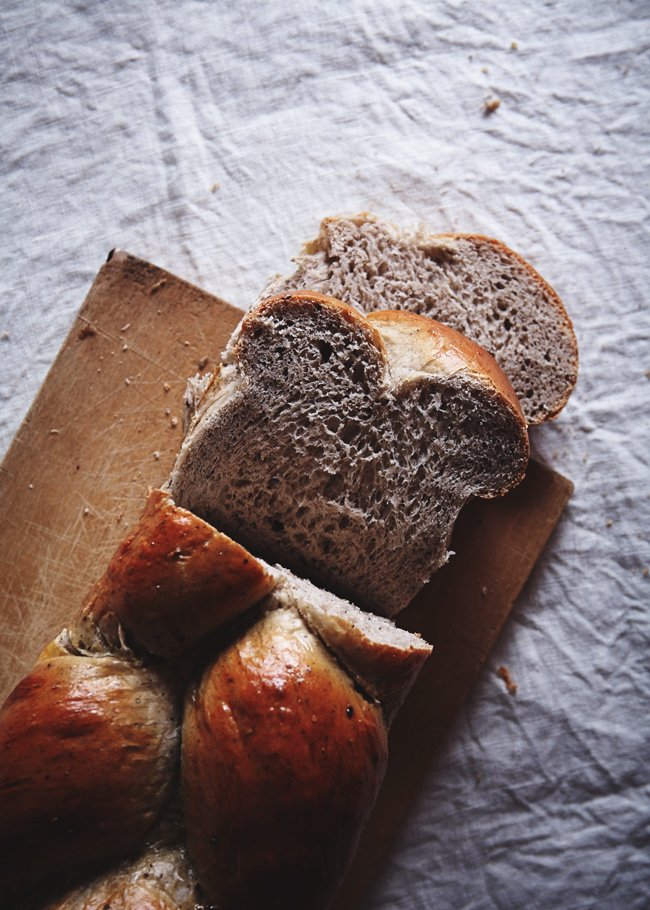
I finally got around to trying this method, and the results were amazing. The first thing I noticed when I took the loaf out of the oven was how, well, distinct it smelled, like I’d somehow bottled the Chinese bakery scent and unleashed it in my kitchen. That alone, funnily enough, would’ve made the whole experience worth it. But the loaf itself was beautiful, all glazed and golden brown, and springing with gluten-y goodness. And when I finally cut it open, what appeared were the silky, sticky strands (not an oxymoron) and effervescent pockets of air. The bread was colored a purplish-gray due to the black sesame seeds, and it was lovely.
Finally, I got around to tasting the stuff, and yes yes yes, it was soft and tender and delicious, and Chris and I and his dad (his parents are visiting this week) somehow managed to eat almost the entire loaf over the weekend. All in all, I’d reproduced Chinese bakery bread at home!
If you can’t tell, I haven’t felt this exhilarated in awhile. Actually, scratch that, last last week’s homemade farfalle made me feel the same way. There’s just something about making from scratch things you would normally buy, like marshmallows, cheese, ice cream, and preserved lemons (although I have yet to use them, oops), that I find most rewarding.
One year ago: (I’ve really been looking forward to doing this!) Quinoa with corn, mint, and scallions
BLACK SESAME BREAD
Adapted from many sources, including The Fresh Loaf and Maameemoomoo
Makes 1 loaf
Ingredients:
For the tangzhong:
- 1/3 cup all-purpose flour
- 2/3 cup water
- 1/3 cup milk
For the bread:
- 1/2 cup milk + 1 Tbsp, lukewarm
- 2 tsp active dry yeast
- 3 cups all-purpose flour
- 1/4 cup sugar
- 1 tsp salt
- 1 large egg
- 2 to 3 Tbsp black sesame powder
- 1/2 the tangzhong which comes out to 1/2 cup (refrigerate the other half—it’ll keep for a few days. Or, halve the tangzhong or double the bread)
- 3 Tbsp butter, softened and cut into pieces
- 1 egg for the egg wash
Directions:
First, make the tangzhong:
Whisk the ingredients together in a small saucepan and cook at medium-low heat, stirring constantly. After a couple minutes, the mixture will start thickening. When it’s uniformly thickened to about the consistency of pudding, remove the saucepan from the heat and let the tangzhong cool. You can use it right away or keep it in the fridge for a few days.
For the bread:
In the bowl of your stand mixer, add the milk, yeast, and a pinch of sugar. After about 10 minutes, the pool should be bubbly, meaning the yeast is ready to go. Add the rest of the ingredients except for the butter, and, using the dough hook, start mixing on medium-high. When the ingredients are reasonably combined, add the butter in pieces until it’s smoothly incorporated. Continue mixing on medium-high for about 20 minutes until the dough is not so sticky that you can’t manage it with your hands. Turn off the mixer, cover the dough with a towel, and let it rise until it’s doubled in size, about 1 hour.
On a floured surface, cut the dough into three equal-sized balls. Roll them into long ropes and press the ropes together at one end. Braid the ropes. Once you’ve reached the other end, press the dough together and tuck both ends under the braid. Place the braided dough into a loaf pan so it fits comfortably, then cover and let it rise for another 30 minutes or so.
At this point, you can brush the top of the dough with an egg wash. Beat the egg and brush.
Preheat your oven to 350 degrees F. Put the loaf in the oven and bake for about 20 minutes until it’s golden brown. Let it cool before removing the loaf from the pan.
Related Posts



Subscribe for New Racipies
Get mental health tips, updates, and resources delivered to your inbox.
Meyer Lemon Budino

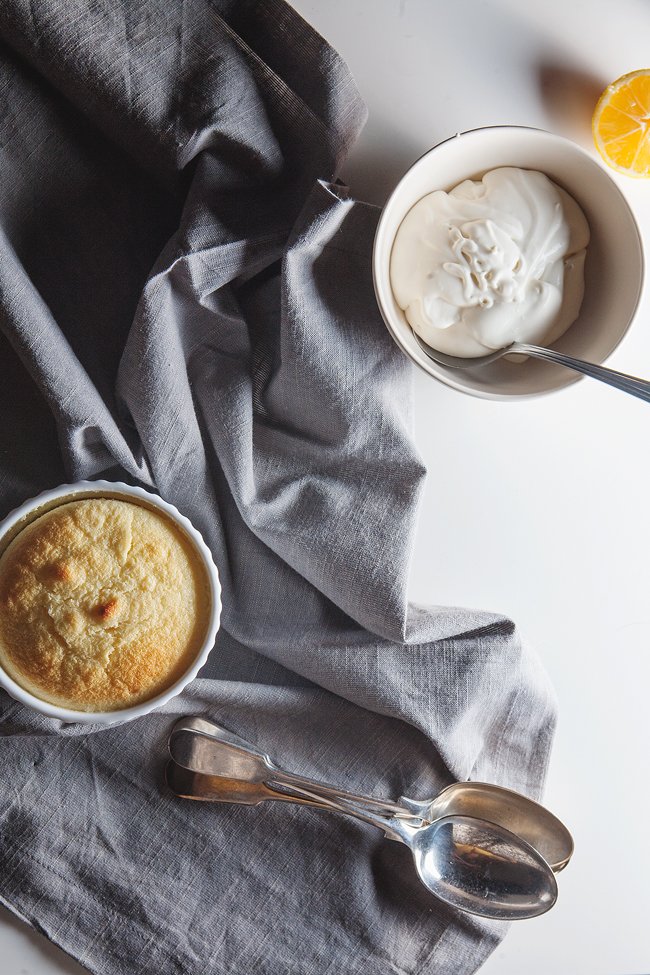
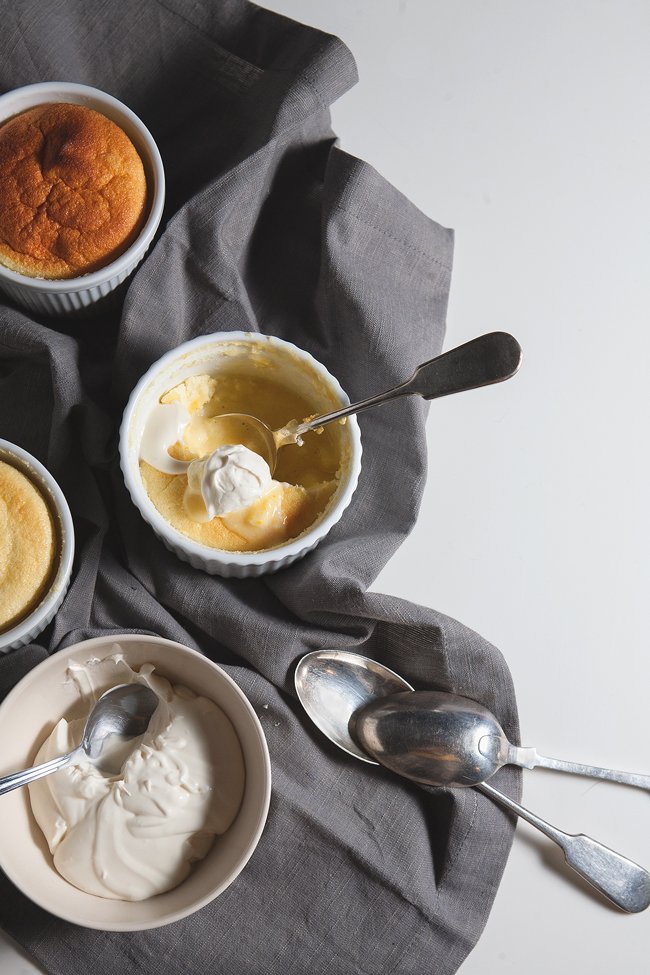
Budino is Italian for pudding, and I’m assuming this recipe is Italian in origin because it comes to us from Craig Stoll, owner of San Francisco’s Delfina. (Oh, SF, any mention of you sends prickles of homesickness down my spine.) What I can tell you is that it’s part souffle, part gooey lemon-y goodness. Especially if it’s countered with a mascarpone whipping cream, which rounds out its fruitiness.
I can also tell you that I love love love Meyer lemons, which I eat, raw, just like oranges, except I cut them in quarters and rip out their flesh with my teeth (kind of like how Chinese people eat oranges—or is this practice more international than I realize?).
I kind of realized along the way (the ‘way’ being the entire circuitous route I’ve taken to learning to bake) that I don’t really care for baked lemon desserts. I’m talking about tarts and pies, and those bar things that people always seem to make a huge fuss over. It’s probably a cultural thing. Chinese people don’t generally cook fruit into desserts, instead, preferring to eat it on its own, so it feels incongruous to pair its freshness and natural-ness with butter, dough, and high temperatures.
But Meyer lemon desserts, they’re in a league of their own. Meyer lemons possess a whole other dimension of floral-ness, a fragrance that reminds me of Asian dessert flavors like green tea and red bean and black sesame. It’s quieter, sweeter, less in-your-face. In fact, I’m rethinking my stance on lemon-y desserts, as long as they’re made with Meyer lemons. I would probably like Meyer-lemon lemon bars, and Meyer-lemon lemon meringue pie, and Meyer-lemon lemon shortbread. I know I like it in this budino.
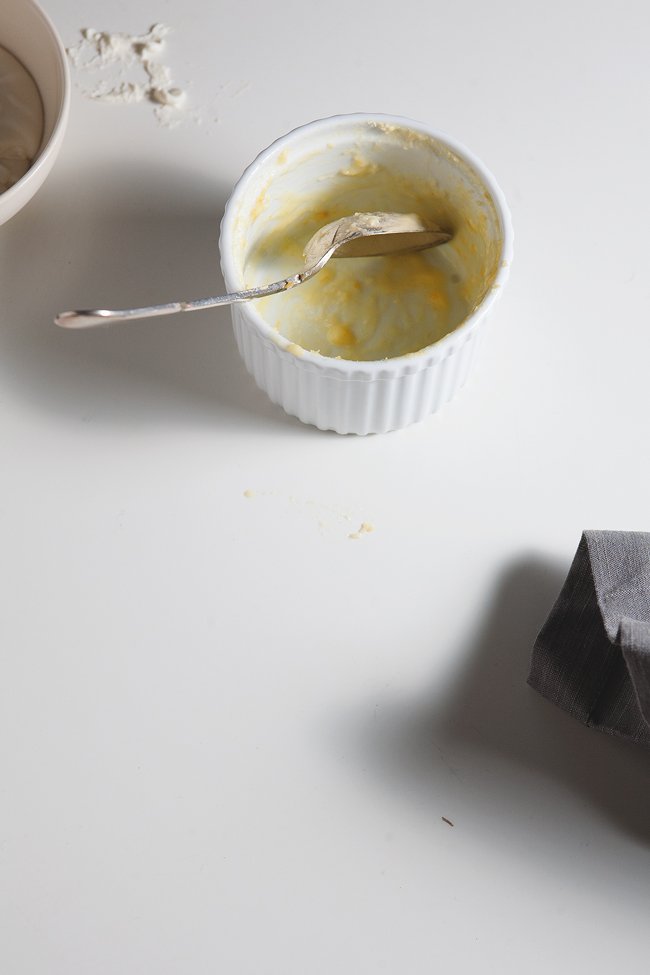
Hint: it’s wonderful warm and fresh out of the oven, BUT if you give it a chance to sit in the fridge overnight, it is even better the next day. By then, three distinct layers will have formed: the dreamy pudding on the bottom, the feathery sponge cake layer on top, and an incredibly lush cheesecake-like layer in between. It is excellent. Excellent!

MEYER LEMON BUDINO
Adapted from Delfina, courtesy of Bon Appétit
Serves 4 to 6
Ingredients:
1/2 cup plus 2 Tbsp sugar
3 large eggs, separated
1/4 cup all purpose flour
1/4 cup + 2 Tbsp fresh Meyer lemon juice
2 Tbsp finely grated Meyer lemon peel
3/4 cup plus 2 tablespoons whole milk
1/4 teaspoon salt
For the mascarpone whipped cream:
1/2 cup chilled mascarpone cheese
1/2 cup chilled whipping cream
2 Tbsp sugar
1/2 tsp vanilla extract
Directions:
Preheat oven to 350 degrees F. Butter 4 to 6 ramekins. Combine 1/2 cup sugar, egg yolks, flour, lemon juice, and lemon peel in large bowl; whisk until well blended. Whisk in milk.
Using an electric mixer, beat egg whites and salt in medium bowl until frothy. Gradually add remaining 2 Tbsp sugar and beat until soft peaks form. Fold beaten egg whites into lemon mixture in 2 additions. Divide mixture among prepared custard cups. Place custard cups in roasting pan. Pour enough hot water into roasting pan to come halfway up sides of custard cups. Bake puddings until tops are golden and spring back when lightly touched, about 25 to 30 minutes (keep an eye on them—in some ovens, they’ll bake faster). Remove cups from water and let cool. Serve warm or cold with mascarpone whipped cream, recipe below.
For the mascarpone whipped cream:
Combine the mascarpone, whipping cream, sugar, and vanilla extract. Whisk until thick soft peaks form. Refrigerate for a few hours.
Related Posts
Subscribe for New Racipies
Get mental health tips, updates, and resources delivered to your inbox.